Sometimes when I’m walking the aisles of home improvement stores I get creative ideas like these basket plant stands or these table leg candlesticks. Once more it happened.
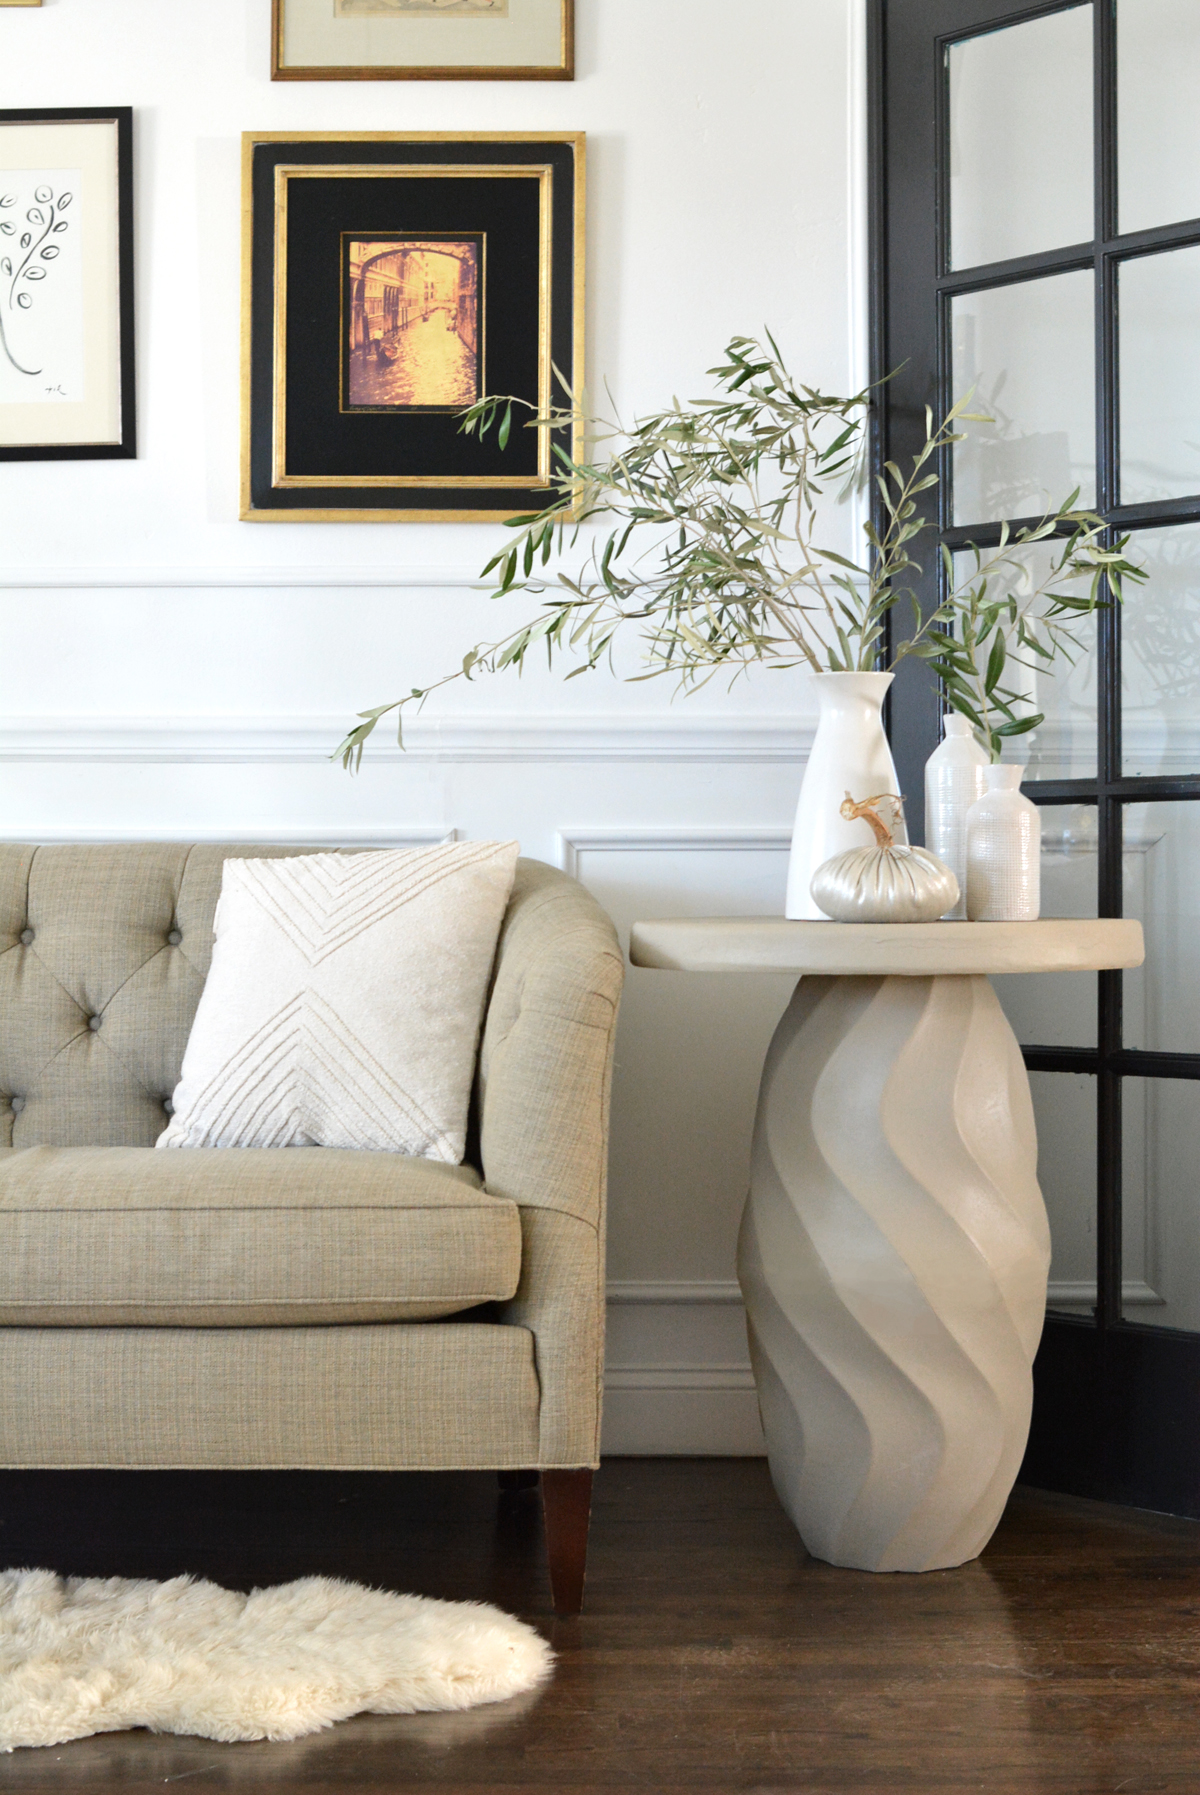
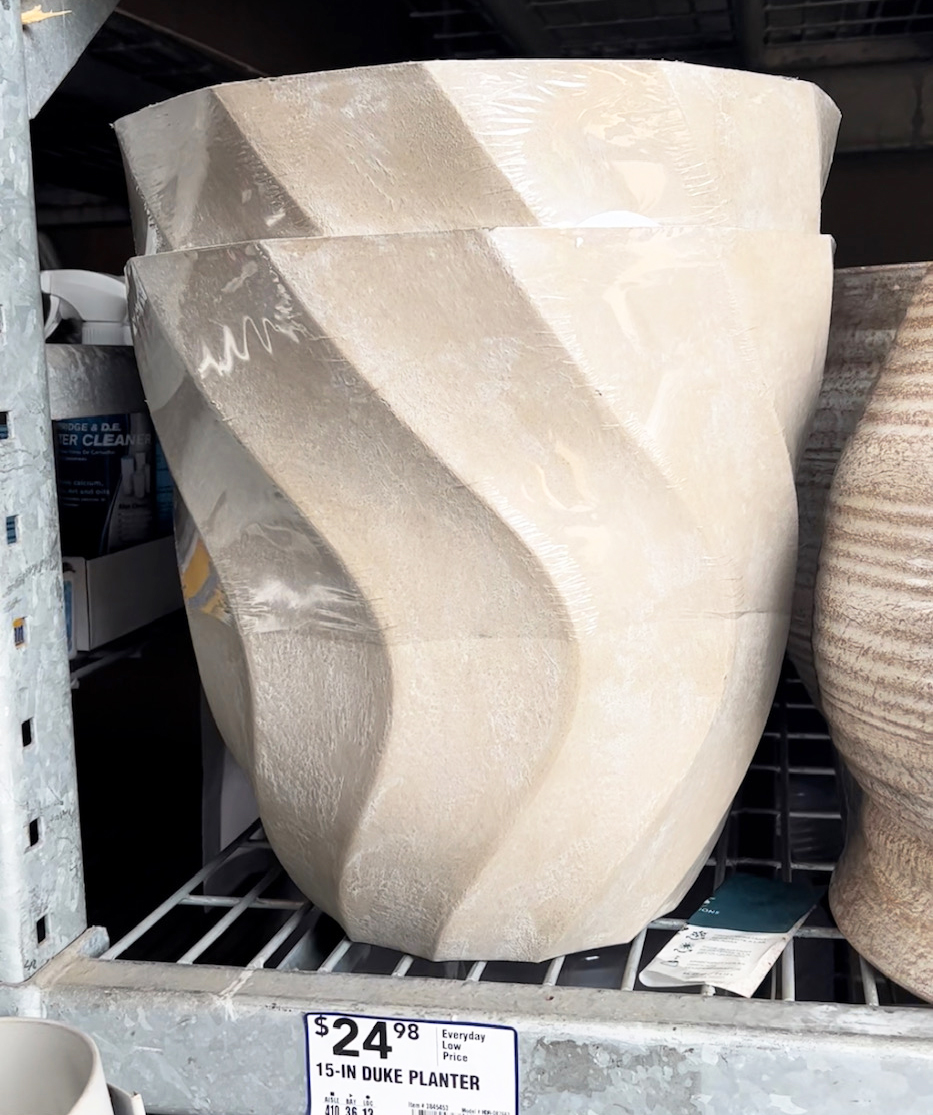
I was in the garden department and spotted some curved resin planters and thought if I put two together they’d form a nice base for an accent table. It took plastic bonder and joint compound to unite them, and here is the final result:
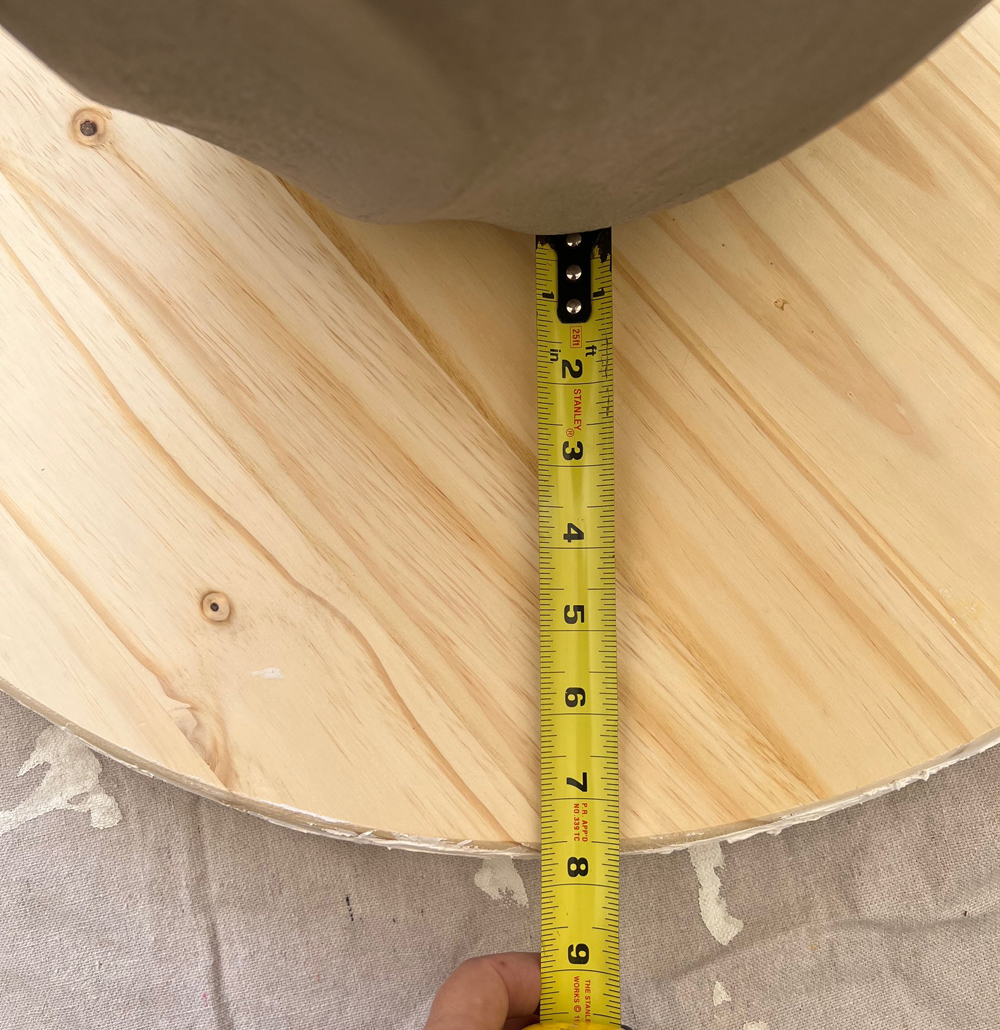
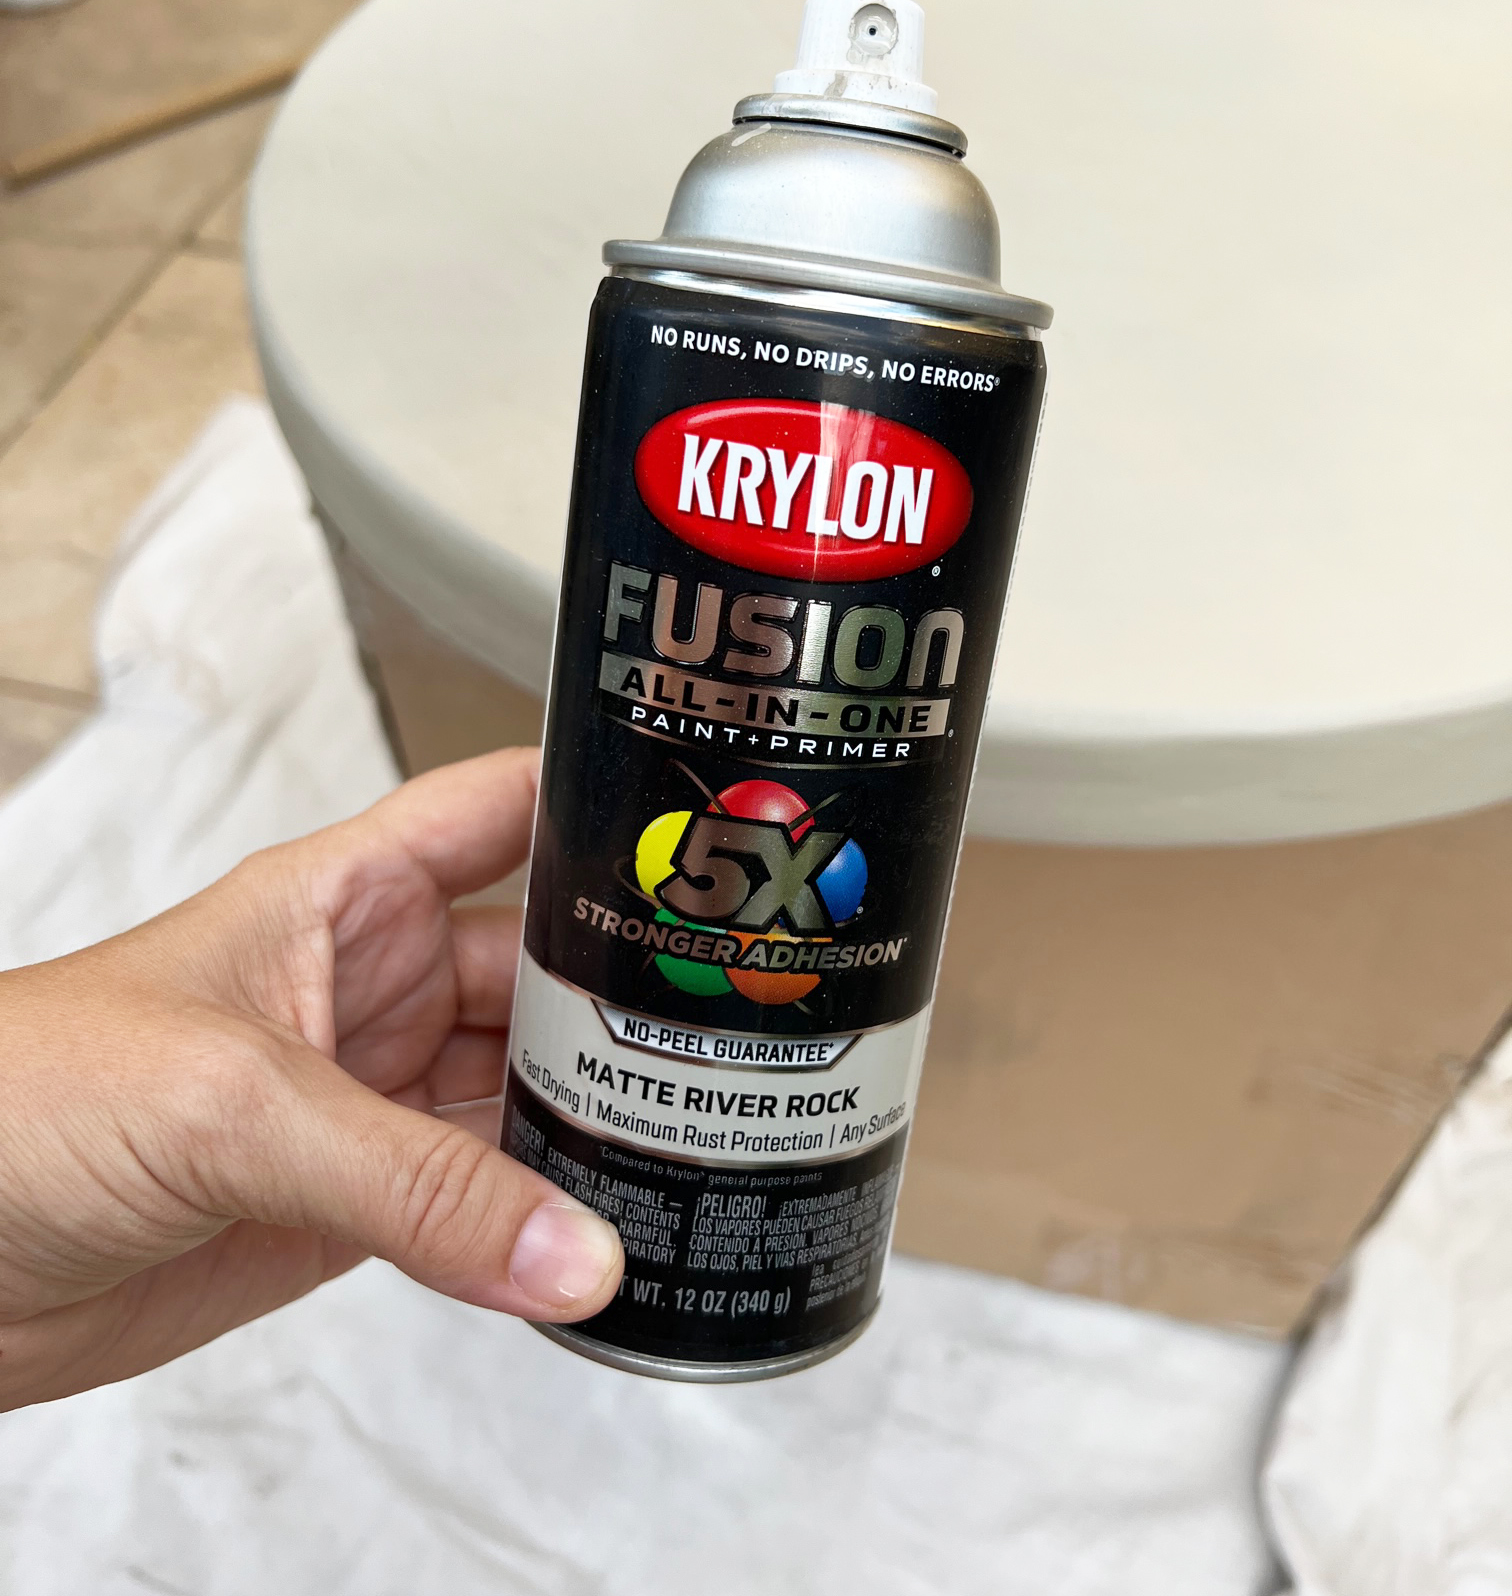
I bought all my supplies at Lowe’s including two 15” planter bases with the same circumference on top (I used these ones). In addition, here’s what you’ll need to recreate: two 24” wood circles; joint compound; 2” plastic putty knife; plastic bonder; wood glue; coarse sanding wedge; Krylon river rock spray paint.
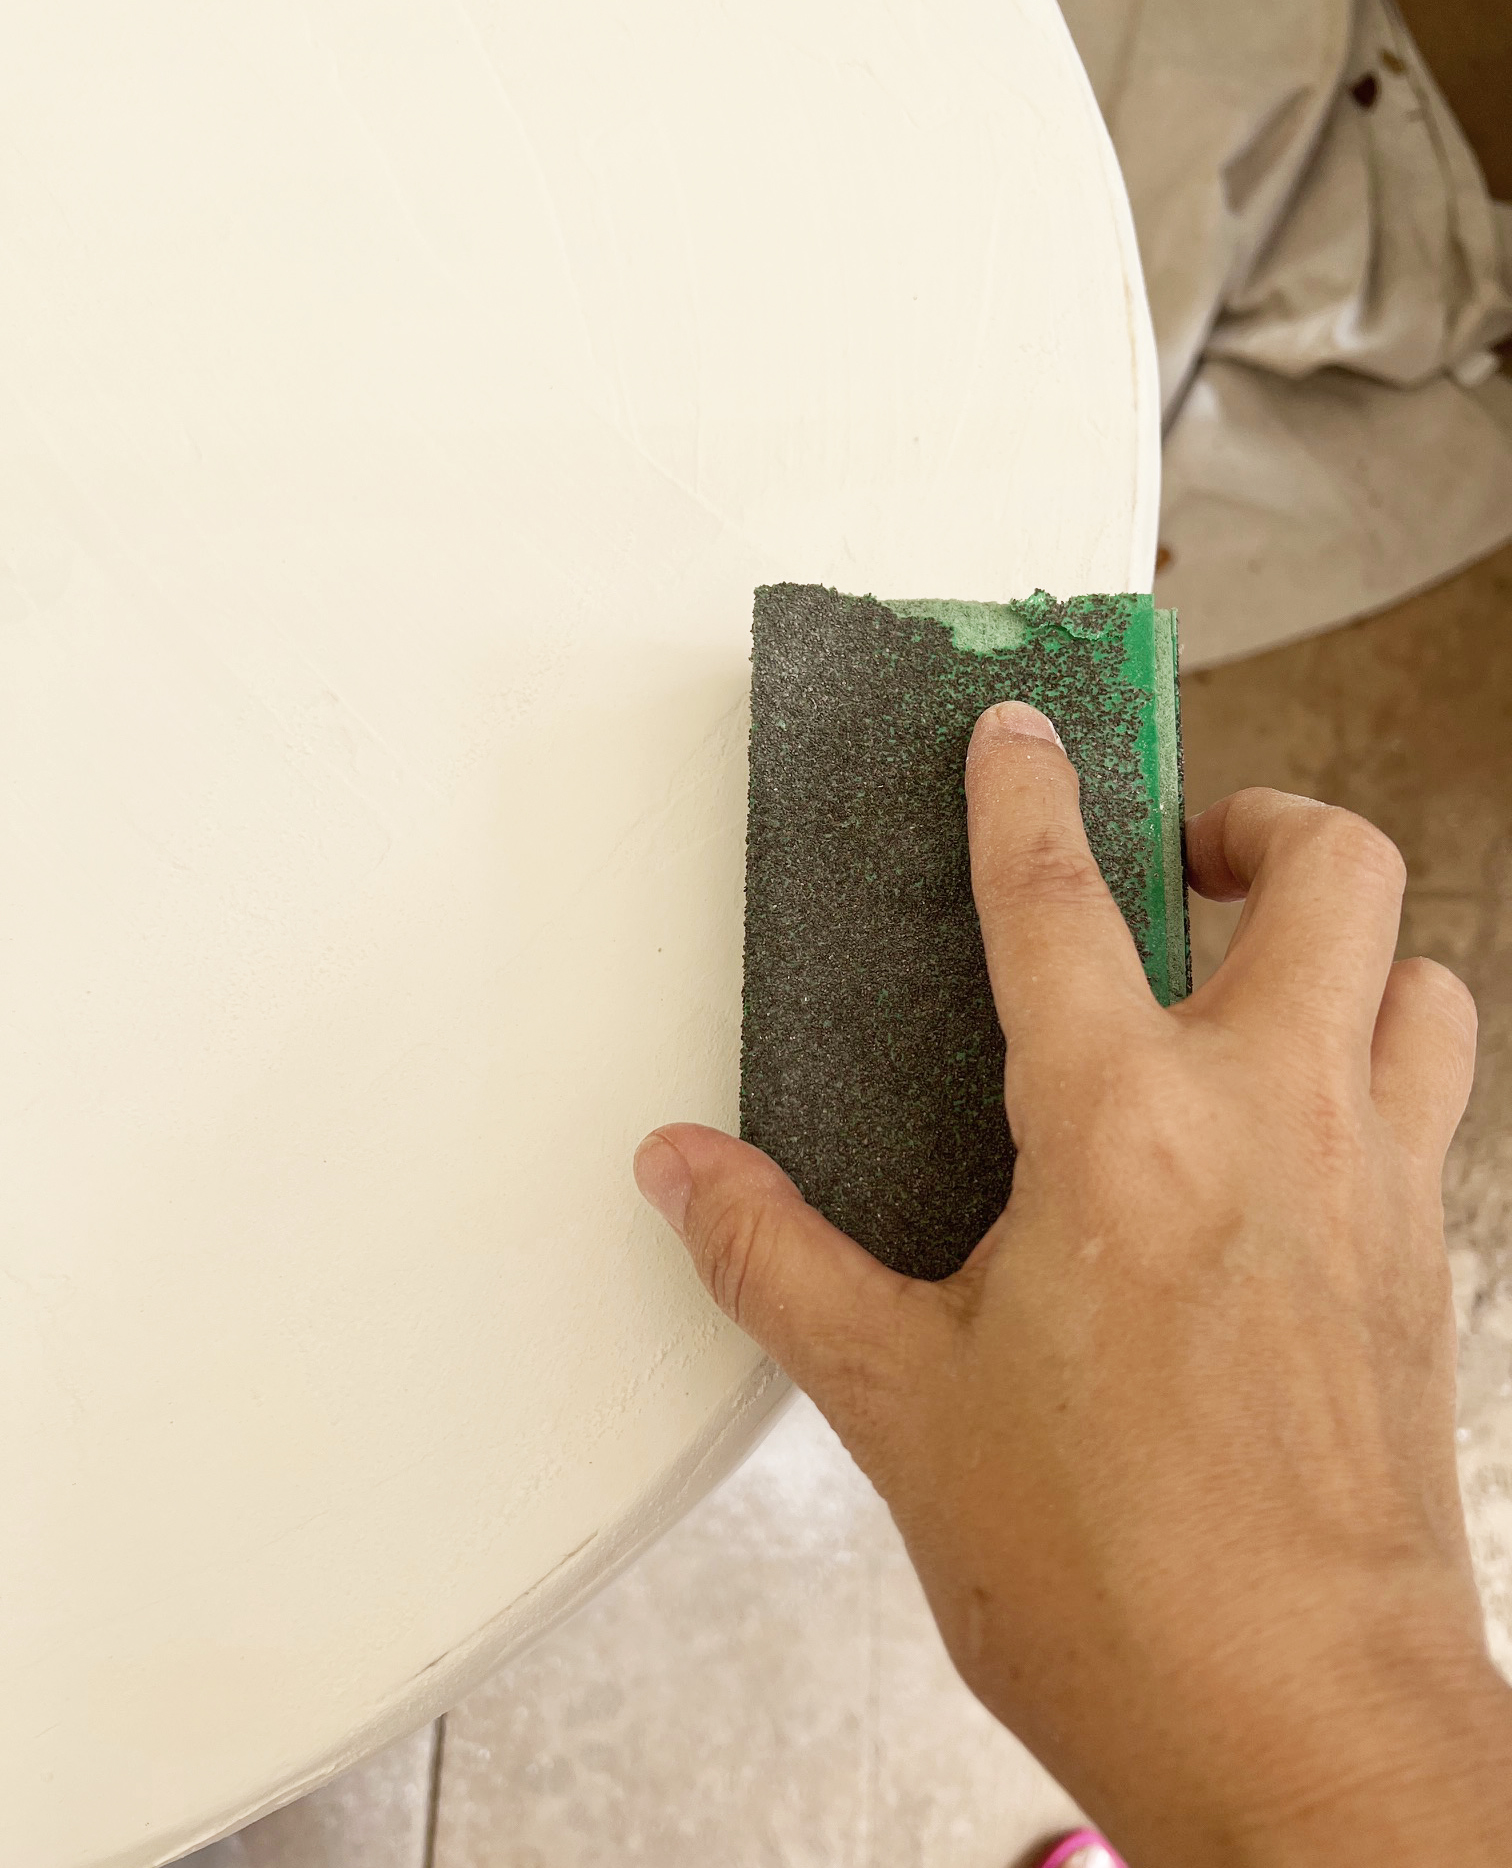
To make the top, first, glue the two 24” tops with wood glue and set heavy books on top so they stay put and bond together. Allow to dry about 2 hours. Coat the wood circle sides and top with two thin layers of joint compound. It’s helpful to do this on a prop of some kind. Sand between coats and after second coat dries sand again to create a mostly smooth surface. I left mine imperfectly smooth on top because I liked the texture.
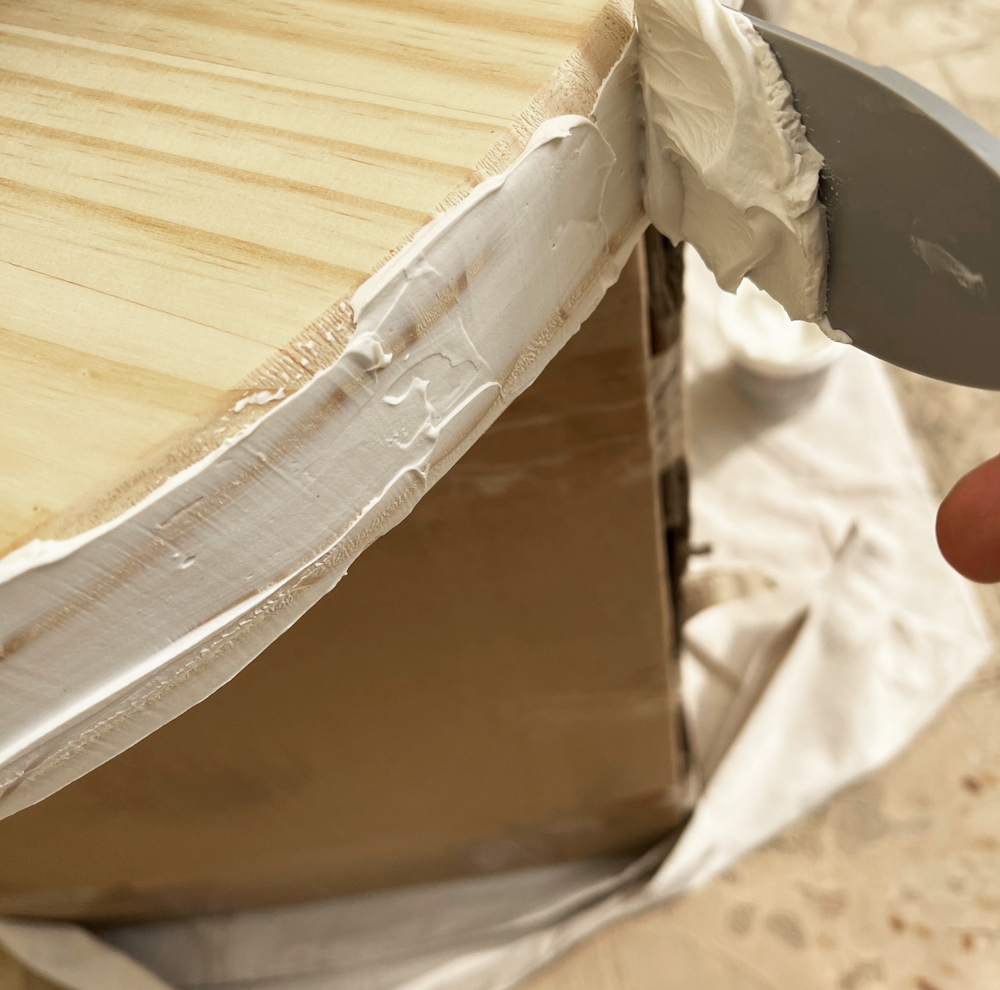
before sanding:
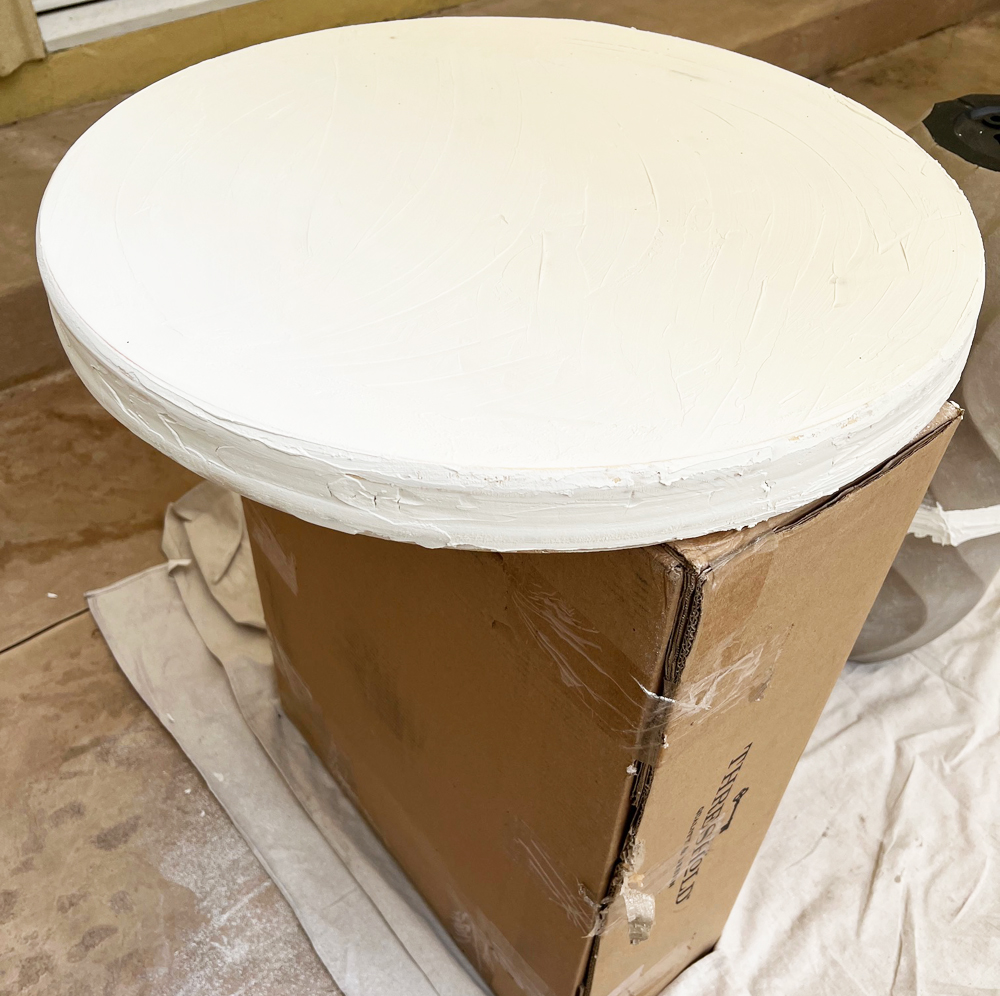
after sanding:
Once dry, mark the underside of the wood circles with the location of the pedestal in the center for attaching in the future.
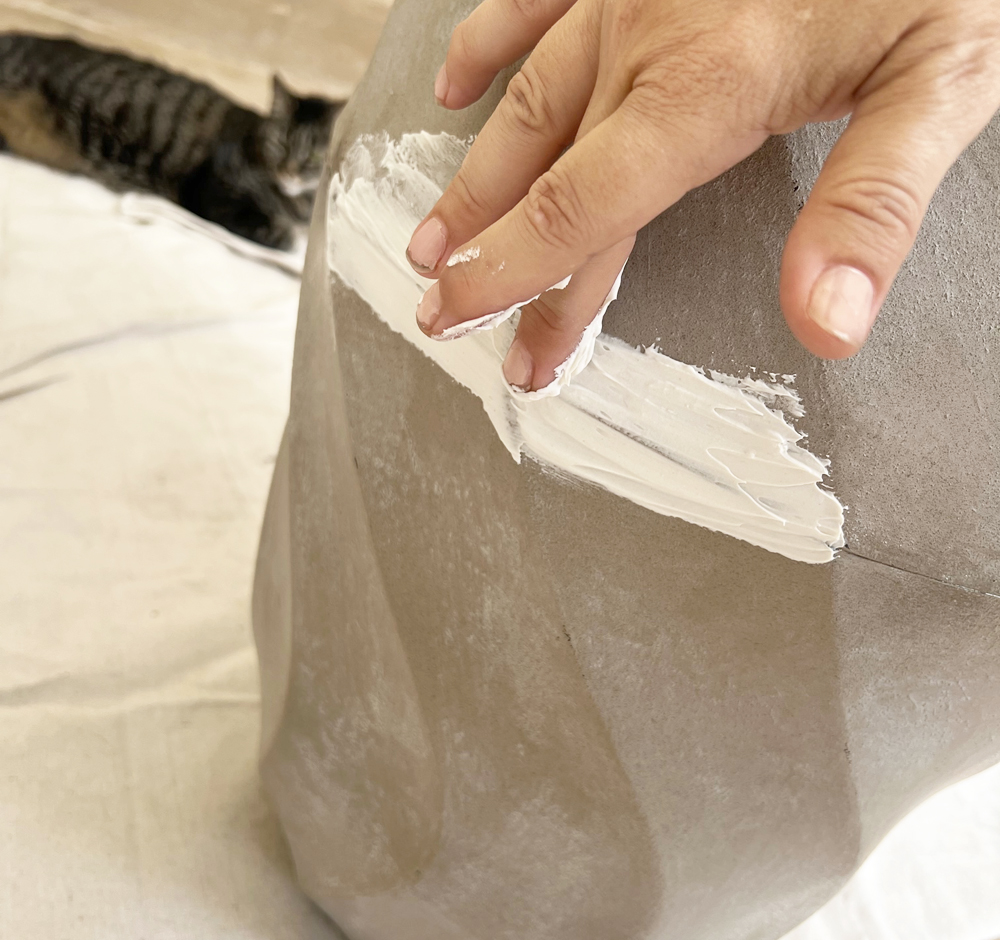
To attach the planters together use a bonding glue designed for plastic (see link above). Allow to dry a few hours then use more joint compound to make any seams disappear. This took a few applications, sanding between coats. It helps to spread the joint compound up beyond the seam a couple of inches to achieve a final smooth look.
Once the joint compound is sanded and smooth, coat the top and pedestal with spray paint. I chose River Rock by Valspar to mimic a stone hue.
Use additional plastic bonding glue to bond and unite the top to the pedestal. Allow to dry, then use for display!
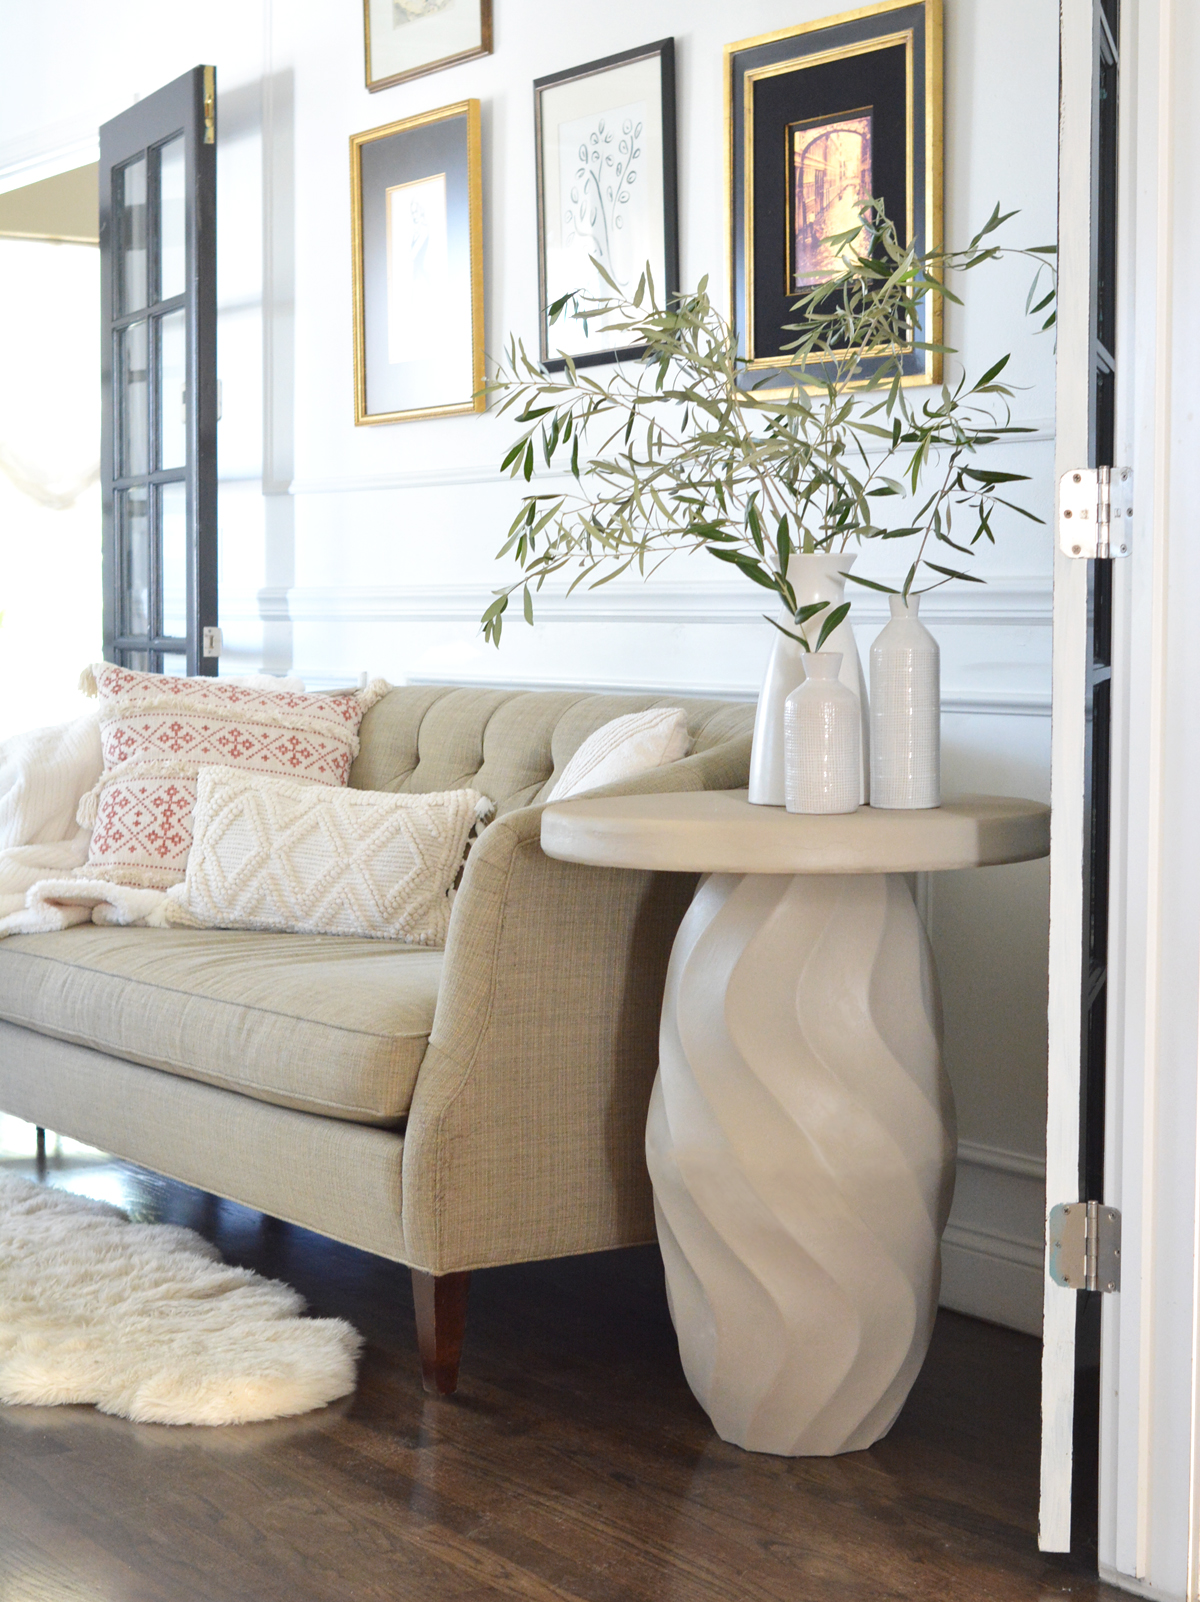
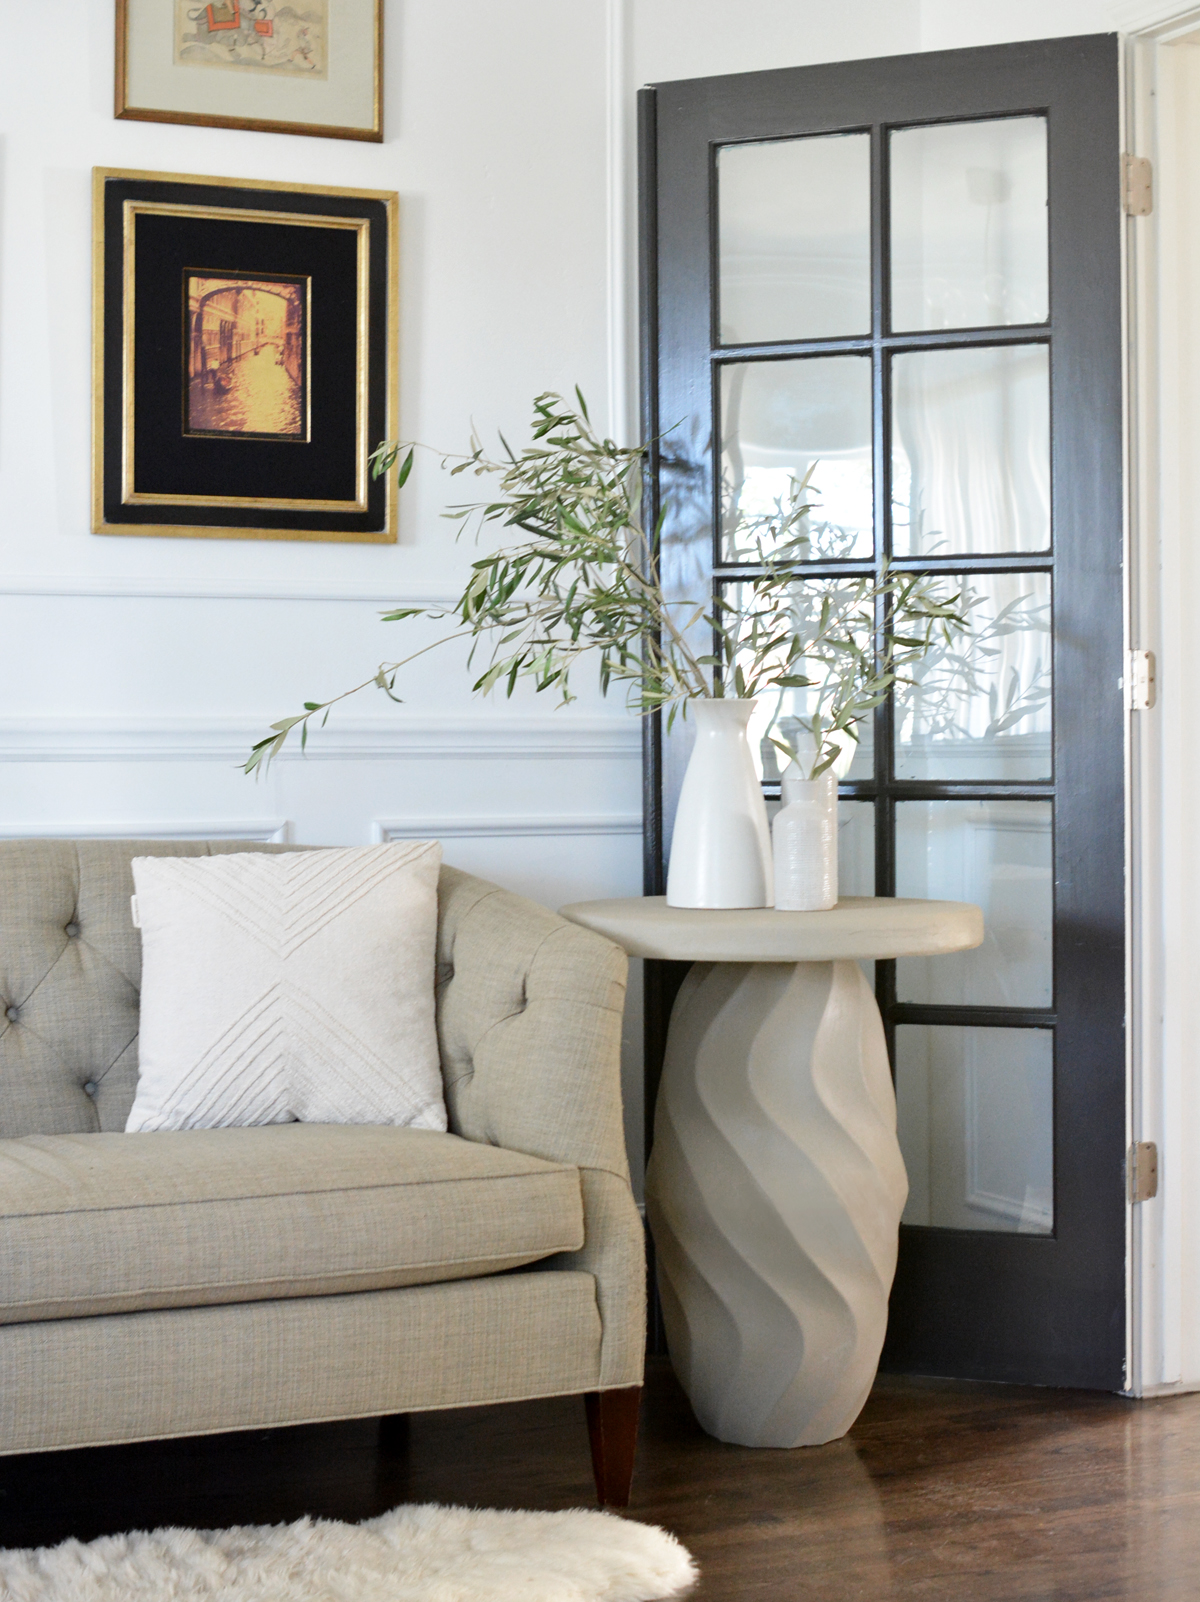
I’ll post a video on Instagram Reels to show the process. I like how the table turned out, the pedestal is certainly unique! I’m inspired to use my remaining joint compound to create texture on future decorative projects.:)


Very clever — sticking the two planters together. You always have the most clearly done tutorials, with beautiful photos and helpful instructions. No wasted words or excess images. Thank you for that.