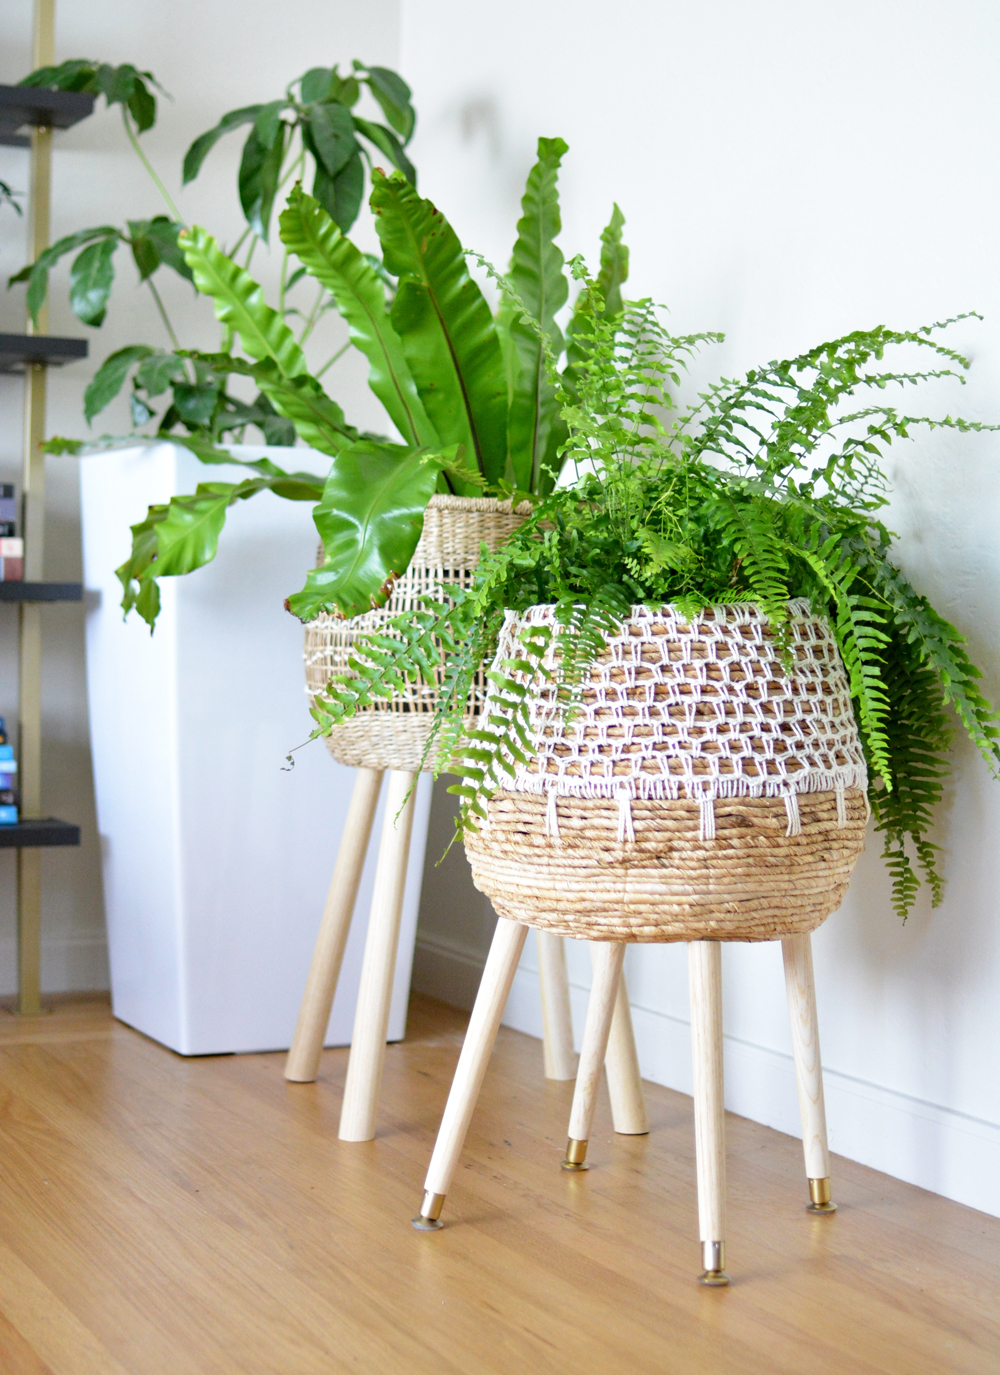
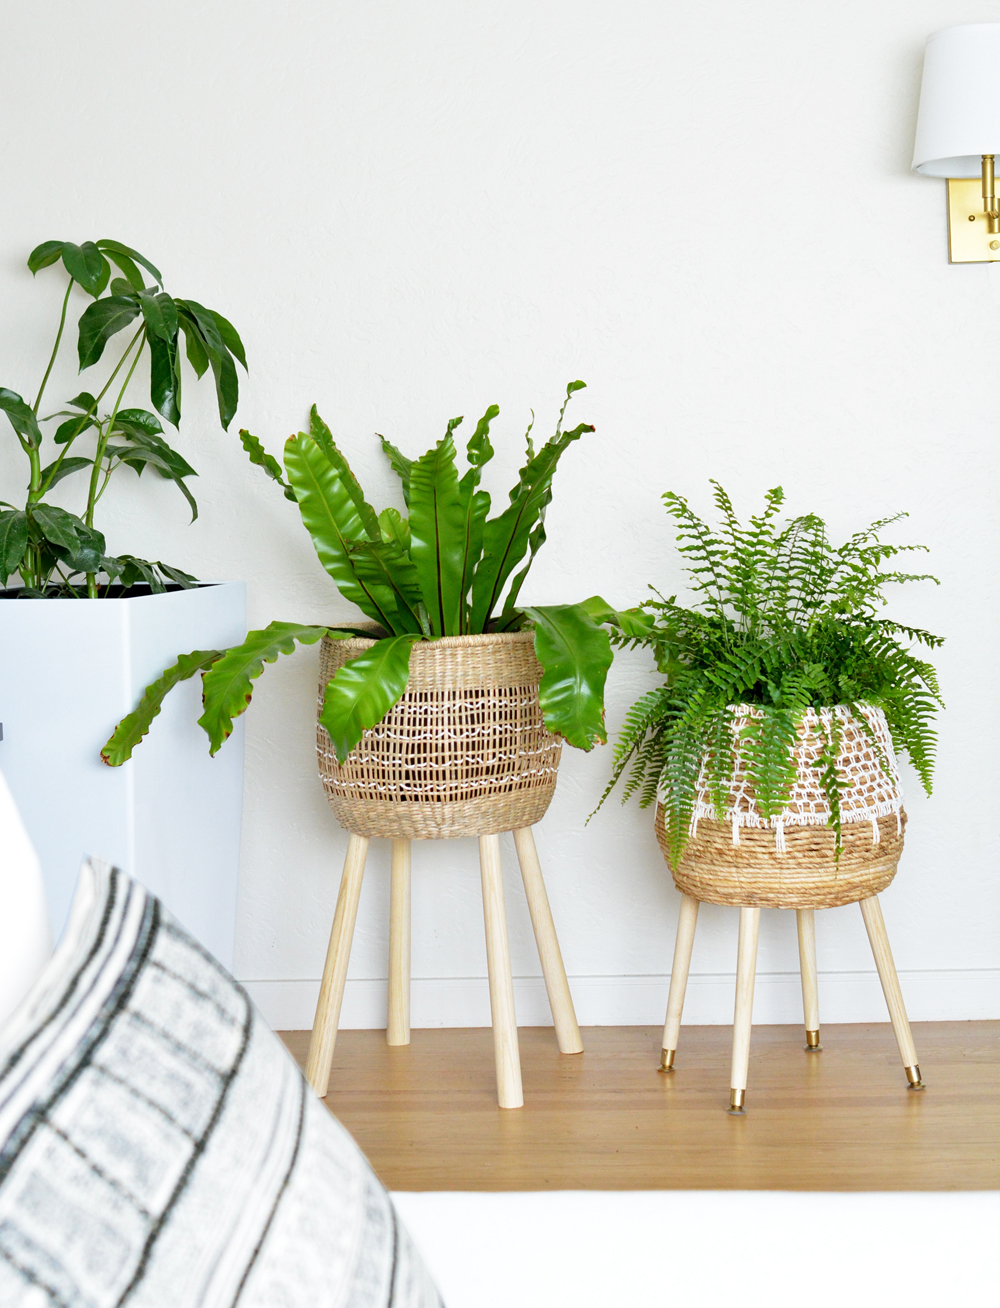
I’m a big fan of both textured accents and living plants in a space. I moved an indoor tree away from my ladder shelves in my studio, so to fill that corner I wanted large tiered planters. Instead of buying them, I decided to make my own, propping up woven baskets on wood table legs, securing them with screws to a wood disc inside.
I came up with this idea in the table leg aisle of Lowes (just like this table leg DIY project) and noticed in that aisle they also sold round wood circles too. I thought first of just cutting the table legs and securing them to the circles as a basic wood stand (also an option) but instead hid the wood circle inside the basket. These woven basket plant stands are easy to make, supplies and steps listed below.
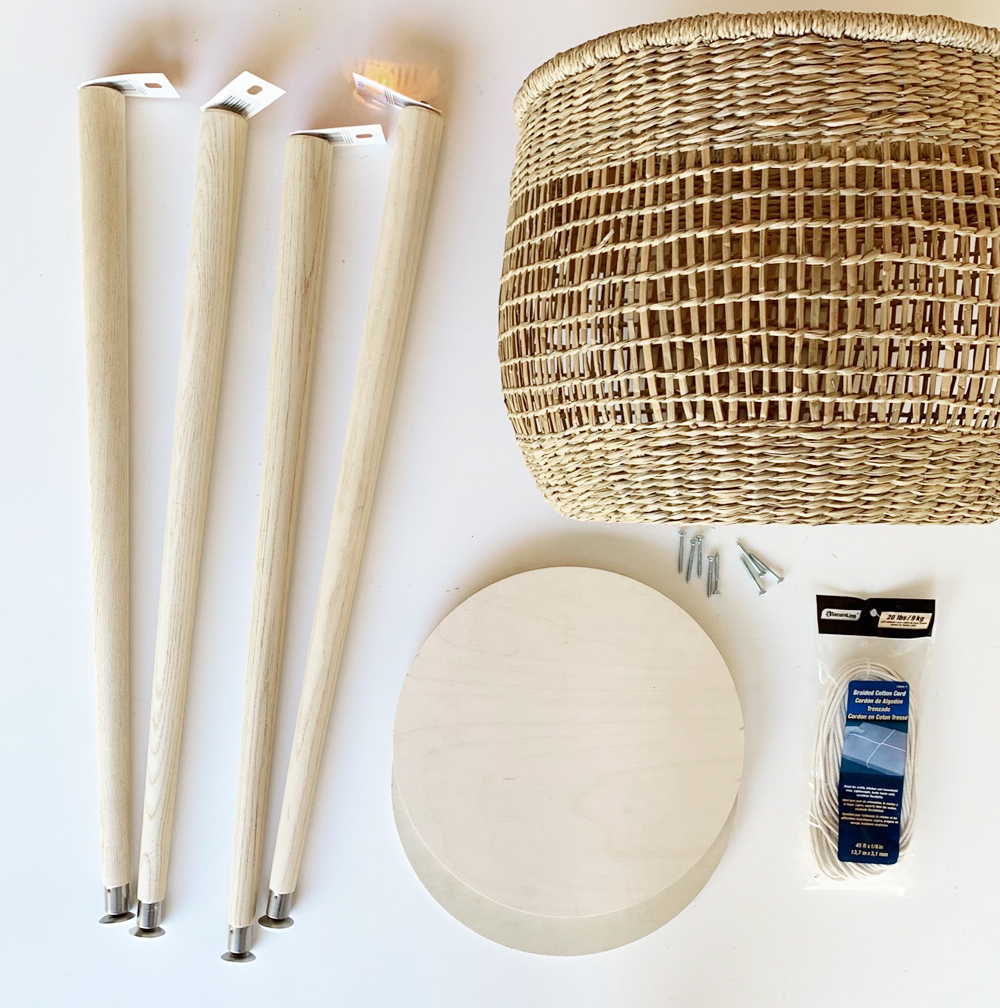
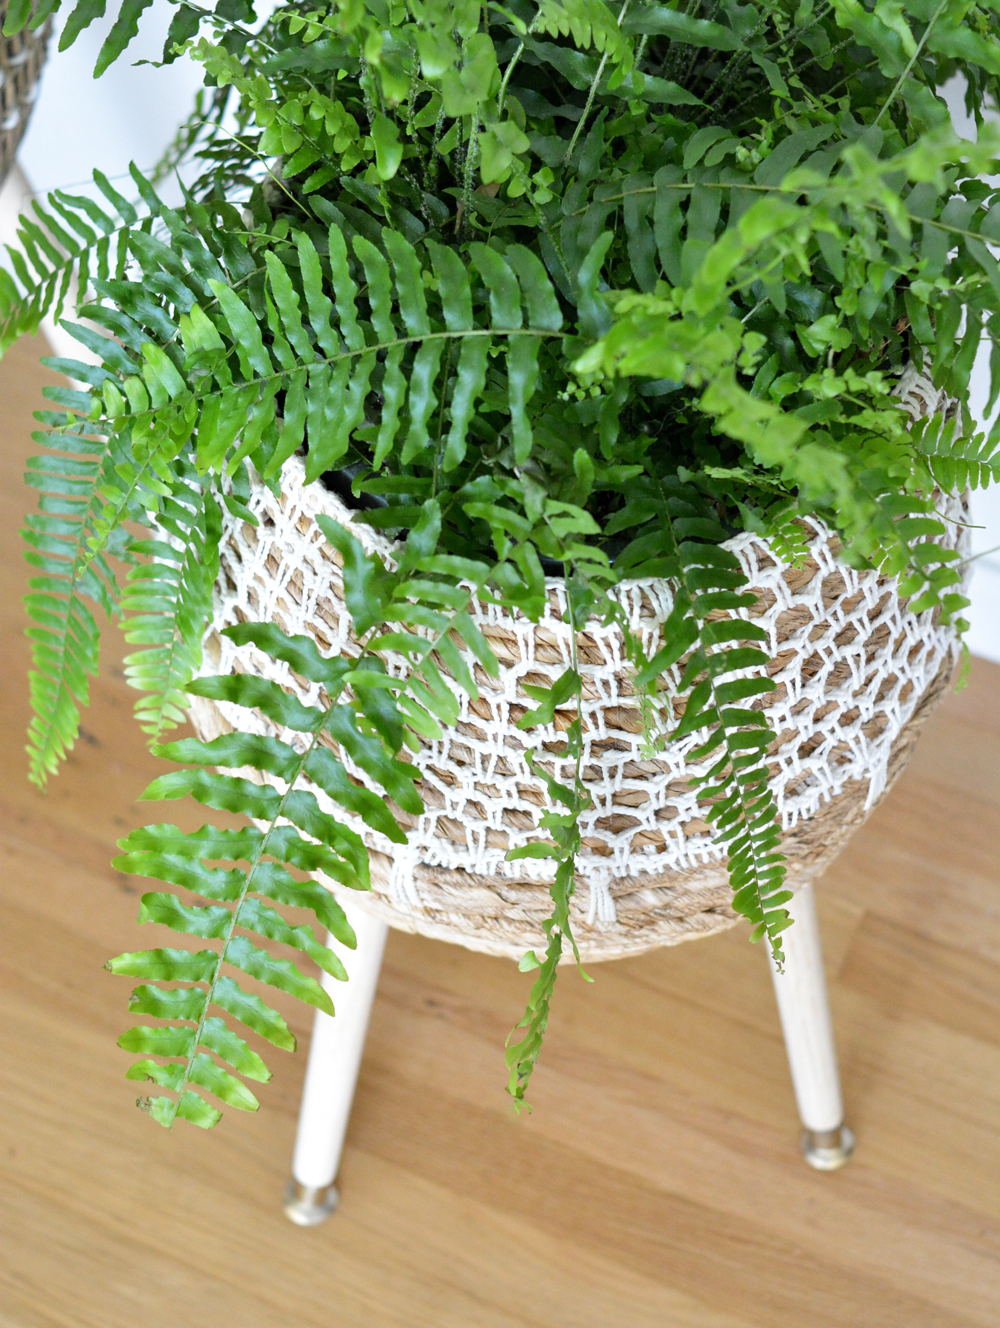
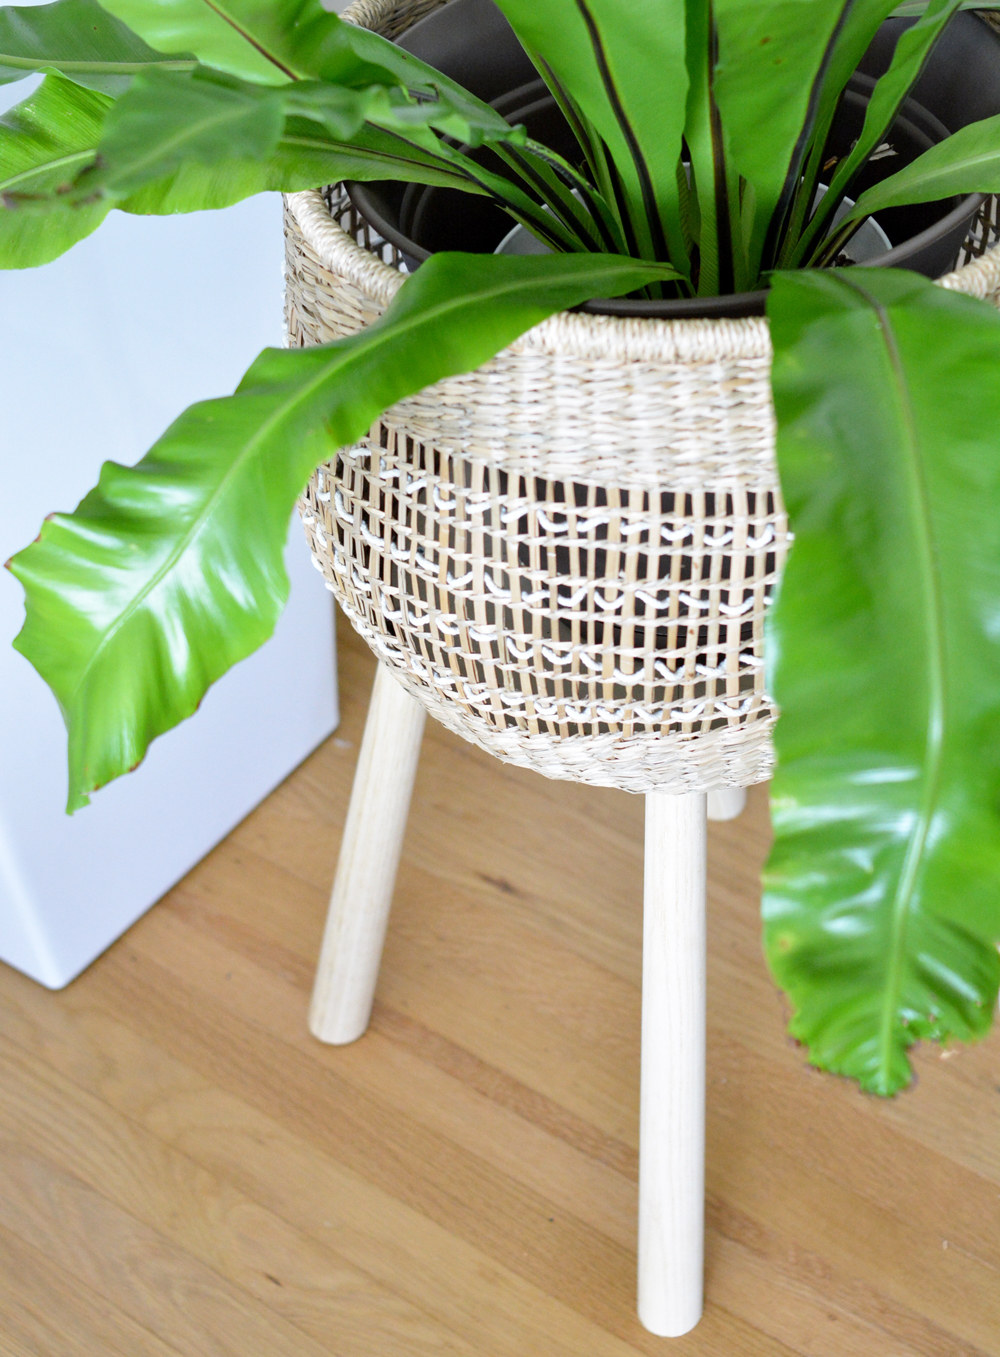
First, gather your supplies: I used two baskets from World Market (a small harper macrame basket and a small dakota basket), four 27.5” tapered legs from Lowes, two 12” birch circles from Lowes, 1¾” wood screws, drill with drill bits, miter saw, clamp, cotton cord (optional), and gold spray paint.
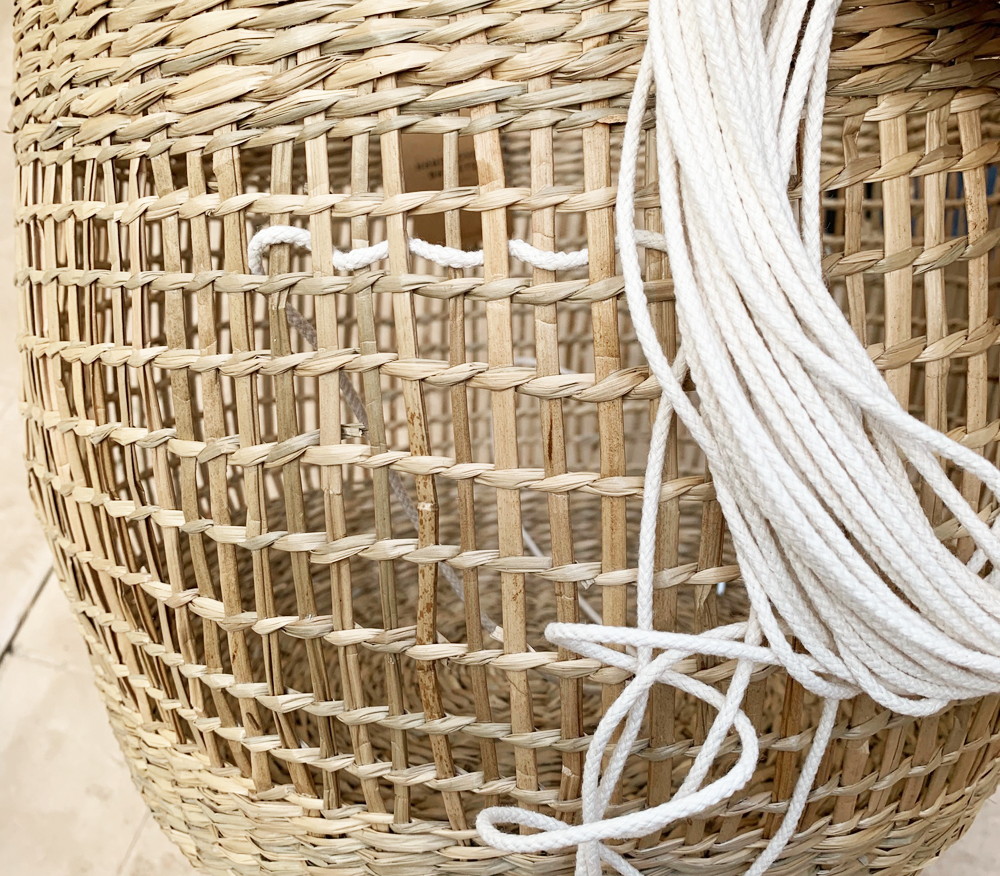
I added a few stripes of cotton cord to the plain basket to complement the macramé string on the other basket – totally optional step.
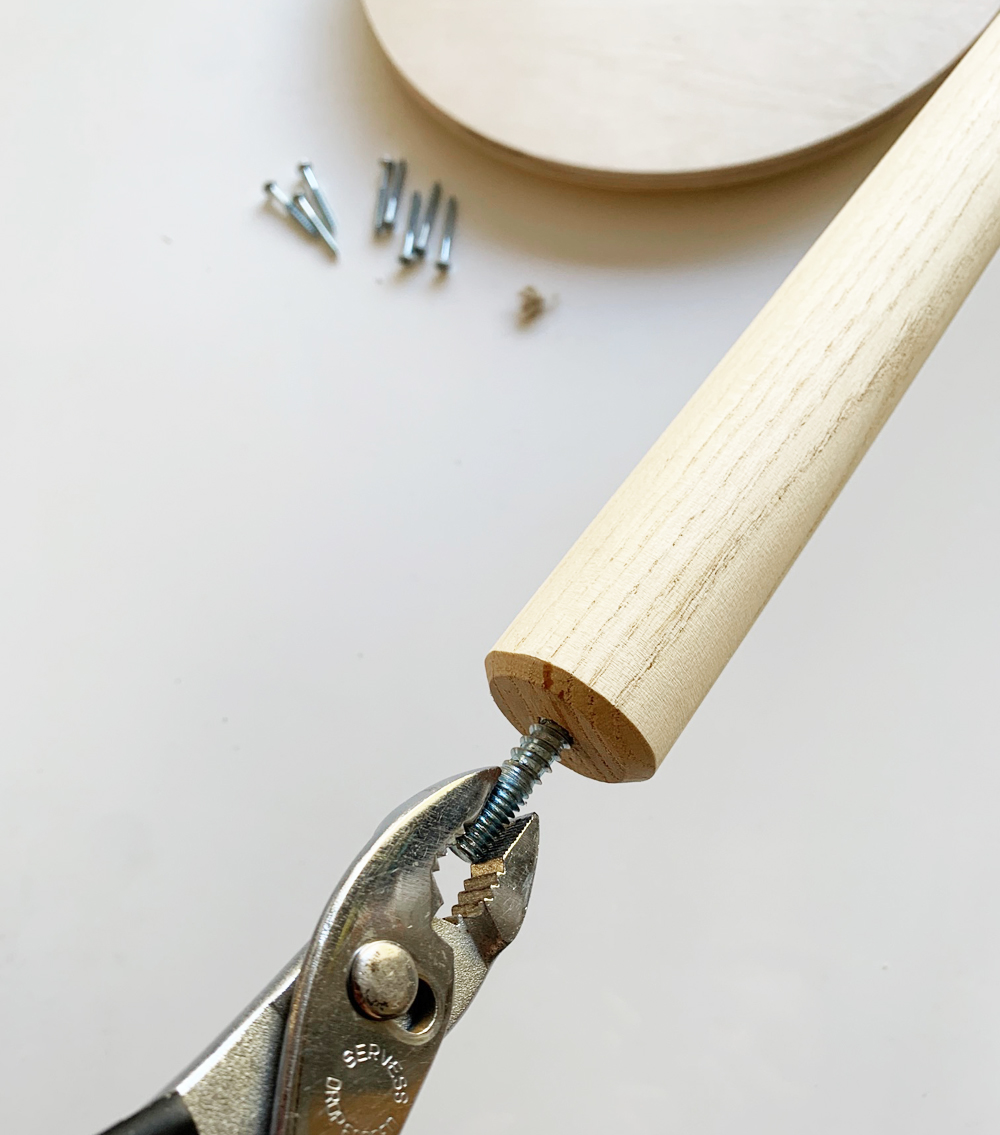
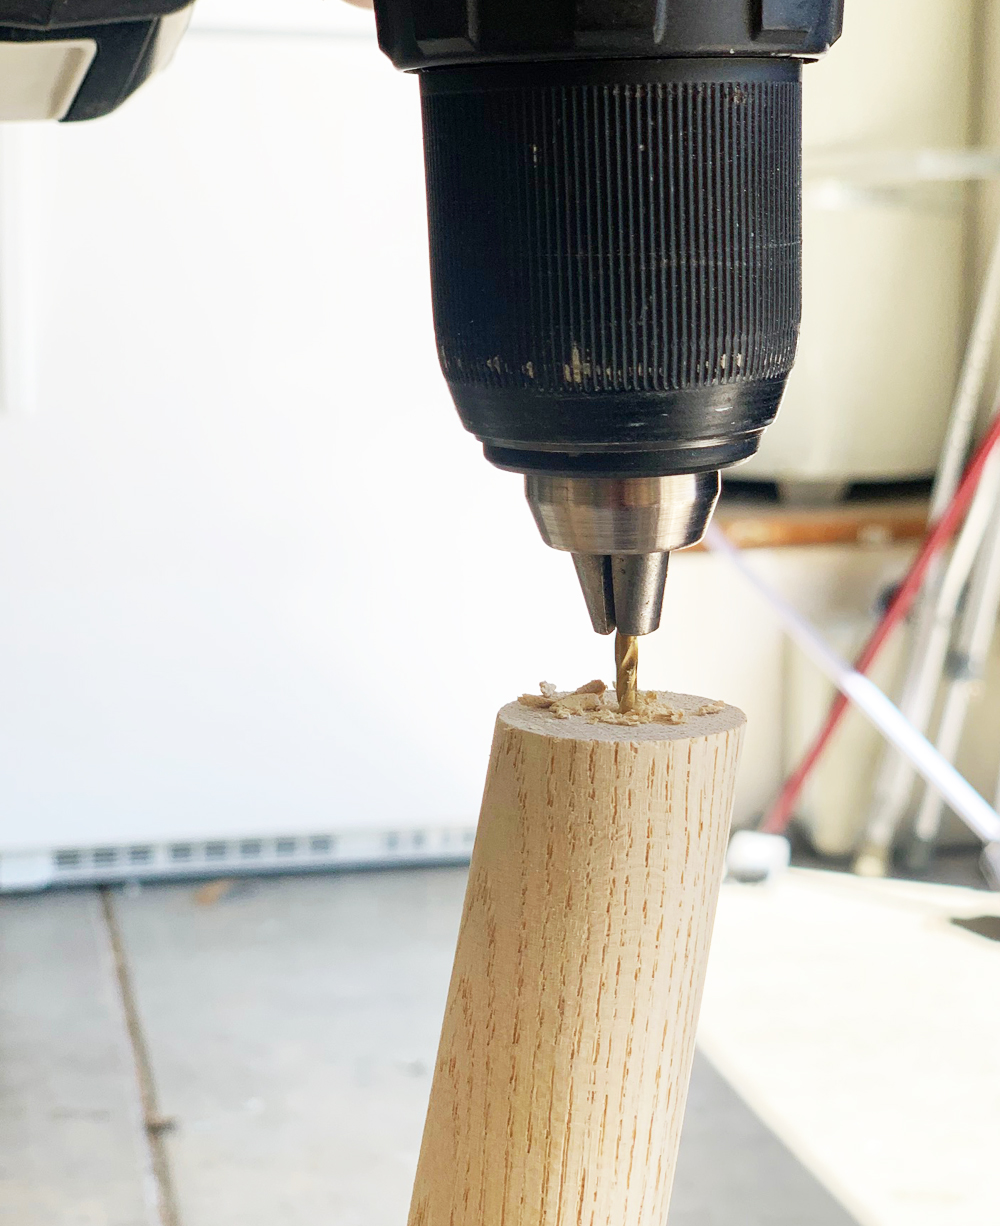
Remove the four double sided screws that are attached to the table legs when you purchase them.
Mark 16” from the bottom on each table leg, this will create two different legs at different lengths for the plant stands from one 27.5” table leg.
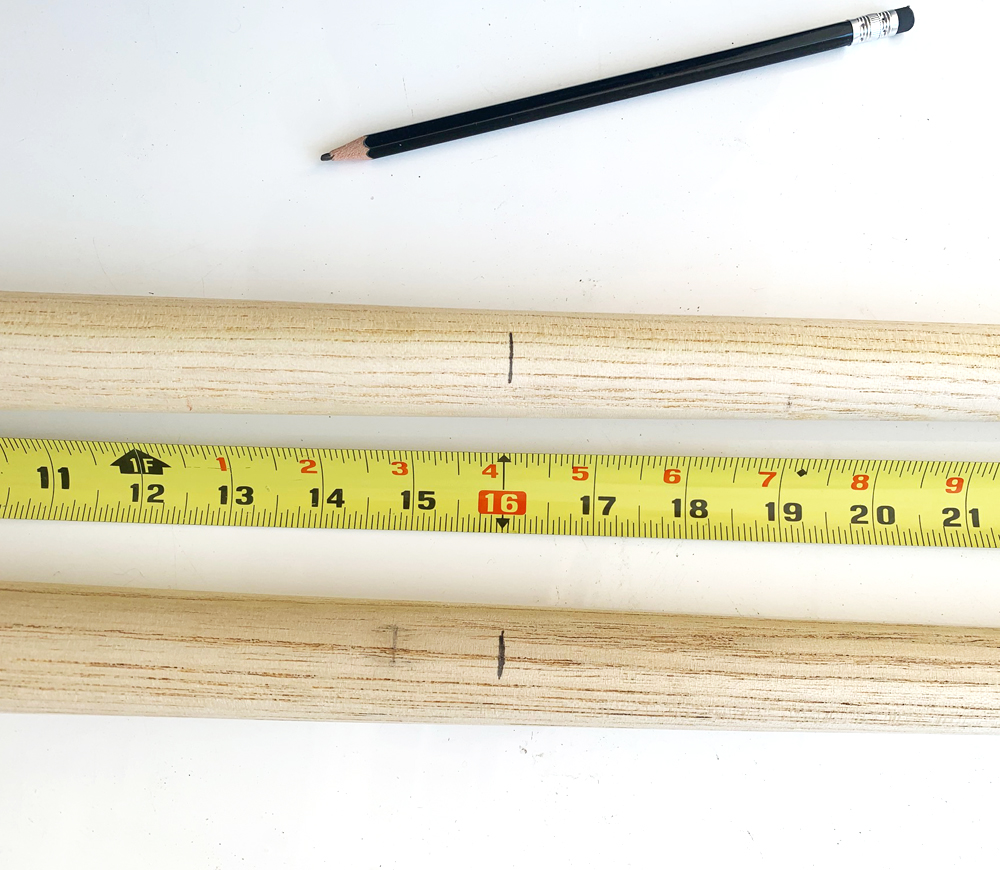
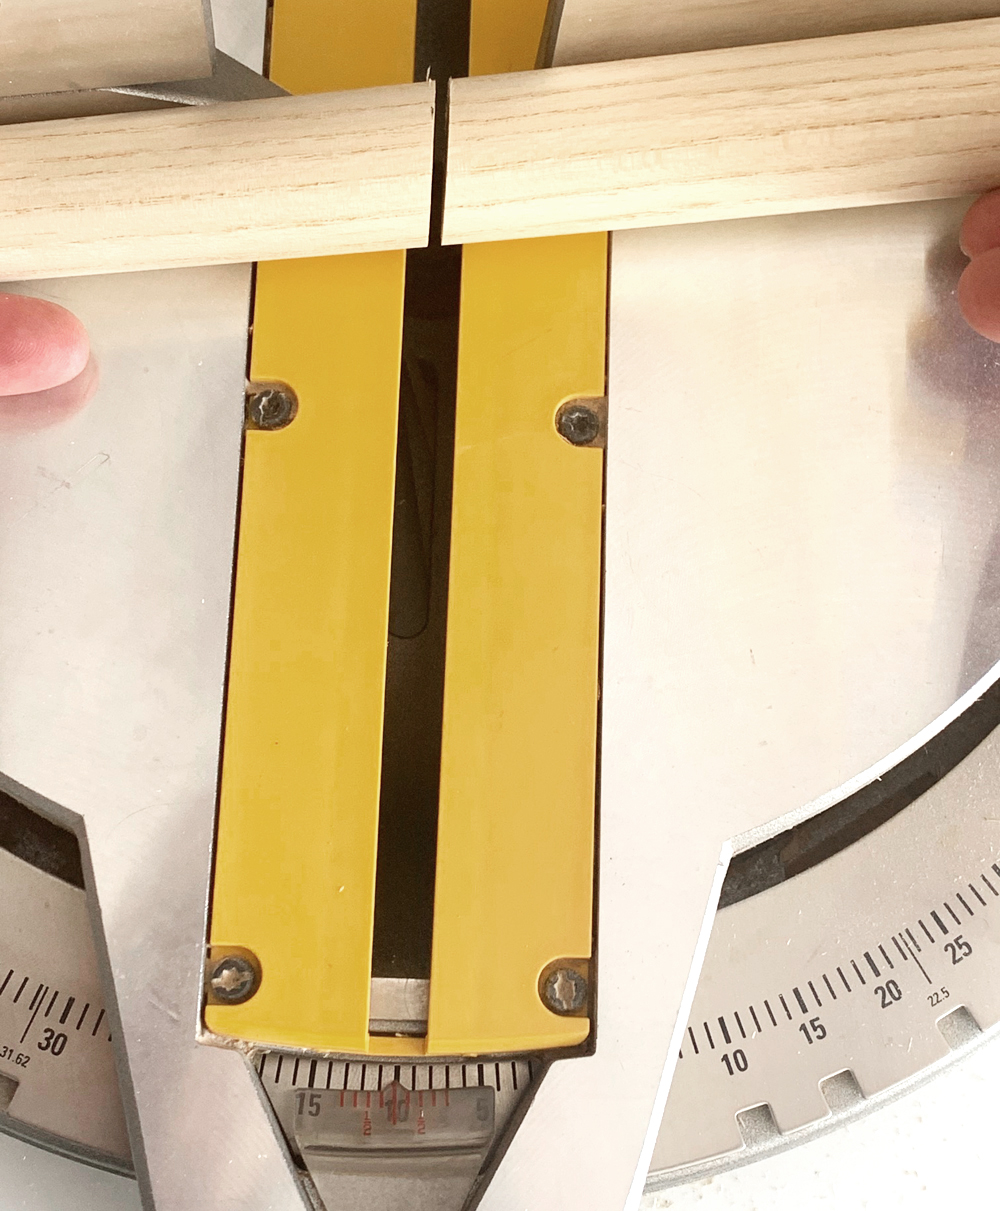
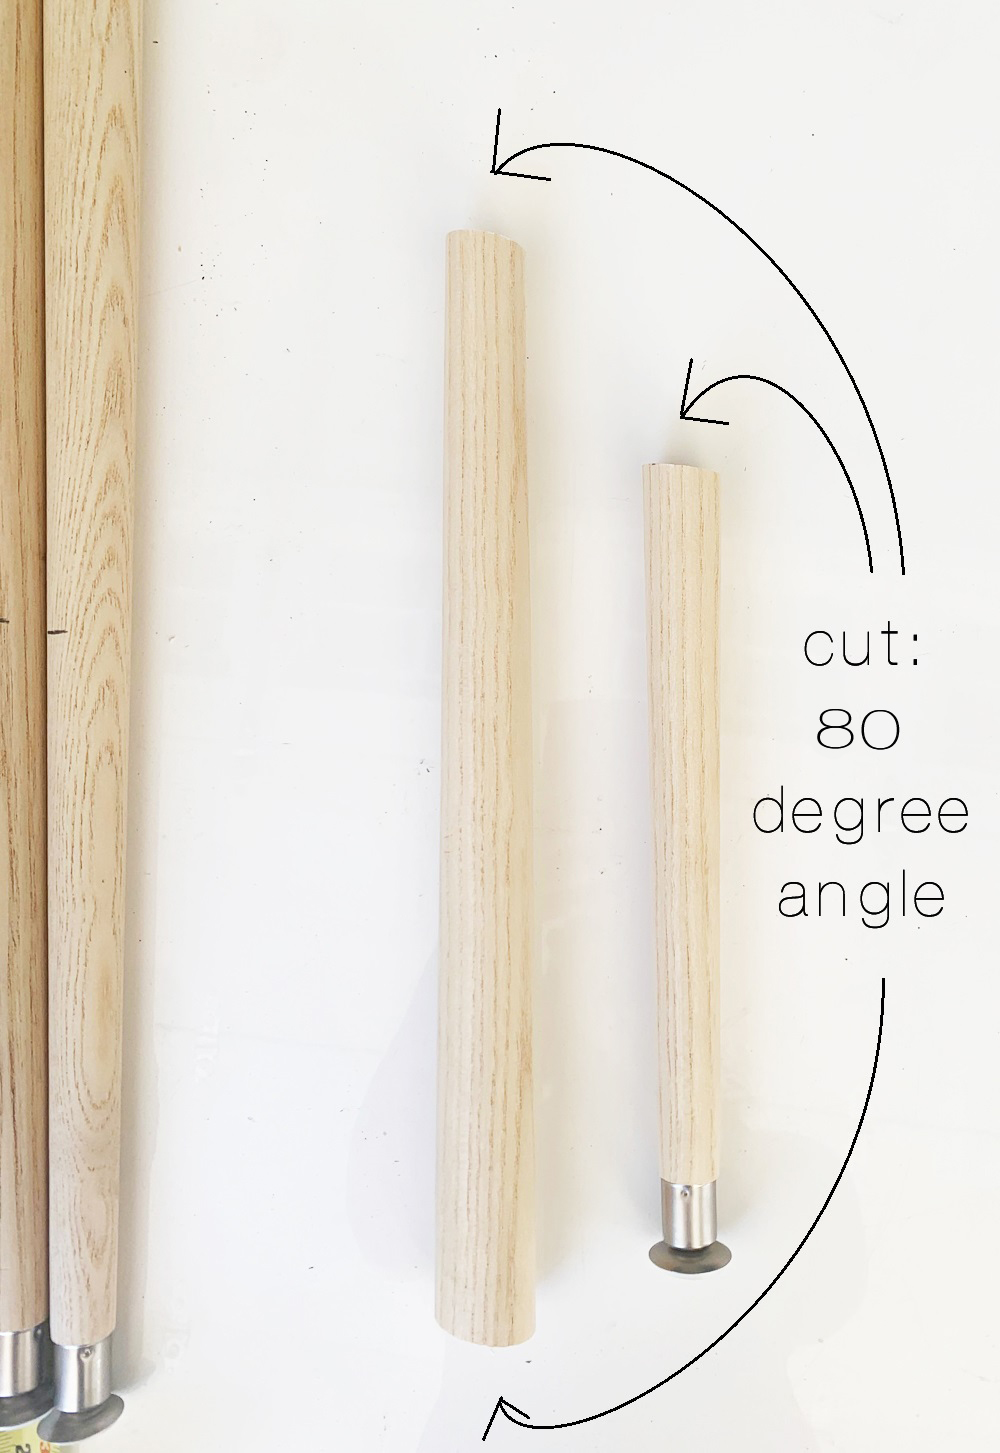
To create the mid mod leg look of angled supporting legs, cut the 27.5” tapered wood legs at 80 degrees (10 degrees off the 90 degree angle). The first cut creates two legs in different sizes, one 16” and the other 11.5”.
The bottom smaller leg has a moveable metal foot that will sit flush with the floor even though the top part of that smaller leg is cut at 80 degrees.
The taller leg needs to be cut again at the the very bottom at the same 80 degree angle (same angle top and bottom). Use the miter saw to shave the bottom of the taller leg so the 80 degree angle at the top of that leg matches the 80 degree angle at the bottom.
With the 12” wood circle, make a cross shape and drill pilot holes 3/4” from the edge. A clamp holding the wood circle to a flat stable surface makes this step quick and easy.
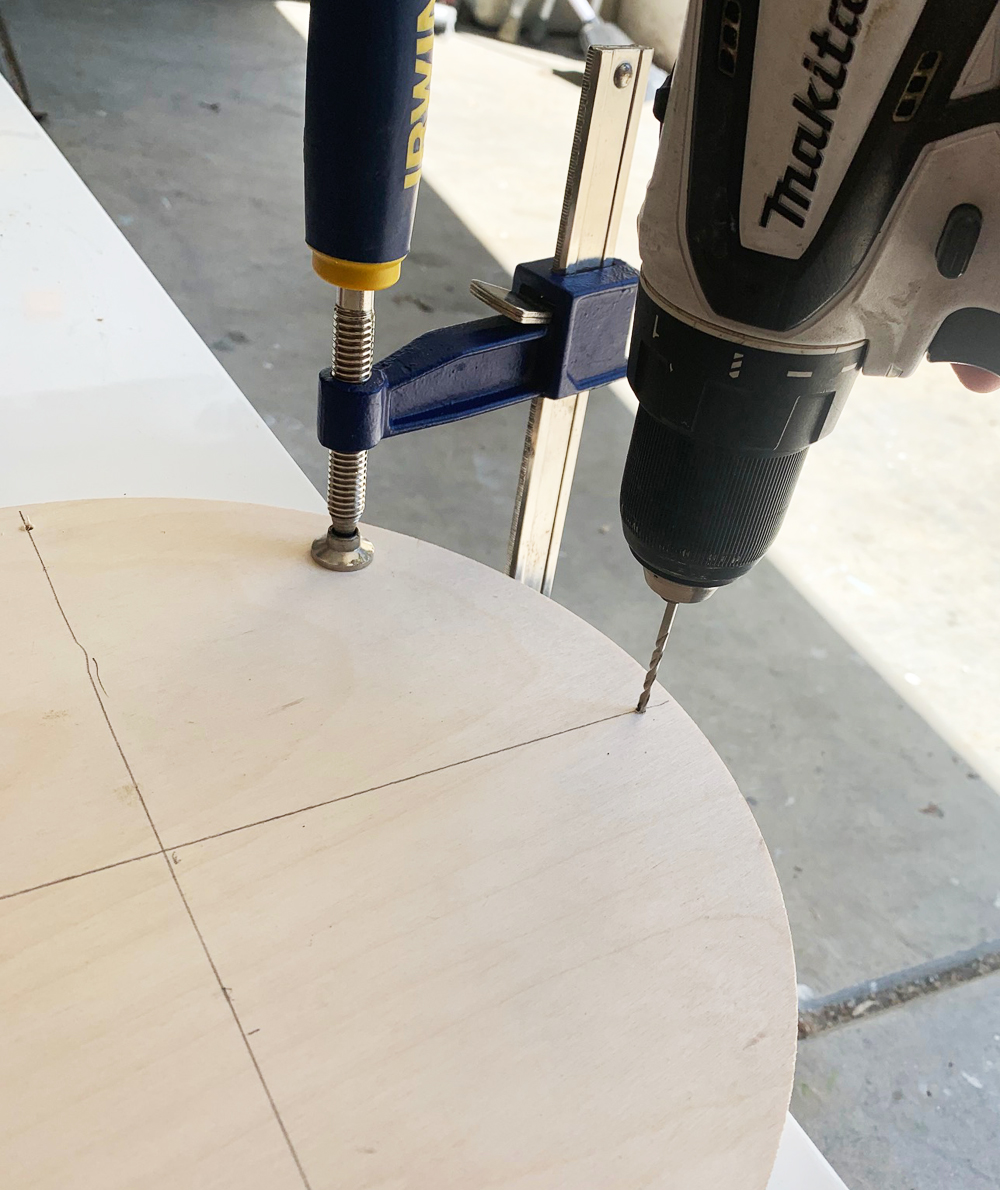
Drill vertical straight pilot holes (not at the same angle as the leg) for attaching the legs to the disc through the basket.
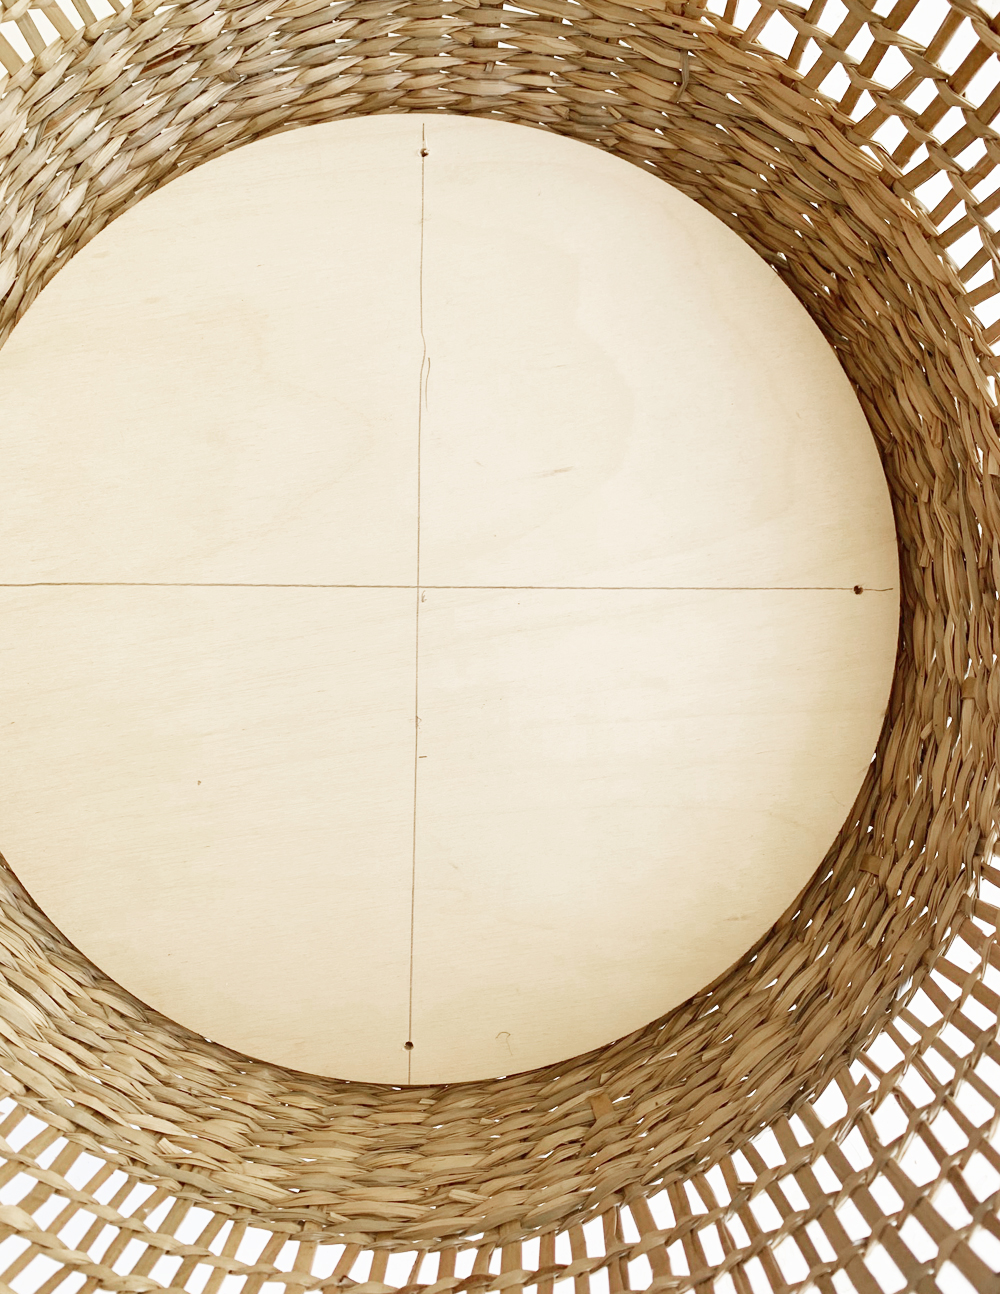
Layer the wood circle on the bottom of the basket. Attach the legs to the wood circle with 1 ¾” wood screws. Once secured to the wood disc, the plant stands legs may tilt slightly one way or the other. Spin and correct them so that all four sit flat on the floor.
I left the wood legs in their natural state, but you can stain or paint them any color you like. Black stained legs paired with a black & white or black & natural basket would be a very good look too!
As a final step, I spray painted the metal feet with Krylon Gold Leaf spray paint.
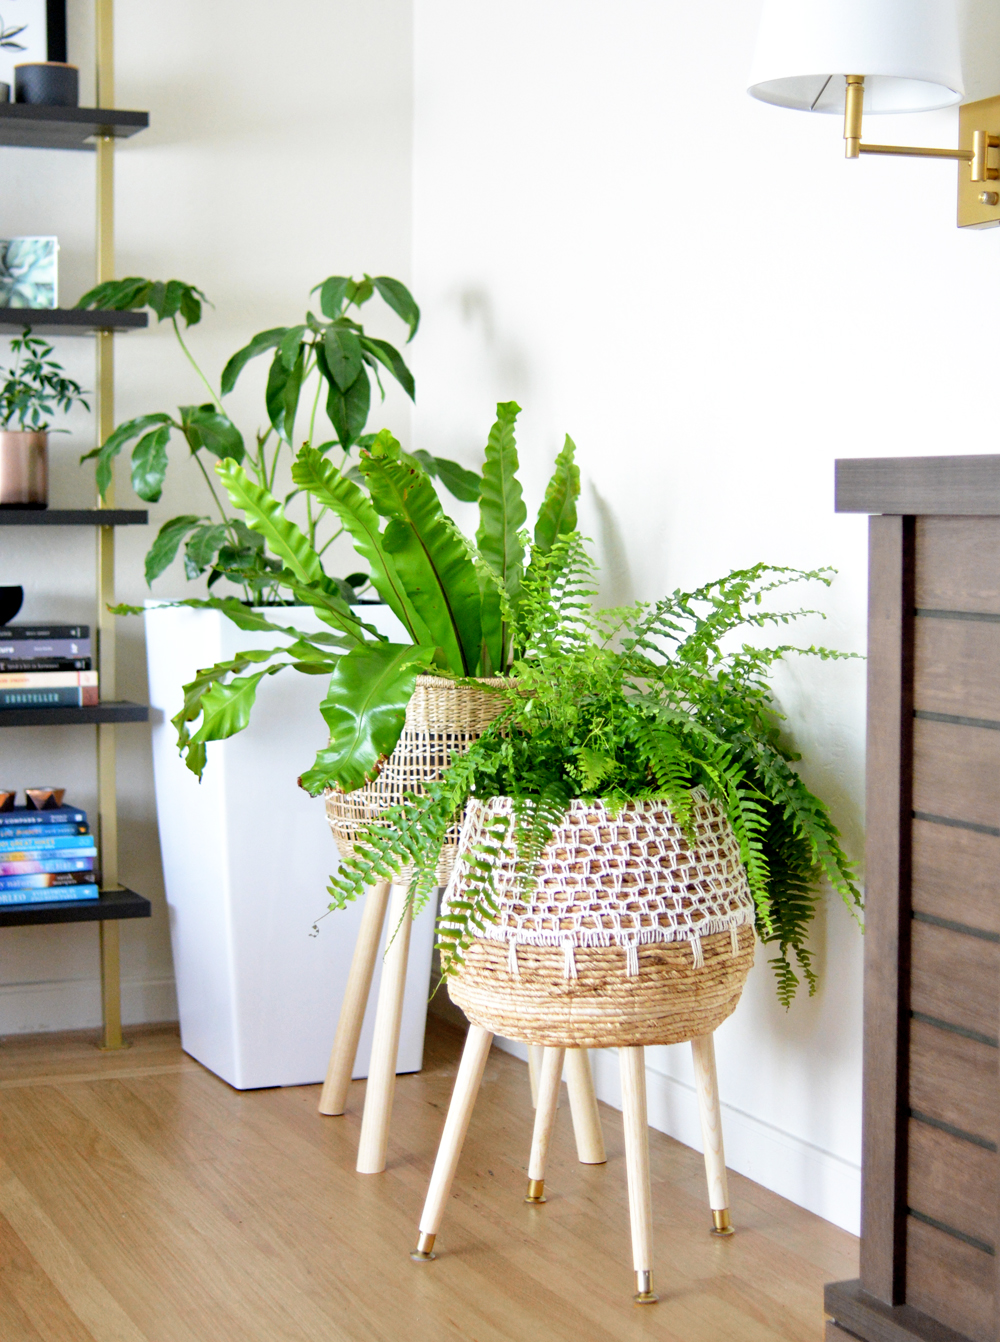
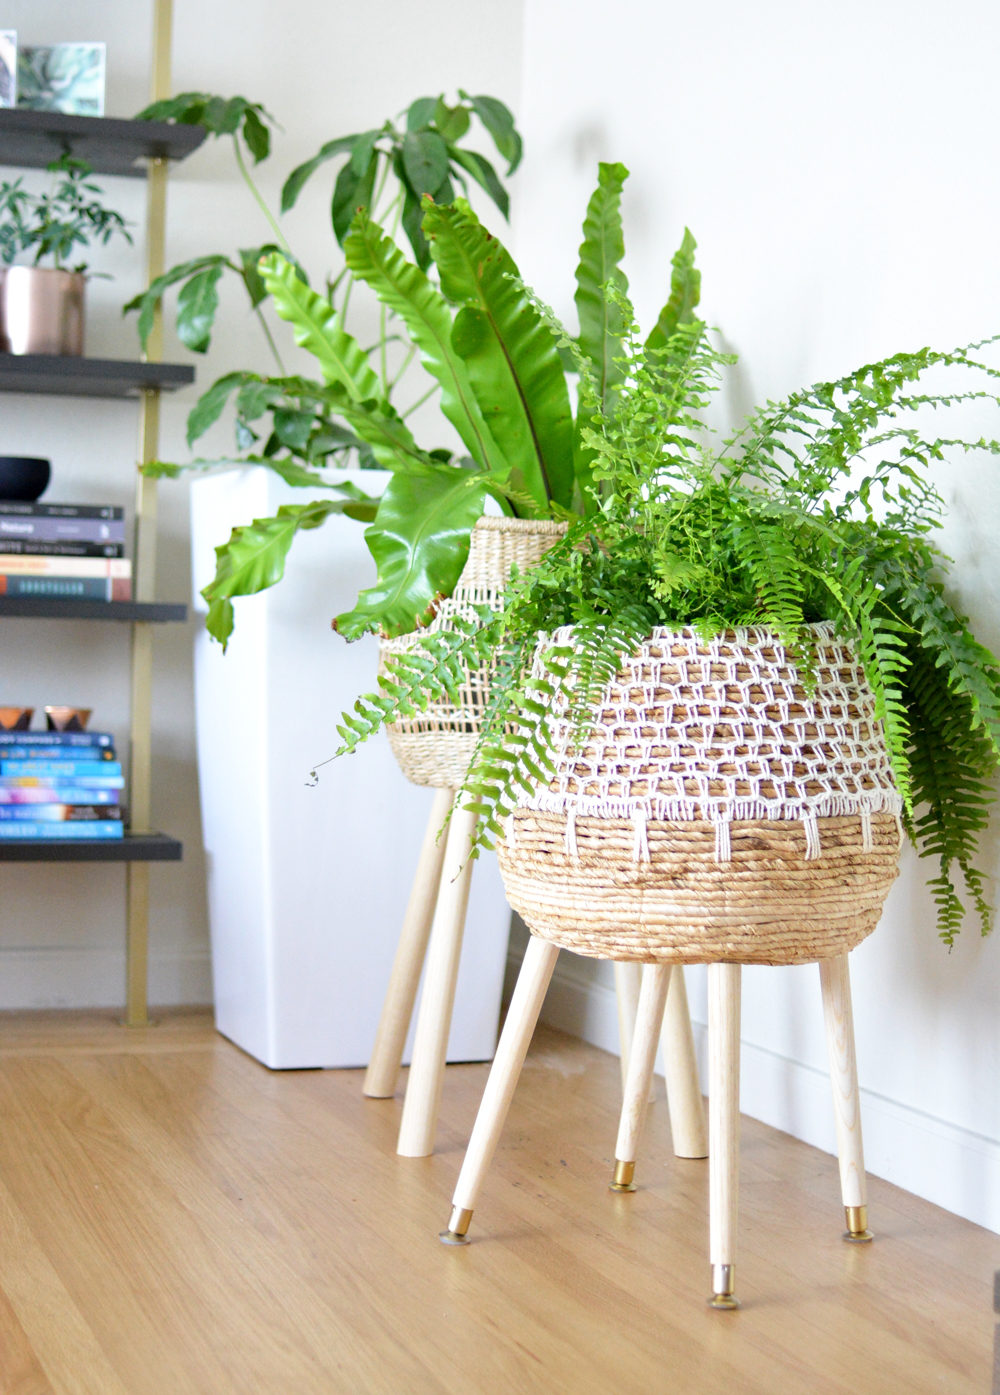
These plant stands are great way to add both plant babies and more texture to your space!


These are fantastical!
thanks so much Karen!
Love these!!!
thank you Sharon!
I don’t see how you attached the feet.
With wood screws, from the top of the wood disc, through the basket, into the feet.
Totally love these! Great idea, as usual!
This is such a great idea! Definitely need to give this a go soon x