*This project brought to you in partnership with Arrow Fastener™ tools.
It’s garden season! I don’t plant a big garden every year, usually just a few tomato plants, some green beans, maybe some squash and that’s about it. I do love having home grown tomatoes, especially cherry ones, they’re like candy to me and once they are ripe I snack on them daily!
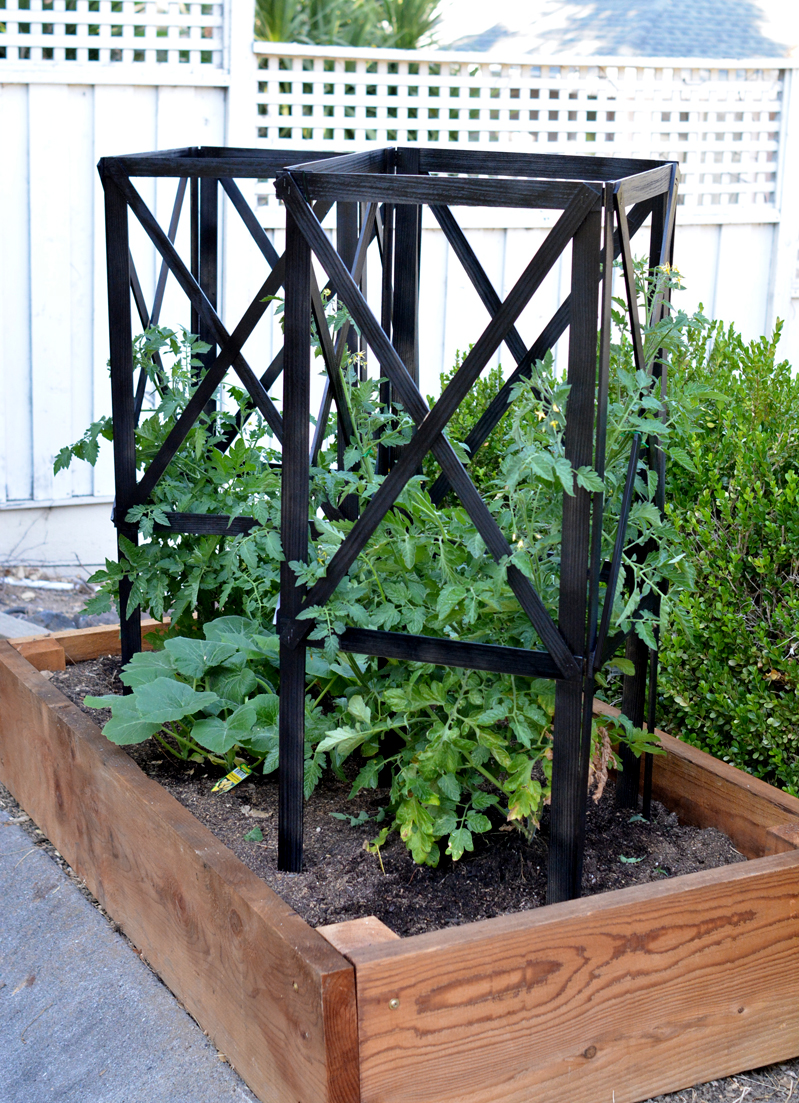
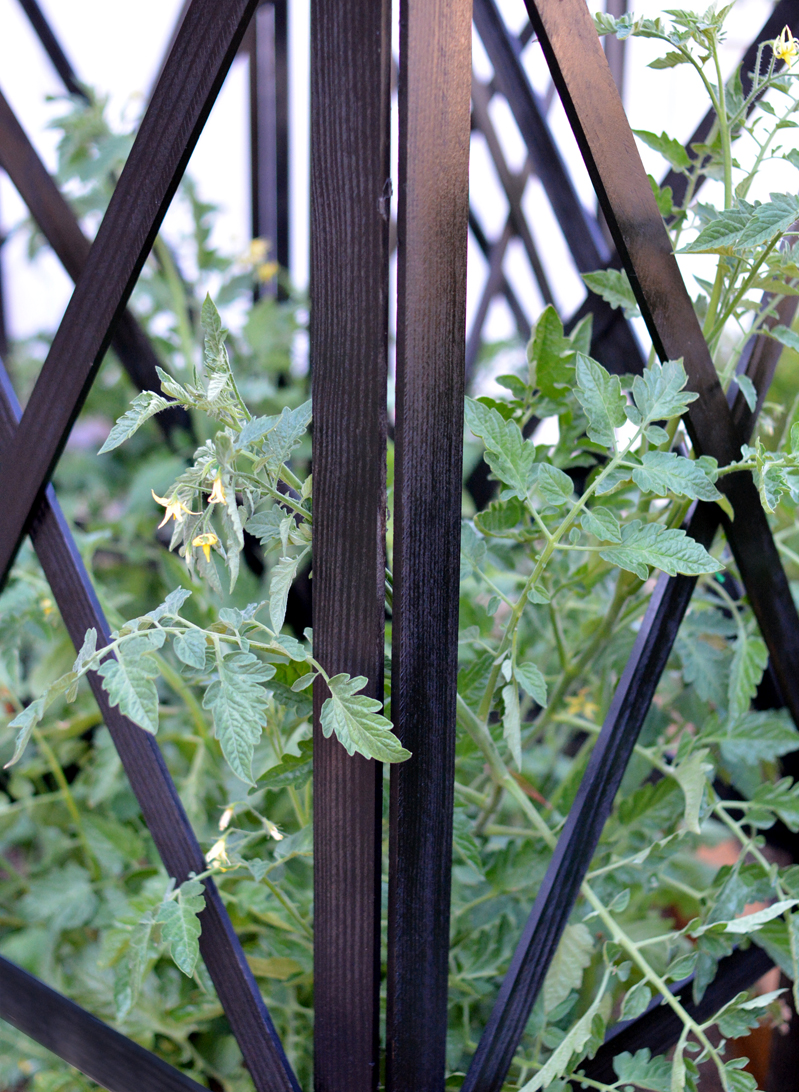
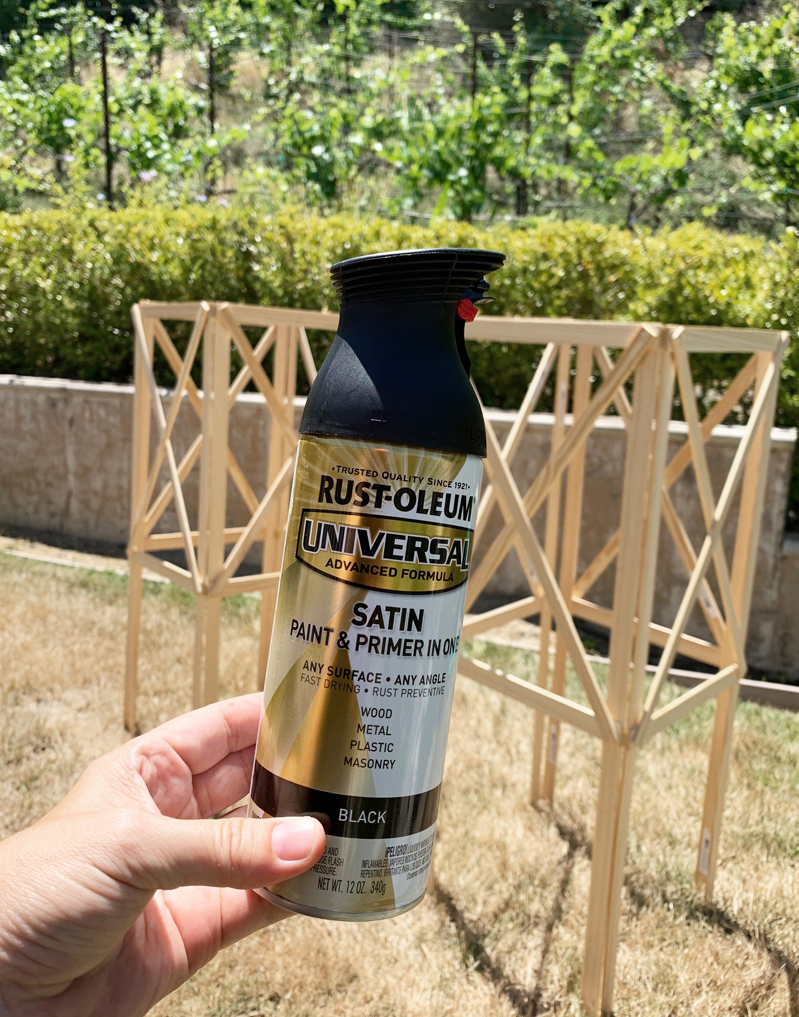
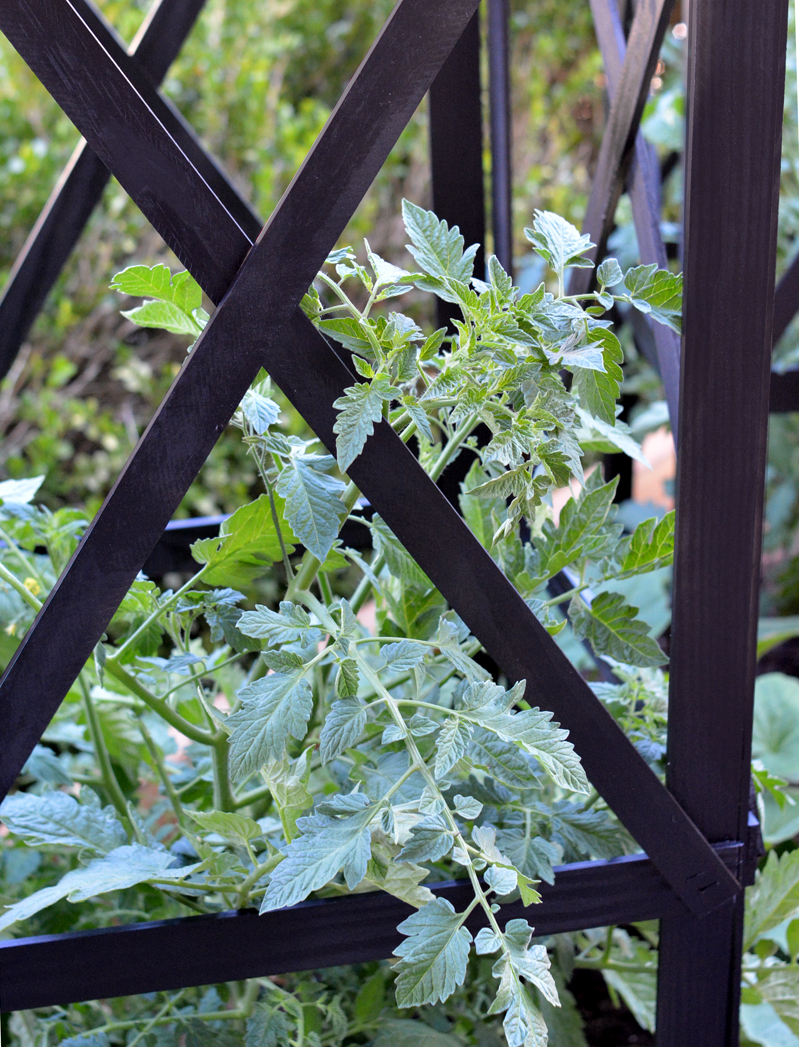
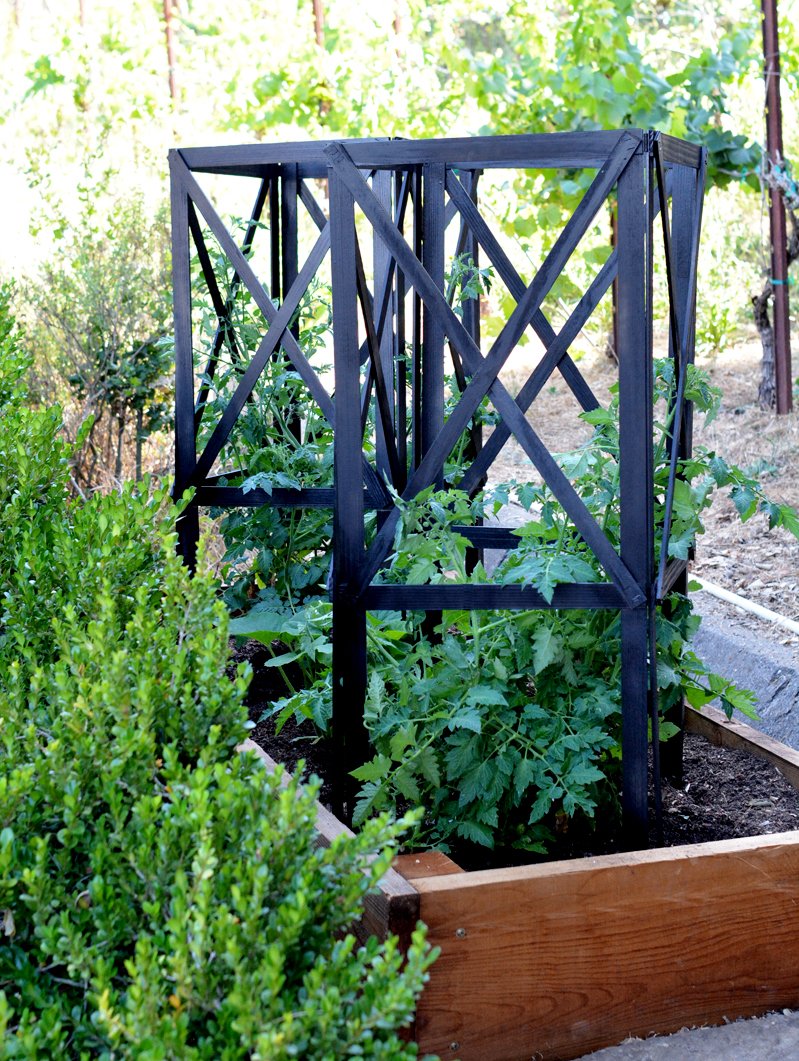
I was challenged by Arrow Fastener™ to use one of their tools to build something unique for my garden, so I made a pair of criss cross vegetable trellises with lattice wood purchased at Lowe’s and I spray painted them black. I love the X motif, and they’re such cool looking supports for my garden tomatoes!
These criss cross trellises are easy to build! Tools you’ll need to build just one trellis (“double the recipe” for two): Arrow Fastener™ Electric Staple Gun and Nailer; T50 heavy duty ½ inch staples; 6 eight foot 1 ½” pieces of lattice (for frame); 4 eight foot 1” pieces of lattice (for criss cross); 6 broad 1” hinges; miter saw; spray paint or stain (optional).
![]()
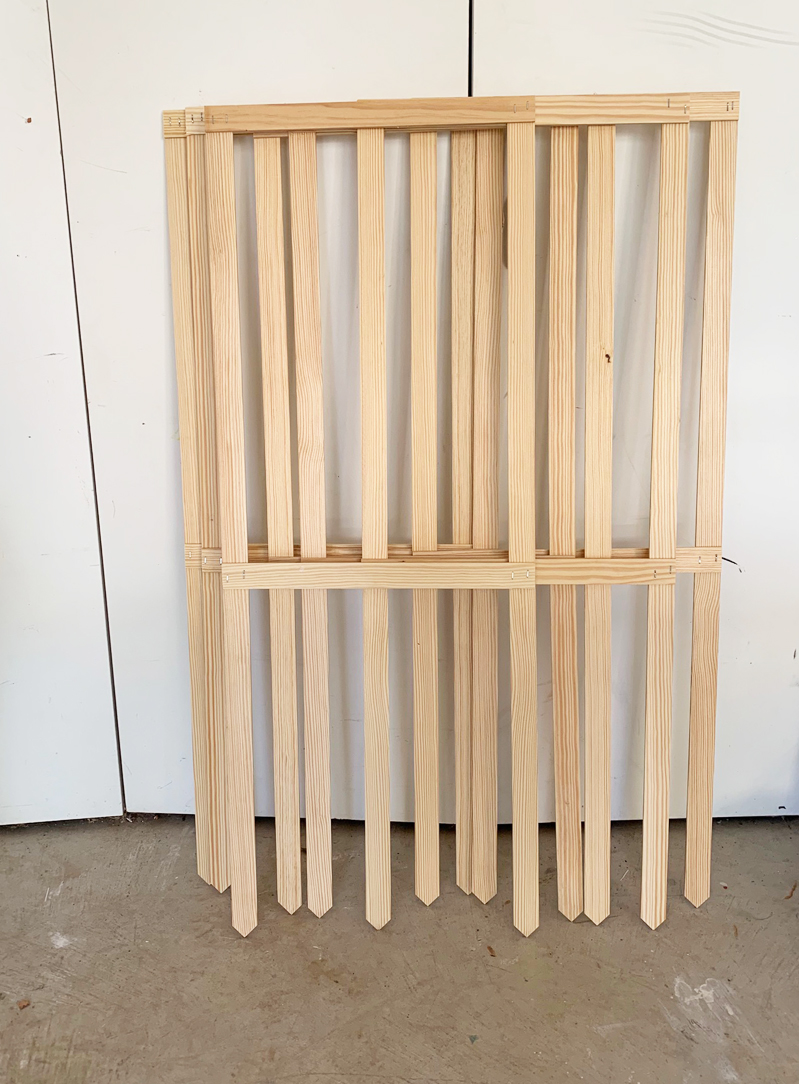
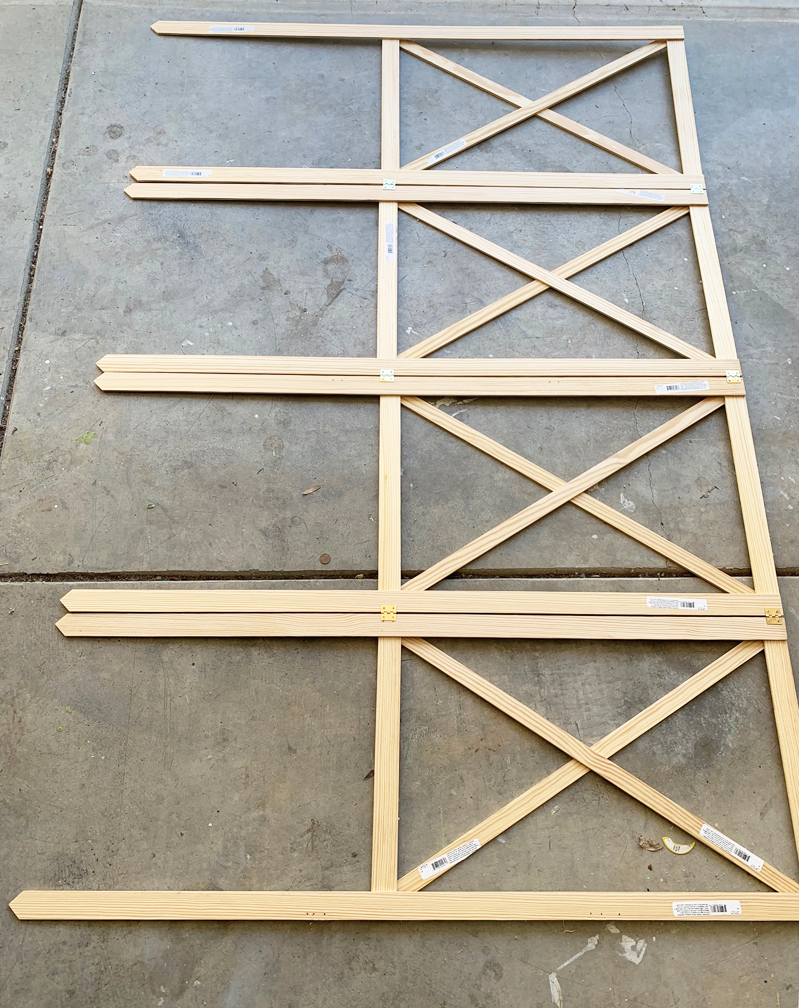
Step One: Cut the 8’ pieces of 1½” lattice into eight 48” and eight 18” strips to form the four sided frame. (The number of pieces shown below are for two trellises so there are 16 pieces).
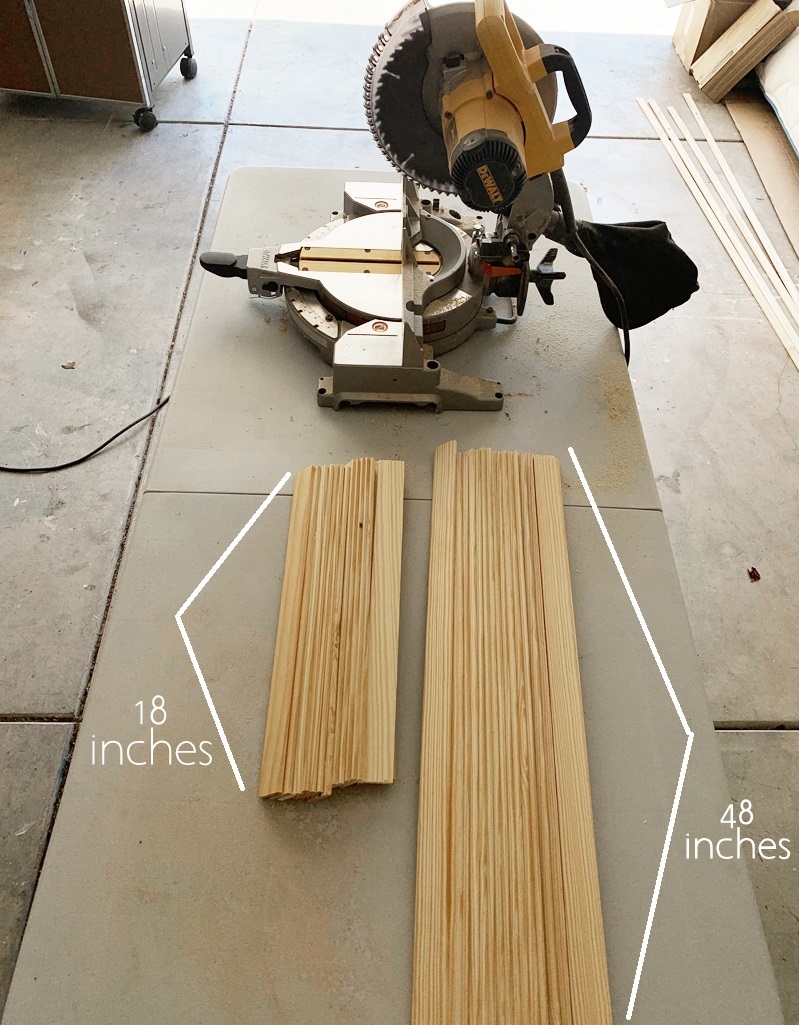
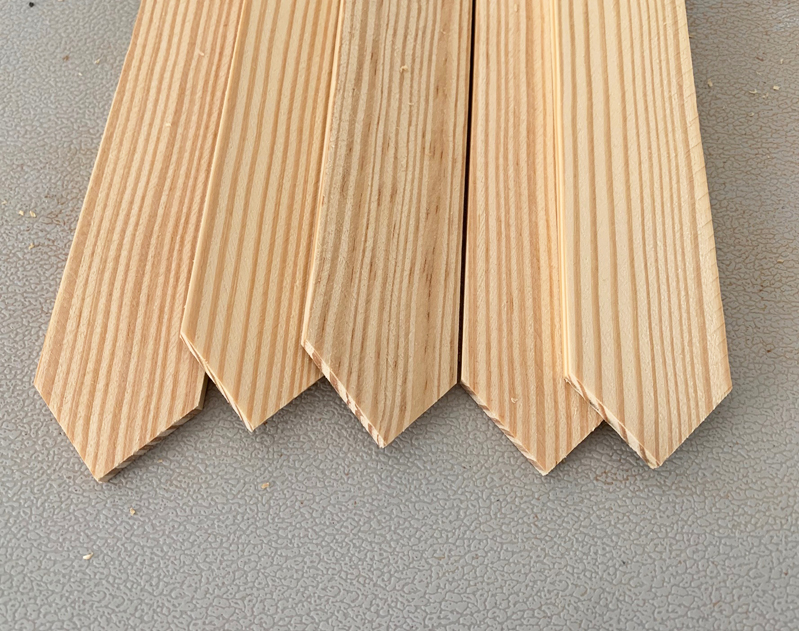
Cut just one end of each of the eight 48” pieces to create a pointy edge to help the structure sink into the soil easier.
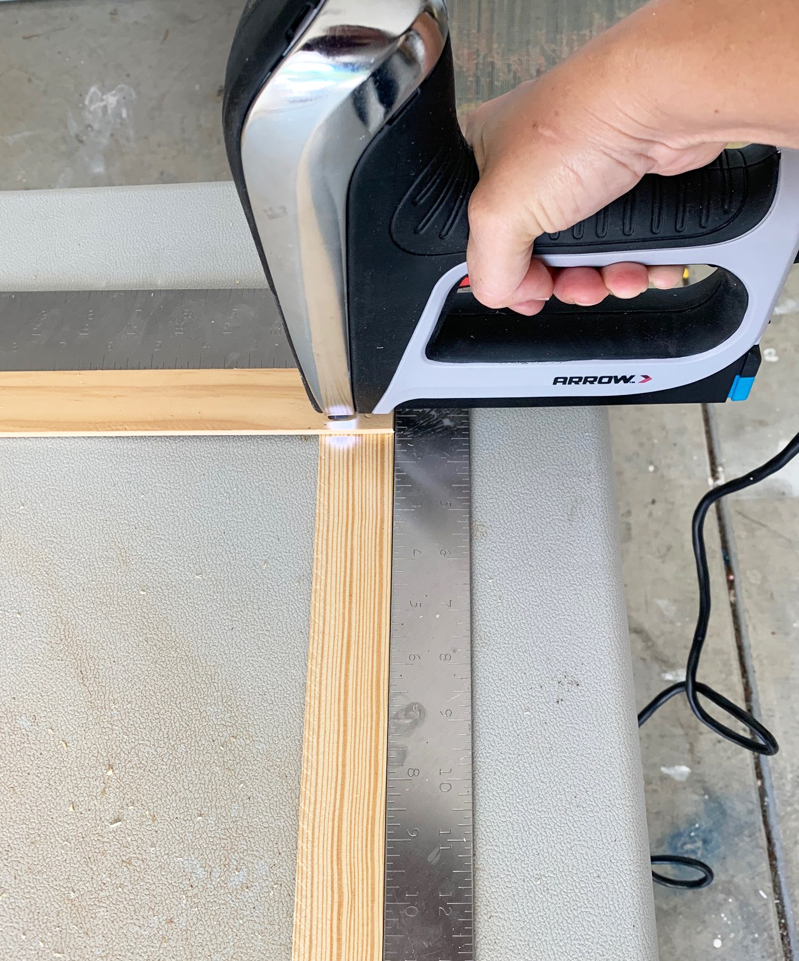
Step Two: Create each frame by securing the 18” pieces to the 48” legs using the Arrow Fastener™ Electric Staple Gun and Nailer and the T50 heavy duty ½ inch staples. I created the rectangle shape with the second 18” strip secured 27” below the top 18” strip.
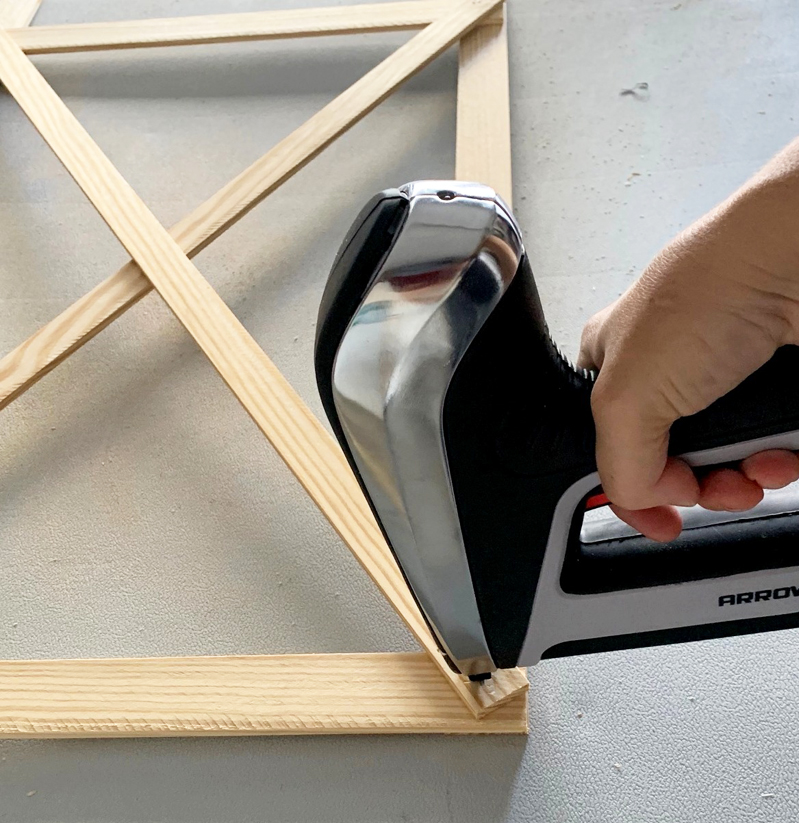
Step Three: Cut the 1” lattice strips with the miter saw to fit the size of the rectangle and form the X shape and secure the additional lattice with the Arrow Fastener™ Electric Staple Gun and Nailer.
Step Four: Secure the four frames together with broad 1” hinges.
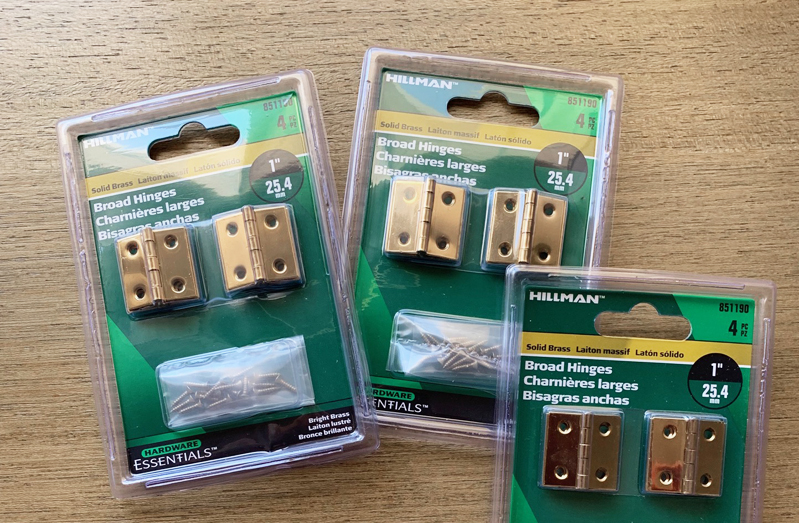
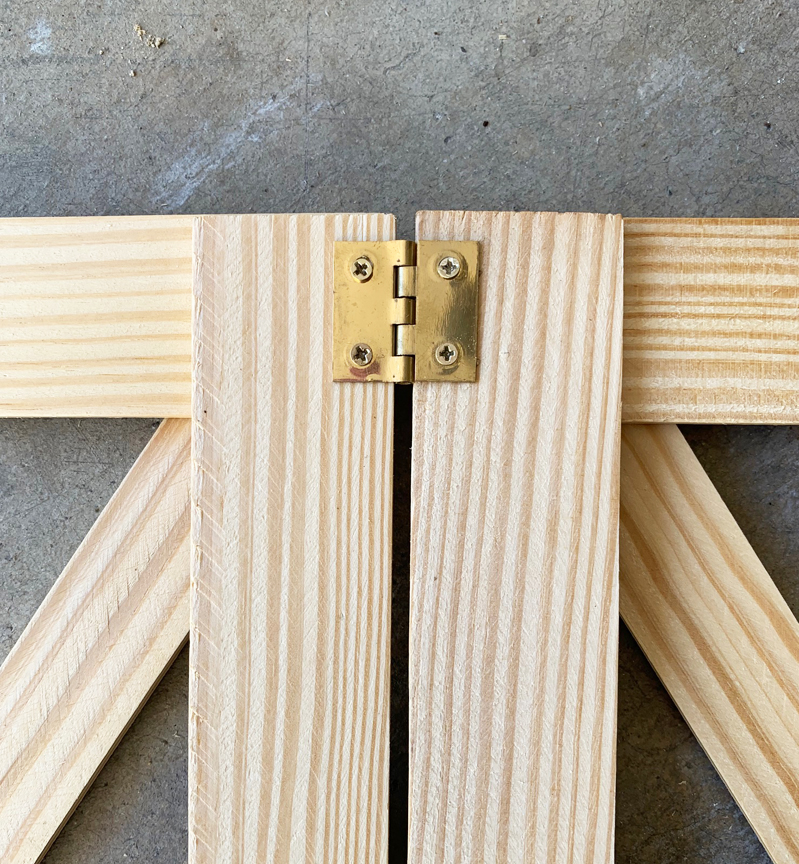
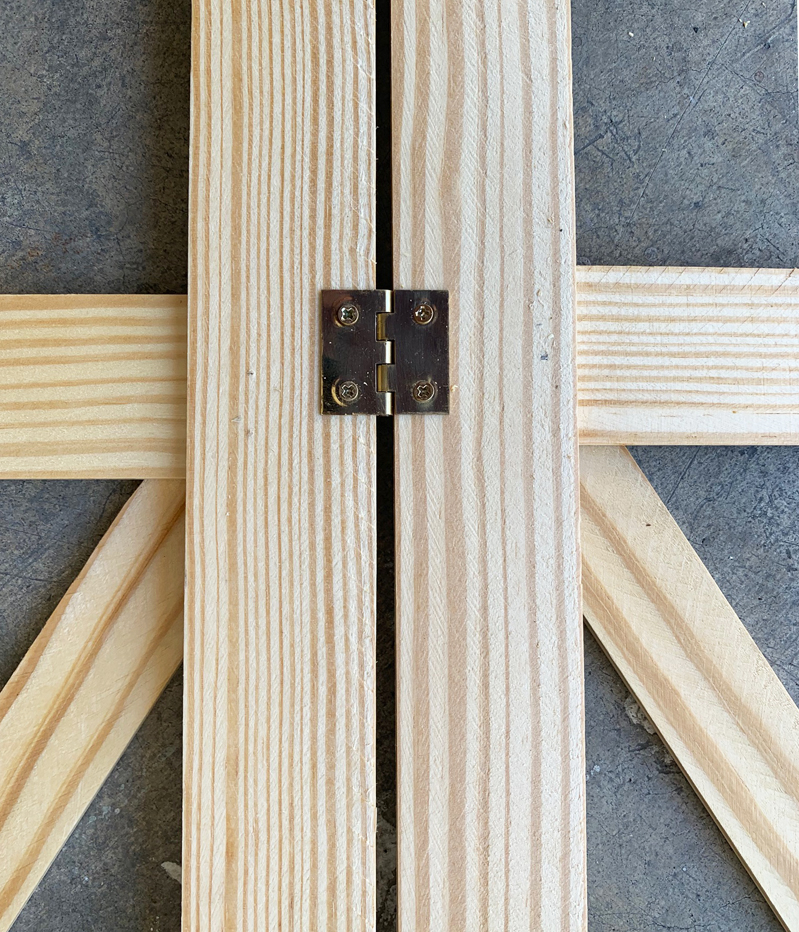
So that the frame lays flat, make sure that the 90 degree angle of the hinge is inside the structure, this allows the hinge connection to sit between each frame and for the structure to lay flat for storage in the off season (shown below). You’ll only need three sets (six hinges total) to attach the four individual frames. (It’s a good idea to do a small pilot hole before screwing in the screws on the hinges.)
Attach the hinges where the lattice is layered so that the screws assist in securing the strips together and don’t poke through to the opposite side (as shown below.)
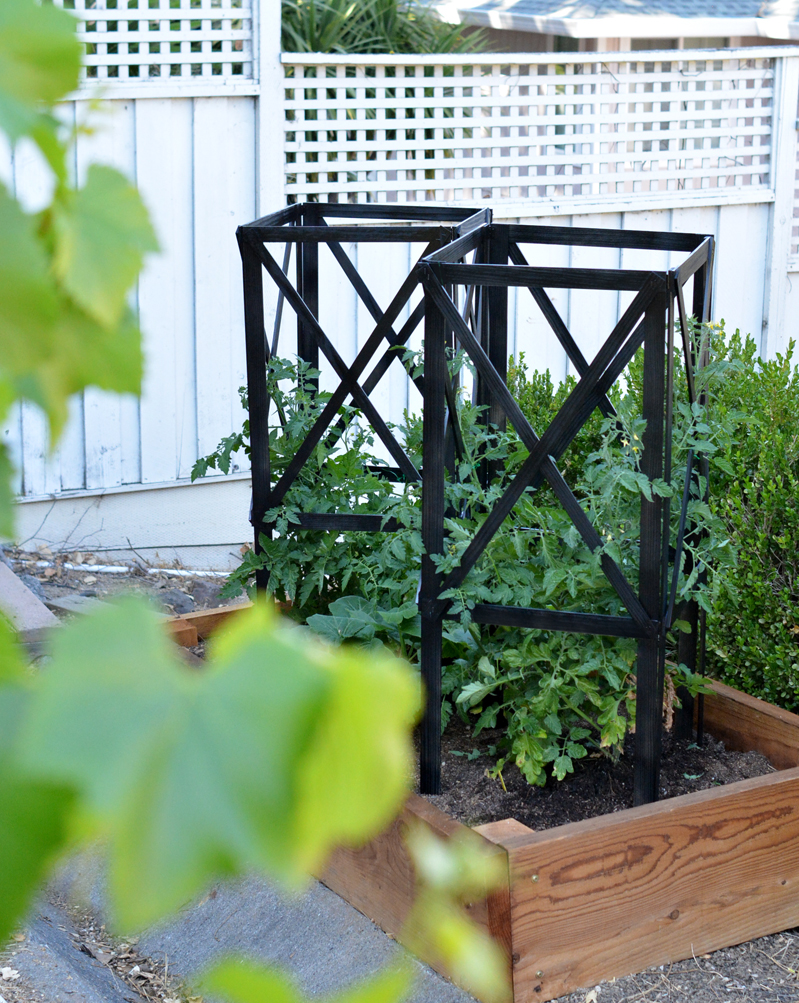
Step Five: Once the frames are secured with hinges they can stand freely on their own. Time to paint! Or stain! Or keep them natural, it’s up to you. I chose a black spray paint suitable for outdoors for mine.
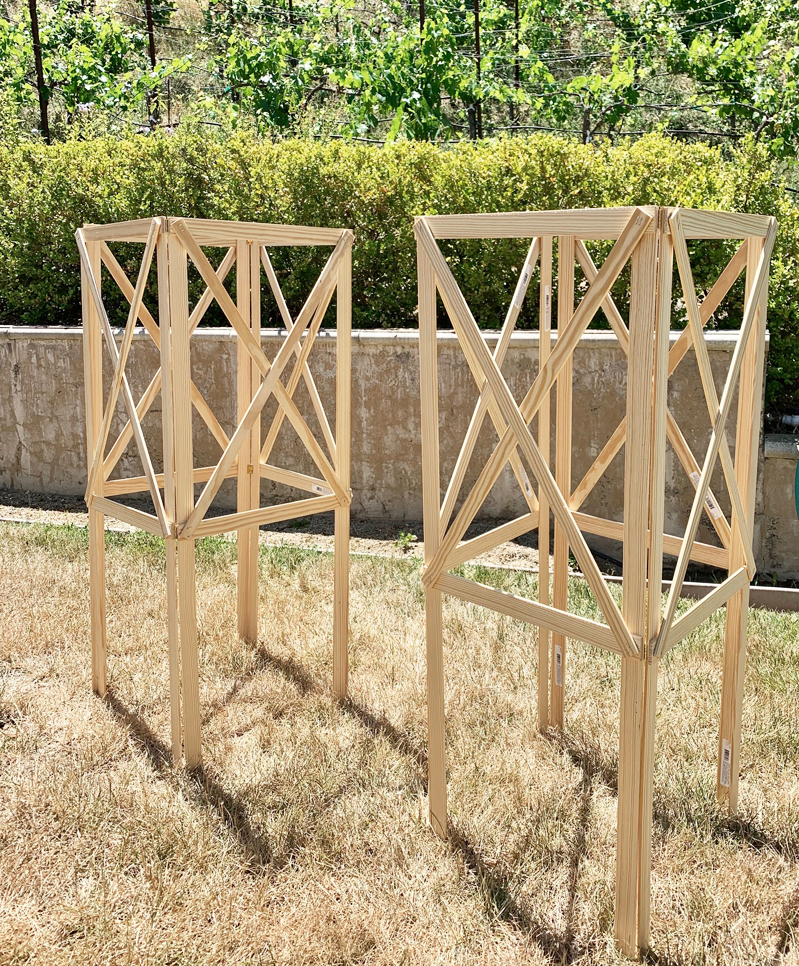
Once dry, set the structures inside the soil and gently tap with a mallet or put slight pressure on the top so they sink in 6 inches to support your growing vegetables. This size is perfect for tomatoes, but would also work for beans or other climbers.
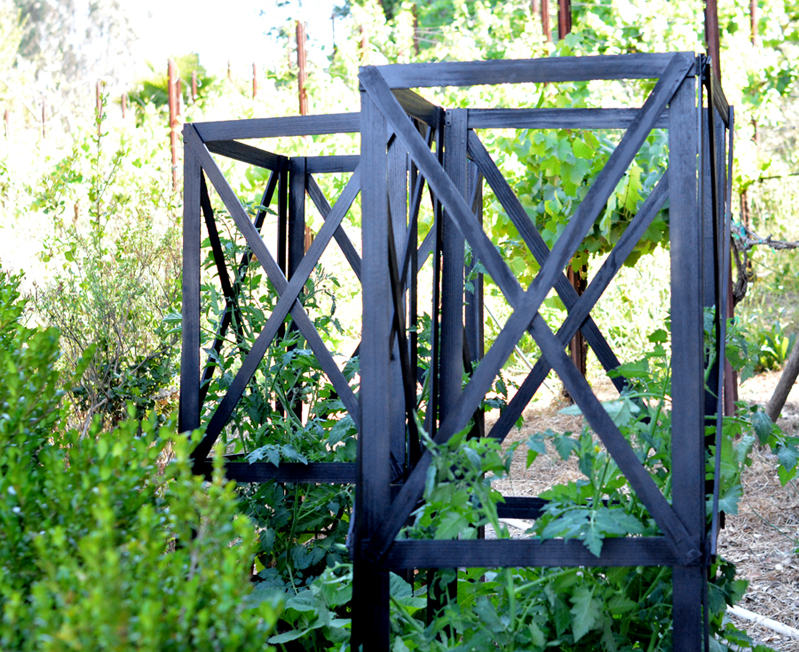
Enjoy these trellises as long as your vegetables are growing, then store them flat in the winter for future growing seasons!
This project brought to you in partnership with Arrow Fastener™ tools. All photographs, designs, and opinions are my own! Visit the Arrow Fastener™ projects page for dozens more creative DIY projects for home and garden.
.


Kate- these are awesome!! I will definitely keep in mind for next year. I love these type of projects that you share. Nicole
Thank you Nicole I really appreciate that!
Kate
Perfect timing! I’ve been searching and searching for a nice looking trellis for our garden that I’m planning for next year. This will fit in with my simple suburban decor I have in our backyard. Pretty, elegant, and not gaudy ;)
Thanks so much Jennifer!
These are so pretty! Total upgrade to the wire tomato cages. I’ll be making a set for sure! Thank you!
Thank you Kandis!
Love, love! I’ve been using bamboo teepees for my tomatoes but you’ve inspired me to change it up for next year. Thanks Kate for the great idea.
happy to help!!
I agree with the others – that your custom-made trellises add charm to your garden. As a gardener myself, I always disliked the look of traditional wire-framed cages.
Your post also reminded me of when I took a few horticulture classes back in my heyday ;) and I learned about growing green beans (the vine-type) or squash on large tepees that children can play in. Thought this might be something of interest to you next year. Also, if you ever get a chance to make it to Atlanta, visit the Botanical Gardens – there’s a children’s garden within and they have some great ideas you can take with you and apply in your own garden to get your children more involved. :)
wonderful, thank you for sharing!