*This post brought to you in partnership with Lowe’s.
Happy New Year’s Eve friends! Today I’m ending the year sharing one of the things I do best: taking a mundane space and giving it a style makeover on a budget!
My design studio has a small bathroom but it was so drab I couldn’t take it. It had nice new vinyl floors and decent shower tile but the rest of the space was boring in my eyes. Since I work here during the day I wanted it to be more than just functional and to give the bathroom a chic look.
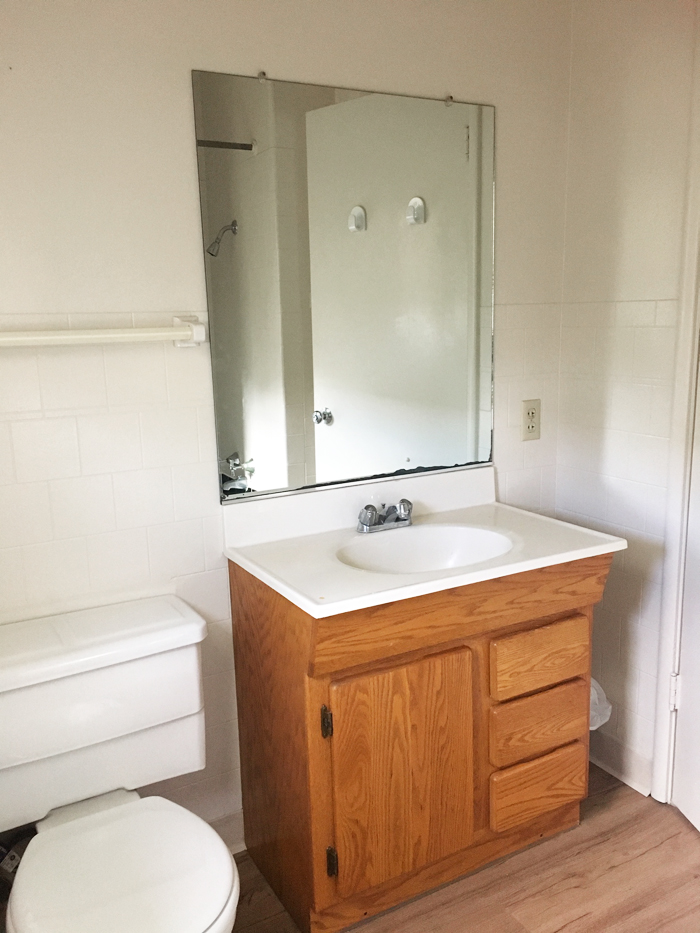
I’ll start with the before and after shots so you can compare!
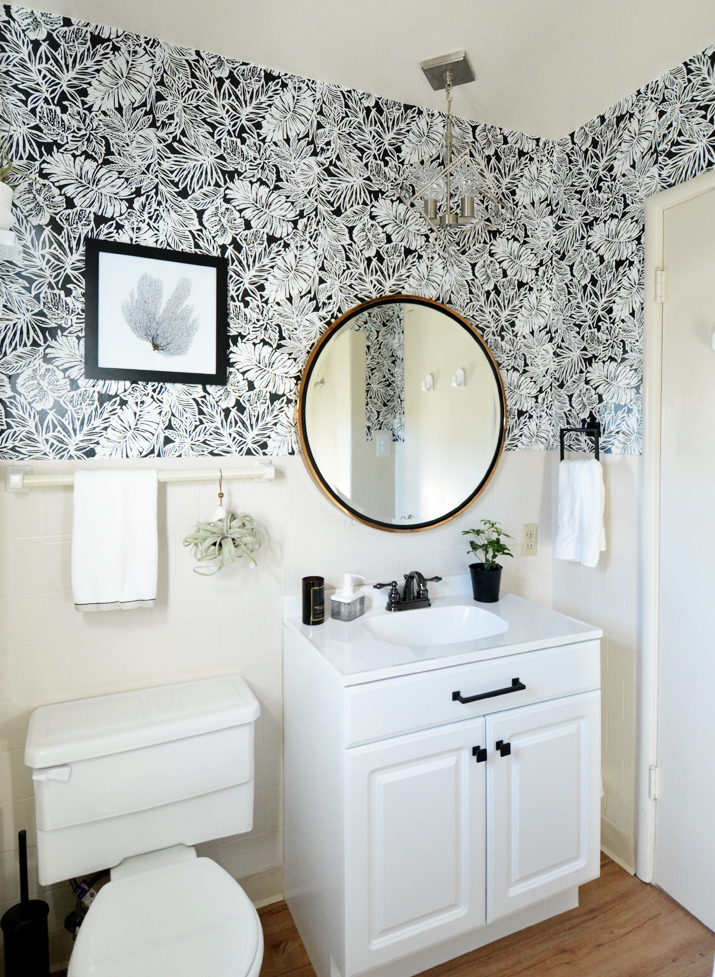
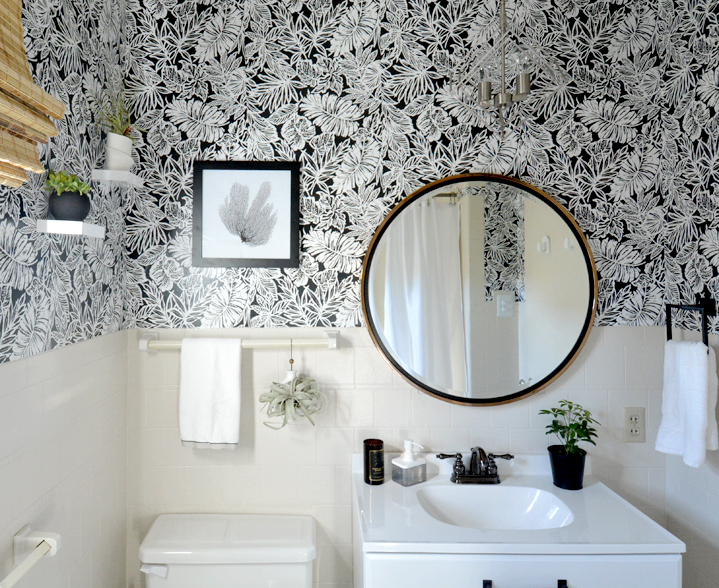
The two biggest changes were adding the black and white tropical leaf pattern to the walls with peel and stick wallpaper, and modernizing the space by changing the vanity. Today I’m sharing all the ways I did it with tips on how you can do the same!
Vanity Upgrade
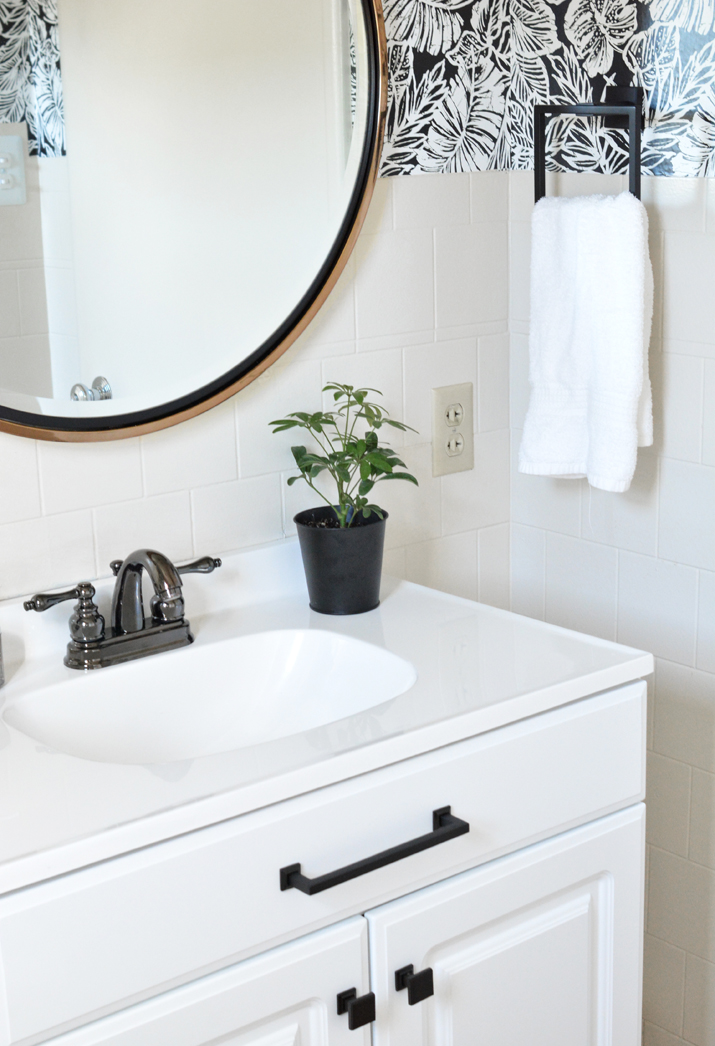
The vanity before was oak and old, so I opted for one that was fresh and white and found one that fit the space perfectly.

I considered a few vanities with feet but I was restricted in my choices by the fact the vinyl flooring was cut around the old vanity. Since there was no old flooring to patch the floor with, this meant my options were limited to a cabinet that would fit inside or on top of the old vanity’s footprint.

Enter the Project Source 30” vanity from Lowe’s, the perfect solution! This vanity was the exact size I needed. I originally had my eye on the 30” vanity with drawers, another really nice looking option from the budget friendly Project Source line of vanity cabinets. Sadly the drawers would not work with the plumbing so I opted for the Project Source 30” cabinet door model instead.
This line of vanity cabinets is very affordable and they have a clean and fresh design in a style that blends with just about any decor! What a great upgrade to the old oak vanity!
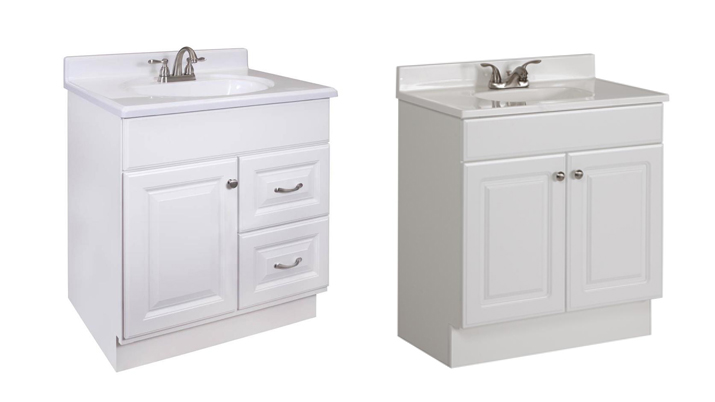
30” Project Source vanity with drawers / 30” Project Source vanity cabinet
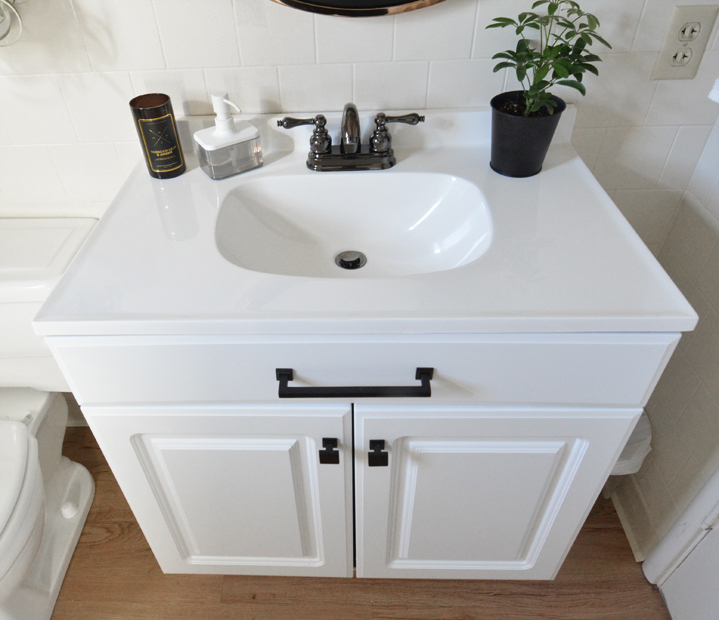
I opted for a oil rubbed bronze pull and knobs to add contrast and give it a modern edge. (They are a matte black finish despite the “oil rubbed bronze” label).
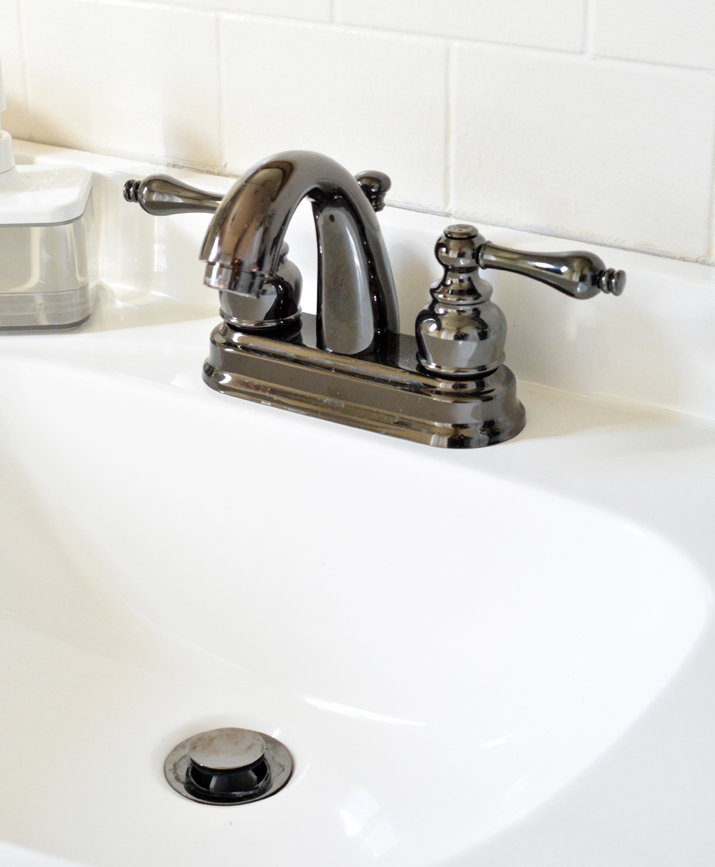
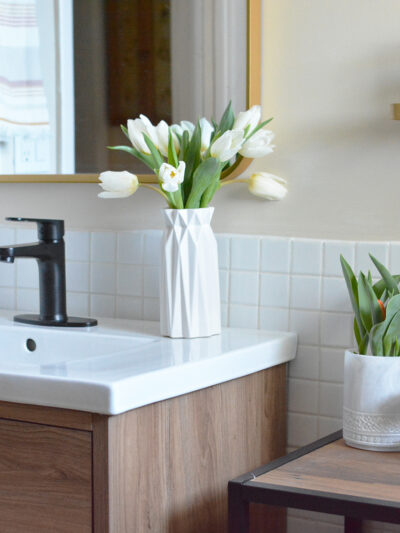
Adding a new vanity required adding a new faucet too! This glossy black stainless steel sheen appealed to me, it adds contrast but also has traditional lines just like the vanity.
Introduce Pattern
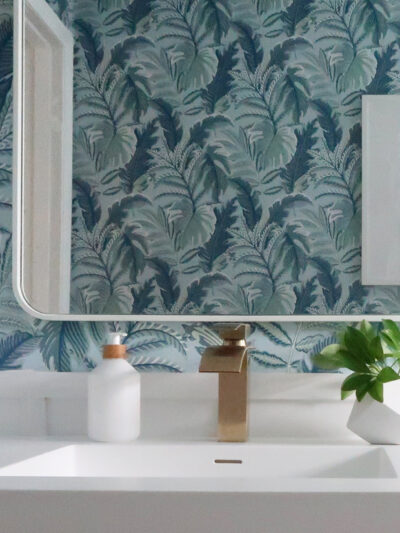
Bathrooms are a favorite place I like to add wallpaper! This Tropical Leaf Pattern is a peel and stick version available at Lowe’s, it is available in three colors. Isn’t it great?!
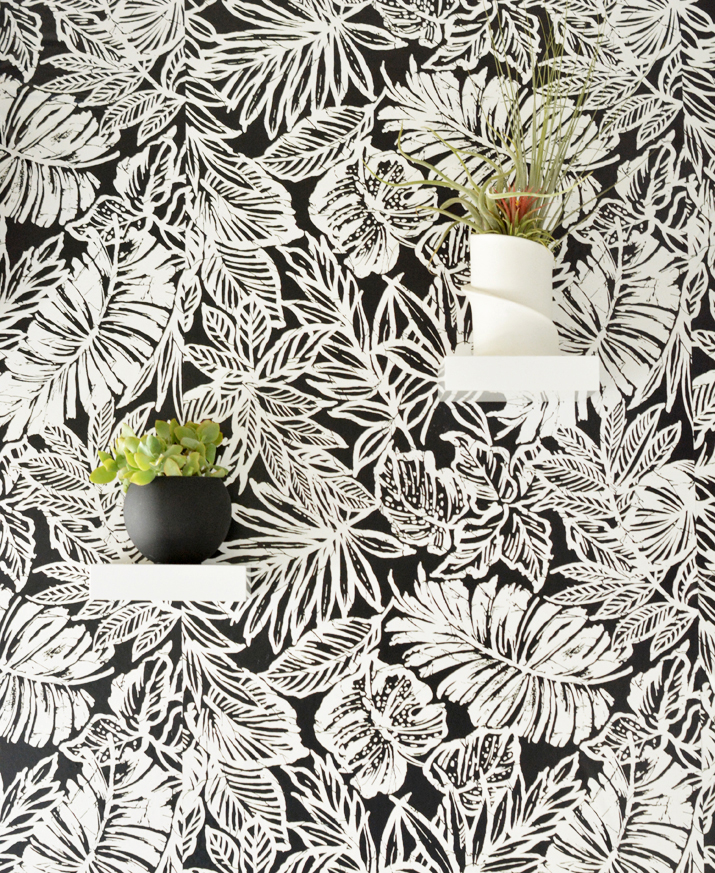
The wallpaper is more like contact paper with its peel away backing and adhesive back side but that means it could be removed effortlessly in the future. Not that it will happen anytime soon, I love the bold black and white tropical print!

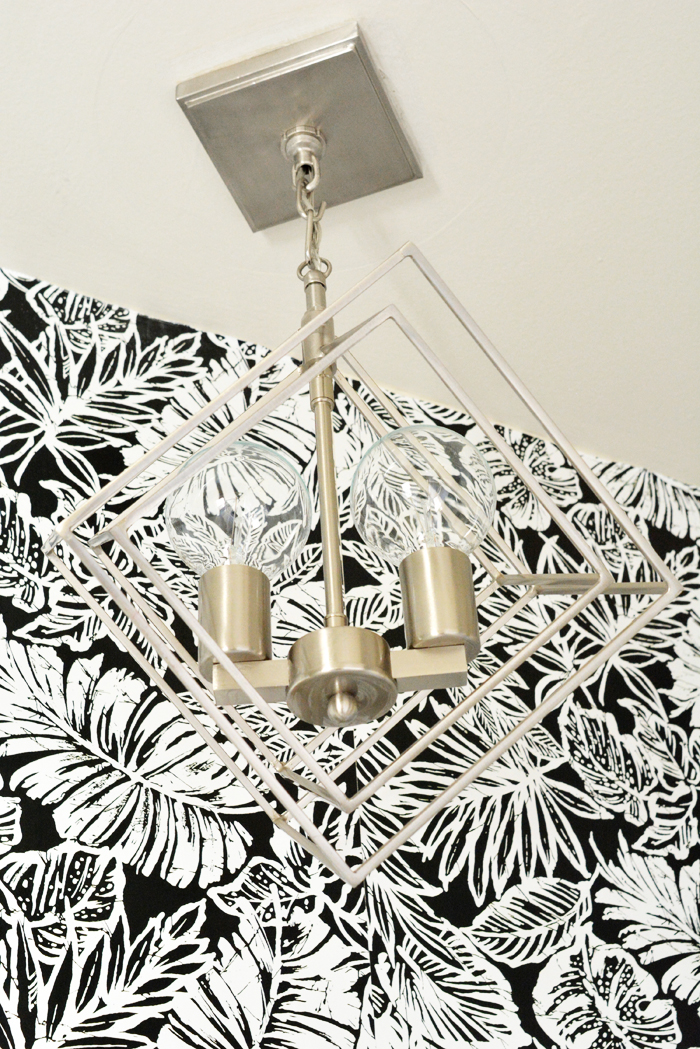
Swap the Light Fixtures
This space had a 30 year old flush mount light before I changed it to a 2 light cage pendant a gray tone that would drop down and add shape and personality to the space. The bathtub faucet and shower head are brushed nickel so I played off of that tone.
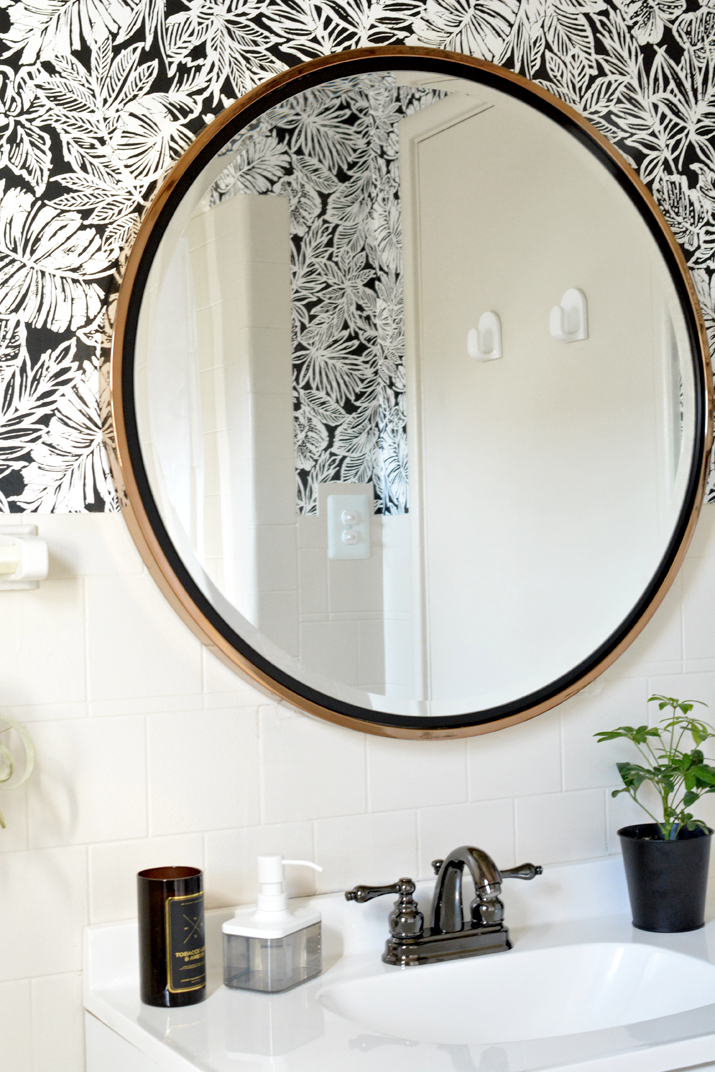
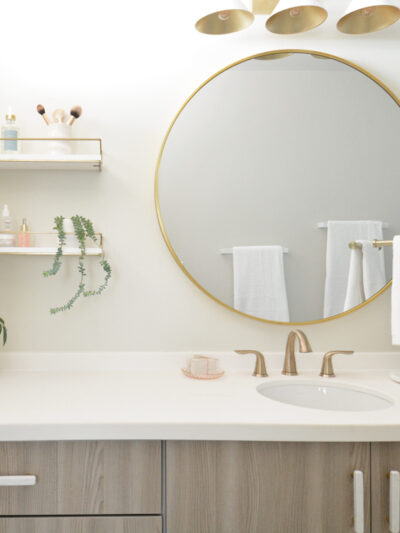
Add Curves with a Round Mirror
I love round mirrors in bathrooms because those spaces have a lot of angles, so the round mirror adds necessary curvature. This round mirror from Lowe’s has a beautiful thick two tone frame in warm gold and black, I love how the gold adds just a bit of warmth to this black and white space.
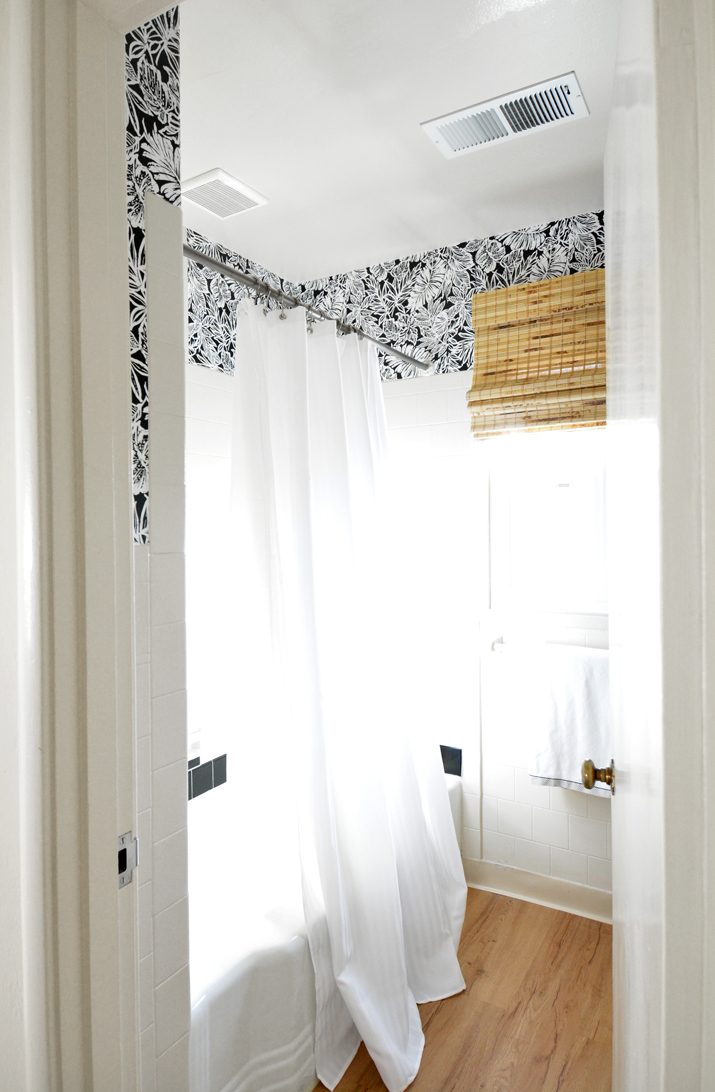
Here’s another peek of the space as you walk in, the bamboo shade is Levolor and it’s from Lowe’s I’ve used this shade in half a dozen spaces over the years, I love it!
There you have it, that’s the tour! What a difference right? I love the new look!
Final style tip! Don’t be afraid to have fun and mix metal tones and sheens in bathrooms, I used four, a new record. :) Warm gold on the mirror, glossy blackened stainless steel on the faucet, black hardware, and brushed nickel on the light fixture!
Be sure to check out Lowe’s line of Project Source vanities for your next budget friendly bathroom makeover!
*This post brought to you in partnership with Lowe’s. All product reviews, opinions, and photos are my own!


Nice job!
How many rolls of the paper did you use? I never know howto calculate how many rolls I need for a project so I usually just don’t bother, but this makes such a great impact!
I used just under 3 rolls in this bathroom and tried to keep the repeat consistent (the leaves in the same horizontal line) even though the vertical repeat wasn’t a perfect match (strange, right? I’ve never seen that before). Anyway, I always estimate wallpaper by the linear feet and add overage based on the repeat. For example if you have a print with a smaller repeat every few inches you can order less, but if it’s a larger print like this one and the repeat is every 24″ or so, then you’ll need a percent of overage to accommodate the excess you’ll be clipping off between strips you apply. Make sense?
Looks great! Those vanities that slant are the ugliest IMHO.
Is this peel and stick wallpaper likely to come off the walls if it gets too steamy in the bathroom? That’s something I constantly question, but no one has really addressed it.
Great question! I’ll know more in a few months!
Love the redo. I have a powder room that I have been planning to work on and your post gives me the inspiration to tackle the project. I also want to do a bold wallpaper. Were your walls smooth or textured? Did it affect the installation?
They were slightly textured, the space is in an older building so it’s not the “orange peel” texture, but they’re not perfectly smooth either. It’s a very subtle texture. It did not affect installation but if you have heavily textured walls, use a wall liner in between the wall and the paper.
I loved the reveal. I’m a big fan of black and white decor. I have an older home with the original black and white wall tiles and this post got me inspired to also go with a bold black and white wallpaper. My only concern is the fact that I like to take long hot showers so please give us an update on how the wallpaper holds up (in more ways than one) : )
Will do Robin, I won’t know for a few months but I’m happy to report back!
Kate
Hi Kate – can you please give us a link to the Levelor blinds and the color you used?
Sure Lori, here you go! They come in different sizes and you can have them cut in the store to fit your window, insider OR outside mount!
https://www.lowes.com/pd/LEVOLOR-Natural-Light-Filtering-Cordless-Bamboo-Shade-Common-48-in-x-64-in-Actual-47-5-in-x-64-in/1000576917
Beautiful transformation! You give us all hope that change is possible!!
So kind Kathleen, thank you!
I need to tear town the 70’s wallpaper in my house right now, so this would actually work great in the space!
Nice!
The black-and-white design reminds me of painted books, like secret gardens. Mysterious and interesting.
—————————————————————————————-
Design is a feeling,
a mentality,
a comfortable
and happy way of life.
(https://www.qinprinting.com/book-printing-china/)
You took this bathroom from “Oh dear” to “Oh wow”.
Wow so kind thanks Darlene! I’ll be repeating that in the future ;)
Hi Kate, I’m currently shopping for bathroom sink faucets and I just love your black stainless steel ones. This is the first time I’m seeing this finish. But I have a question: I have very hard water and wonder if you have the same problem and how it affects the dark finish. Not just mineral build-up but also water spots. Thanks for your help. I think your black and white bathroom is just stunning!
Hi Amy, isn’t that finish beautiful!!! I want to see this finish in kitchens too! I don’t have hard water, I’m not sure how this finish would hold up in those conditions, perhaps research how glossy surfaces like polished nickel hold up with hard water? That will help you decide!
Hi Kate, you give some superb design. I love round mirrors in bathrooms, can you give me the links for buying those.
Where is your towel ring from? I love that it’s square.
Those small white shelves are so cute! Where did you find them?
I found them on Amazon, do a search for mini floating shelves :)
This turned out beautiful. Nice work. I love the black and white.