I decided to make a few changes in my living room right in the middle of the holiday season. :) I swapped the old sconces and chandeliers for more modern brass fixtures. I also painted the walls white and added picture frame molding to the top half of the walls, above where I installed picture frame wainscoting way back in 2010.
I wanted to highlight some of the art groupings in my living room and also hang some new art as well. To highlight the artwork, I thought I’d paint the walls white so that the art takes the spotlight, and also surround it with the same thin curved trim that sits on the wainscoting down below.
I’ve partnered with Arrow Fastener tools to show you just how easy it is to add architectural detail with simple molding. You can also add trim to ceilings or doors to add dimension or pattern, and it’s easy to do with the Arrow Fastener Electric Brad Nailer.
To add interest to your walls, ceilings, or doors, arm yourself with the Electric Brad Nailer, then head on down to the home improvement store to select trim. I found my pre-primed wood trim at Lowe’s, they have a great selection for projects like this.
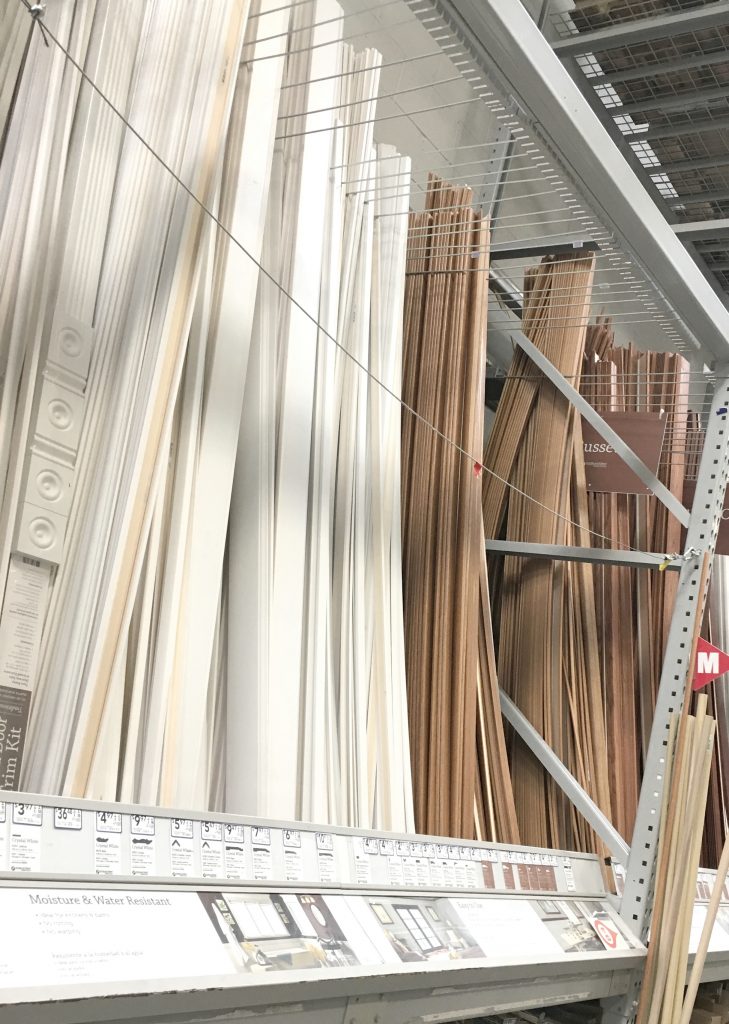
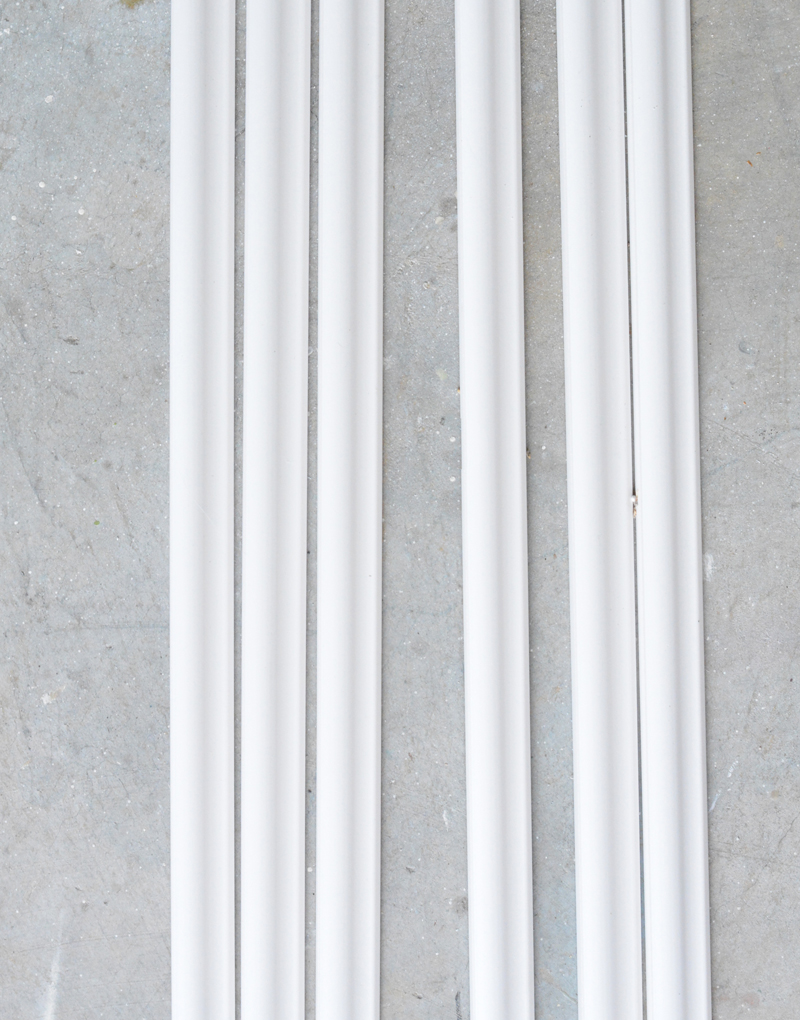
I used 1 ½” curved balsam wood for this wall molding project.
I used the same Electric Brad Nailer that I used to build this DIY tiered plant stand. It’s super easy to load, and accepts multiple sizes of brad nails. Plug it in and off you go. Bam bam bam, new trim everywhere!
![]()
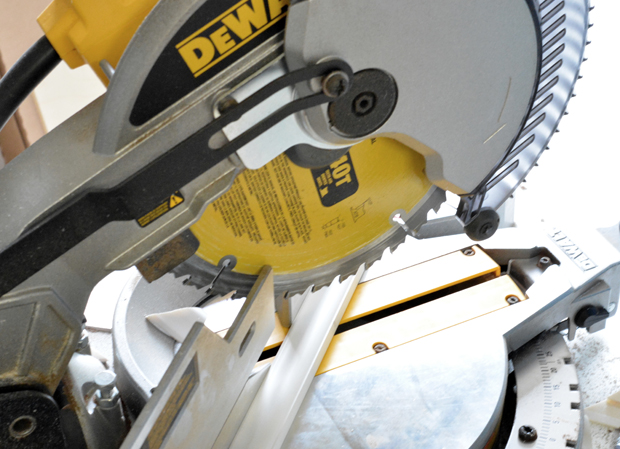
To add picture frame molding, measure out your rectangles on the wall, then cut 45 degree angles using a miter box or miter saw.
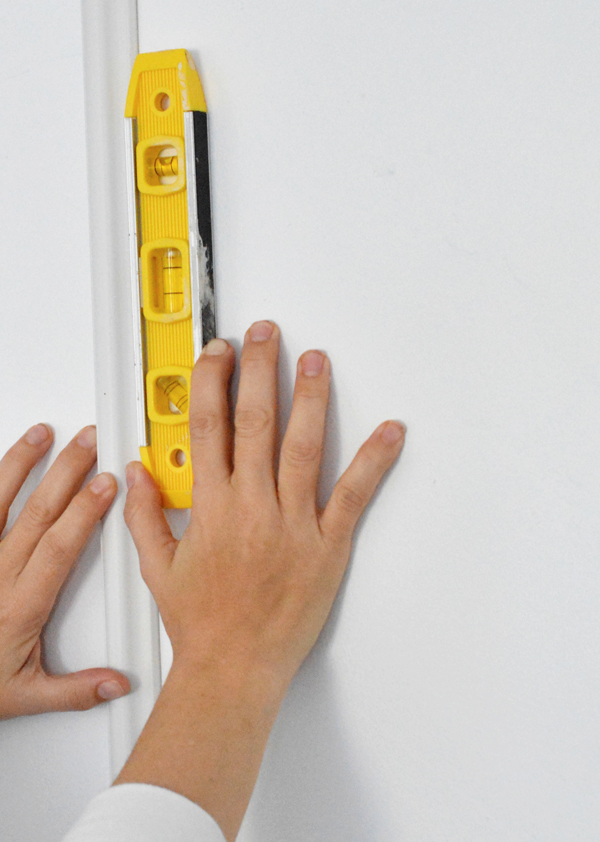
Attach the first corner to the wall with one nail. Use a level to make sure your molding is perfectly straight, then secure the middle and remaining ends of the pieces with the brad nailer to create a full rectangle.
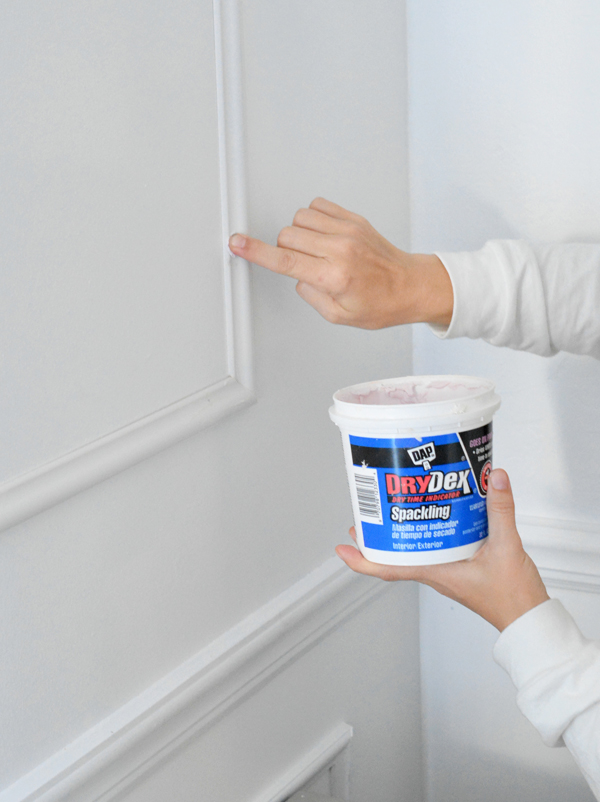
The brad nails may leave small indentations, so cover them up and fill those imperfections with spackling.
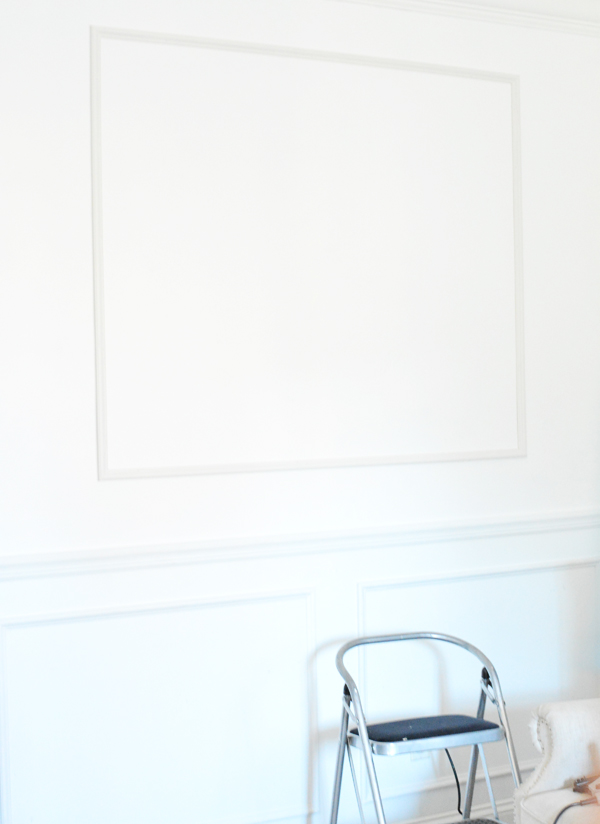
Once dry, paint the new picture frame molding the same color as your wall paint.
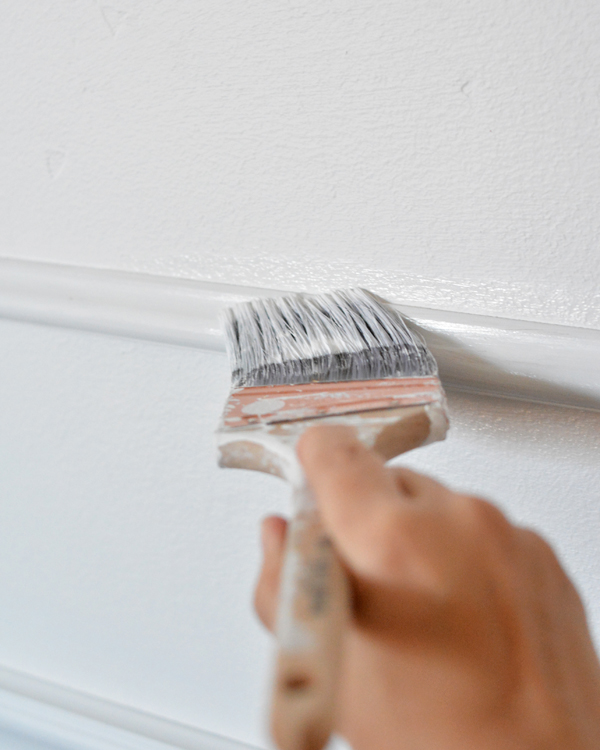
Step back and enjoy your new architectural detail!
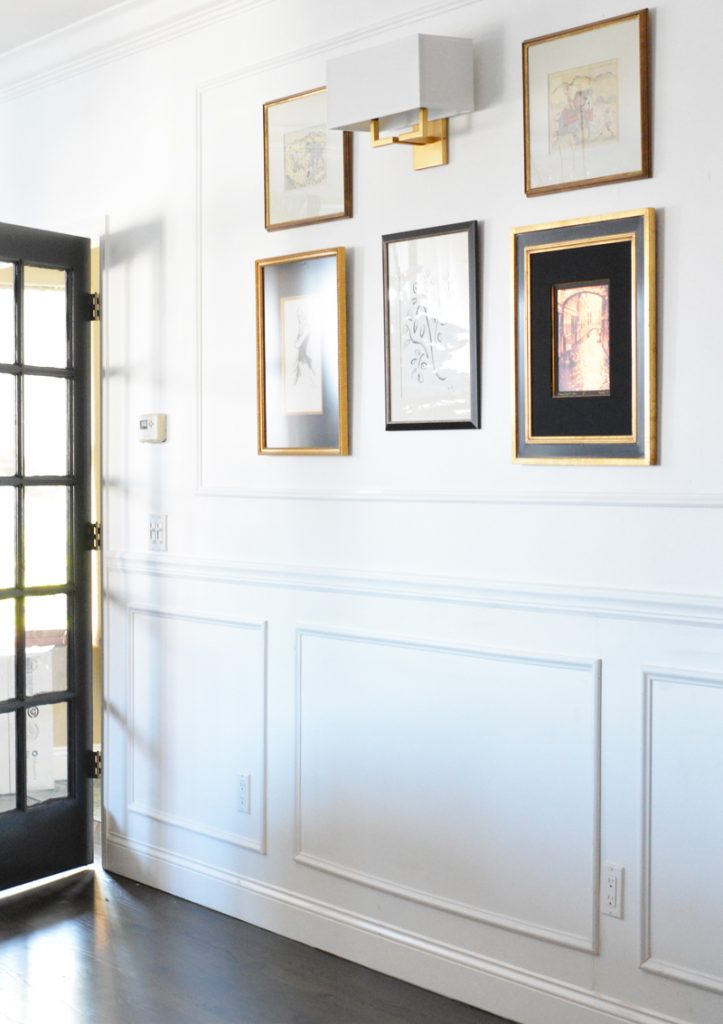
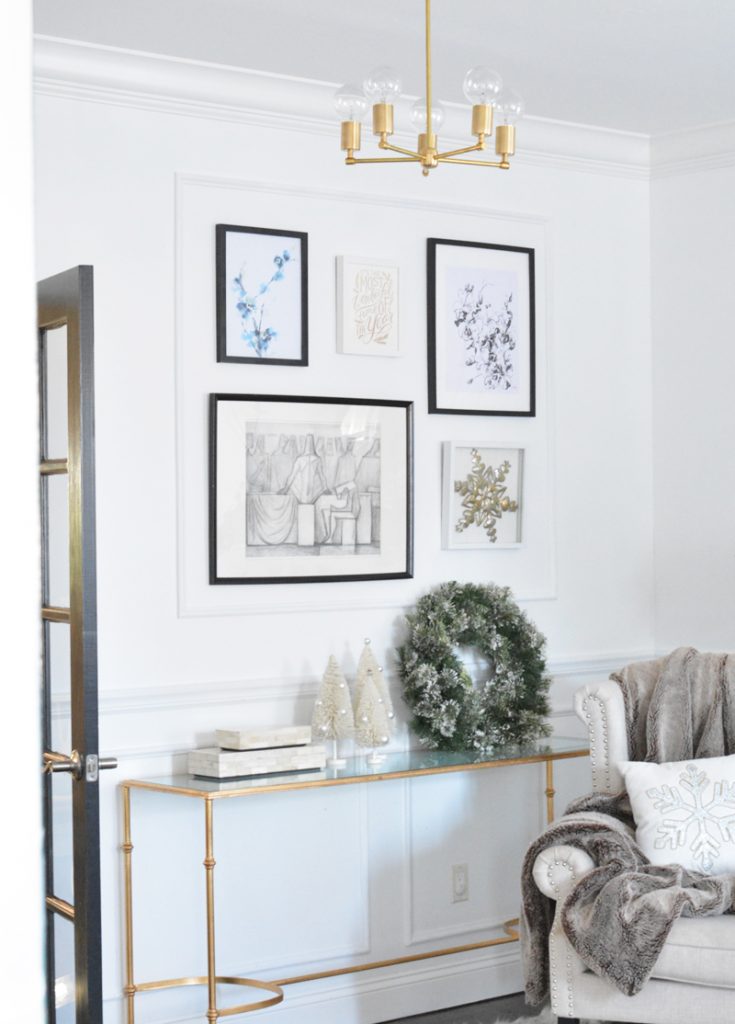
I added four new rectangular frames to my living room, the first on the wall next to the fireplace where I rotate art throughout the year.
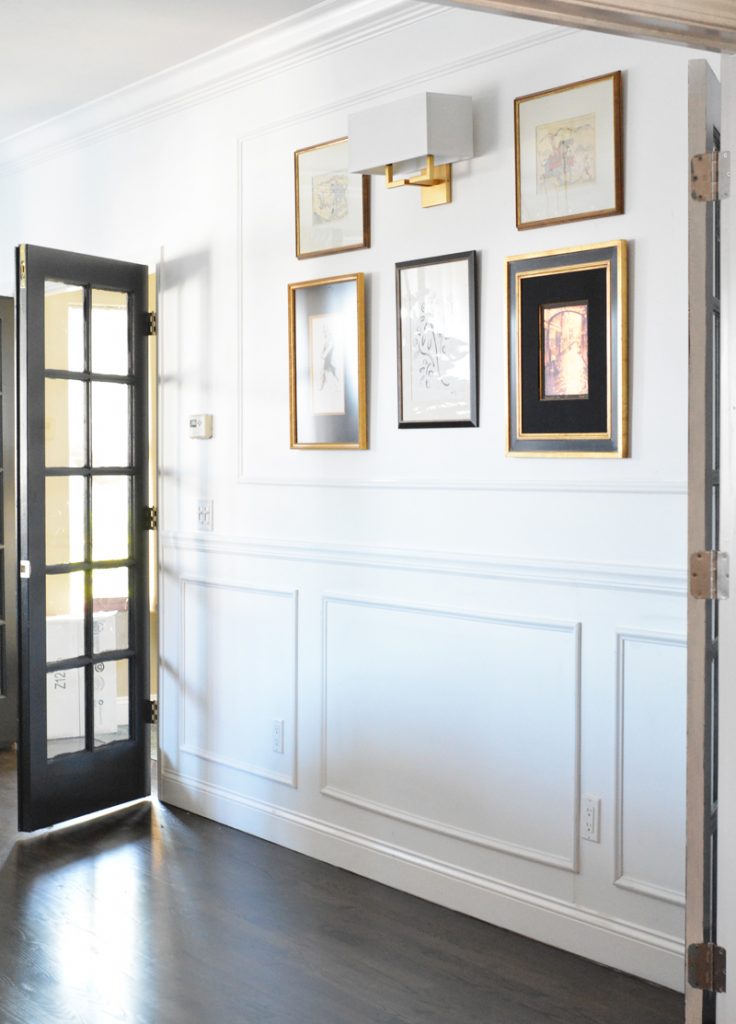
Behind the sofa (which I moved out of the way for this image) I keep the same artwork, all special for various reasons, either inherited or acquired through travel.
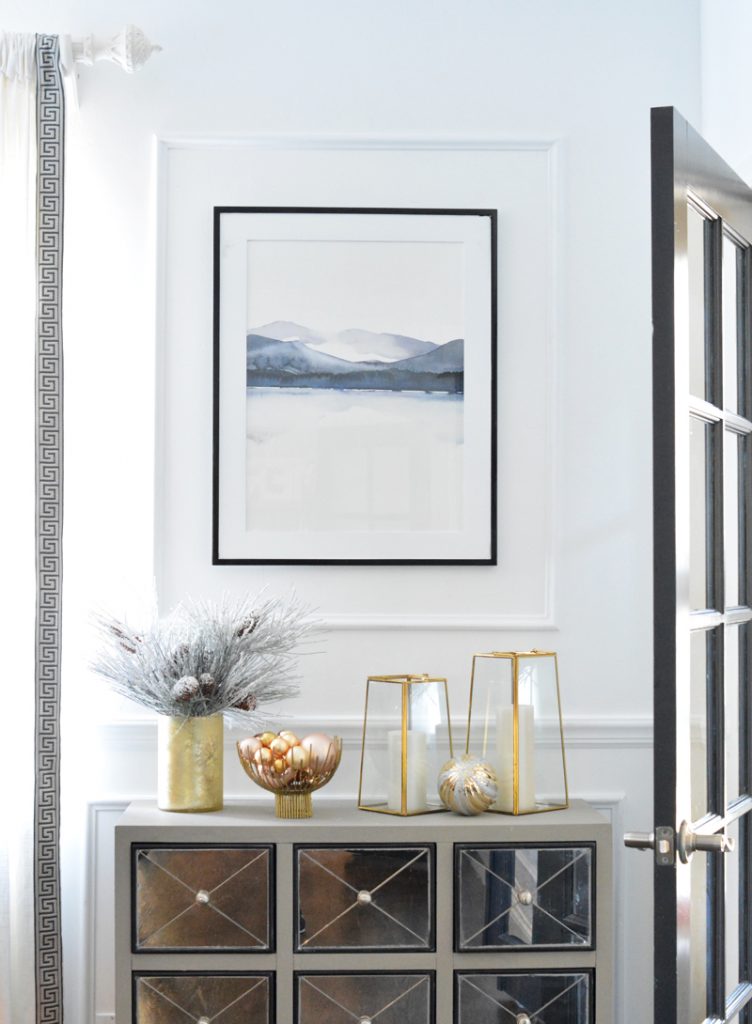
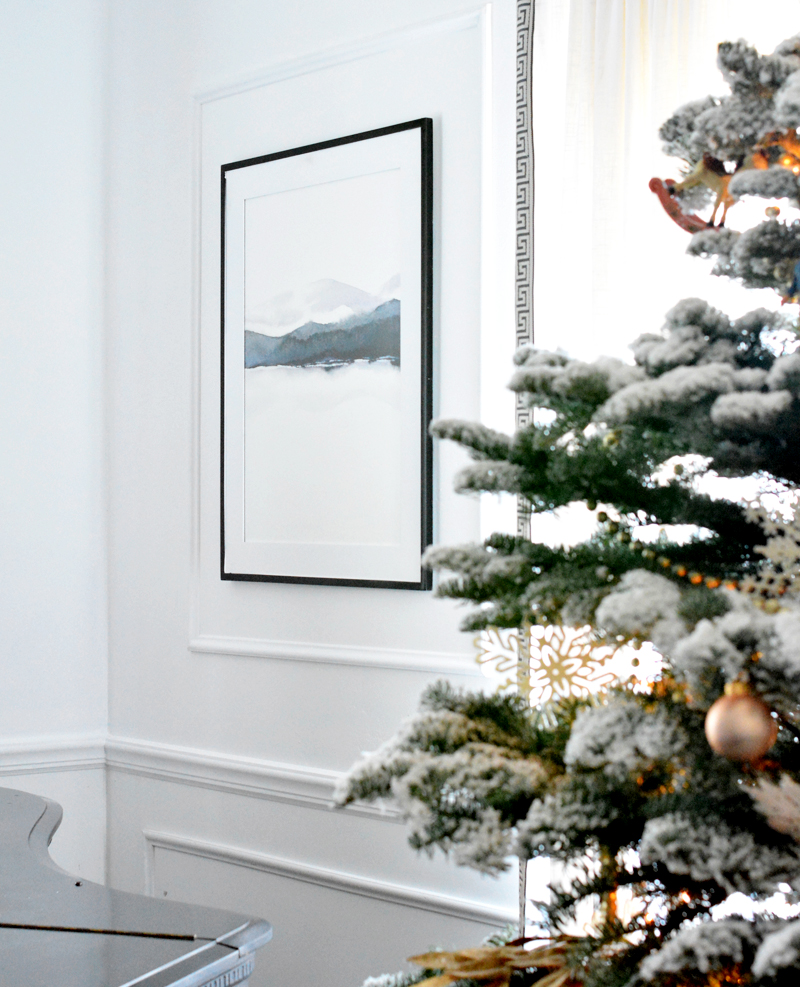
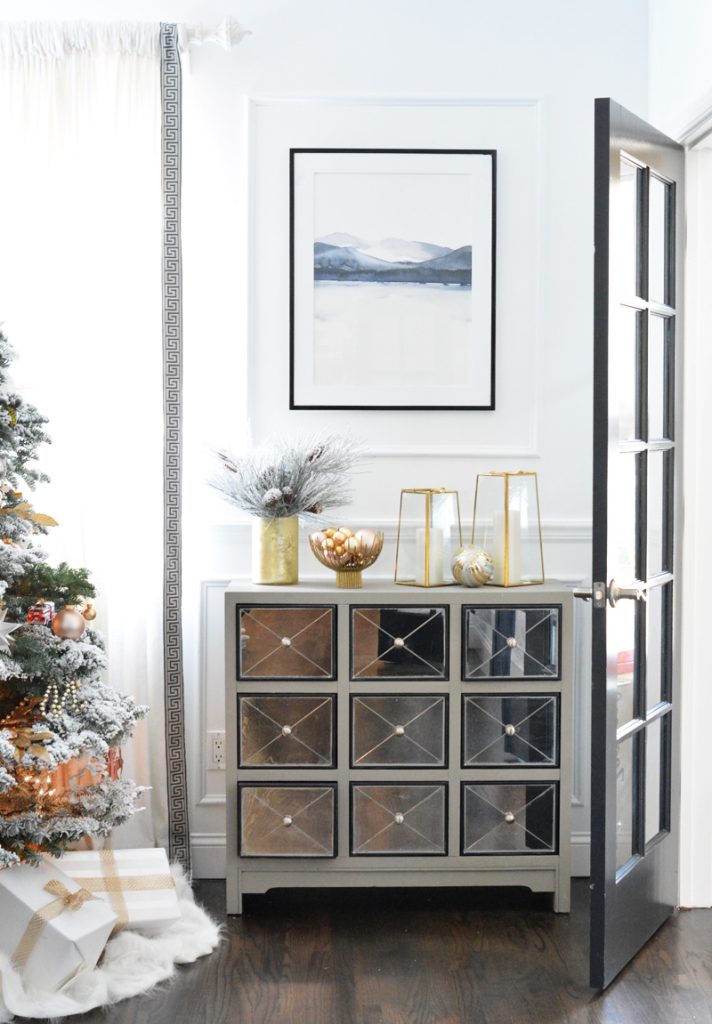
I also added two more pieces of abstract art from an artist I’ve long admired, Nancy Knight. I’ve loved her ethereal landscapes for a long time, and now I have these two hanging on either side of the window in my living room.
![]()
I love the simplicity of the art framed in black, surrounded by the picture frame molding. Exactly what I’ve always wanted.
I’ll have more holiday home photographs to share on Wednesday!
*This post brought to you in partnership with Arrow Fastener tools. Check out their staple guns and get creative in your home too! All opinions are mine.


What a difference a little molding can make. Love the white walls too. Nothing like a last minute project before Christmas. ;-)
I love the changes… so modern and fresh.
Thanks so much Diane, definitely feels fresh to me too :)
Love the changes Kate! It looked beautiful before and beautiful now. The white is the perfect backdrop for your artwork.
That is a simple but creative change that really does make a difference!
Agreed Courtney, it’s subtle but definitely has impact!
Beautiful! Elegant yet clean lines…I LOVE it! What color is the door? Is it black? Nice contrast that I’m doing in my condo.
Thanks for the tips, I love the look. I also love that low chest with the mirrored drawers. Any idea where I could find it?
Hi Susan, I bought that apothecary chest many years ago, I wrote about it here: https://centsationalstyle.com/2012/04/that-last-corner-of-the-living-room/
Sadly it’s not available but if you do a search for “mirrored apothecary chest” many similar options pop up.
AWEsome job! ! I love picture frame molding and yours looks wonderful!
Catherine
Very kind thanks so much Catherine!
Hello Kate, love the walls! What paint did you use?
Hi Chantal, that’s Benjamin Moore ‘Chantilly Lace’
Love, love the new artwork and picture moulding, as well as the brass sconces. Merry Christmas!
Thank you for sharing! I’ve been using molding, Plexiglas, and a staple gun for years. Using molding is a much easier way to make frames for irregularly sized prints and images. It’s also way less expensive- have you seem how much hobby shops charge for picture frames these days? I can usually make it for about as much as Wal-Mart sells their cheapest frames, in any size I want, and they’re much prettier to boot!
I like the changes!! Especially the moulding part.
Hanging beautiful art pieces on the wall can enhance any room. When the artwork is in the right frame, it can make the art look even better! These DIY frames are a perfect choice.