Today’s project is another way of displaying art around your home, this time it’s an image transfer onto wood! I’ve been wanting to do this project for a long time and finally got around to trying it out and I was delighted and surprised how well it worked.
This method is a great alternative to framed prints or art on canvas. I chose vacation images which is an excellent option because this is a way to display your favorite memories from your previous trips, these also make great gifts for friends or family to commemorate your fun times together. You could also do this same project with portraits of people or pets.
![]()
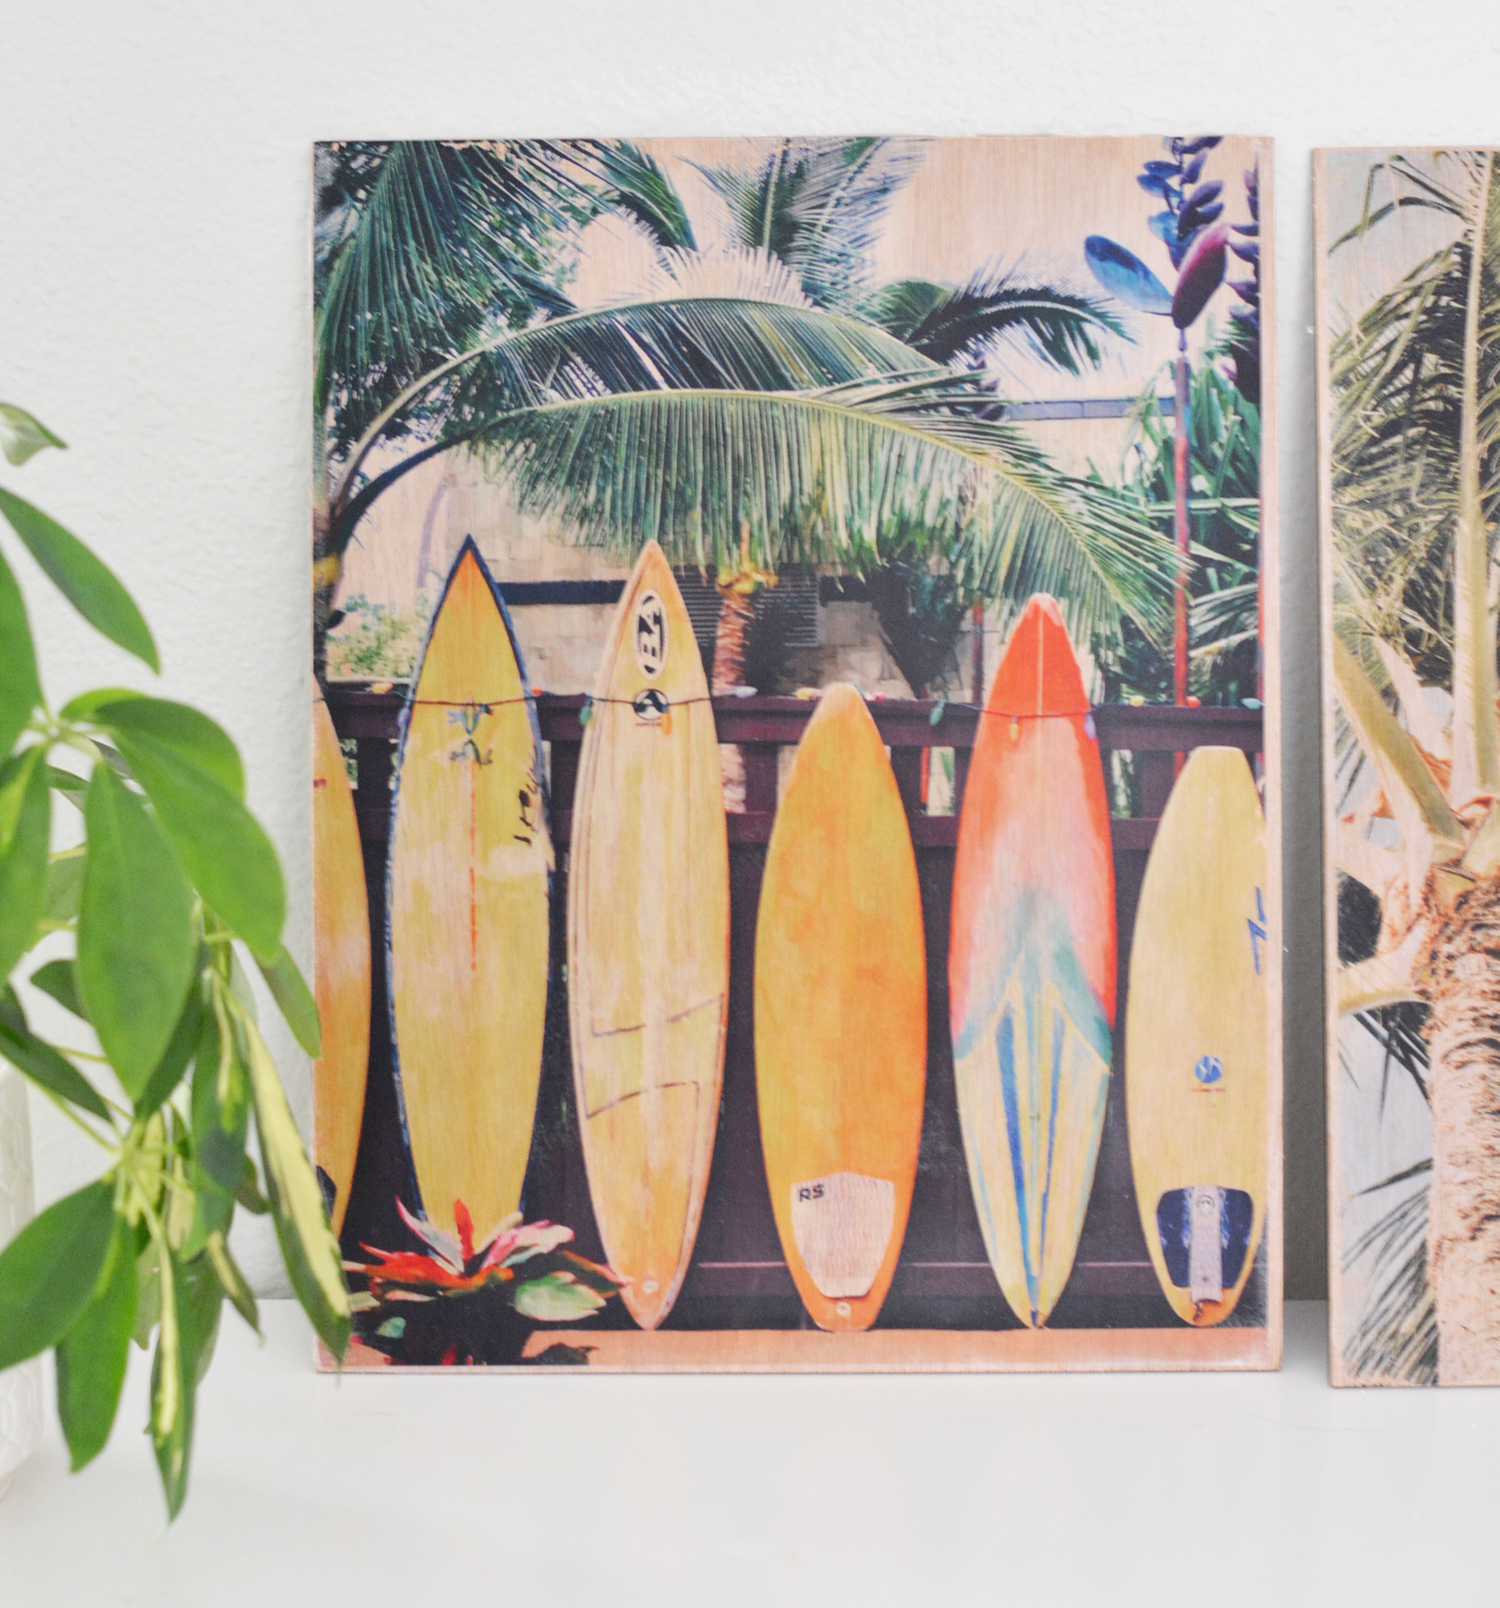
I used three digital downloads from my art shop, the surf & SUP set and my kauai palm print. You can use any digital image for this project in the 11×14” size (or 8×10” if you use smaller wood panels).
![]()
![]()
To recreate this project, here’s what you’ll need: unfinished 11×14” wood art panels; reversed images printed with laser printer (see details below); acrylic gel medium; smoothing tool (gift or credit card works); small paintbrush; washcloth.
First, horizontal reverse your 11×14″ digital .jpg image, you can do this with any number of photo services, Canva, Photoshop, even your own phone. Do this because you want your image to appear on the wood in its original layout.
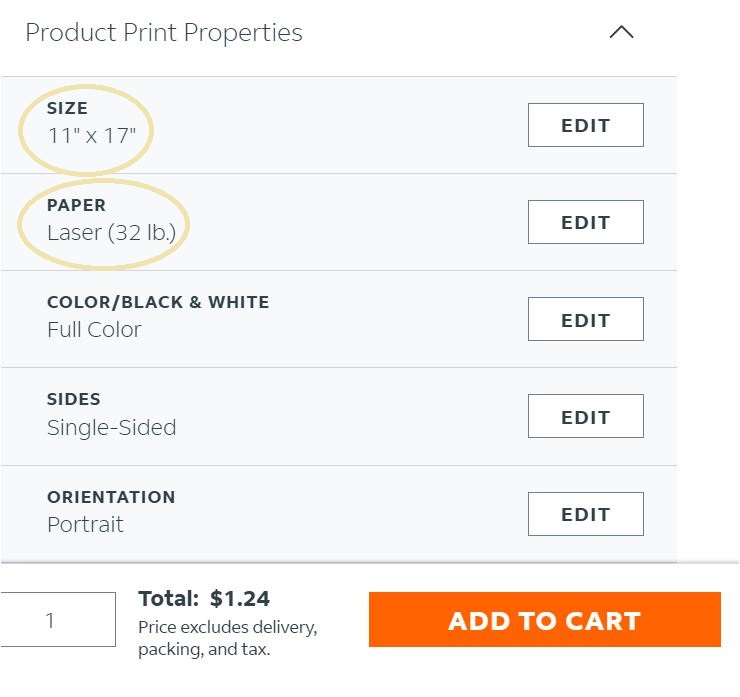
Next, upload your 11×14″ reversed digital image to a printing service. You’ll want to use a laser printed image so I used a local service to have access to the ledger size and heavier weight paper. I used the online upload printing service at my local Fed Ex and printed each image in 11×17 ledger size on 32 lb. laser paper, each color copy costs $1.24 in my state. I picked them up an hour later at my local branch.
Once you’ve got your laser printed 11×17″ image, trim the printed image down to 11×14”. Now you’re ready to layer it on top of the wood.
Coat the entire 11×14″ wood panel with even layer of acrylic gel medium, not too thick, not too thin.
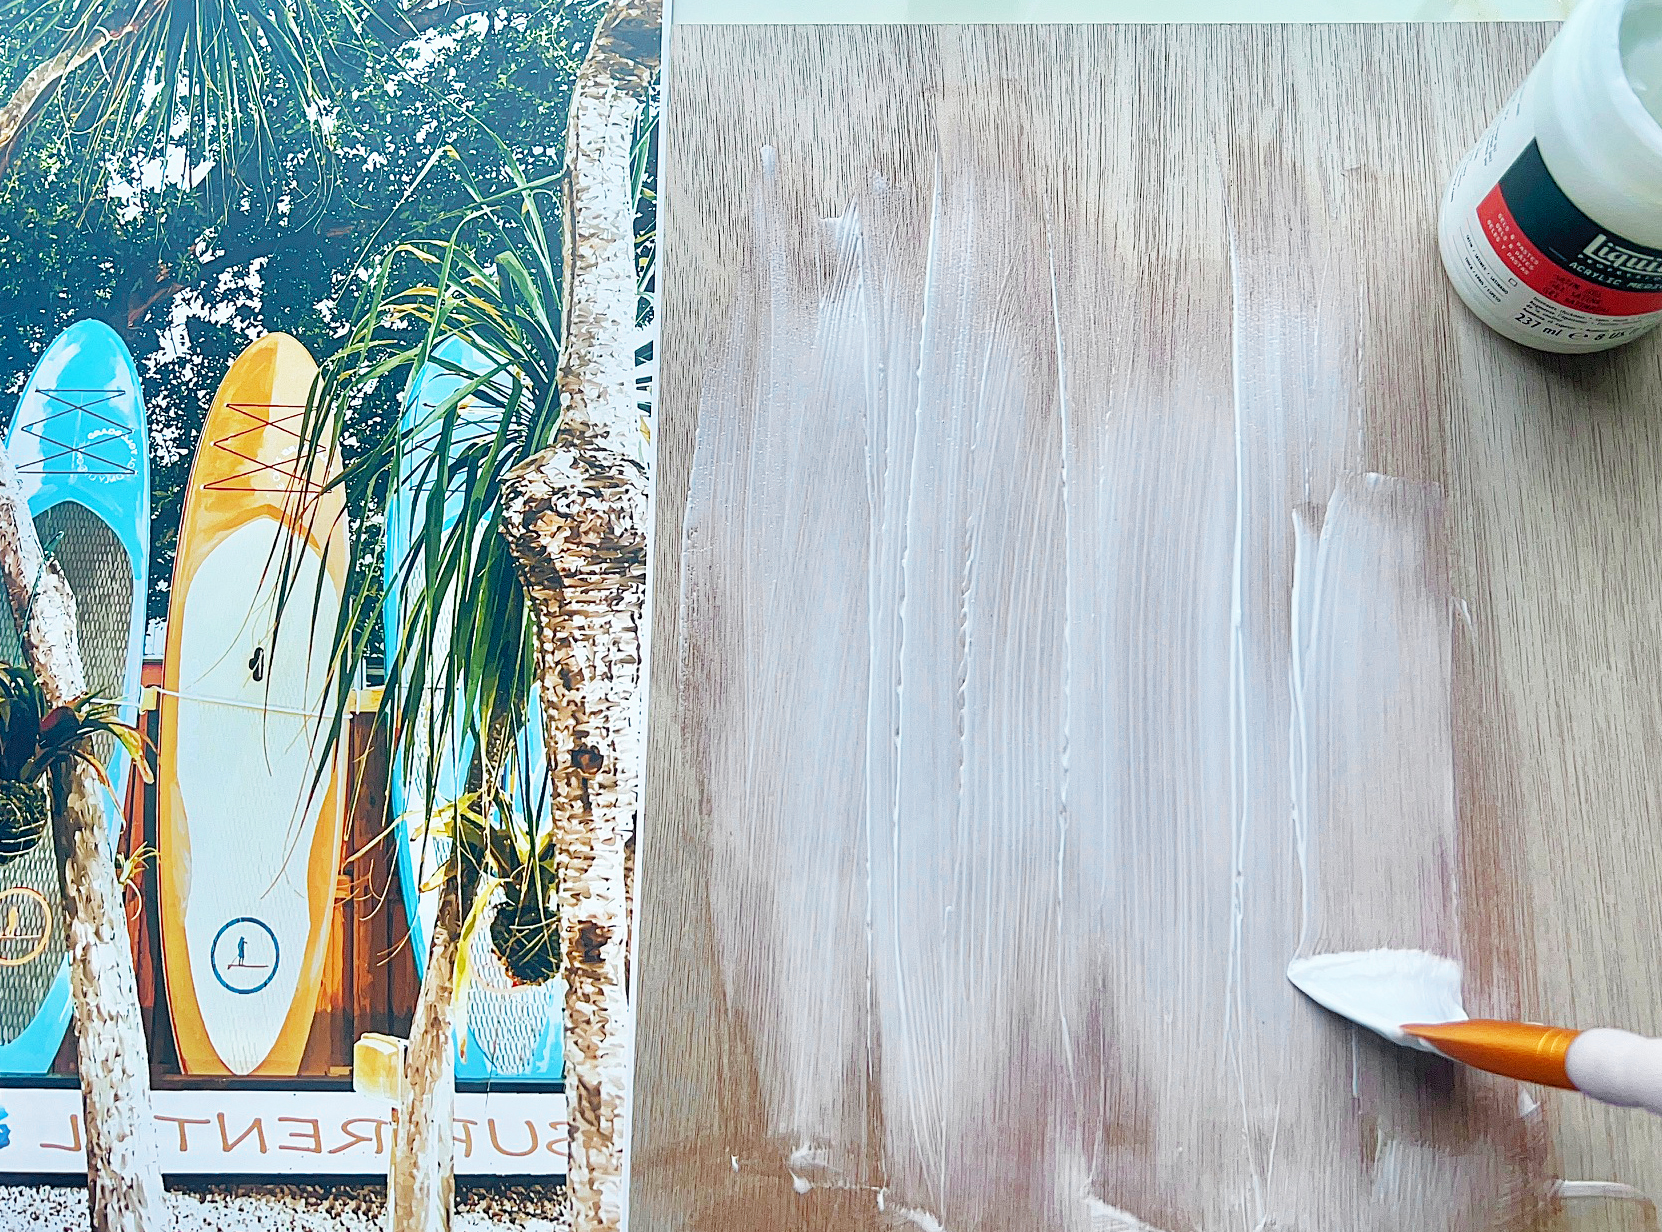
Layer the 11×14” image flat on top of the gel medium with the ink side touching the gel medium. Use a gift card or credit card to smooth out any bubbles an ensure the image is flat on the wood panel.
Now….. wait a full 24 hours. You have to allow the surfaces to bind and become fully dry. :)
After the gel medium is dry, take a soaked washcloth and wet the entire paper. Next, with gentle pressure, begin to rub away the paper. You’ll notice a lot of paper pulp will come off in sections and it will reveal your printed image.
This part feels like magic, yay!
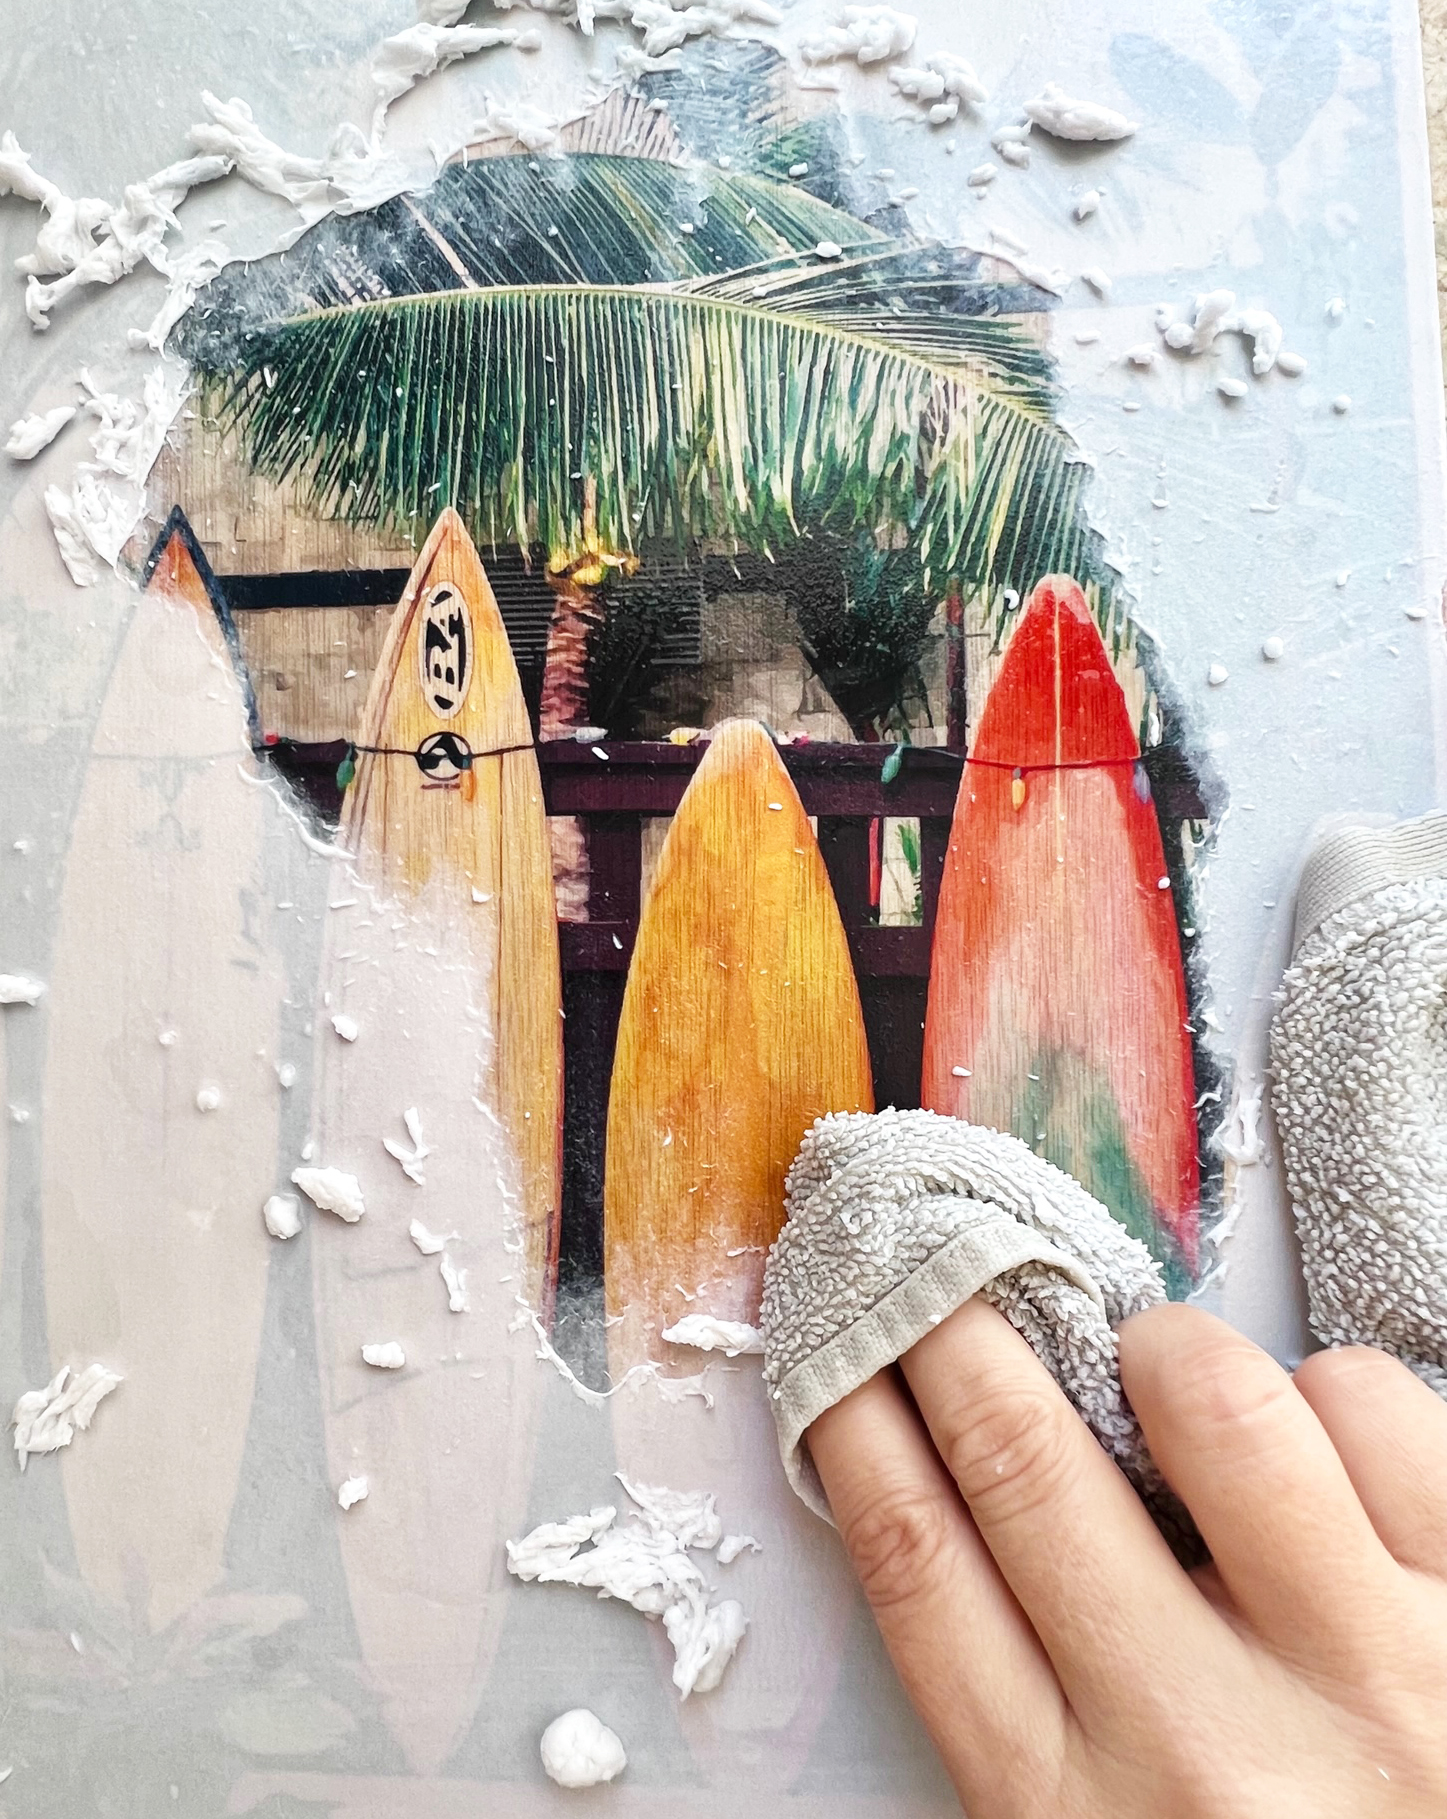
After removing the paper pulp, allow it to fully dry. You’ll notice there is still a bit of paper residue on your image making it cloudy. Continue to gently wipe away the paper pulp residue, each time you do it will get clearer. I had to do it 6-8 times but it’s quick wiping process this time, just keep at it.
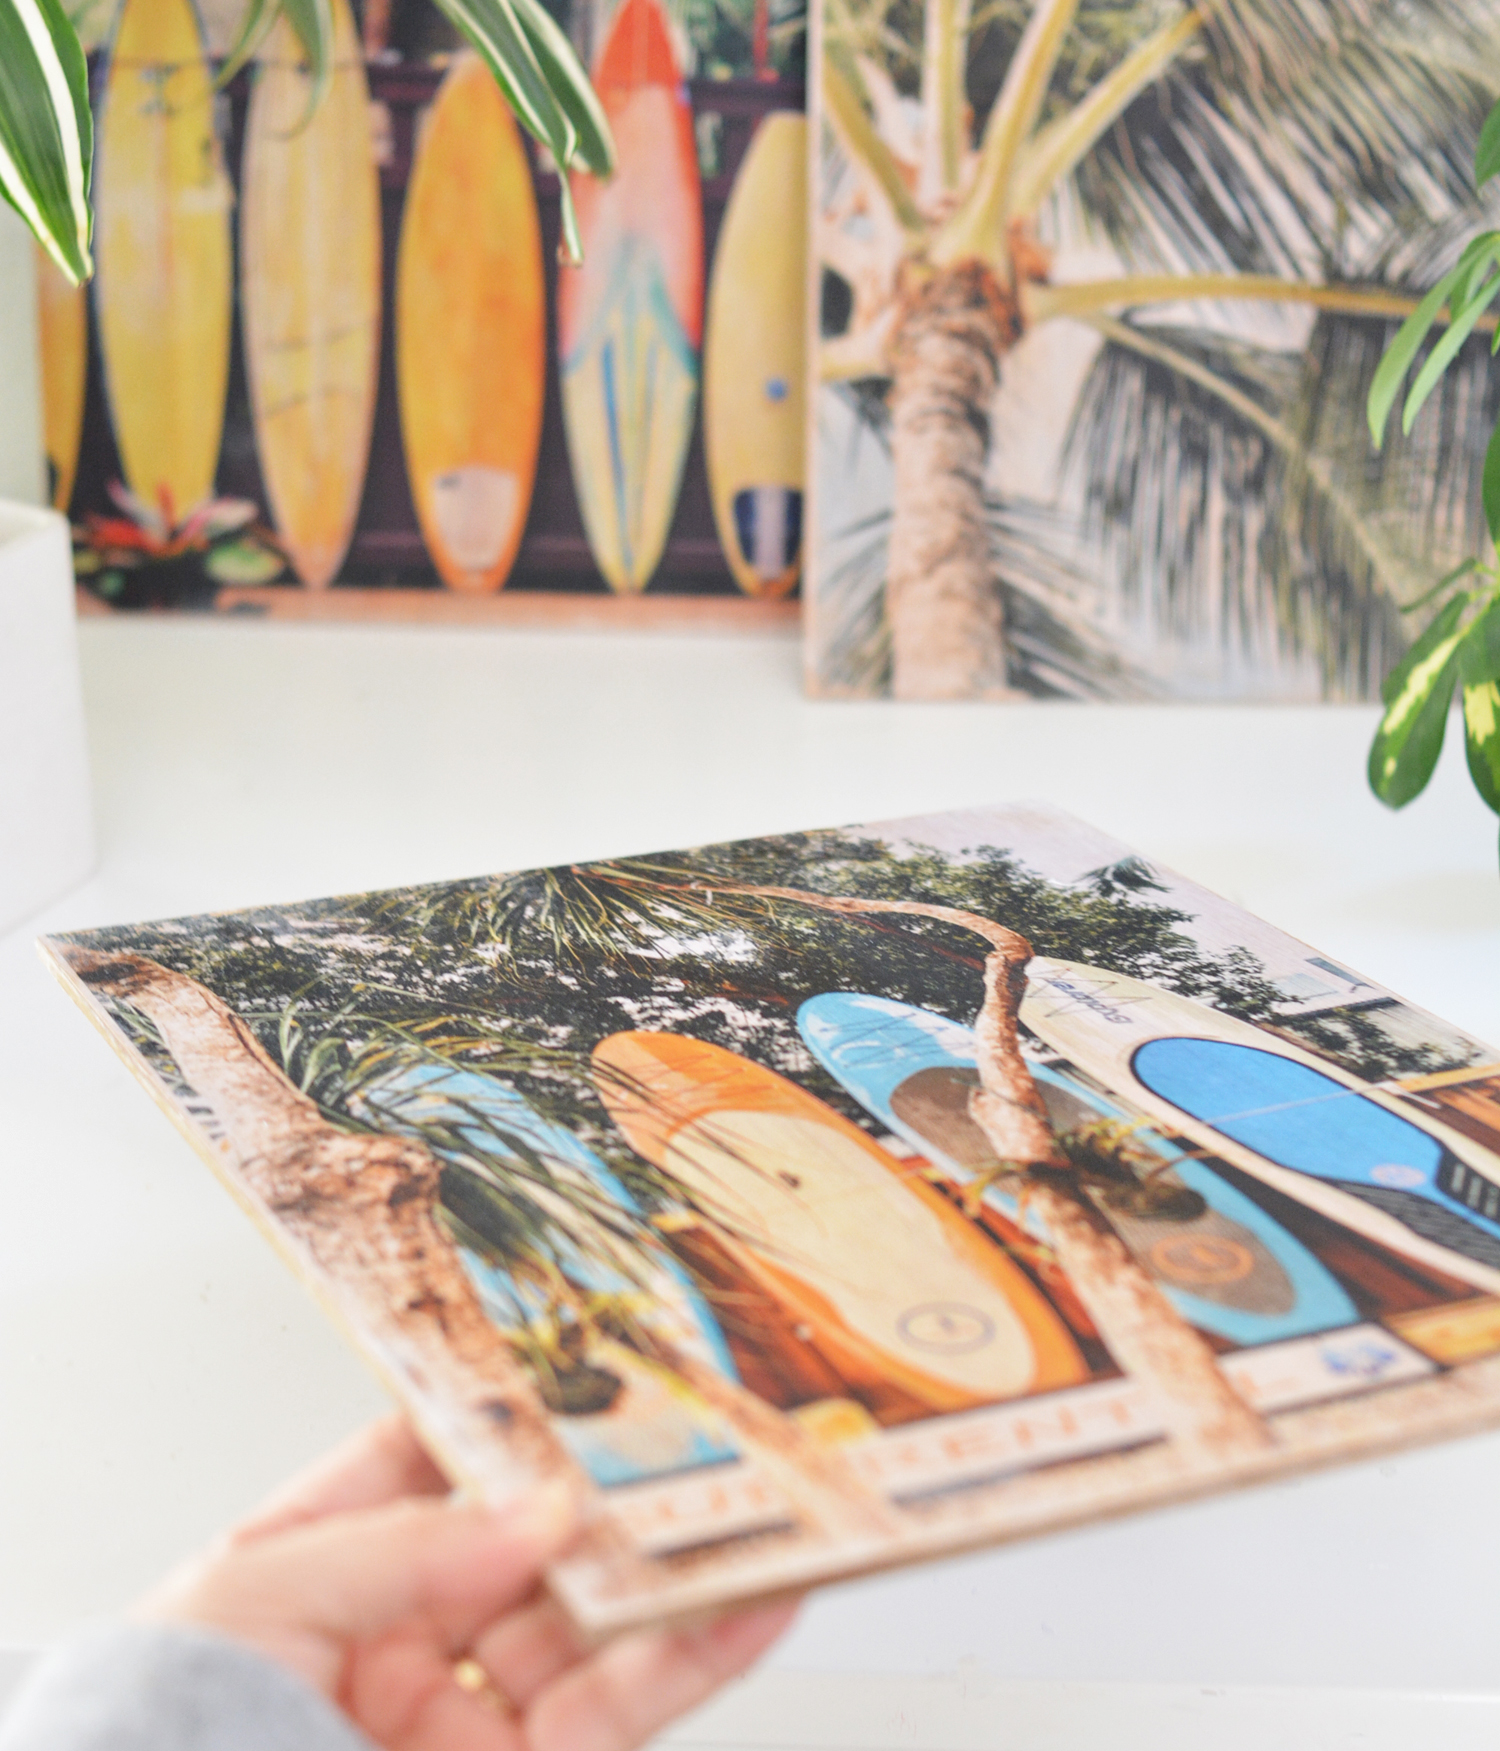
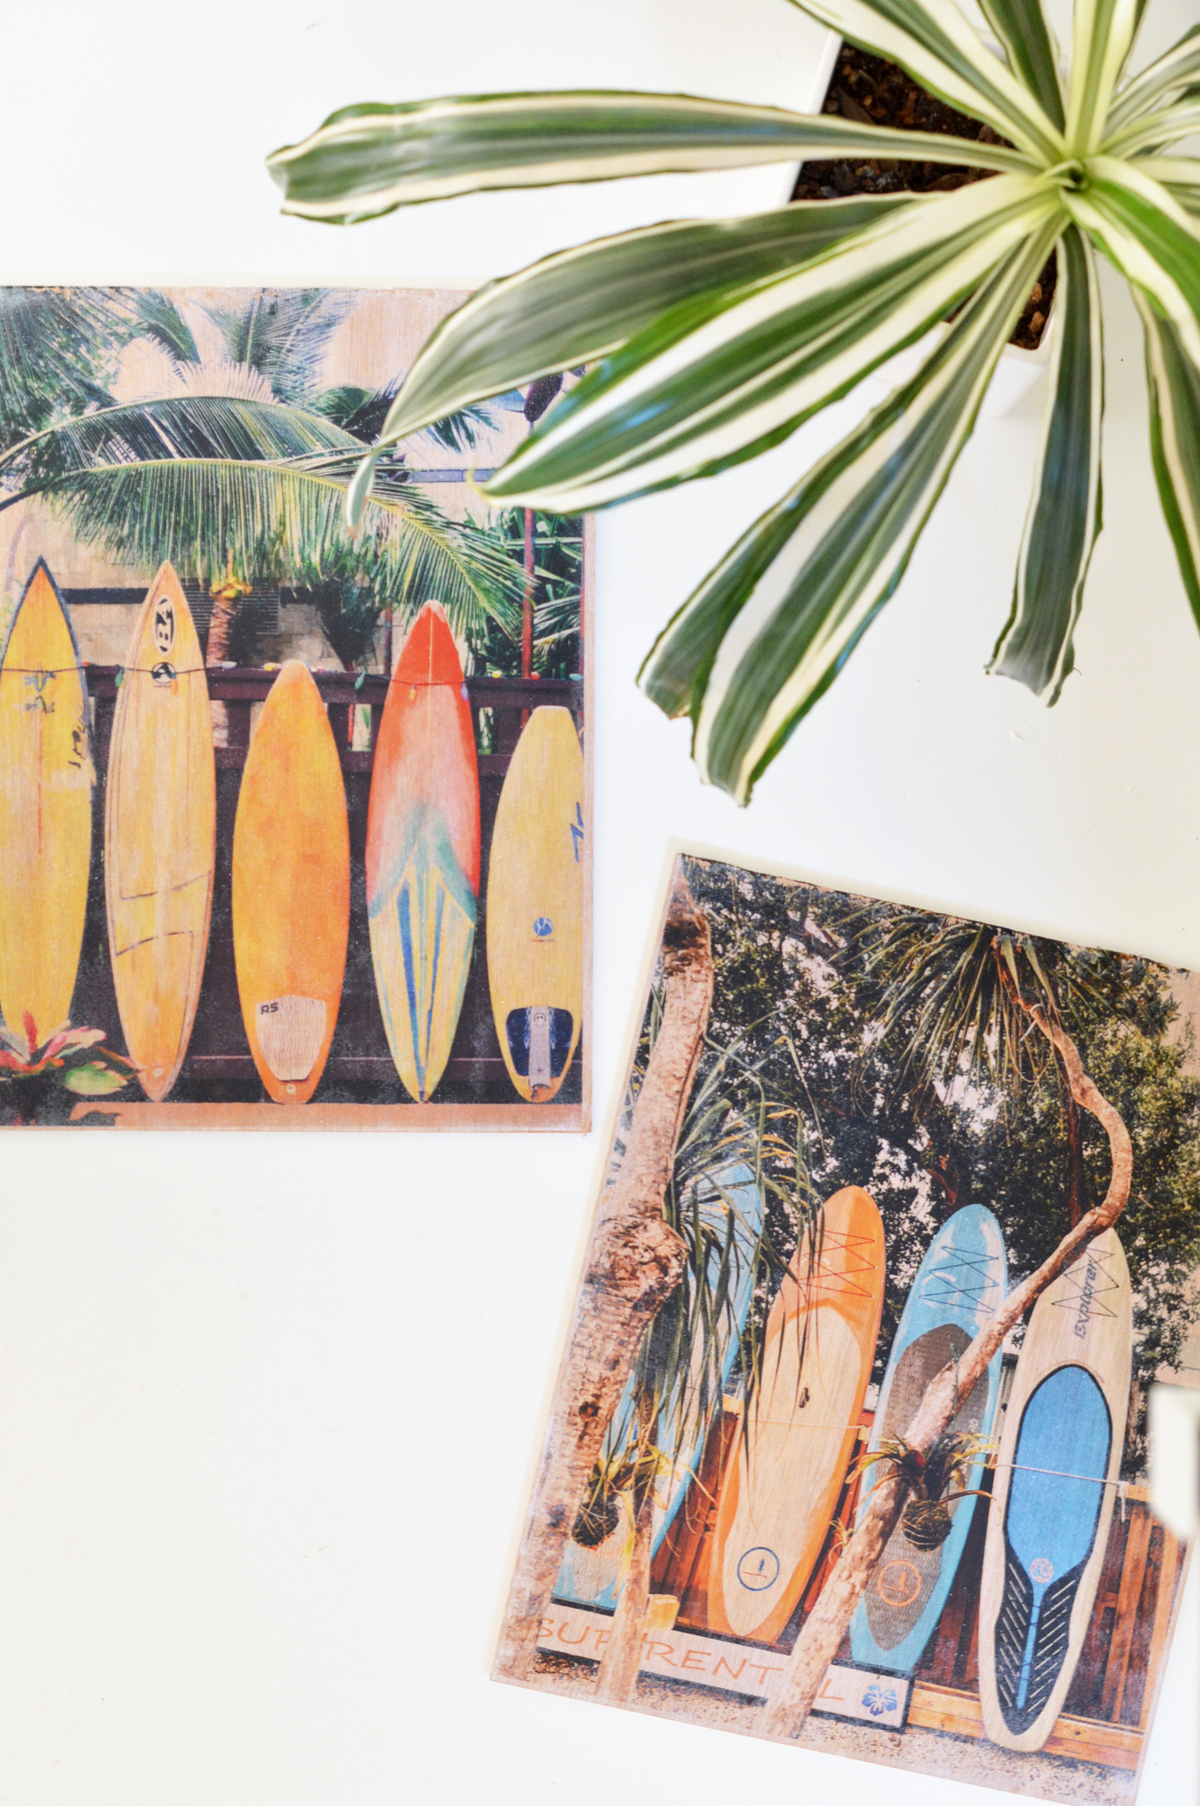
You could coat the surface in a clear gloss to give the image more contrast or sheen. I kept mine raw, I wanted it to have more of a matte aged quality.
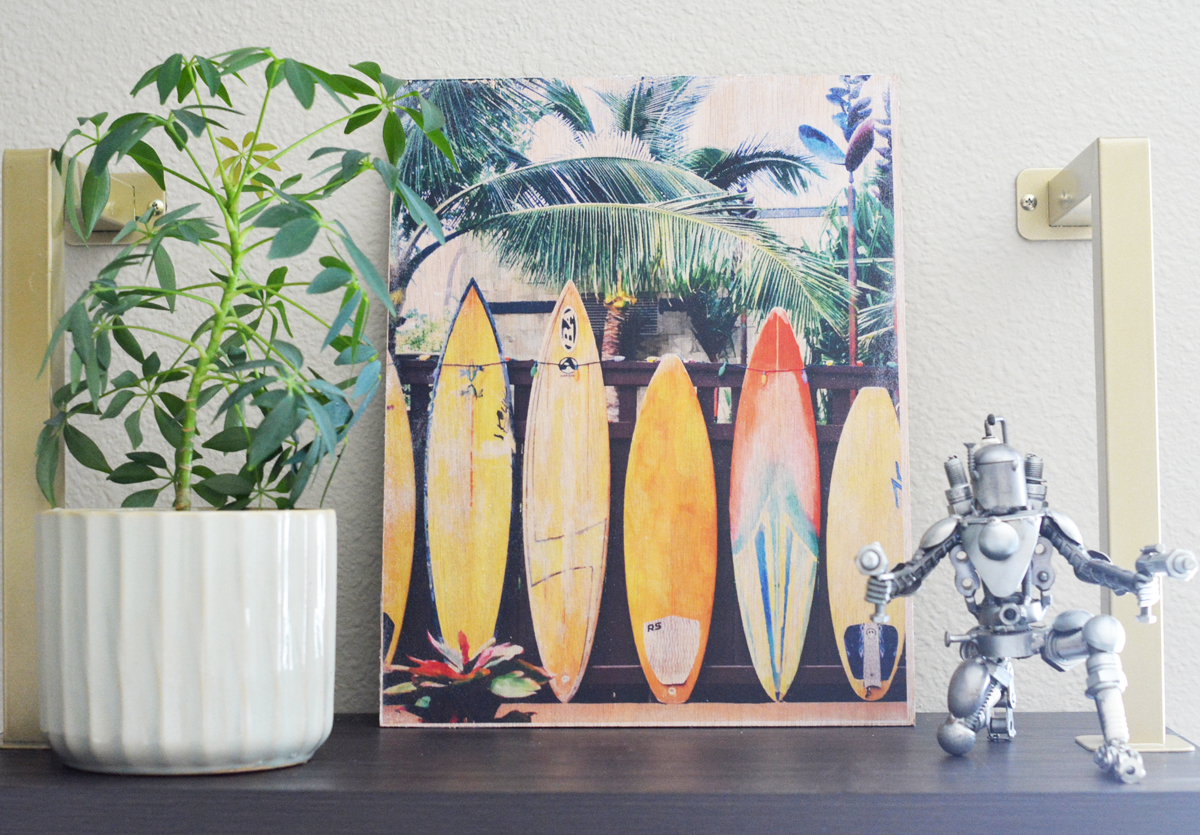
The nice thing about this form of art display is the image is on a thick wood panel so you can prop it up anywhere on a shelf, no need to frame it! Or you could attach mounting hardware to the back to hang them on the wall.
![]()
I tucked the surfboard image onto a shelf in my teenage son’s room since it’s from a family trip to Oahu ten years ago.
This project is a unique way to give someone the gift of a great memory. :)

![]()
![]()
Have fun making your own!


Thank you for the tutorial – this is a project I’ve been wanting to pursue.
You’re welcome! It’s a fun one, rewarding too.
Do you lay the print face down on the wood? I’m guessing so? Sorry if that seems obvious.
Yes! I will update the post to make that clear. :)
I would love to try your method. I had read Mod Podge could be used but you used a different product. What other surfaces could you use the transfer on?
I don’t know what other surfaces would work with acrylic gel medium, perhaps the company would know. I’ve read that Mod Podge works too, but I had great results with the acrylic gel as my transfer medium. :) It also comes in a gloss formula, I used the satin formula.