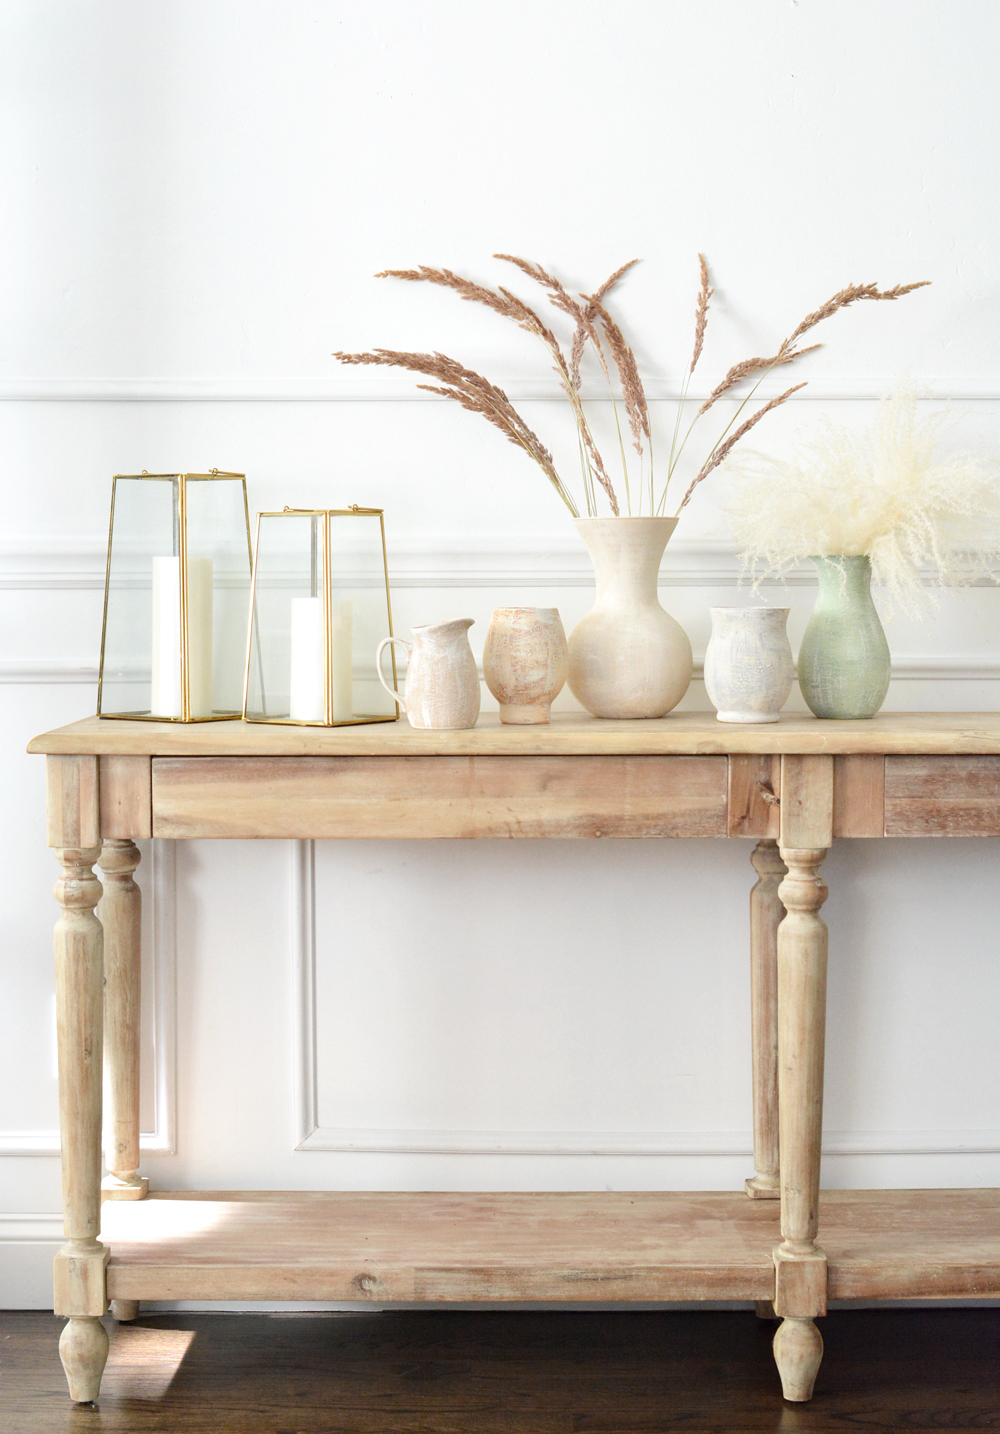
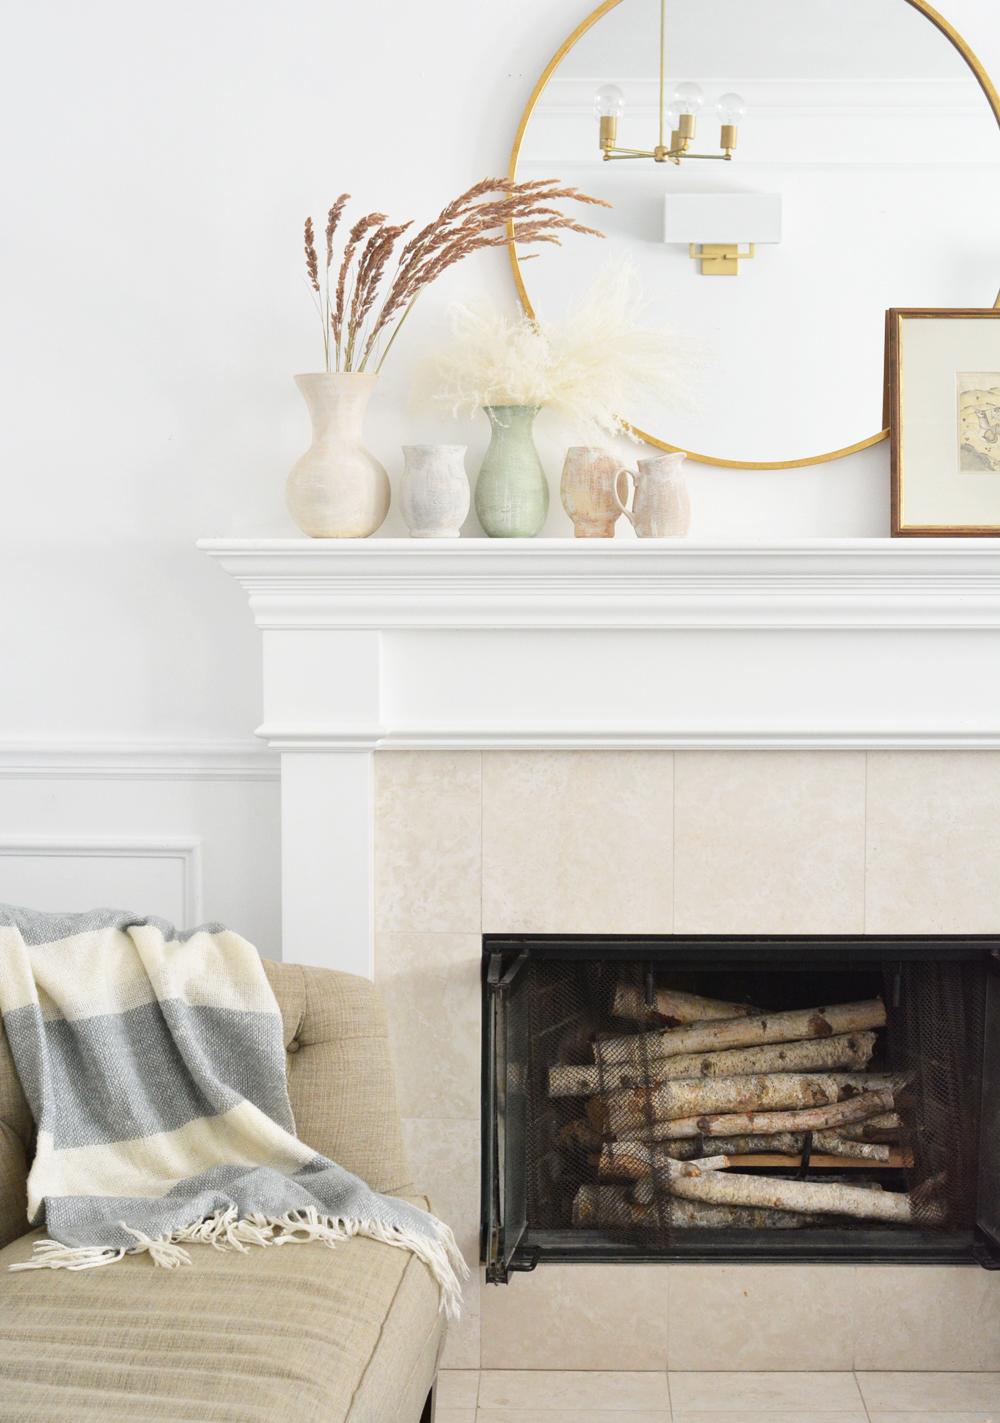
August is that lovely month of transition where we’re enjoying those last days of summer but feeling the slow arrival of autumn. I was inspired to create some vases in a pale palette for my future fall mantel or table.
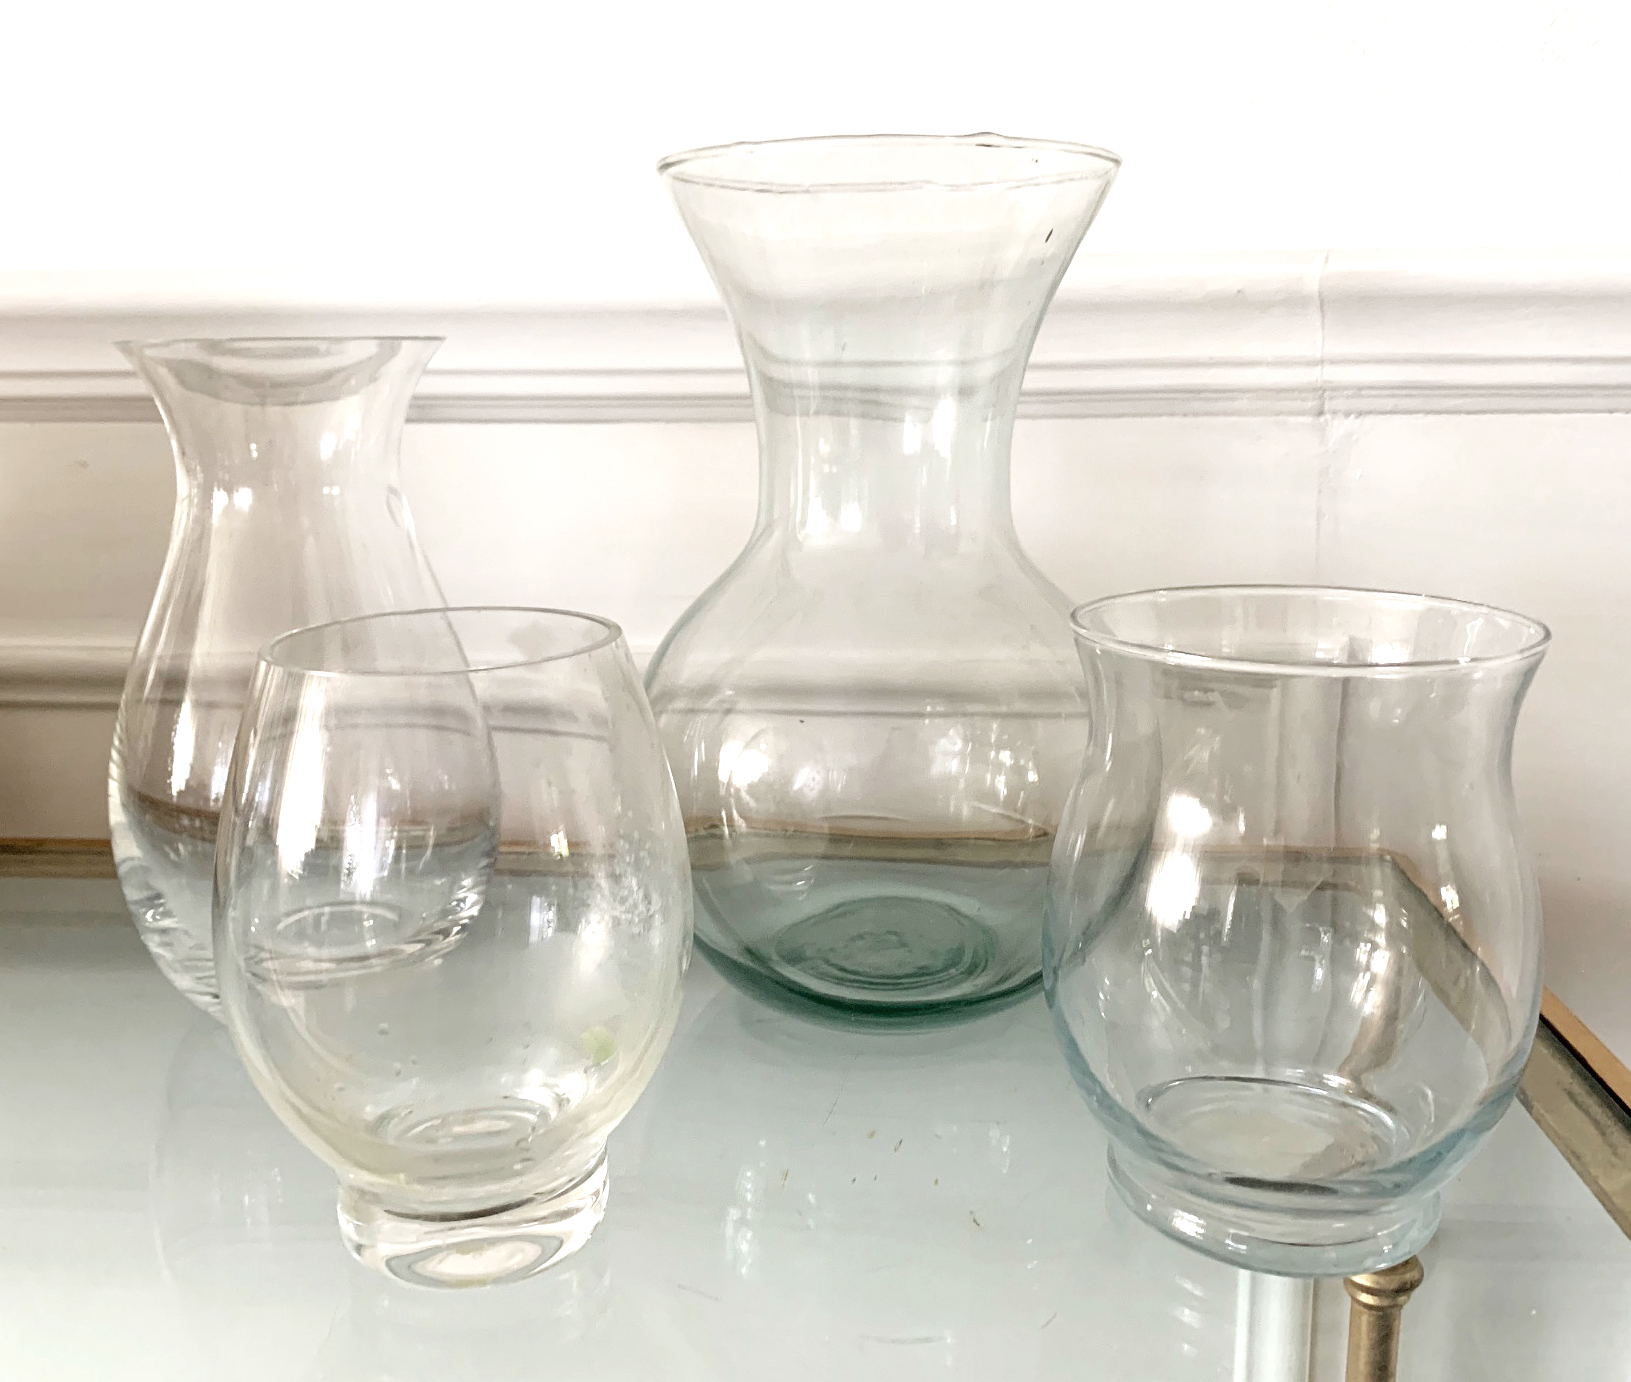
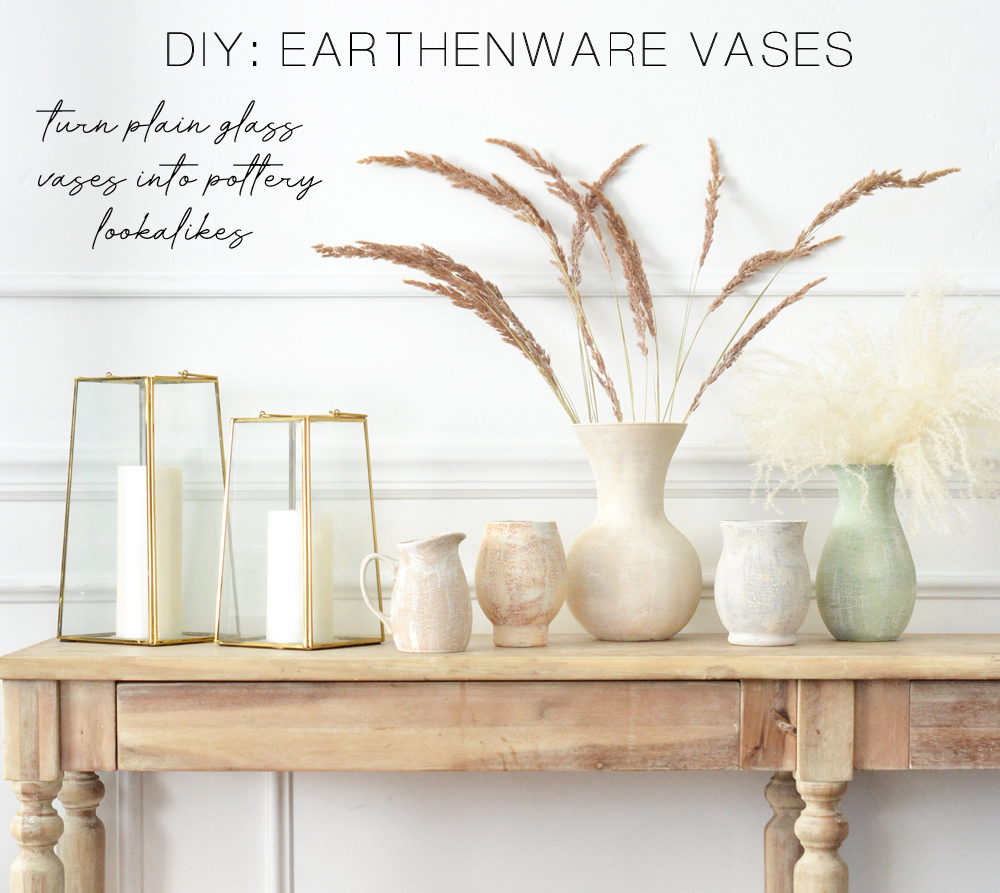
I had some florist vases tucked away in a box in a cabinet that I wasn’t using, the ones you donate to (or buy from) thrift stores. I wanted to reinvent them with an old world matte finish so I wondered if I could fake the finish and texture of earthenware with just paint and a surprising ingredient: flour from my pantry. Well, it worked.

To recreate you’ll need: glass vases or hurricanes, spray primer, craft paint (a few colors plus white), a few inexpensive chip brushes, all purpose flour, disposable cups, small stir sticks for mixing.
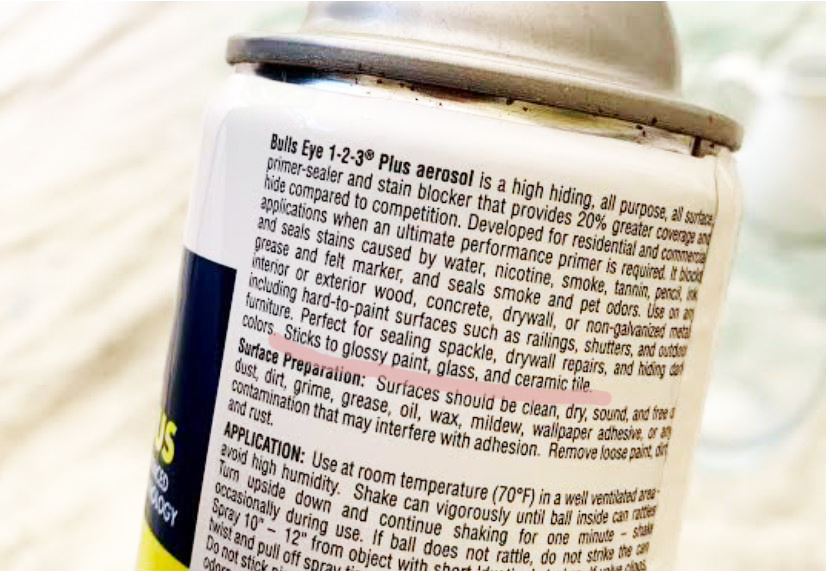
The first step is to prime the glass. It’s been my experience that if you add paint to slippery glass without priming it first, it will easily scratch off. Better to use a spray primer that’s designed to adhere to glass to give your project a base layer. :)
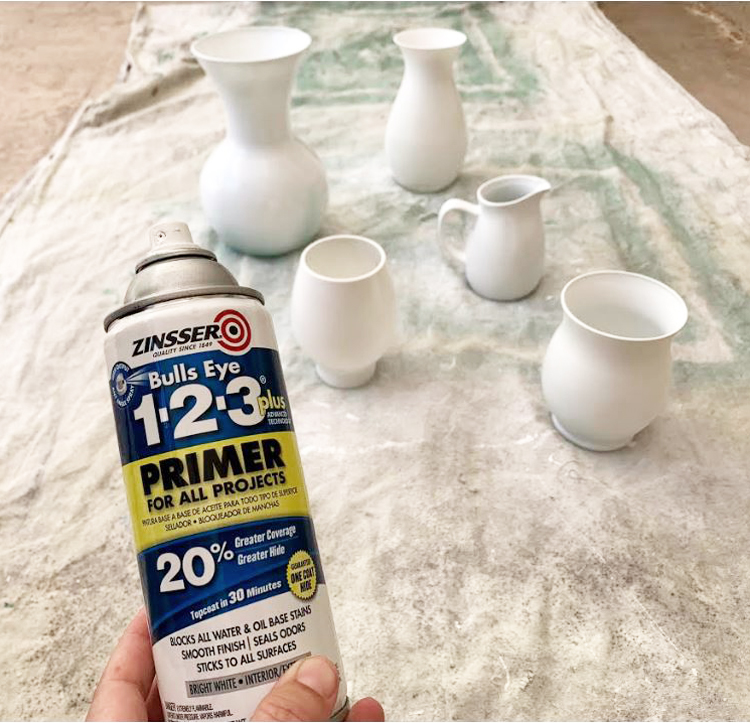
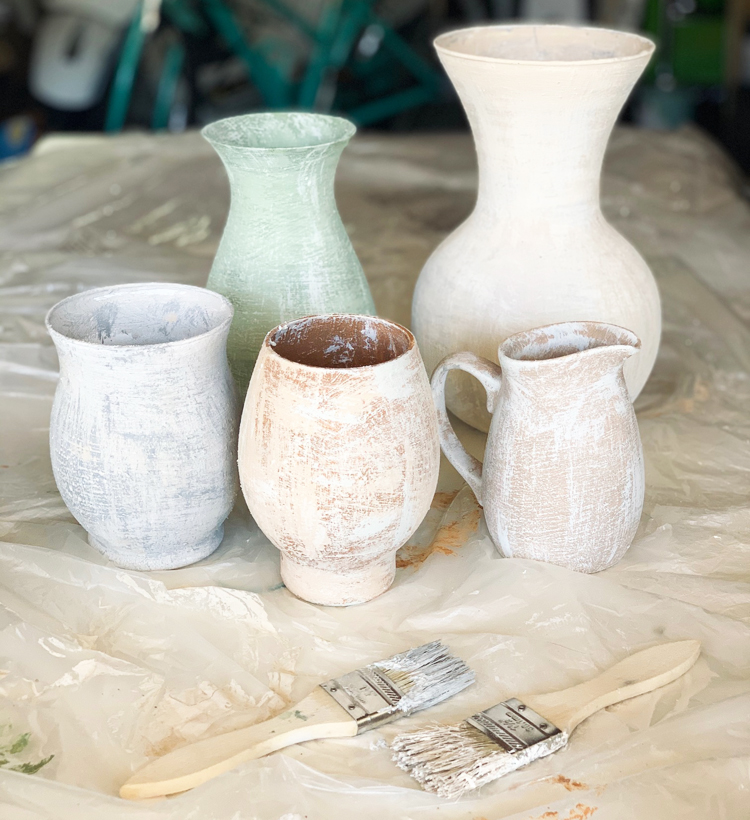
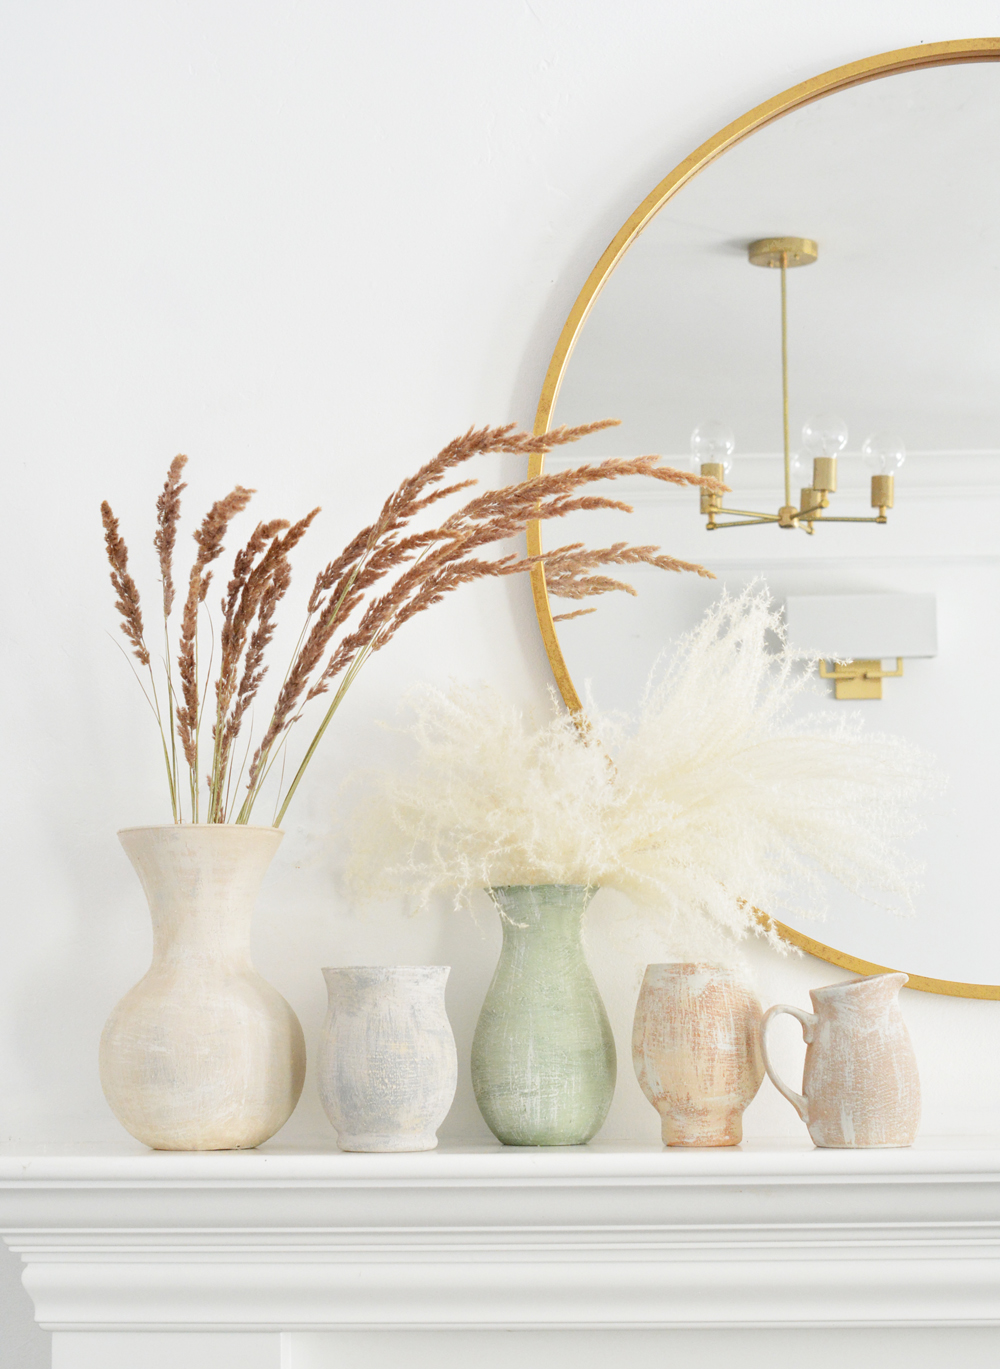
I used two glass vases and two hurricanes I had in storage and added a little ceramic pitcher too. Once the primer was dry I was ready to paint them. I bought five different earth tone paint colors ranging from olive green to gray to taupe so they would all start with a different base color.
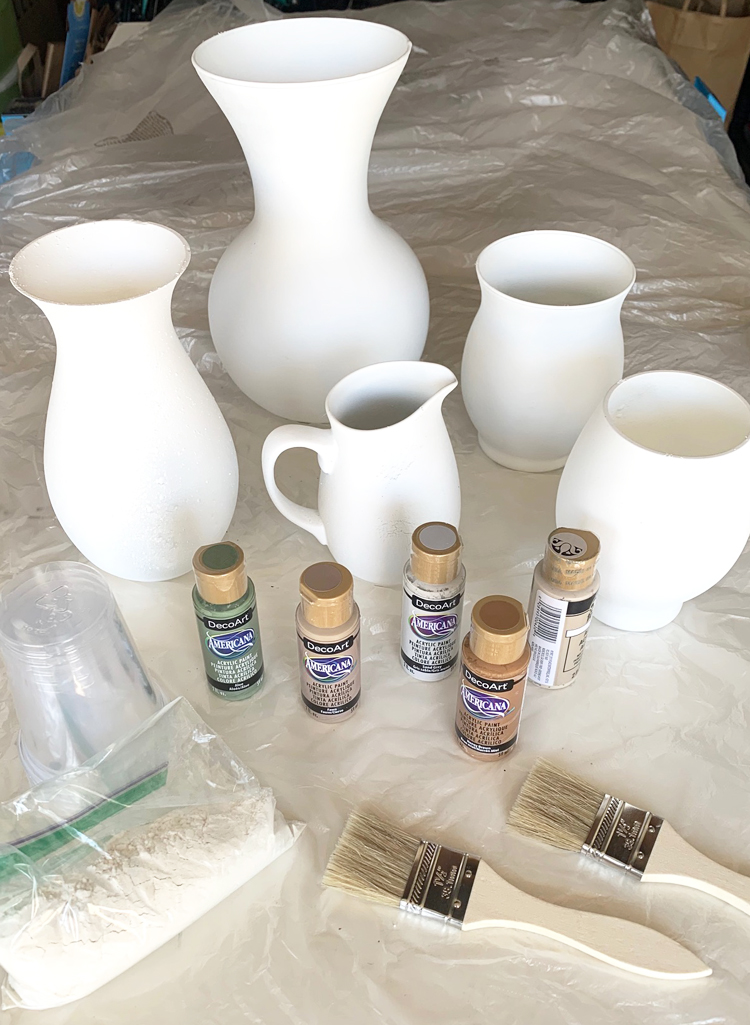
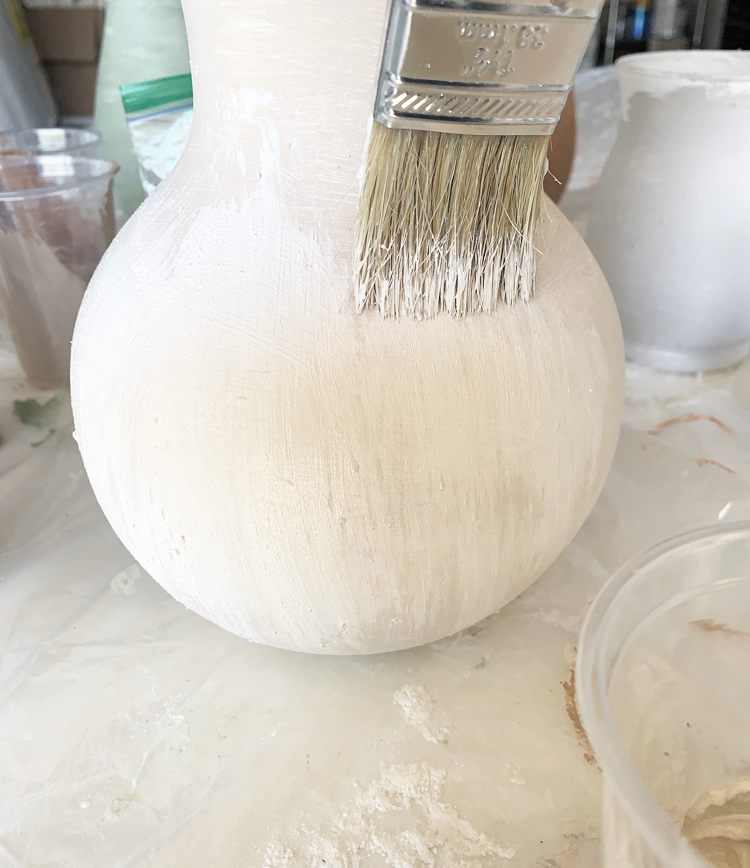
One the primer is dry, time to paint! Mix 1 oz. of craft paint with 1 tablespoon of flour and mix them together in a disposable cup. Cheap chip brushes are perfect for this project. You want imperfection and rougher texture and these cheaper brushes will give you that. Apply the paint/flour mixture in broad horizontal strokes to create the first layer of base color. Don’t worry about small clumps of flour or noticeable brush strokes, that’s what gives the vases character. Paint an inch or two inside the vase as well.

Once the first layer dries, create more texture with more layers. For the second and third layers, I added 1 teaspoon of flour to 1 teaspoon of white craft paint, then added about ½ teaspoon of the base color, so that the second and third layers were lighter and drier versions of the base color of each vase.
Keep the paint more dry than wet, and use the bristles of the brush in a vertical motion to create more texture and lighter layers of color.
Continue with the same drybrushing method to make a third (or even fourth) layer of brushstrokes on the vases, the more texture the better!
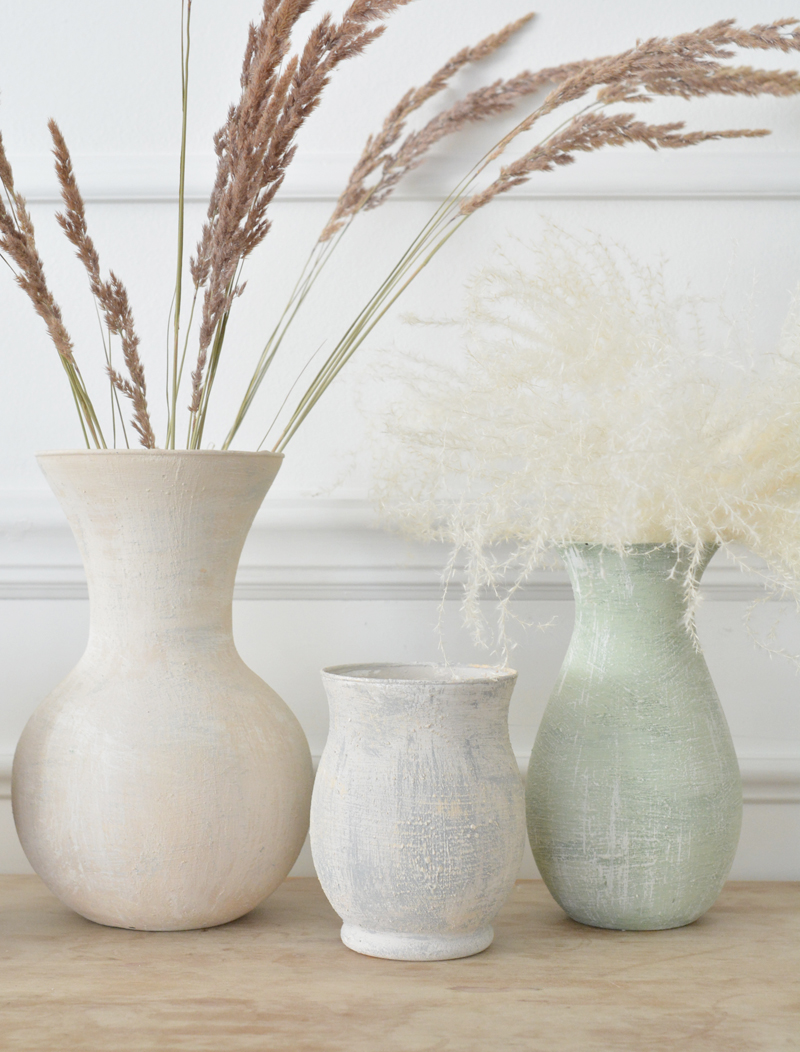
The matte finish that results looks and feels so cool.
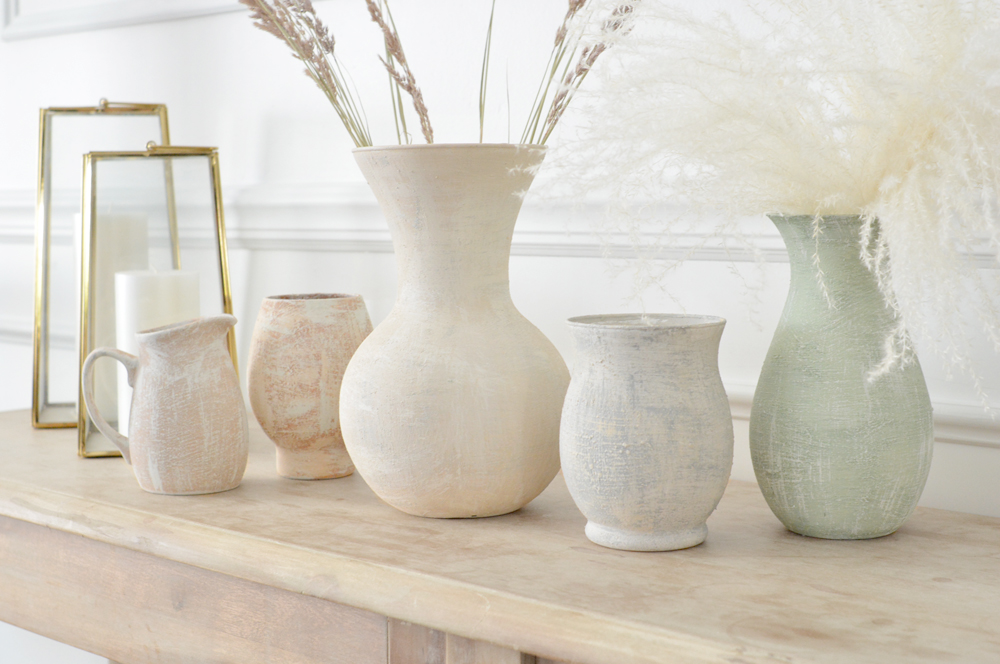
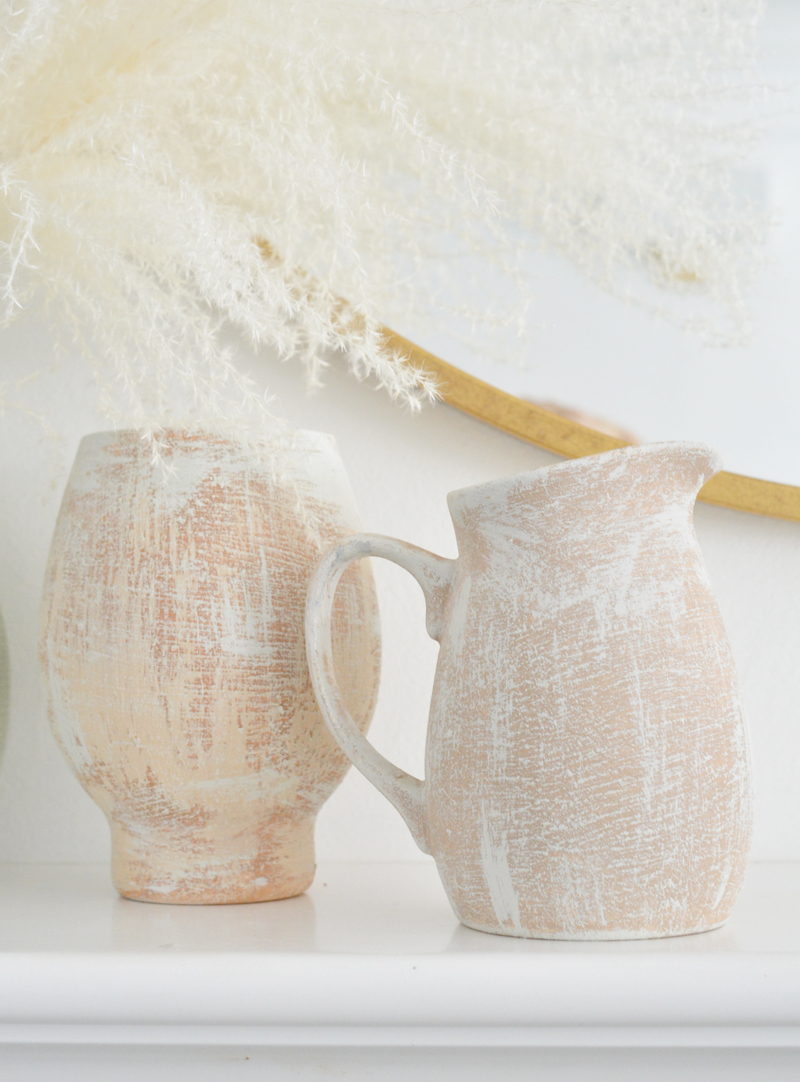
And that’s the simple technique for turning basic cheap florist/thrift store vases…
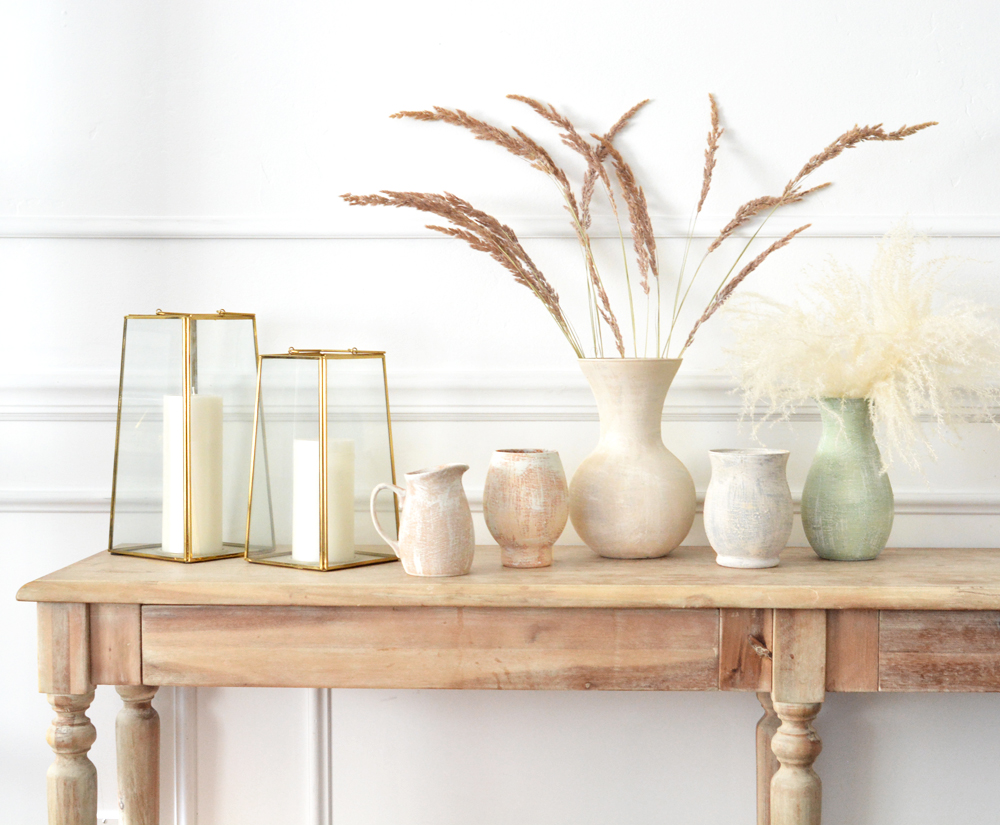
… into earthenware lookalikes for your fall tables, consoles, and mantels.
.


Amazing! Just WOW! Thanks for this great tutorial!
Thank you so much Cindi!!
Wow! Love this easy DIY. Thanks for sharing.
So glad you like it!!
I love this idea and I’m going to try it. They look so much better.
thanks Eileen! it’s so simple and fun too!
This one is SO GOOD! :-)
Thanks so much!
Super cool! I want to try this,
If you do let me know how it goes!!
They look amazing! I’ve been wanting to give this a try too ever since seeing it on Instagram
They turned out great!!
Is it ok for the vase to get wet?
Inside yes. Outside? I don’t know since the paint is dried but I wouldn’t get it wet.
Beautiful! I have always loved your tutorials.
So kind Ilene thanks!
So clever, thanks Kate!
Thanks Julie!
Killer good!!!!!!!!!!!!
Wow thanks!!
That is super cool looking! Do you think corn starch would work in place of the flour? I totally want to try this!
I’m not sure. It has a different consistency so I’m not sure how corn starch would mix with paint but maybe give it a try and let us know how it turns out!
How cool is that? It’s so special when your decor is something that you yourself made. I love it.
These look GREAT! When I first saw the picture, I assumed you were sharing a resource to buy these… I didn’t think DIY! Beautiful!
wow what a compliment, thanks so much!
Kate, I love these! Would love to try this on some old vases of mine.
It was fun Susan, I almost donated mine to the thrift store, glad I didn’t!
This is bloody brilliant!!
WOW!!!! Genius. Truly.
What a GREAT idea and tutorial. Thanks so much for this crafting inspiration – there are a trillion cheap glass items at every thrift store. I am so going to try this.
Cool, glad you like the project!
I’m doing this today. I’ve put on the second coat of lighter paint so far and now it’s drying. It’s a pale sea foam shade right now and I’m wondering if I could/should go darker with subsequent layers, perhaps with a khaki/tan shade? If I go lighter it may end up just looking white.
If I read your tutorial correctly you seem to feel going lighter with each subsequent shade is the way to go but just checking…
That’s the way I did it Doreen but every layer adds more color and texture so do it your way and see how it turns out!
Love this tutorial so much Kate! I actually gave it a try with an old pair of thrift store lamps for a pottery barn look. Turned out incredible!
I forgot to buy the white craft paint to do the layering but I have chalk paint. Do you think mixing some flour with that would work as an acrylic craft paint substitute? Can’t wait to start this little project!
sure give it a try! chalk paint is already very matte so you won’t need much for the finish, but the flour adds very cool texture too.
I’ve tried many types of ingredients to get texture including baking soda, baking powder, flour, corn meal, and coffee. All work and some give lots of rustic texture and others give a somewhat subtle effect. Go for it!