*This post is in partnership with CanvasDiscount.com.
Hello my friends! As you know I’ve been focused a lot on building up my travel art shop that I launched earlier this year, so it was serendipitous when I was contacted by CanvasDiscount.com to show off two ways to print artwork using their services. I was so happy to partner with them because their canvas prints are the best prices online!
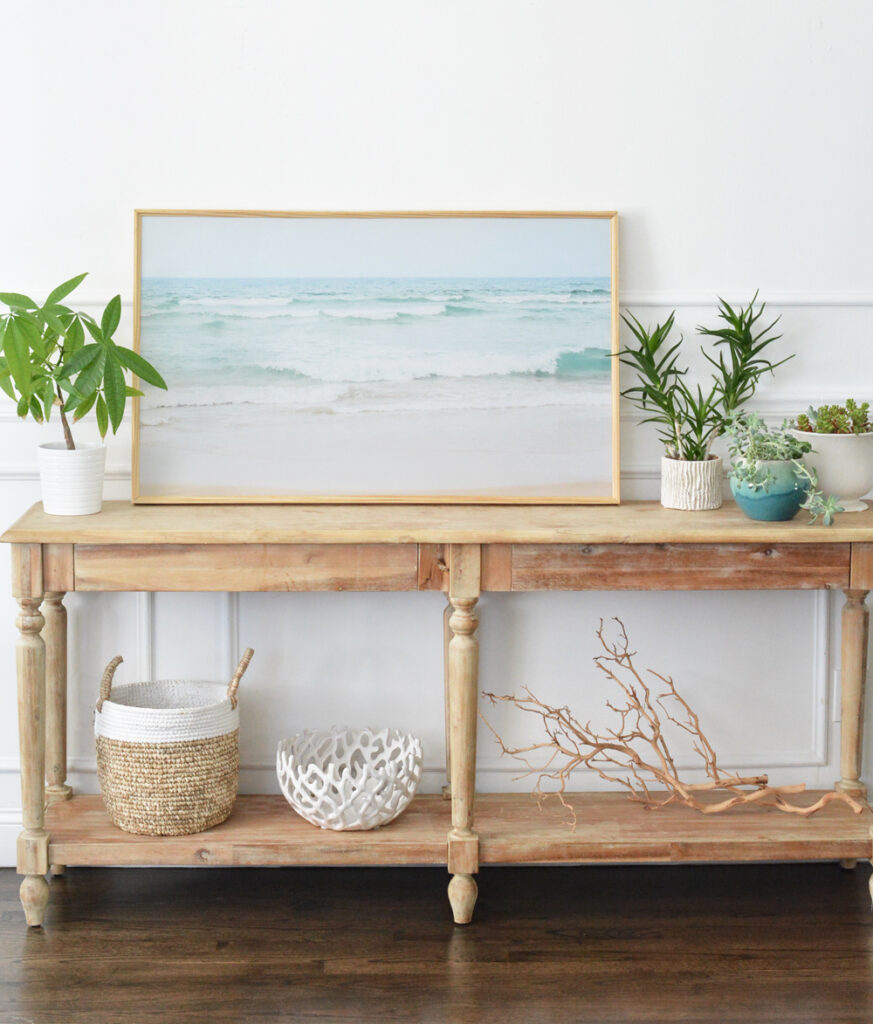
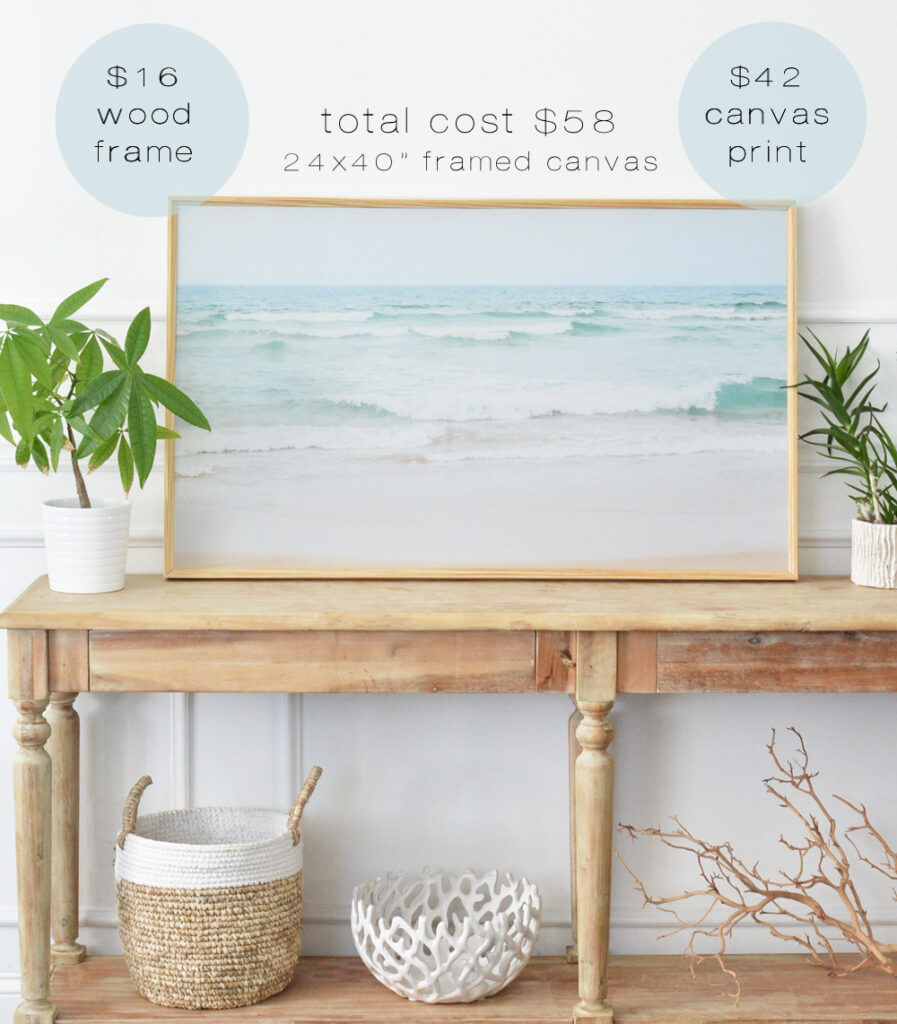
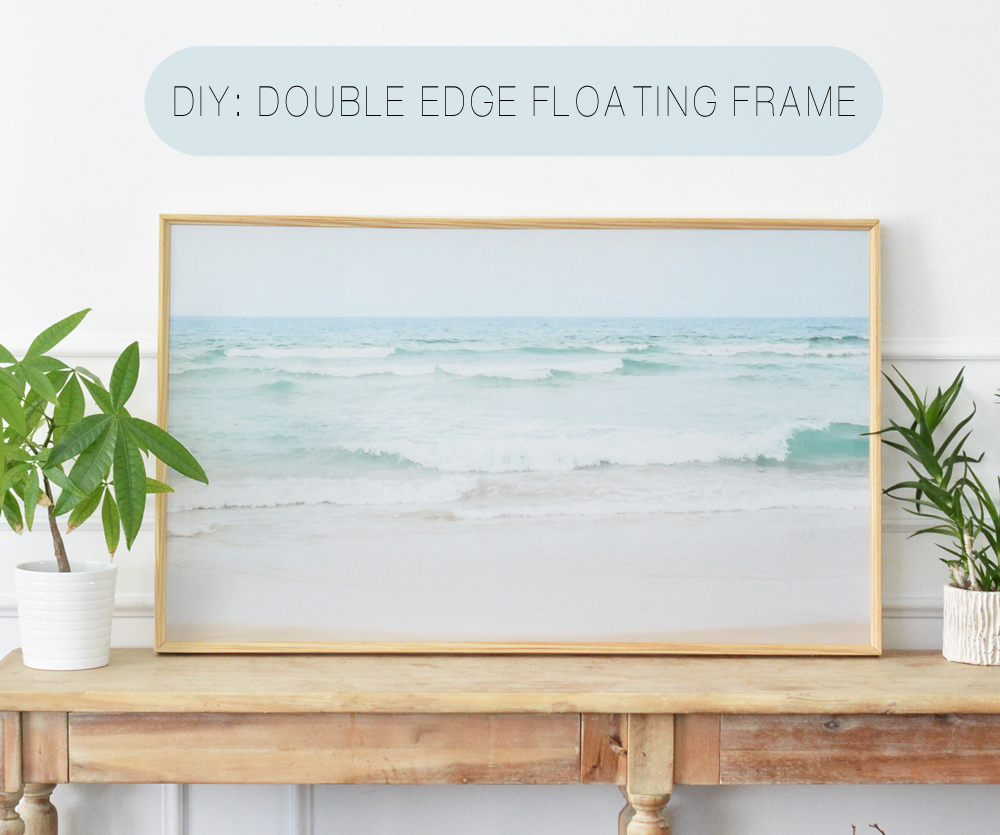
Today I’m sharing with you all the details on this 24×40” canvas seascape and the natural wood double edge floating frame I built for it.
First I want to highlight Canvas Discount’s custom acrylic photo prints. I had my Sonoma Water Lilies art printed on acrylic because I thought it would look beautiful with a high gloss finish.
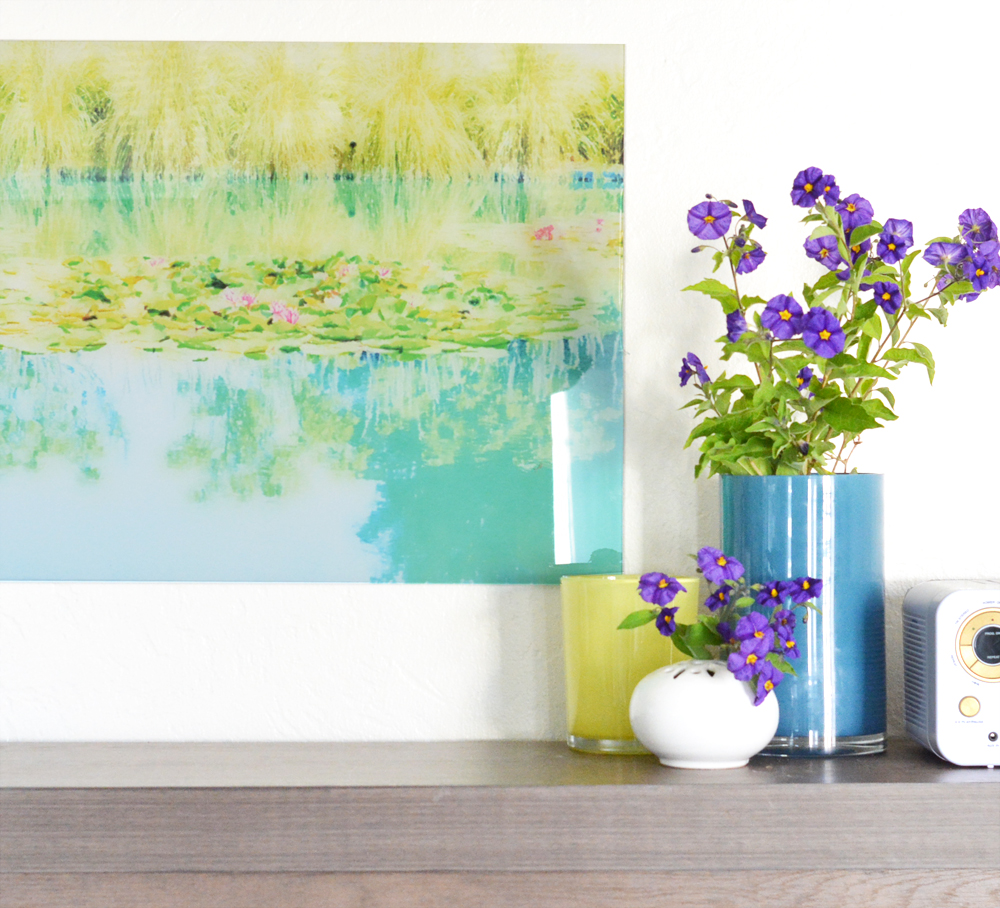
The water in the art print reflects the watercolor water lilies so I love how the high gloss finish on this 16×20” acrylic print is also reflective!
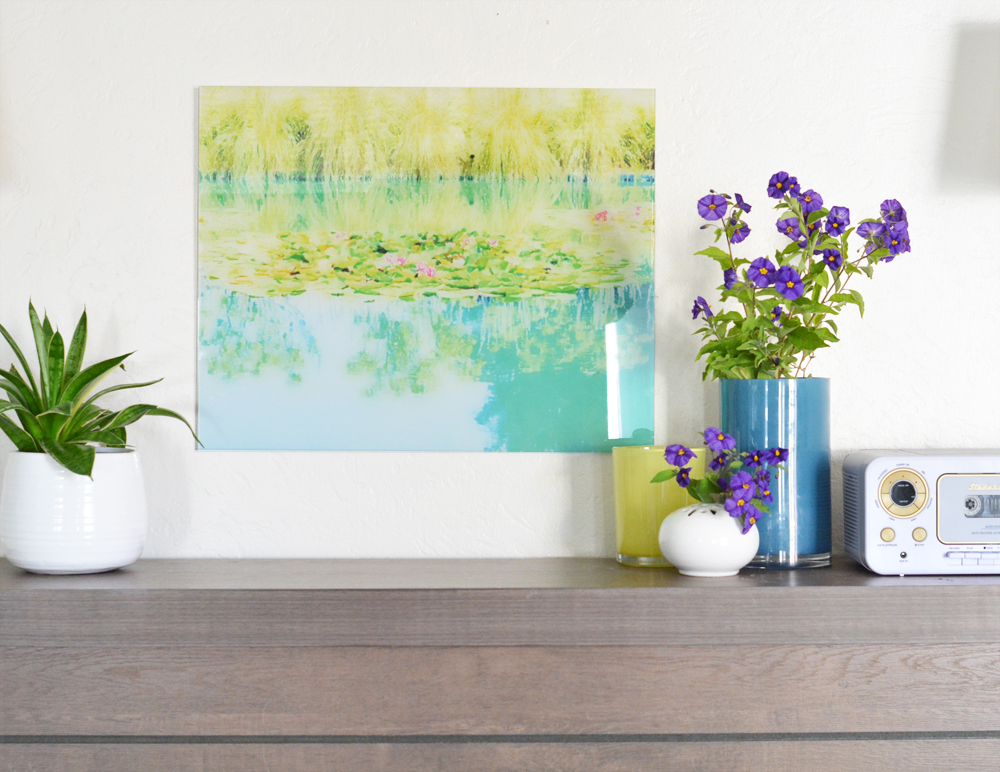
You can see there’s a hint of reflection in the bottom corner of the print photographed below. Acrylic prints are flat with a gorgeous glossy sheen so they’re a modern way to hang frameless art. They come with a flat adhesive metal hanger so you can hang them on the wall without a frame. To get a similar look, upload any of your own art or a digital download you’ve purchased to Canvas Discount and select acrylic photo prints.
Back to the DIY double edge canvas framing project…
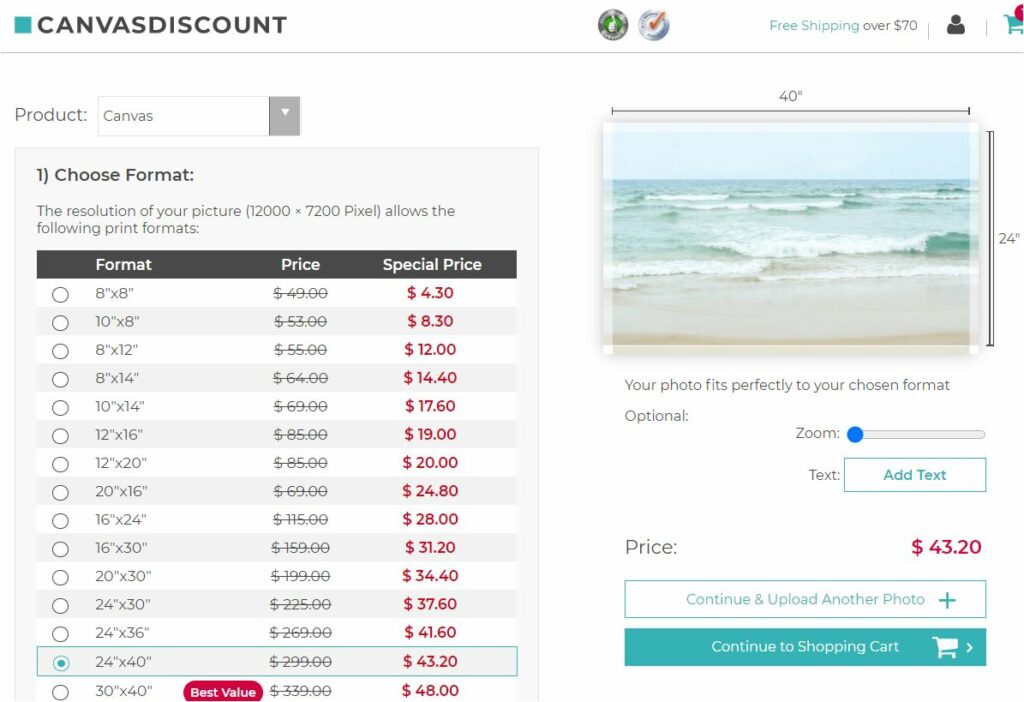
I ordered a canvas in the 24×40” size from CanvasDiscount.com and it arrived within a week well packaged in a cardboard box with the canvas wrapped in bubble wrap.
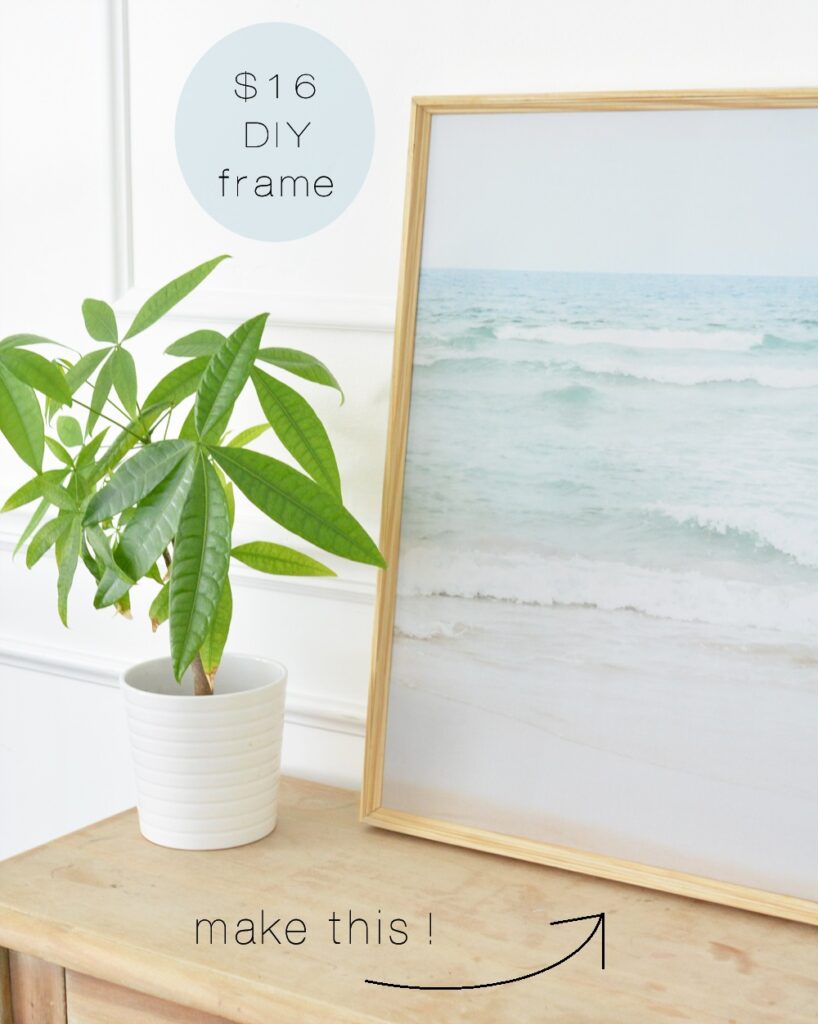
The artwork is from my Restless Art print shop. I uploaded Gold Coast and had it printed on canvas in the 24×40” size, the price was only $43.20! I spent $16 on the wood so the total cost was $58.
This print would be sold for much more in any retail store!
Canvas Discount’s factory direct canvas print prices are the best prices I’ve seen. Upload any of your own images and select the size you want, and they’ll ship a canvas to you within a week! If you use the code CENTSATIONALSTYLE you’ll get an additional 10% off! For this project, I worked with a canvas print that was ¾” thick.
If you love the seascape pictured it’s the Gold Coast print from Restless Art. You can purchase and download it from my art shop for $9 and it includes the 24×40 size as shown. :)
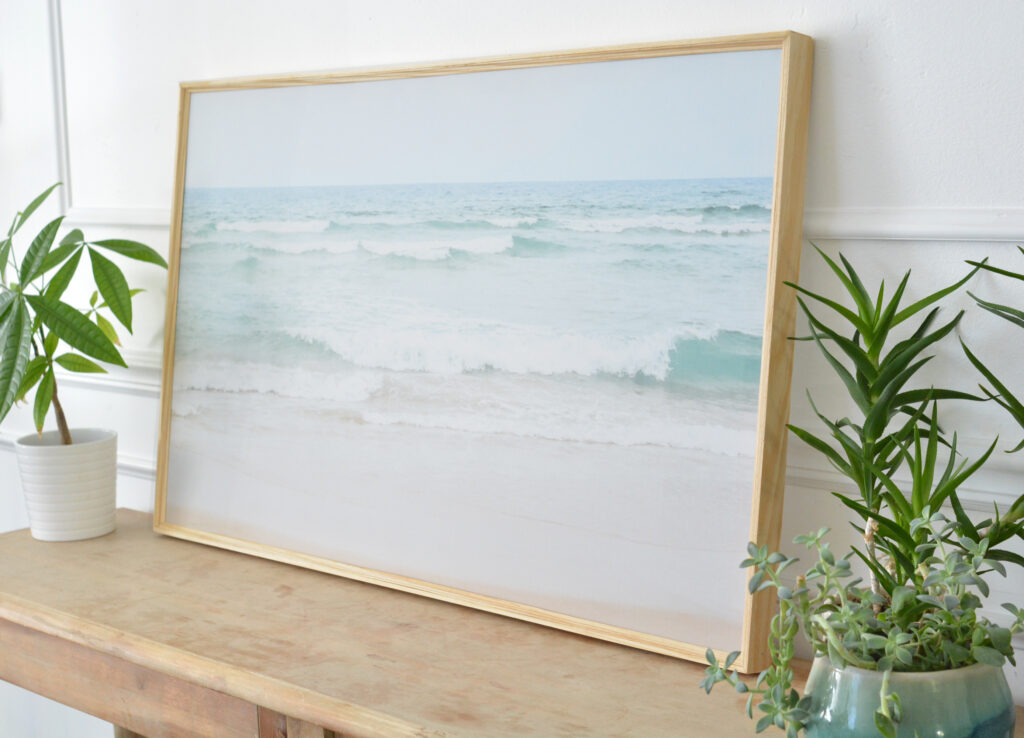
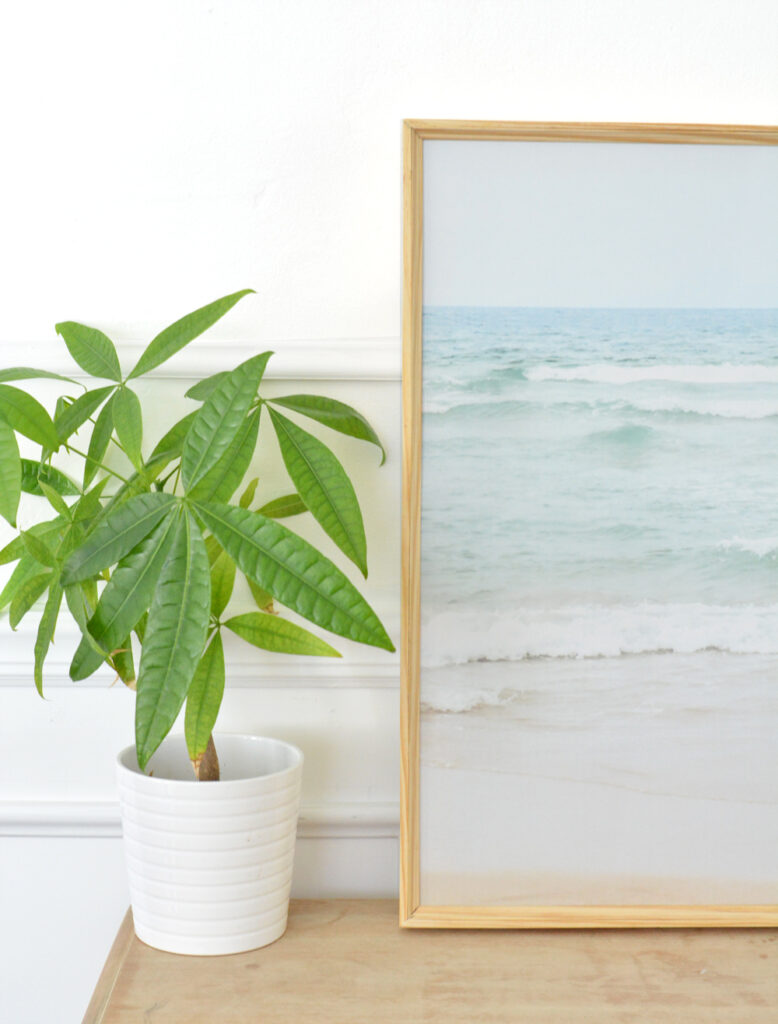
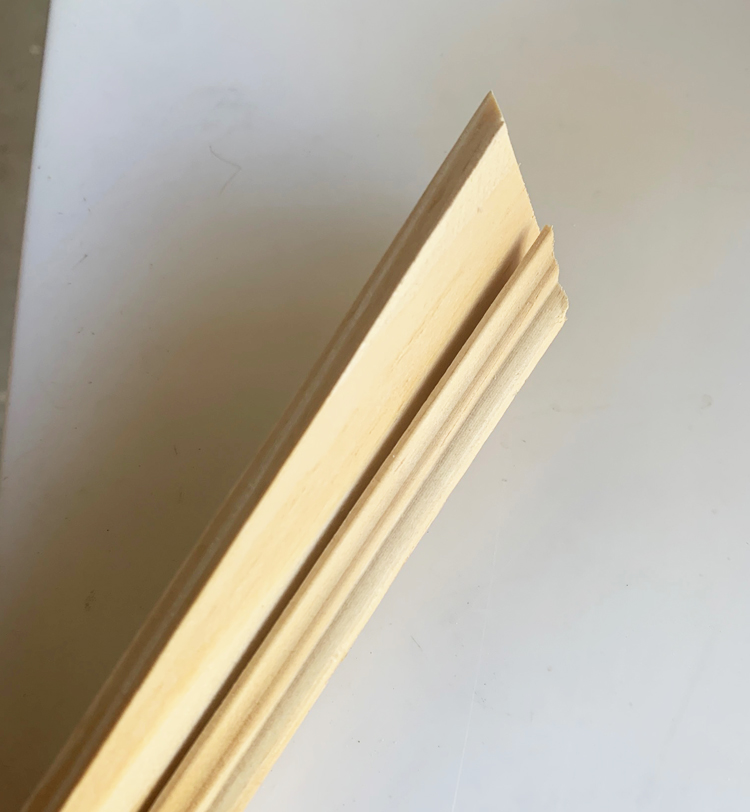
The outside of the frame is a smooth flat edge that surrounds the canvas, while the inside has a second piece with a small routed edge that adds just an little bit extra dimension and detail.
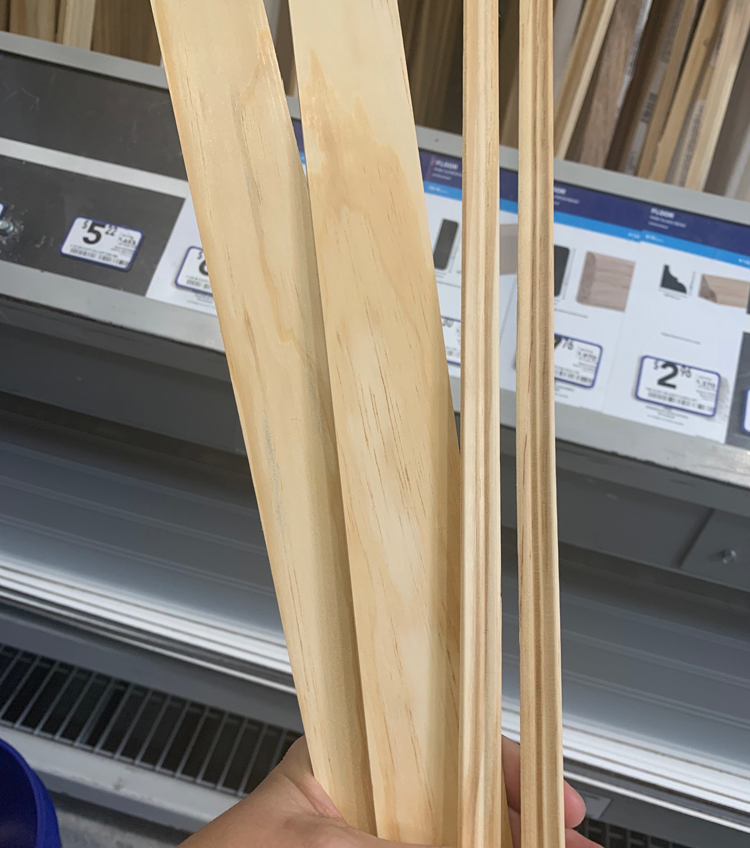
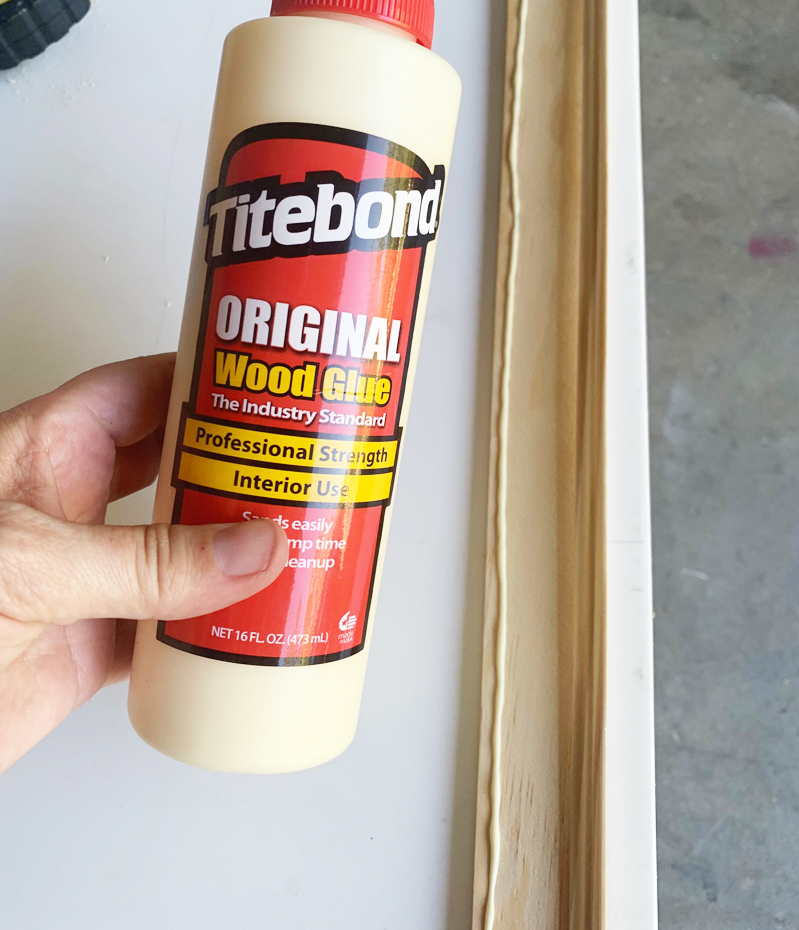
To make your own double edge floating canvas frame, you’ll need these supplies: miter box, miter saw (optional), strips of 1 1/2” pine lattice and 3/8”pine glass bead from Lowe’s (I bought two 8 foot strips of each to wrap a 24×40” canvas), brad nailer or very thin nails, wood glue, painter’s tape, pencil, and wood filler for any gaps.
Here are the SKU numbers for the pine trim from Lowe’s: 3553 is the 1 1/8” pine lattice and 13181 is the 3/8” pine glass bead.
I used a pencil to measure the outside edge of the canvas and mitered the lattice first so that the corners came together at a 45 degree angle. I used my miter saw because it’s quicker, but you can also use a miter box, it just takes longer to cut the flat lattice.
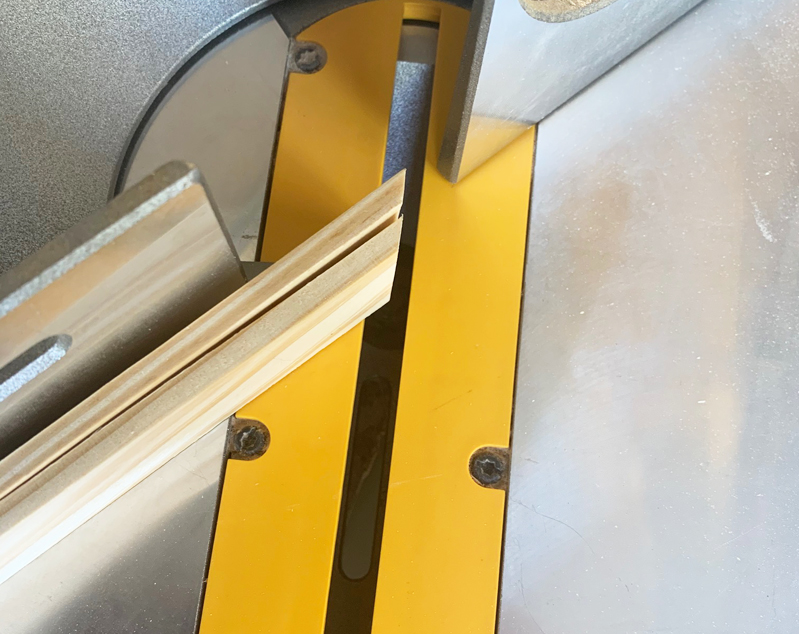
A miter box is cheap, only $15, and they come in handy for cutting thin trim.
I should mention I used a sharper Stanley saw for my manual cuts, not the one that comes with the cheap miter box. It helped keep the edges smoother because it had a finer blade.
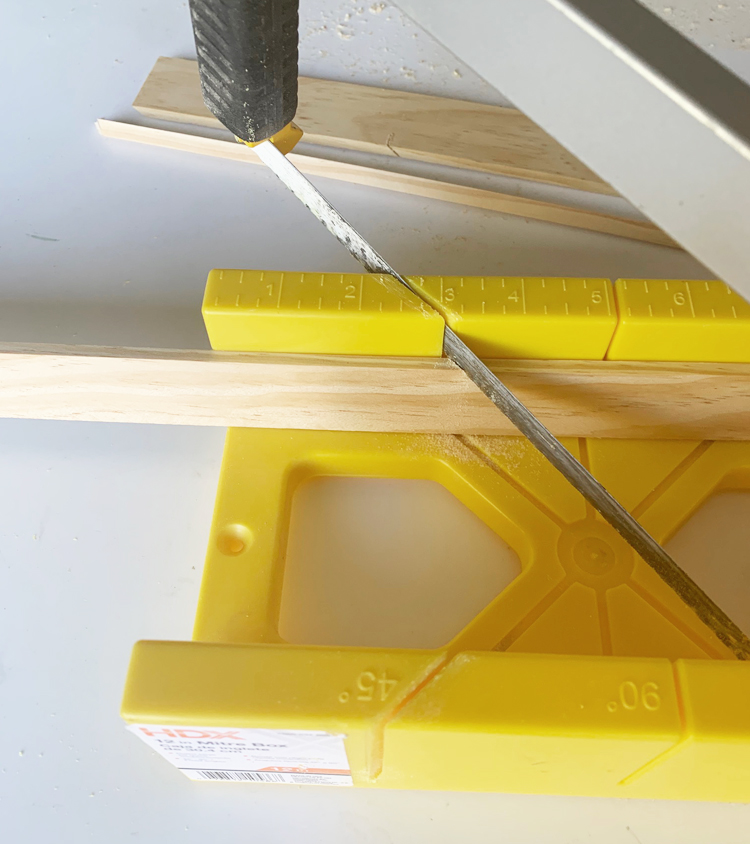
The miter saw was too powerful for the thin bead pieces. I tried it and it splintered so I used the miter box and it worked perfectly.
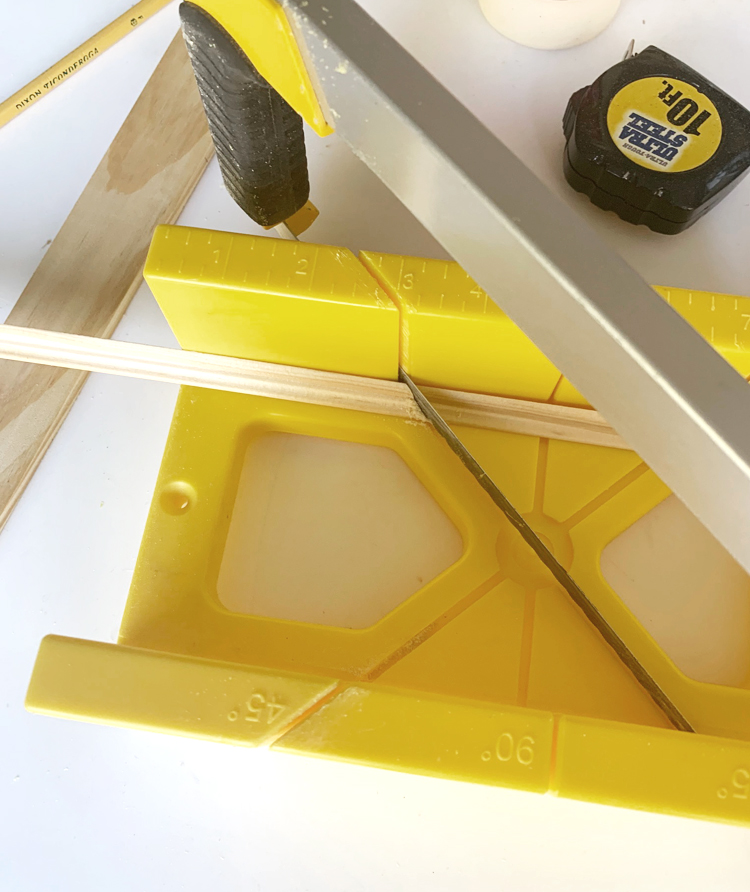
This is how the angles look next to each other. They’re a perfect 45 degrees so they meet and match in the corners. Notice how the outside edge of the routed bead piece starts at the inside edge of the bottom of the mitered lattice piece to form a straight line at a 45 degree angle.
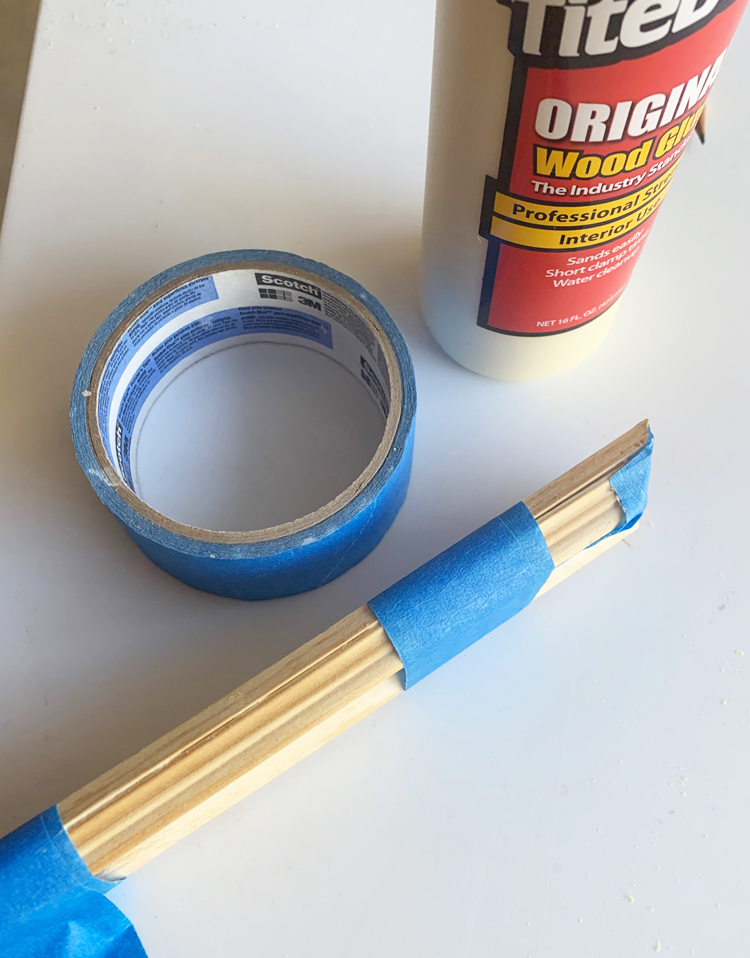
Use a thin line of wood glue to attach the flat edge of the routed bead piece to the front of the flat side of the mitered lattice. Use painter’s tape every 4 inches or so to hold the pieces together while the wood glue dries. Allow to dry a minimum of 12 hours.
Before you attach the four sides to the frame, you can paint or stain your frame any color! Walnut, white, black, gold, whatever you like! I kept my frame natural wood because I thought it complemented the palette of the seascape print.
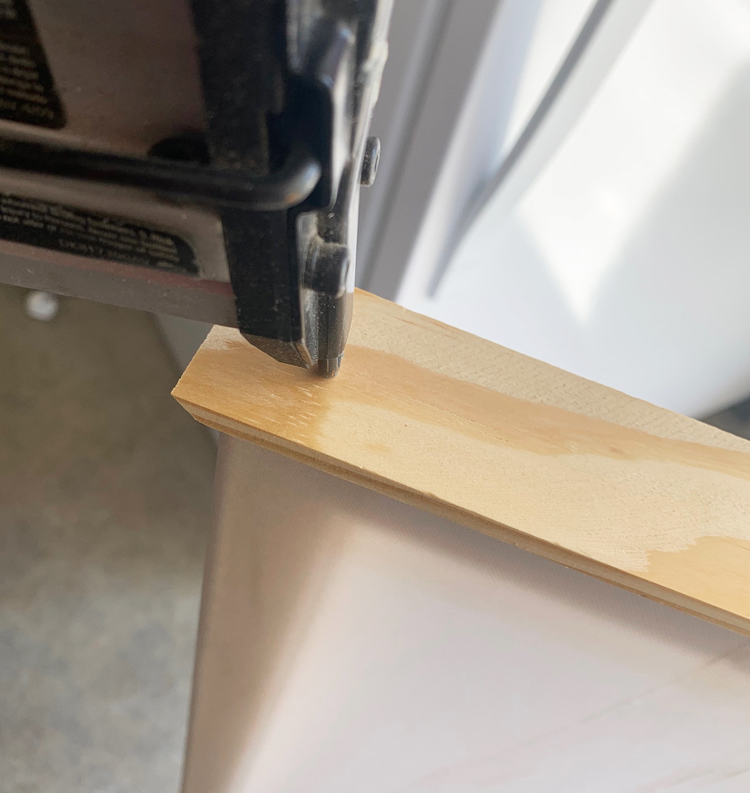
I used tiny brad nails to secure the edges to the four corners of my wrapped canvas. You could also use very thin headless nails and patch them with wood filler. If there are gaps after you staple and glue it together, you can use wood filler in matching wood tone.
When it’s all assembled, here’s how it looks! A custom wood frame for $16 bucks!
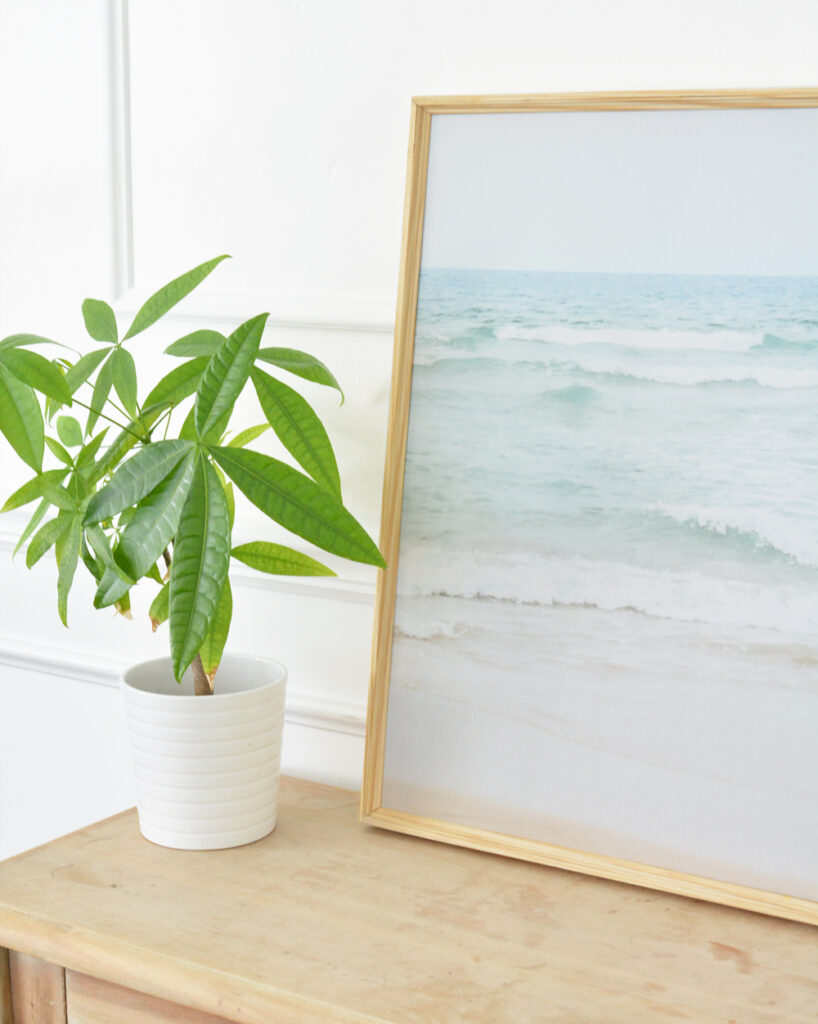
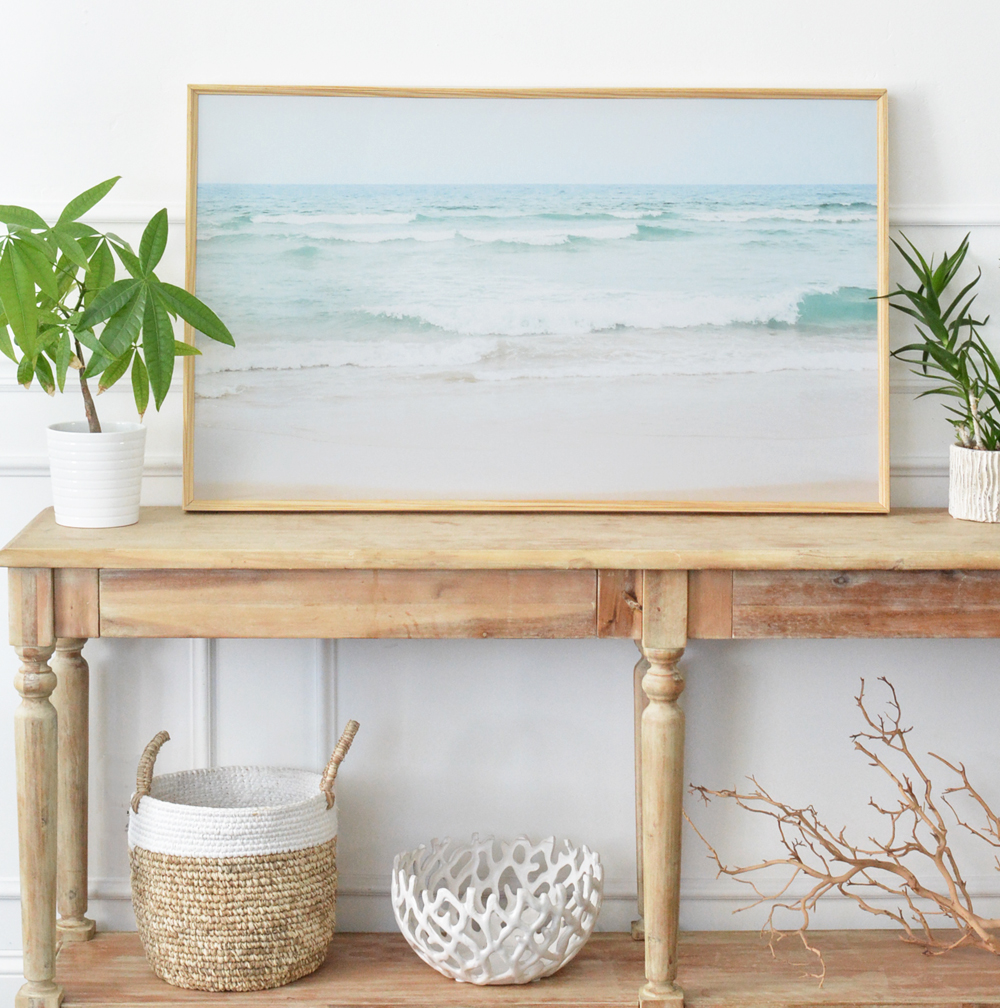
The canvas came with a hanging kit, so I can hang it on the wall if I wish but for now it’s nice just propped up against the wall.
Be sure to bookmark CanvasDiscount.com for all your photo and art printing needs, they offer canvas prints, acrylic prints, metal prints, and more! Use the code CENTSATIONALSTYLE for an additional 10% off!
*This post is in partnership with CanvasDiscount.com. I was supplied a free acrylic print but I purchased the canvas art myself. All opinions are my own.


Does the size of the photo file affect the quality of the picture?
Yes, you want to use an image that is 300 dpi for best quality printing.
The size matters too, the higher the pixels the better the quality. All of my artwork that I sell at Restless Art has the following pixel size at 300 dpi:
2 to 3 ratio is 7200 x 10800 px for an enlargement up to 24×36″
3 to 4 ratio is 5400 x 7200 px for an enlargement up to 18×24″
4 to 5 ratio is 7200 x 9000 px for an enlargement up to 24×30″
5 to 7 ratio is 5906 x 8268 based for an enlargement up to 50cm x 70cm (international size).
Love that natural timber finish.
How long did the process of making the frame take? (apart from the glue drying part)
I only ask because my wife and I want to attempt doing quite a few around the house but we’re a bit time poor at the moment but we love doing little projects together.
Thanks, appreciate you filling us in on your DIY exploits, Its awesome stuff and was a great read.
I love the natural finish too! The cuts didn’t take long, maybe an hour because I was really precise about the exact measurement and angles. :)
Wow! Thank you for this! I always prefer canvas prints with frames and this would help me save!