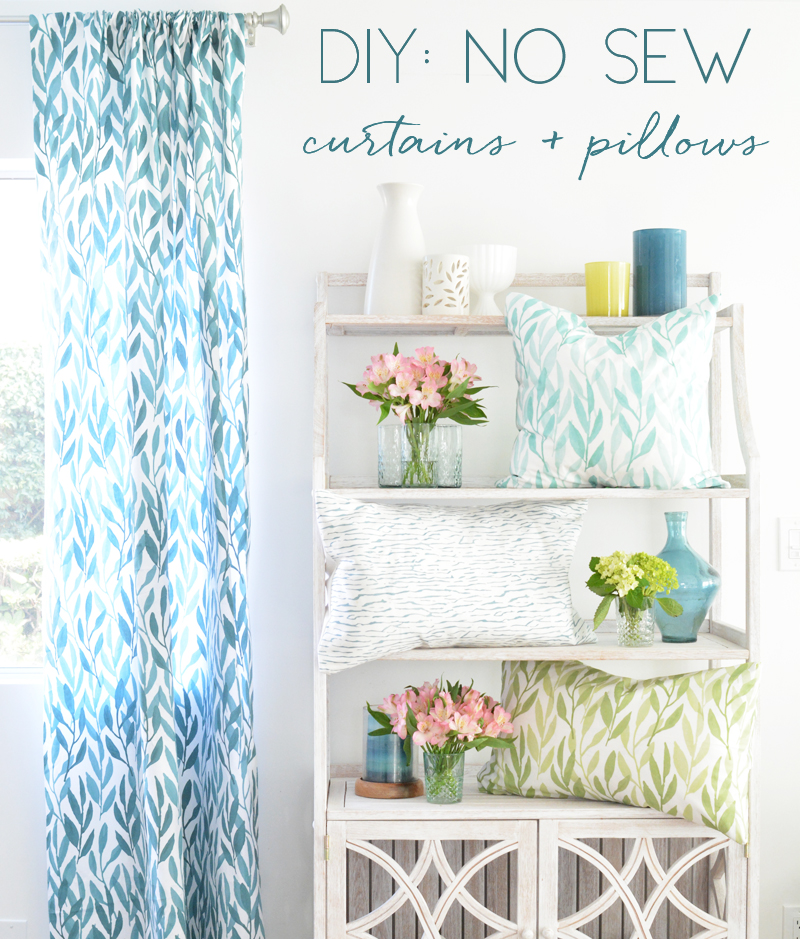
I brought the new summer fabrics (featured earlier this week) with me to Las Vegas to photograph because the light was better in that house, however I didn’t have time before I left to sew a sample curtain or pillow covers, so I made them there with a few rolls of fusible iron-on adhesive tape (find it at any sewing supply store or Hobby Lobby).
Iron on tape has been around forever and it’s a great product for making a basic curtain panel or pillow cover without the need for a sewing machine. You’ve seen this before in tutorials around the web, but I thought it worth revisiting, especially for those of you who don’t own a sewing machine or don’t know how to sew. You can still make your own rod pocket curtains and envelope pillow covers with this method!

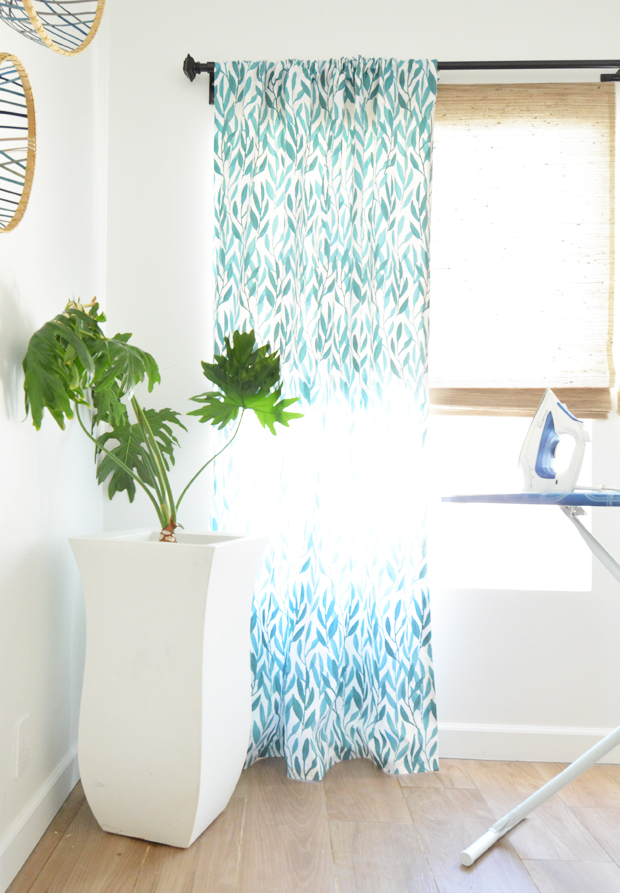
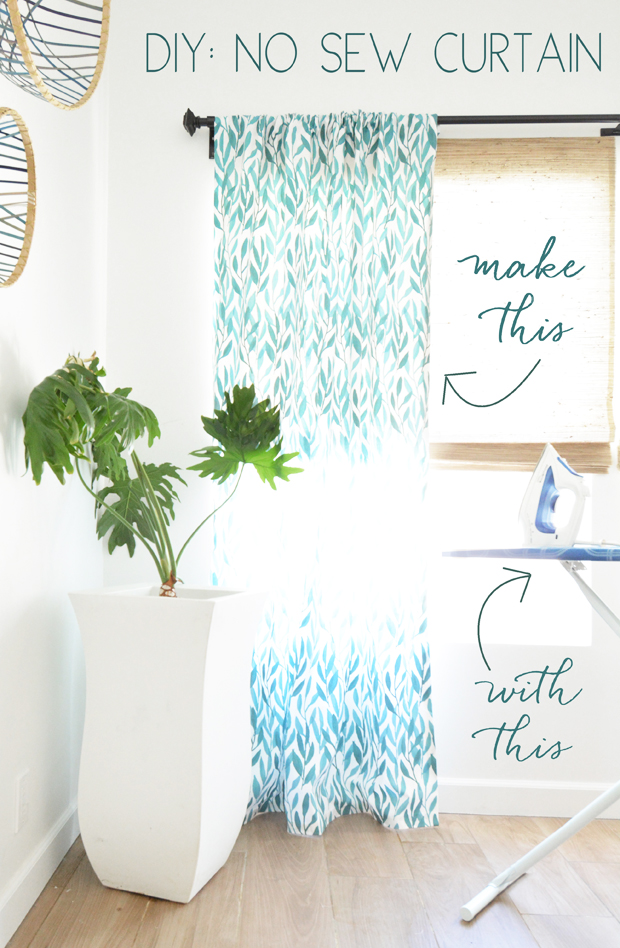
DIY No Sew Rod Pocket Curtain Panel
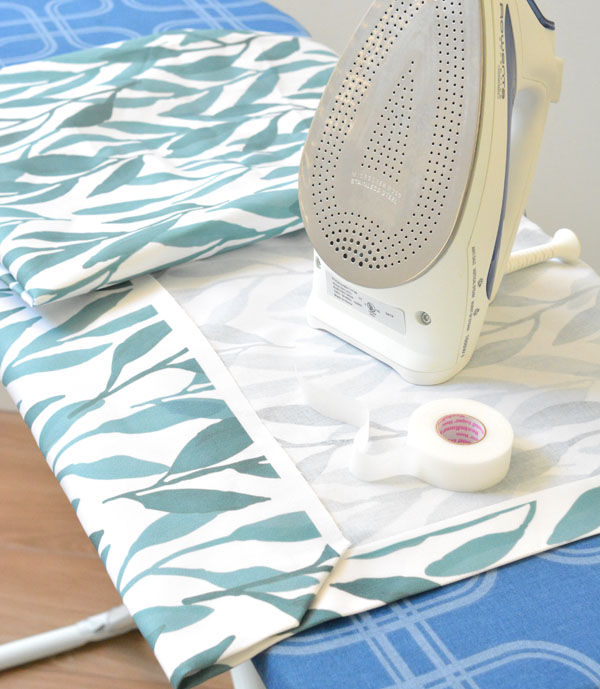
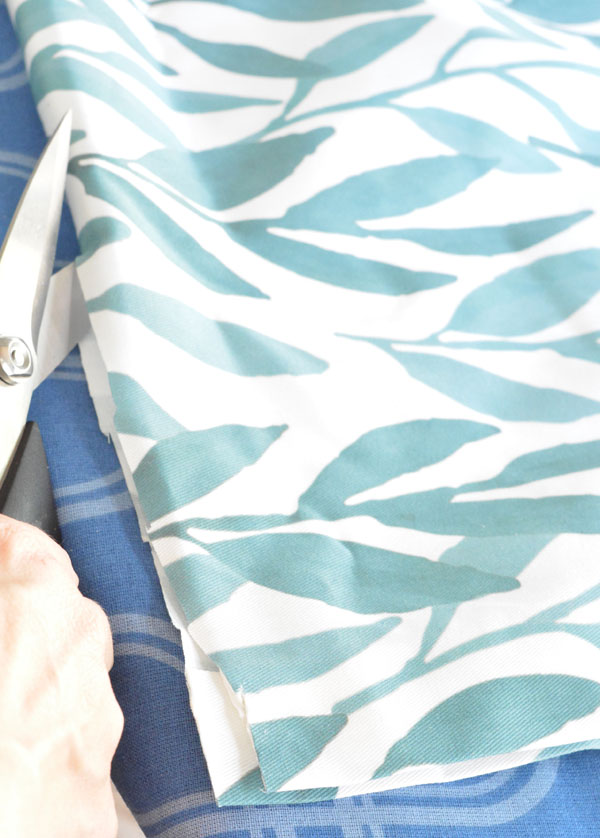
This curtain panel I made with my Watercolor Leaf print (in the Peacock blue) with just an iron, ironing board, and iron-on adhesive tape. Make sure you have enough yardage to run not just the length from the rod to the floor, but also an extra foot to form the pocket up top and and the bottom hem below.
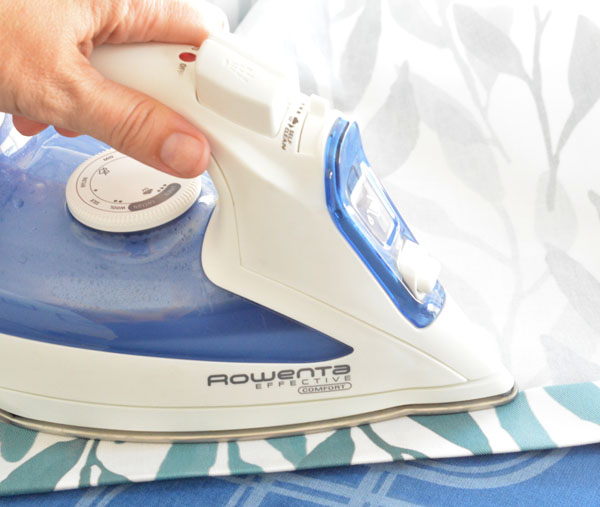
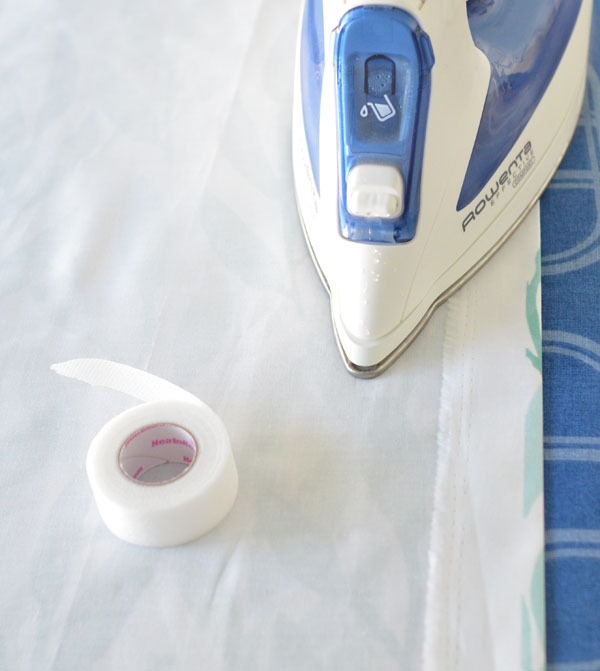
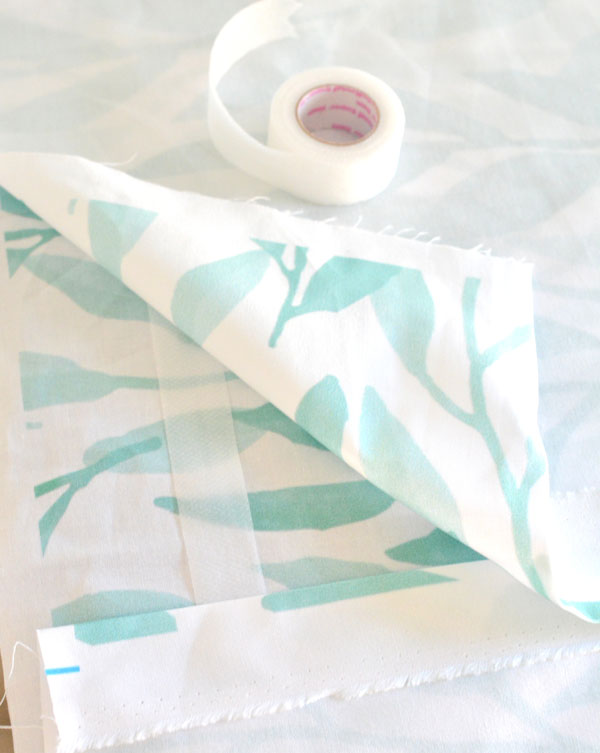
For those of you who’ve never used this product before, it looks like a roll of tape, but it’s soft and pliable and the adhesive is only activated with the heat of an iron. Every package will tell you how it works, each roll costs about $2-3.
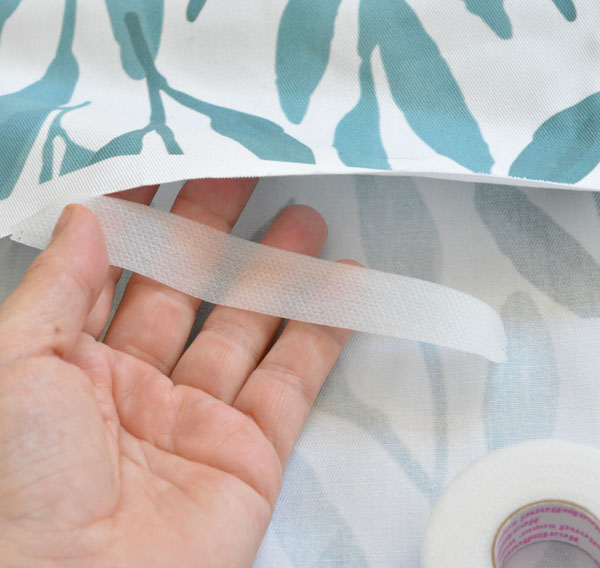
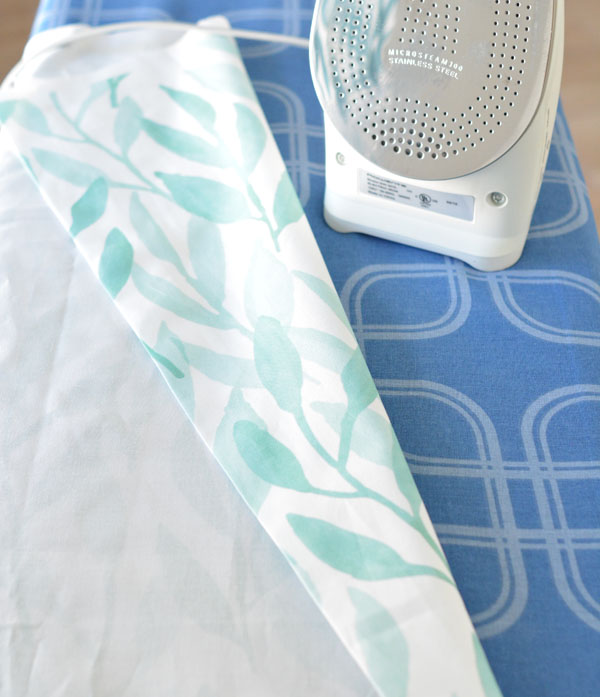
Start first by making the vertical hems down both sides. You have two choices, you can fold the edge of the fabric over once, this is totally fine, but it will leave the raw edge of the fabric visible on the back. Use the iron-on tape as instructed on the package to fuse the edge to make the vertical hems.
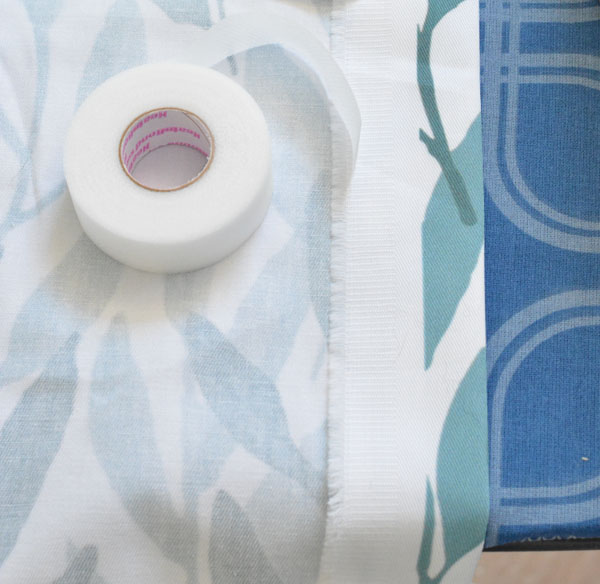
A raw edge is not a big deal but if you like finished edges like I do, roll the fabric under not once but twice, then use the fusible web to create that cleaner looking hem. I apply the iron-on tape in 8 to 10” sections working my way down the length of the fabric.
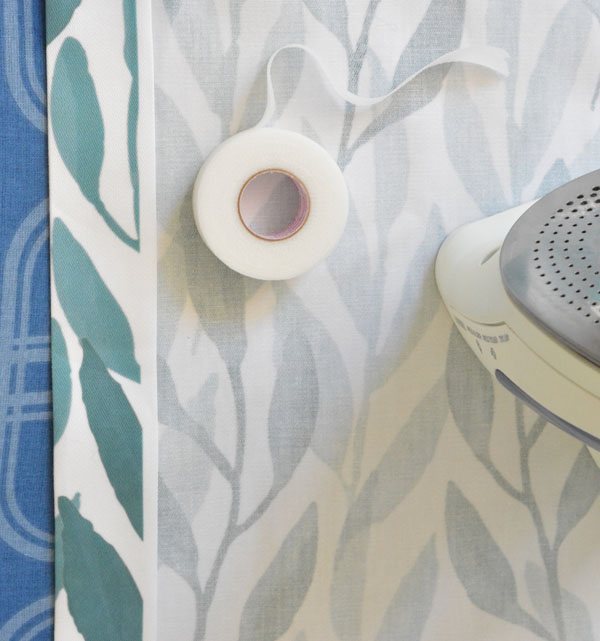
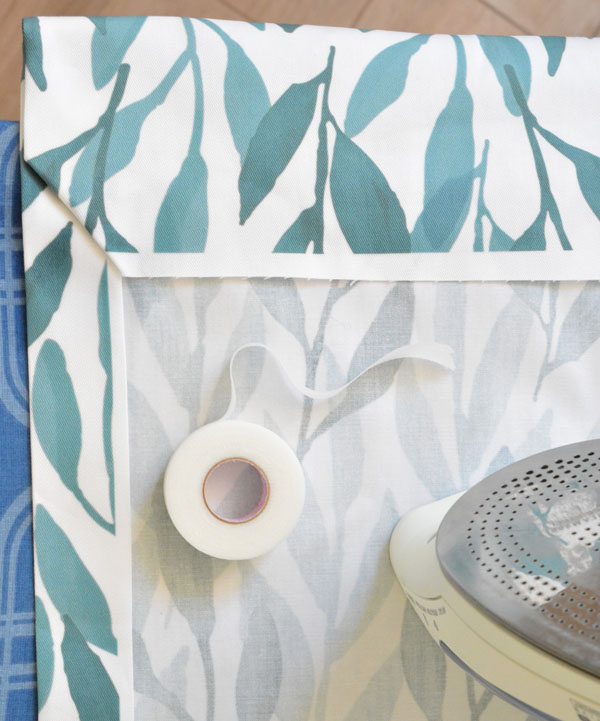
Once you’re done with both vertical hems, you’ll next form the top pocket which will hang on the rod. To form the top pocket where the curtain will hang, fold over the top of the fabric allowing plenty of room for the rod to slip through. I usually allow about 3” for a 1” curtain rod so it will slide back and forth on the rod easily.
Use the iron-on adhesive to fuse the fabric together to form the pocket. I like to fold under the corner at the edge and use a small piece of iron-on tape to secure it so that the corner is nicely tucked away and invisible.
Once you’ve finished the two side hems and the top pocket, hang your curtain on its rod in place, there should be several inches of extra fabric for you to play with and decide where you want the bottom hem. I recommend using a pin to indicate where you want the final edge to be so you don’t cut too much fabric and end up with a curtain that’s too short.
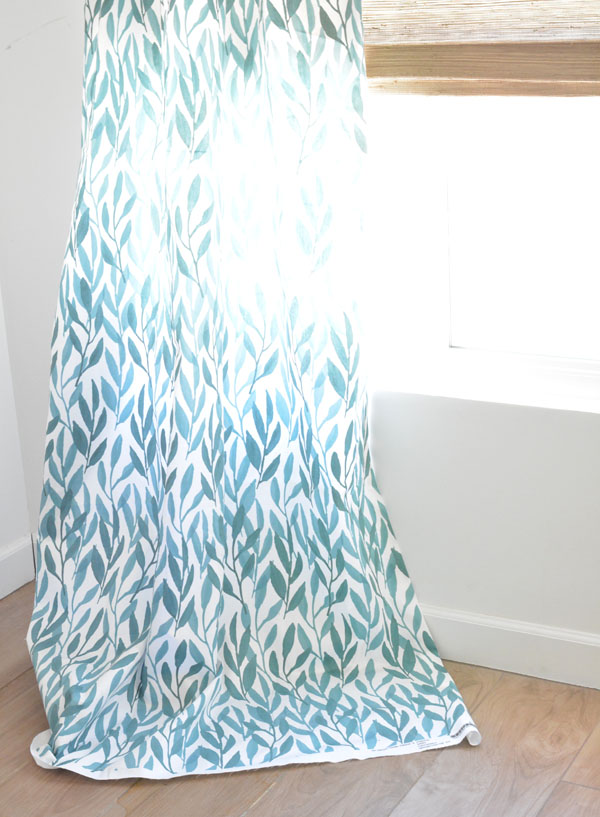
The nice thing about this method (compared to sewing) is there is no need to remove the curtain panel like you would if you were sewing the bottom hem, you can simply cut the panel in place on top of the iron board, then bond the hem with iron-on adhesive tape in place.
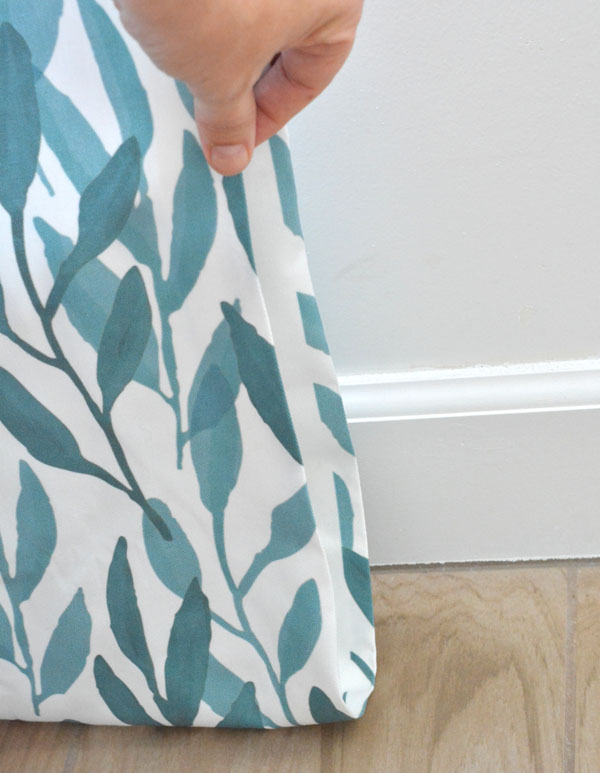
Create the bottom hem just as you did the side hem and rod pocket, using the iron-on tape.
If you’ve never tried this product, you’ll be shocked how easy it is to make your own curtains with any fabric yardage. For those that don’t sew, it’s a whole new world! :)
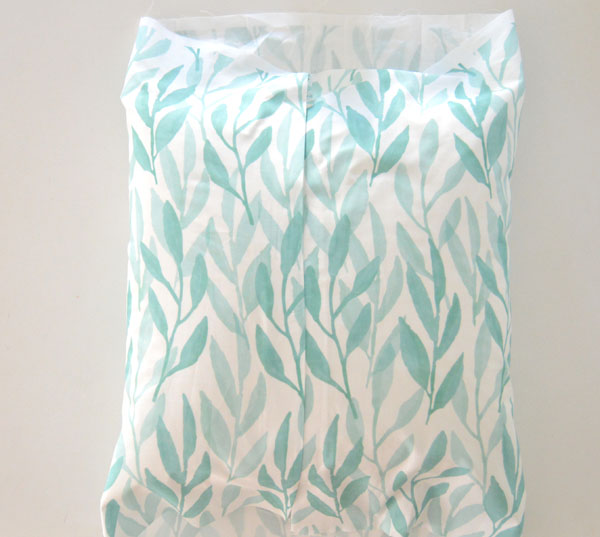
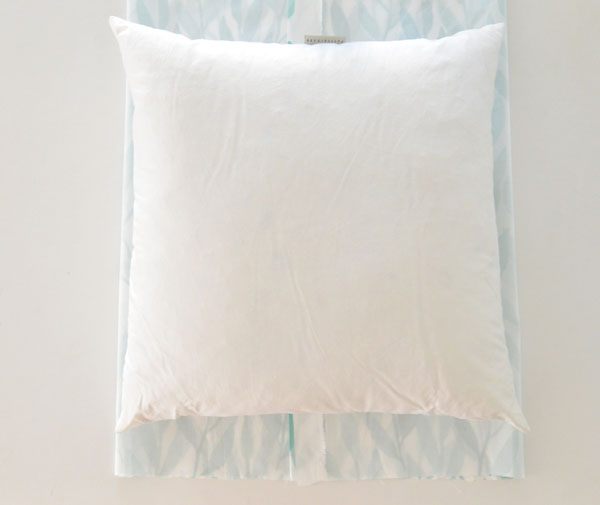
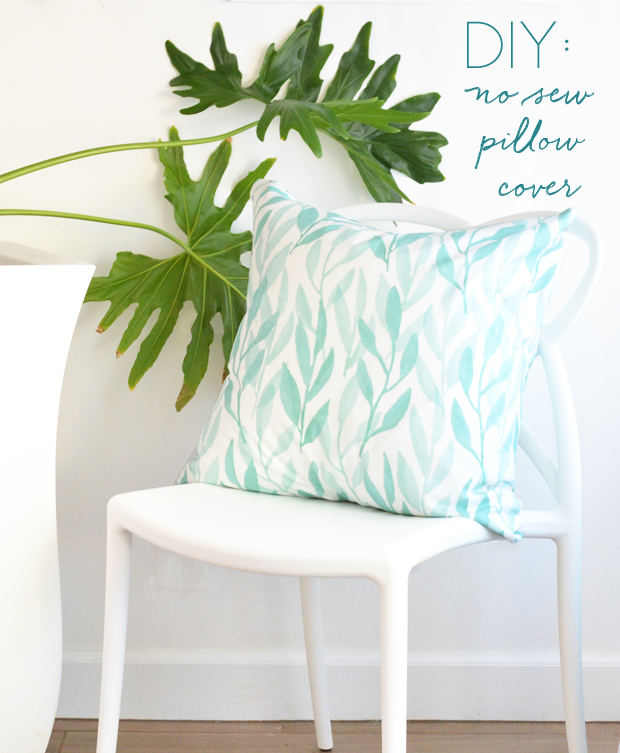
No Sew Envelope Pillow Covers
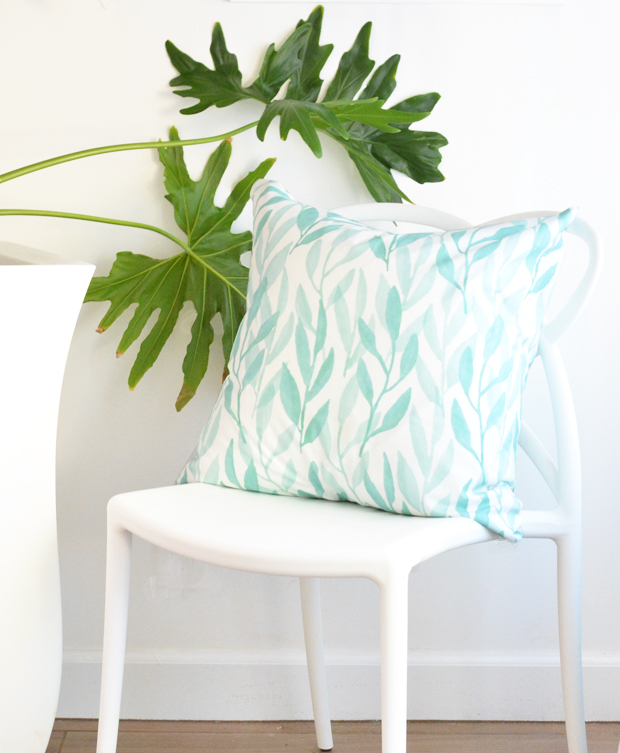
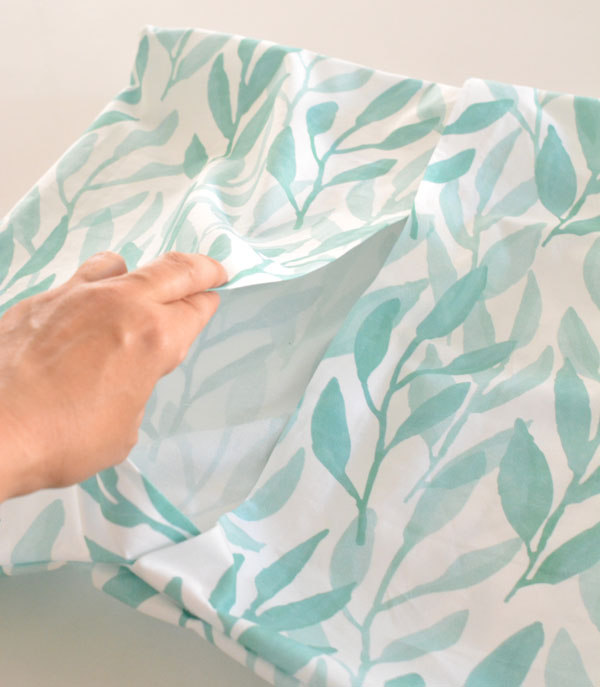
The above envelope pillow covers was made using the same iron-on adhesive tape, this is the Watercolor Leaf print in Spa blue.
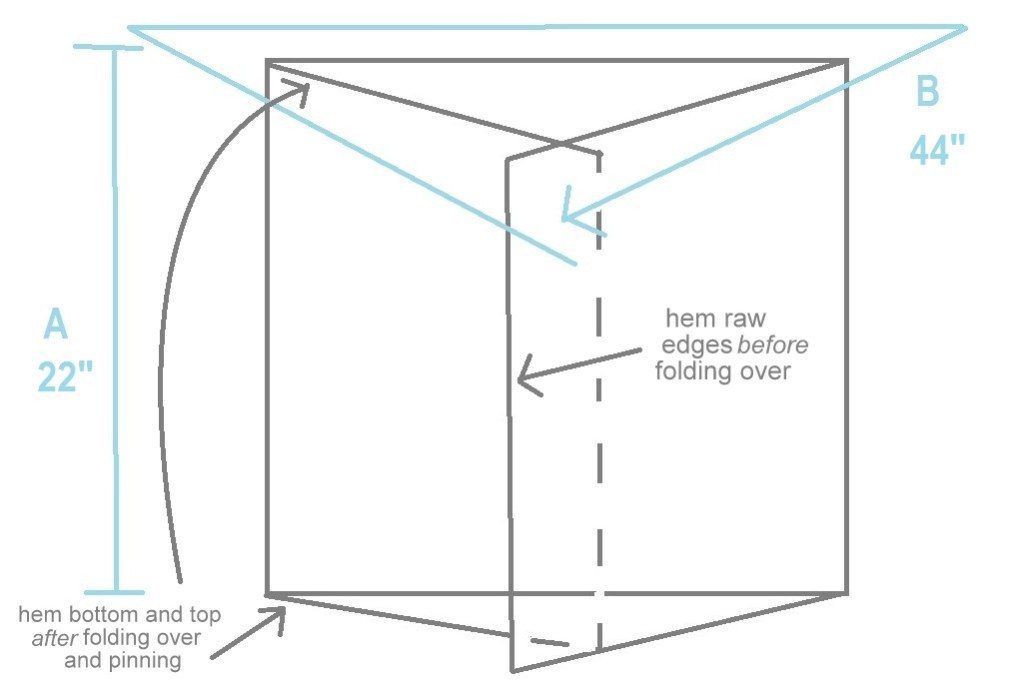
I’ve published and easy DIY envelope pillow tutorial before and sometimes questions arise as to how the fabric is laid out, so I think it’s helpful to show how this works. Here’s the visual. You need a piece of fabric that’s wide enough to wrap around the entire pillow insert (whatever size you’re using, I typically use a 20” pillow insert). You’ll also need a few extra inches of fabric above and below the top and bottom of the pillow insert, like this:

Note how the fabric completely wraps around the pillow insert – allow for a few inches of overlap to create an envelope opening, shown below:
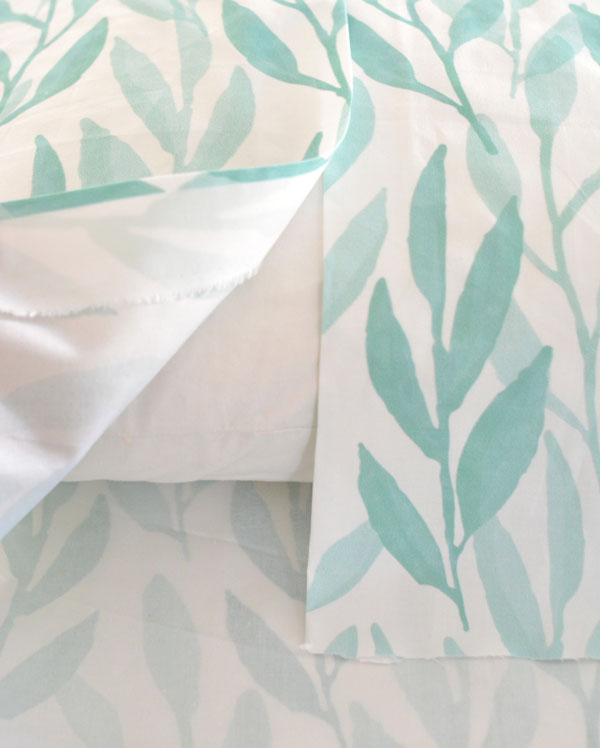
When piecing the pillow cover together with iron-on tape, remember you’ll flip the fabric around and fuse the fabric together inside out. The above is just a visual to show you how the envelope opening is formed on the back of the pillow cover.
First step, create the hem of the envelope with the iron on tape, do this for both sides of the envelope.
Next, flip the fabric inside out to fuse the top and bottom seams together to form the envelope. I borrowed this diagram from my other envelope pillow tutorial to demonstrate:
Inside out, the fabric looks like the image below. Before fusing the fabric together, double check the width of your pillow cover by placing the pillow insert on top.
Layer the tape inside to form the seam. It’s not shown but I recommend doubling up the iron-on tape with two strips one on top of the other to create an even stronger bond to avoid any risk the fabric would pull apart.
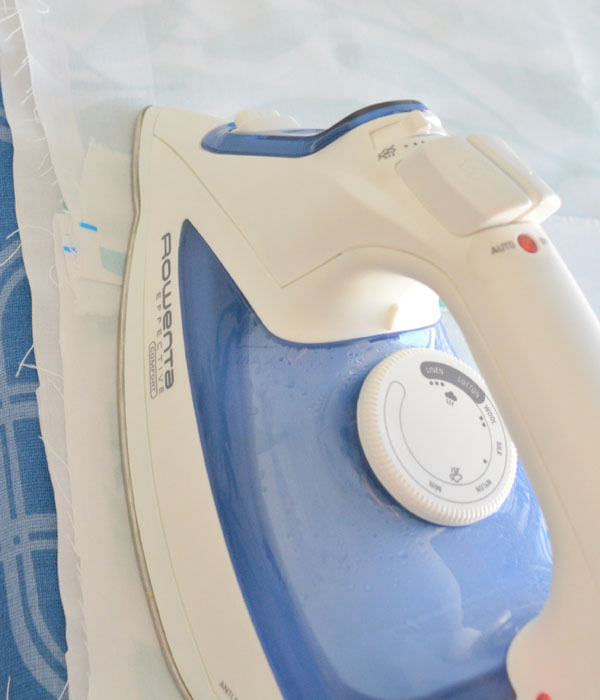
Use the iron to fuse the seams with the iron-on tape to form the pillow cover. When complete, allow a few minutes for the tape to cool completely to ensure a strong bond.
Flip your pillow cover so the fabric is right side out …..
….and stuff it with your pillow insert. Super easy.
That’s my easy way to make both a rod pocket curtain panel and a envelope pillow cover without touching a sewing machine!
.


I didn’t realize that this tape was strong enough to do something like a pillow cover. It really works? Amazing, and great to know… Thank you!
Love your fabric! Thanks for sharing the tutorial.
This iron tape may change my life! Incredible!!
K A T E L A T E L Y || fashion + lifestyle blog
http://www.katelately.co
Love your fabric and this tutorial. The only thing that I would change is to double over the bottom hem so it would have a bit more weight which would make the curtain hang nicely.
Great idea!
This is so handy! Pillow covers can be pricey; it’s really nice to know that there is a cost-effective alternative. The fabric is really pretty for summer, too!
Great ideas! Can they be washed in the washing machine?
HI Elena, I haven’t tried that yet, I think they would be fine on delicate cycle.
Kate
My mother made drapes for clients of my dad. She generally used antique satin and lined them–so glad that trend has passed! She did say that doubling the header and the hem made them hang better. She also hung them and then tied them so they hung in nice soft folds–I don’t think this is done anymore. Makes the drapery look very nice!
Where are your lovely woven shades from?
Making your own curtains and pillow covers is a good way to make sure you get what you want. These “new sew” versions are easy to make and you don’t need special skills in order to do it. All that’s left is to choose a good fabric!
Helpful
Thankfully I can do this with your help.
Thank you for sharing as I had no idea this tape existed and I don’t know how to sew nor have a sewing machine so his is very exciting now I cam make my own