Thanks so much for the continuing positive feedback on the kitchen remodel I shared two weeks ago. I promised a follow up post on the tile installation so here goes.
There are so many tutorials for installing a kitchen backsplash on the internet and YouTube, mosaics and subway tile are always the easiest. A lot of people are intimidated at the idea of tile installation but shouldn’t be! It really is as easy as gathering the right supplies and following the proper steps.
I’ve been doing it for years and have a lot of confidence in this particular DIY project having tiled several fireplaces, bathrooms, and kitchens over the years. I’m hoping to inspire any of you who haven’t done it yet to give it a go with these steps!
Choosing the Tile
Field tiles are rectangular shaped but come in all sizes. “Subway” tile gets its name from the walls of tile you see in subway stations like NYC and it has a 100 year old history. I grabbed a few samples for my project to see which one I liked best, narrow tiles, beveled tiles, and even a hexagon shaped tile was considered.
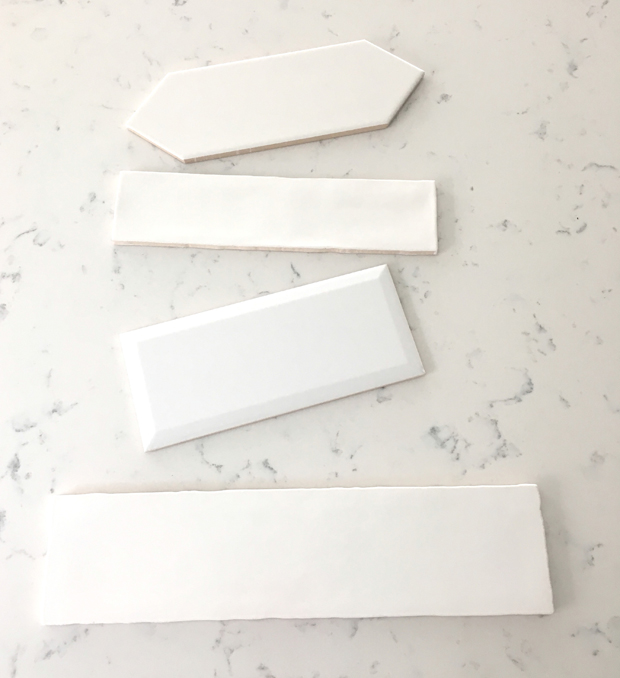
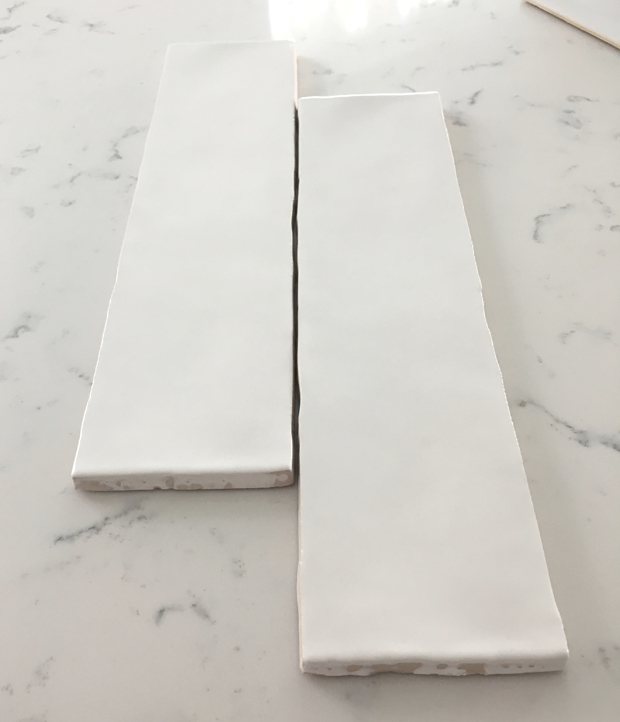
I ended up choosing the one on the bottom, this frost tile because of its imperfect edges and glazed finish, they appealed to me most, and I also loved its larger elongated 3 x 12” shape, a bit more contemporary, but also classic too. Subway tiles are available in all shapes, sizes, colors, and price points. I recommend gathering samples and looking at them around the space to see which one fits best.
Preparation
Before installation, walls need to be prepped. Analyze the thickness of the tile and expect ¼” more thickness due to the adhesive. Keeping that in mind, you’ll have to tile around electrical sockets and phone jacks, and run the tile next to cabinets and up against walls and windowsills.
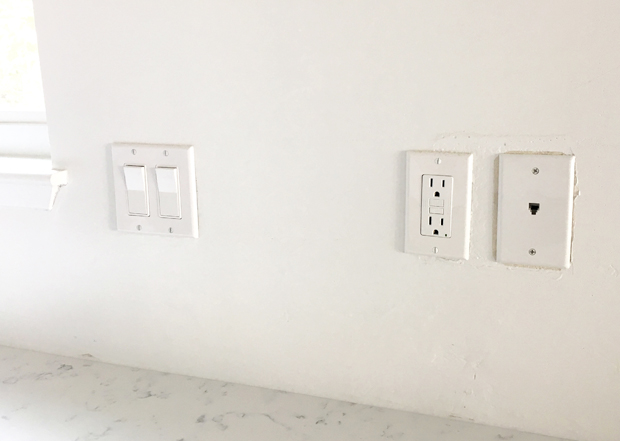
Remove all electrical plates and store them in a safe place for when the project is done.
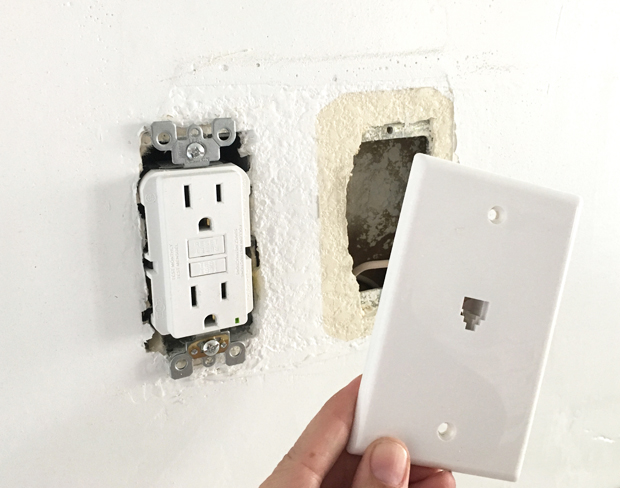
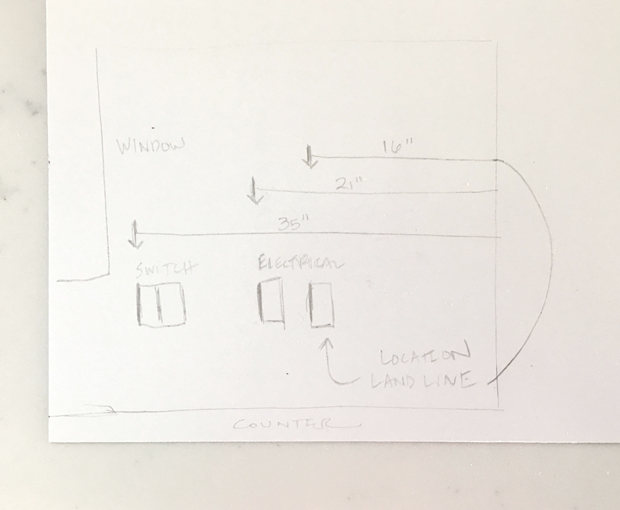
One modern consideration is whether to keep a land line telephone jack. For this project, I chose to remove it since not a lot of people are using land lines anymore. (I did draw a map for the future owner and left additional tiles in the drawer should they wish to restore it.)
One thing I’ve learned from past tiling projects: if you’re planning to install tile above the bottom of the upper cabinets and the cabinet has full frame cabinet doors, make sure the cabinets are installed with a gap ¼ to ½” away from the wall to allow for clearance for the door to open once the tile is up on the wall. I didn’t tile up the wall and around the window like I recently did in this kitchen and this kitchen, but door clearance is something to keep in mind in that circumstance.

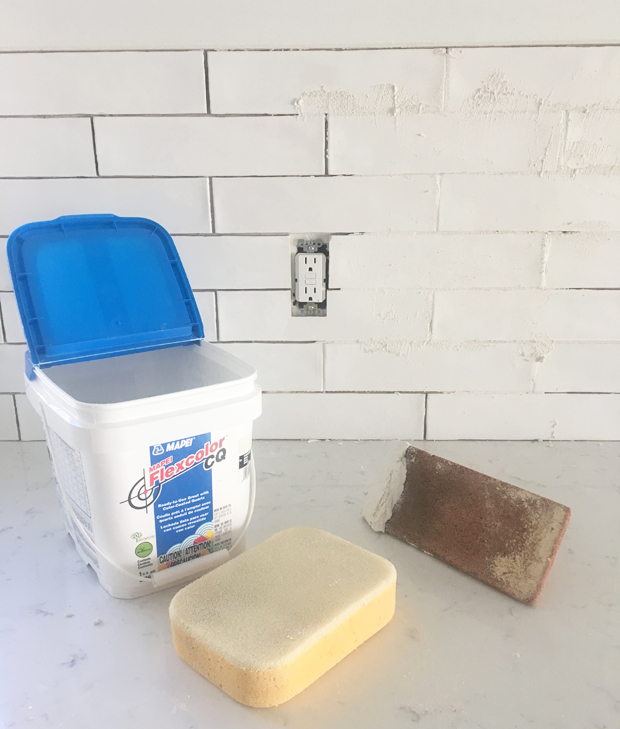
Gather Supplies
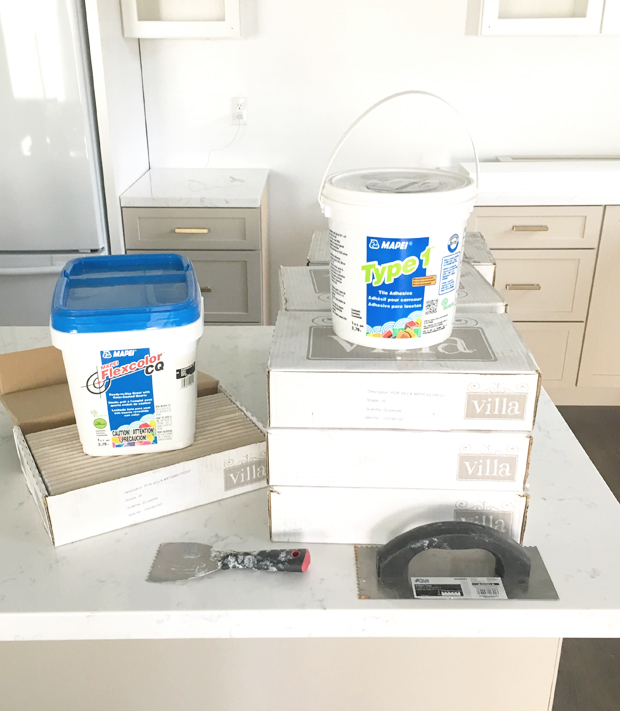
For a subway tile installation, you’ll need tile adhesive, enough tile to cover the surface (plus 15% extra for cuts), and a trowel to apply the adhesive. You’ll also need a level, a tile saw, spacers, tile edge trim, a grout float, and a grouting sponge (not shown).
Installation
Plan the layout of your tile with care. For this project I wanted the edge of the tile to start at the edge of the countertop for symmetry. I also knew behind the range I wanted the tiles to be balanced above the range and below the hood, so I planned that out too (more on that below).
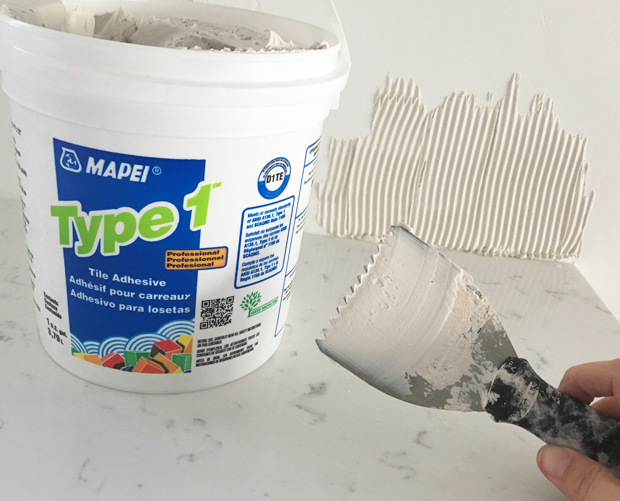
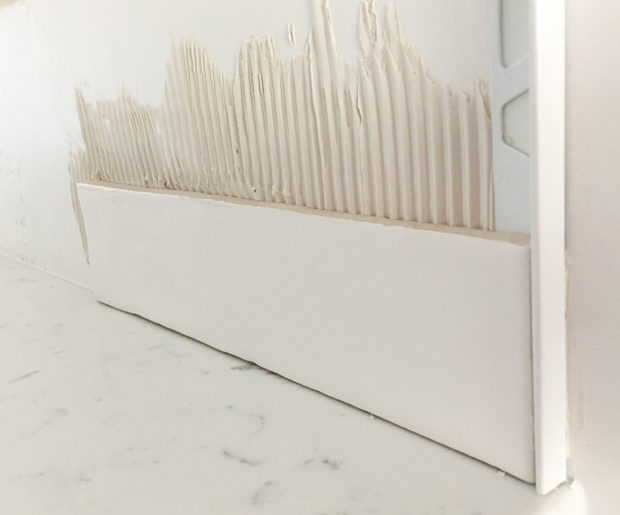
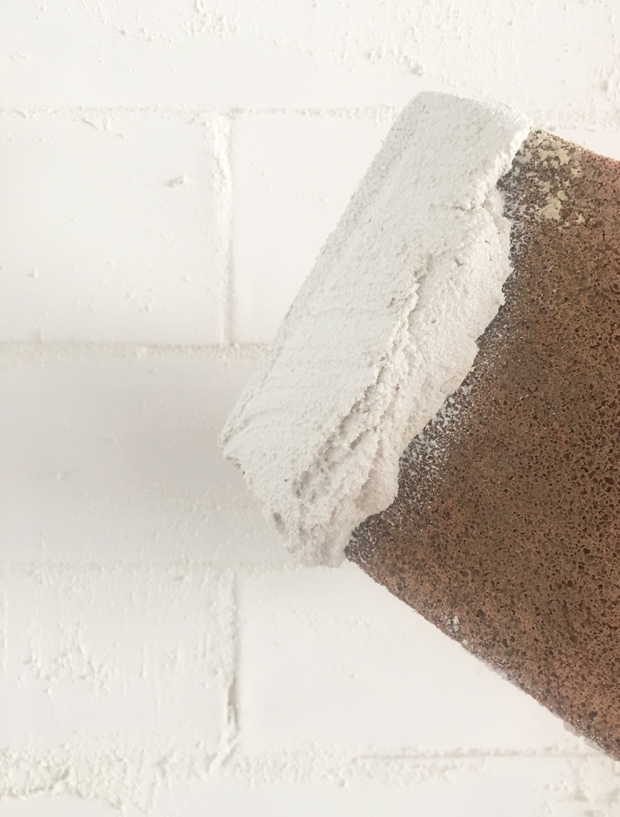
Using your trowel, apply the adhesive ¼” thick. Apply enough to cover the base of the tile and a little bit above so you can work with the row above.
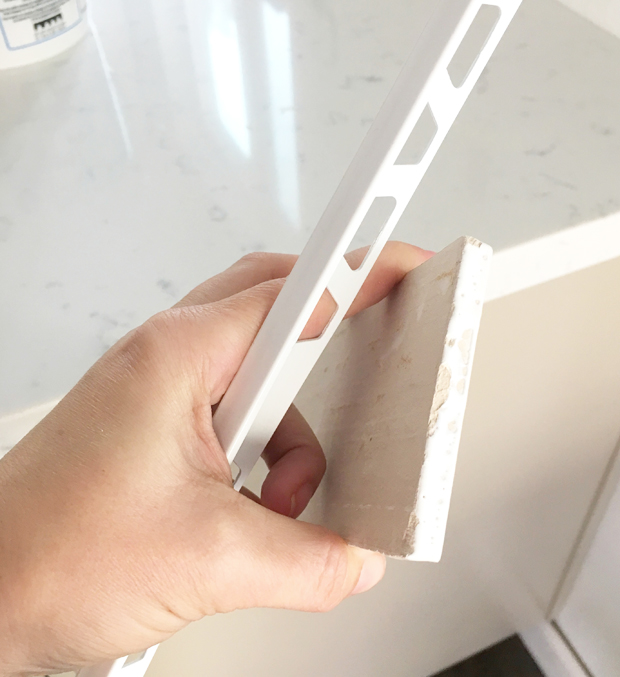
The tile I chose had a rough exposed edge so for edging I used a tile liner (find them at Lowe’s, Home Depot, etc.). Apply a little adhesive to the back of the liner and tuck it behind the end piece. The tile liner gives the end of the backsplash a nice clean edge.
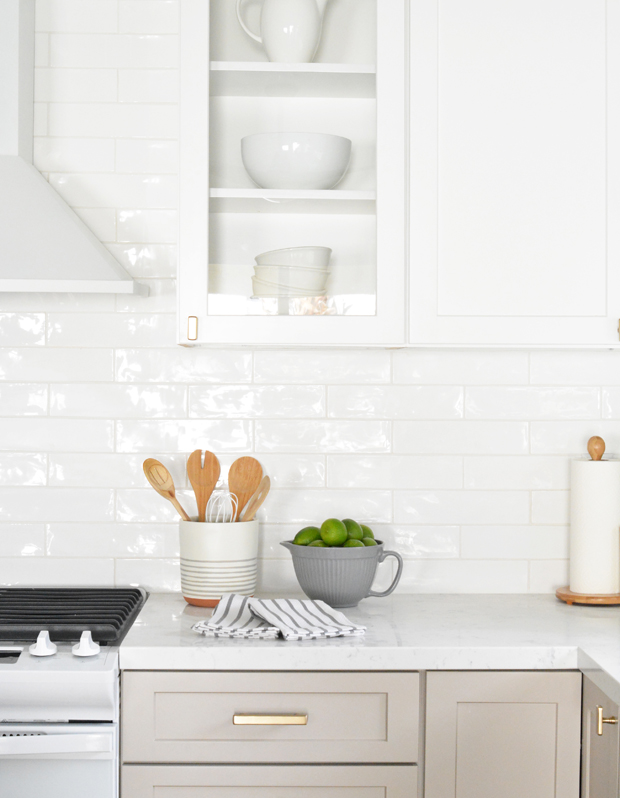
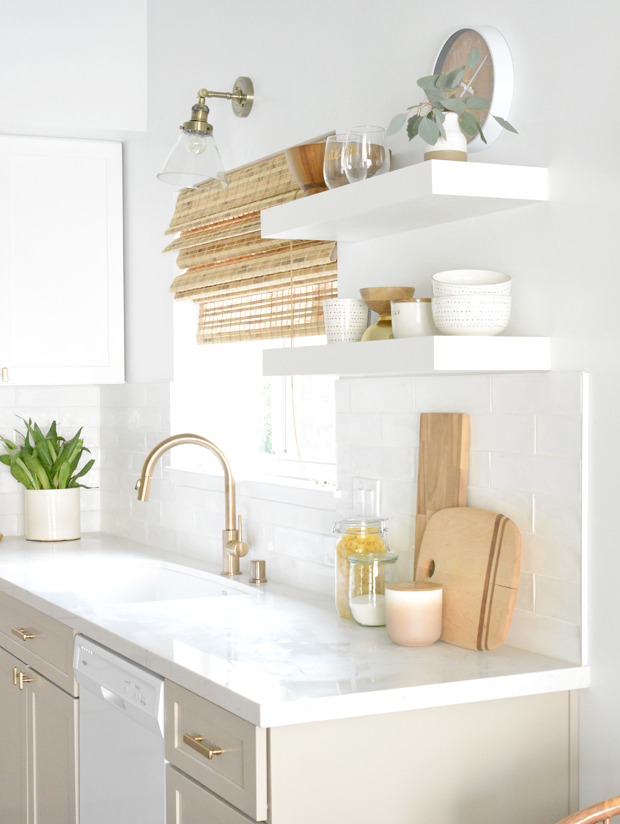
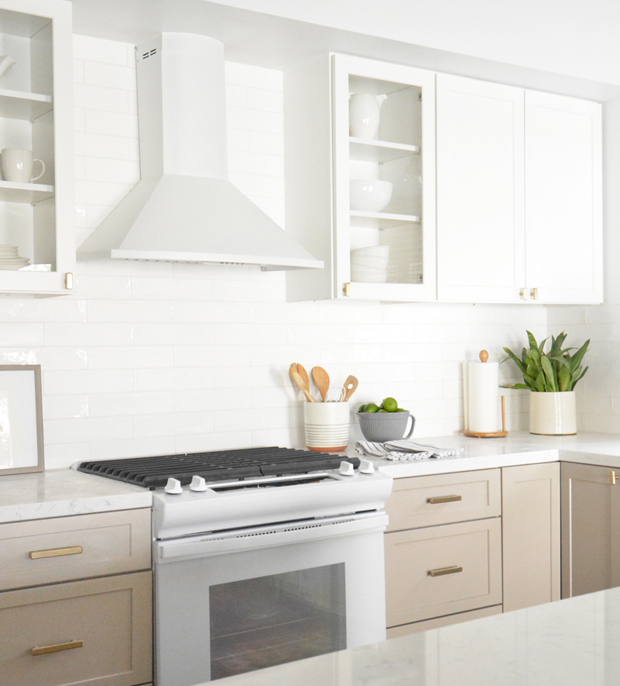
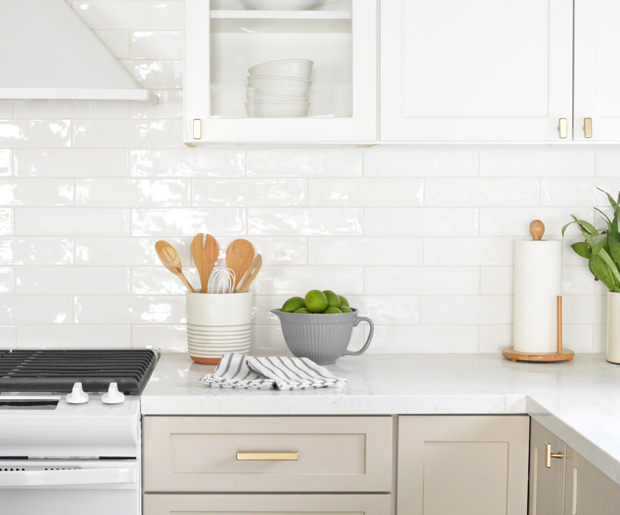
Notice here in the final styled shot how the backsplash has that clean edge using tile liner instead of a pencil tile or a grouted edge.
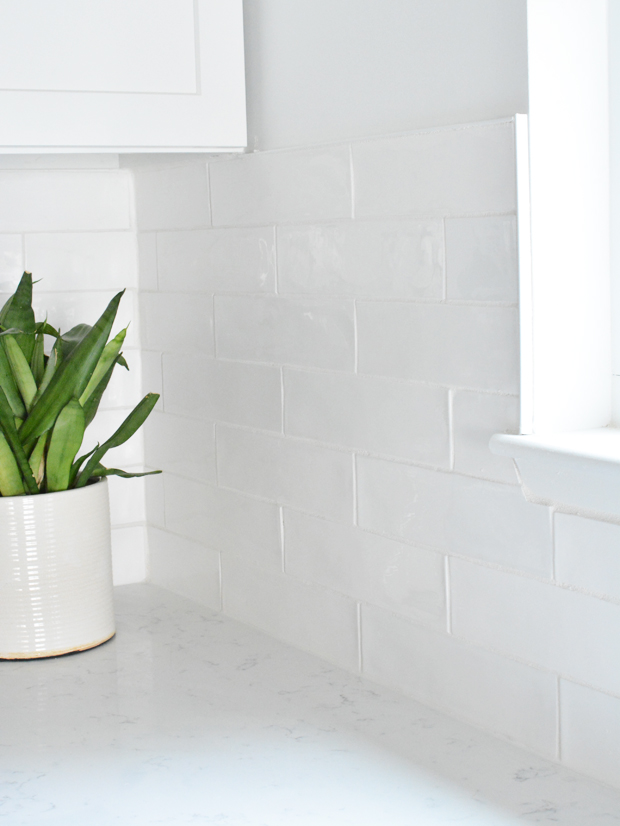
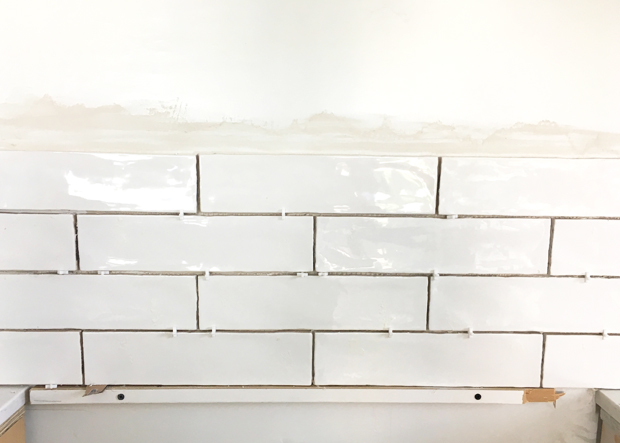
Here’s a closer look at the plastic tile liner next to the window and on the top row used to achieve a clean edge.
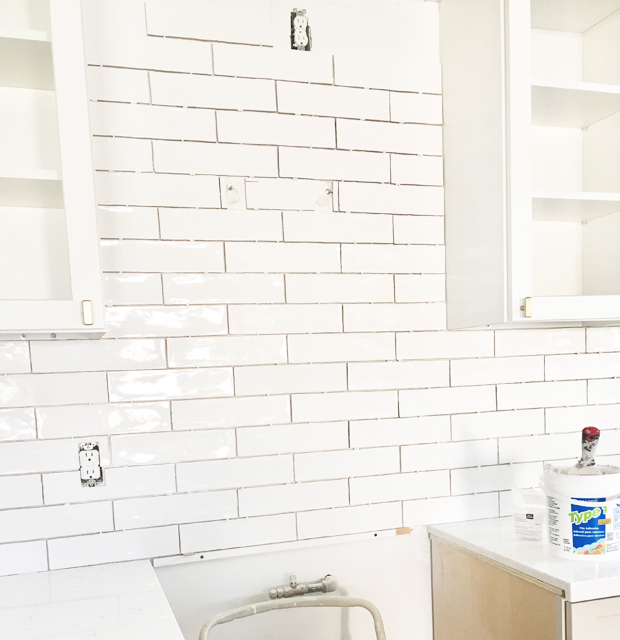
During installation, use spacers between each tile, and work your way across the countertop to complete the first row. Check that the tiles are level as you go!
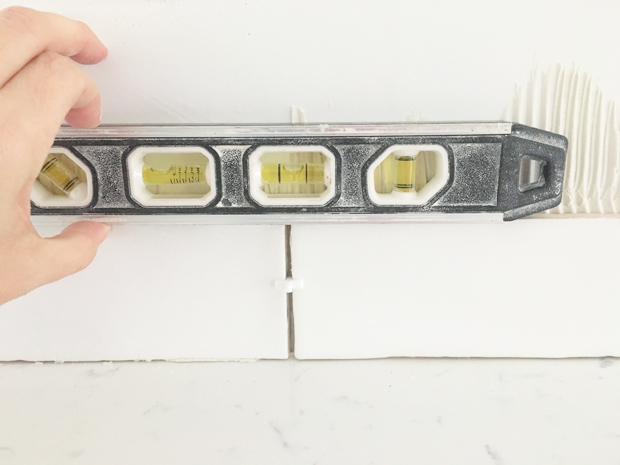
Behind the range you’ll need a temporary support for the tile. Here we used a piece of wood screwed into the wall to support the bottom row between the cabinets that flank the range. Make sure your tiles are aligned properly as you work your way up the wall, pay attention to the vertical edges, making sure they all line up the same way. Use spacers as you go to keep the tiles balanced and in their proper place.
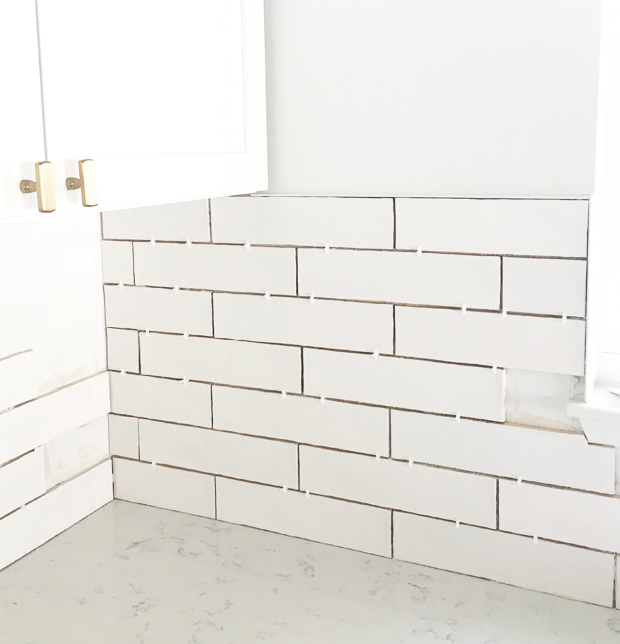
At some point you’ll reach a place where you will have to start to make cuts to fill the spots where a whole piece won’t fit. This is the most challenging part and it just takes a little trial and error if you’re new to working with a tile saw. Vertical cuts are easy, it’s the smaller odd shaped spaces like the one next to this windowsill that take the most concentration, just work slowly to make those special cuts and watch your fingers :)

Electrical outlets require expanders so that the plate sits flush with the new tile around it. Find them in the electrical department at any home improvement store and wedge them behind the metal top and bottom so the outlet projects from the wall enough for the plate to sit flat on the tile.
![]()
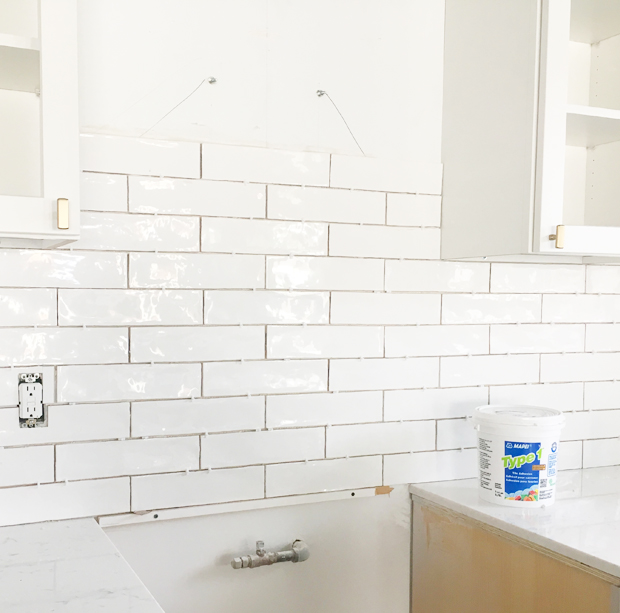
I wanted the tile to go all the way up the wall behind the hood so I worked my way up the wall about ten rows then took a break for a few hours to let the adhesive dry on the bottom rows of tile. We marked where the hood would sit, and where the screws attach to the wall, then I tiled around those points as I worked my way up the wall.
Once the tile was grouted, the hood was easy to install on top with that previous planning for its location.
Grouting & Sealing
Once the tile is on the wall allow it to dry for 24 hours. The next day you can go back and remove all the spacers and grout all the gaps between the tile. Grout comes in sanded and unsanded formulas and in dry and premixed formulas. For this project we used simple sanded white grout but for glass or more delicate tiles, use unsanded grout.
A grout float is the tool you need to scoop the grout and wedge it into the cracks. It can be a time consuming process so work in sections because grout dries quickly and you’ll want to wash the grout off the tiles once you’ve filled the cracks.
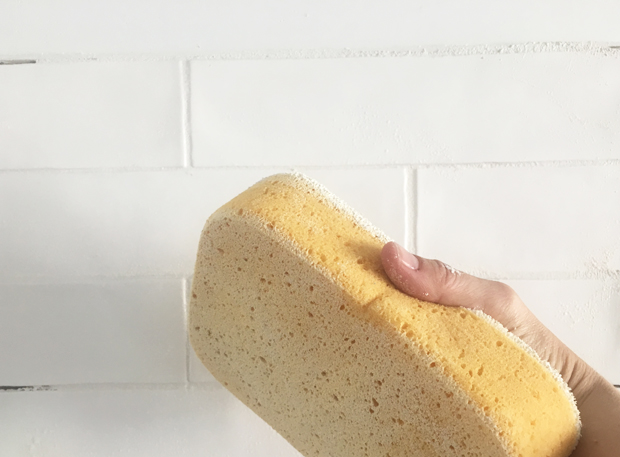
Use the rough side of the grout sponge to wipe it away from the tile then the softer sponge side that’s wet to completely clean the tile.
All freshly tiled backsplashes in a kitchen will need sealed so that the grout doesn’t stain, but thankfully you can buy grout with sealant mixed in. The grout used for this project has sealant in it, but I’m still going to seal it one last time with a spray formula before the house goes on the market.
And that my friends is the simple way to tile your own backsplash! We saved money on installation by doing it ourselves and it looks so great!
Let me know if you have any questions!


What size grout spacers did you use?
Hi Brenda, sorry forgot to include that. I used 1/8″ spacers.
Hi Kate, First time commenting here but I’ve been a big fan of your blog and work for many many years. I felt compelled to thank you for breaking such seemingly daunting tasks into easy, manageable steps and making it look very doable. I have long dreamed of re-tiling my bathrooms but have just lived vicariously through blog diy-ers. This post might actually push me to just go ahead and do it! Thank you!!
What a kind thing to say Christine, thank you! If you do, feel free to give me a head’s up and we can chat on the phone or I can talk you through the process. Proud of you! xo
We just completed our master bathroom and used the same subway tiles! My design in that space is Antique Modern, for example a cast iron clawfoot tub w/ custom-painted black feet near an RH Modern floating vanity; these subway wall tiles in the traditional pattern with 12×24 marble floor tiles laid in a modern, stacked pattern. Anyways, my contractor (who’s amazing) also liked the subway tiles so much he bought the leftover from me to use in his own master bath.
The tiles are gorgeous – I love that they have more “texture” than regular flat porcelain tiles, it brings an organic yet up-scale look. Our grout is medium-gray which helps them pop. I also appreciate their size – long, which makes them modern too. We incorporated the chair rail and pencil trim to keep that “antique/vintage” vibe. Overall really happy with them – they’re floor to ceiling in our 6′ square open shower, and then a half wall all around the room. LOVE!
The tiles you choose are indeed gorgeous. I love the finished look
What color are your cabinets?
Hello Heidi, they are Oat by Thomasville, I linked to the source in the post about the kitchen. :)
I’ve always been a bit afraid of tiling. I asked a building foreman guy I know to teach me, so he sent me down to a pizza-joint they were fitting out. I have subway tiled until my fingers ached! The guys got me to do all the cutting and all the fiddly corners and cut outs around power outlets etc. I think it’s probably one of the best skills I’ve learned. I haven’t used it yet, but I’m not intimidated by it anymore, that’s for sure.
So cool Beth, thanks for sharing!!
Can you tell me where you purchased this tile? It’s just what I have been looking for!
Hi. Another great post from THE ROCK STAR!!!
What type of spray sealant did you use? This kitchen is so beautiful. So elegant.
Love it. Thanks.
Karen
Hi! What color grout did you use for this project?