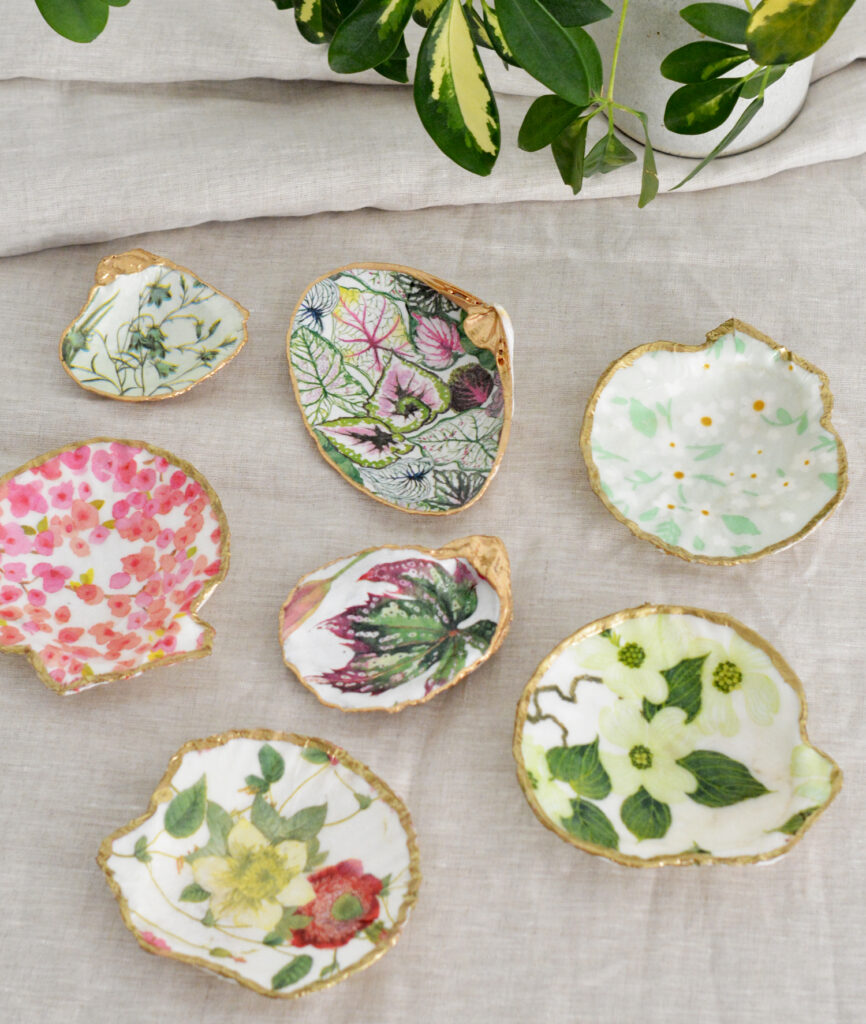
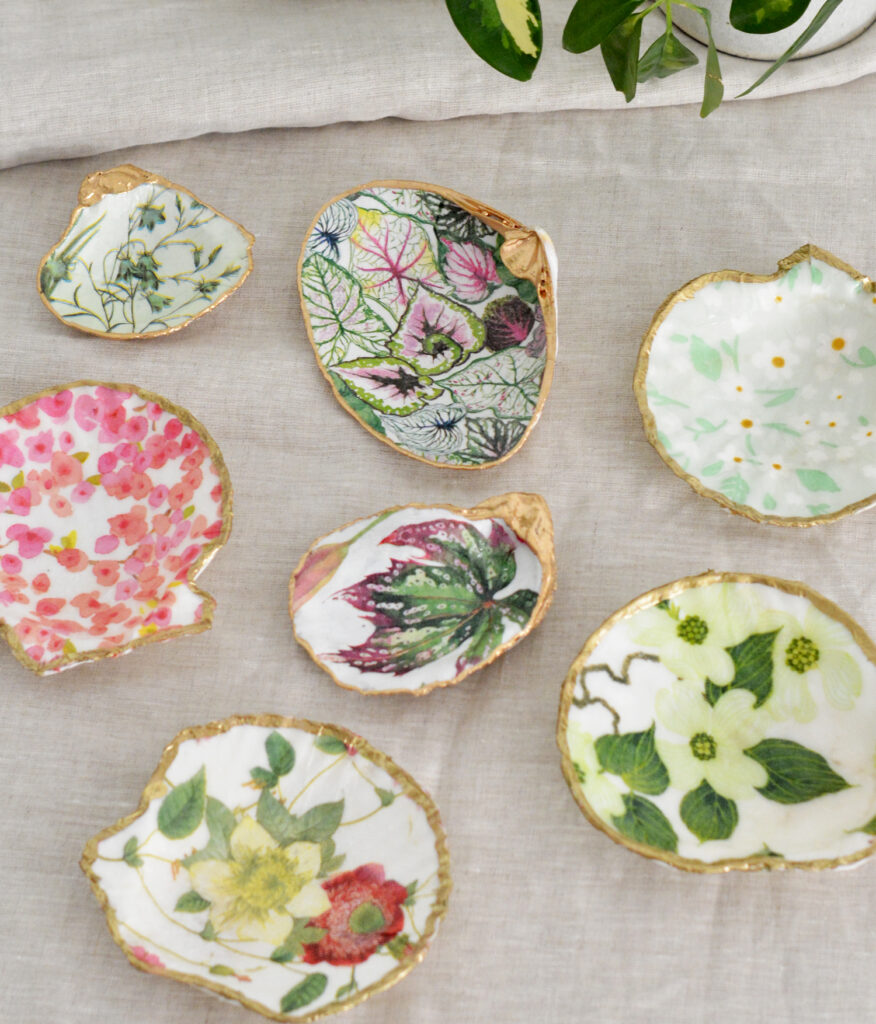
A few months ago I ordered decoupage shell trinket trays from a wholesale vendor and ended up selling a dozen very quickly in my local shop. People are drawn to them for their organic shape with the gilded edges and pretty patterns inside.
They take weeks to replace via a wholesale vendor because they’re handmade so I thought I’d simply make them myself from now on.
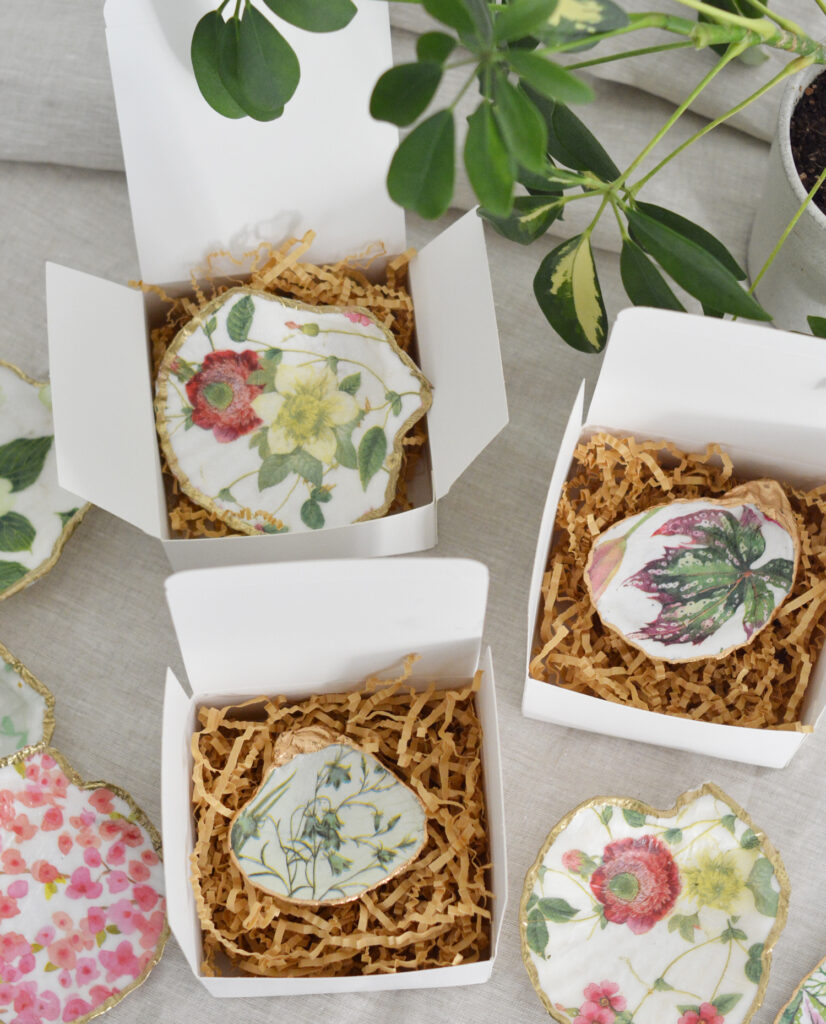
In my local shop whenever I sell them, I package them up in small white boxes because they make a great gift.
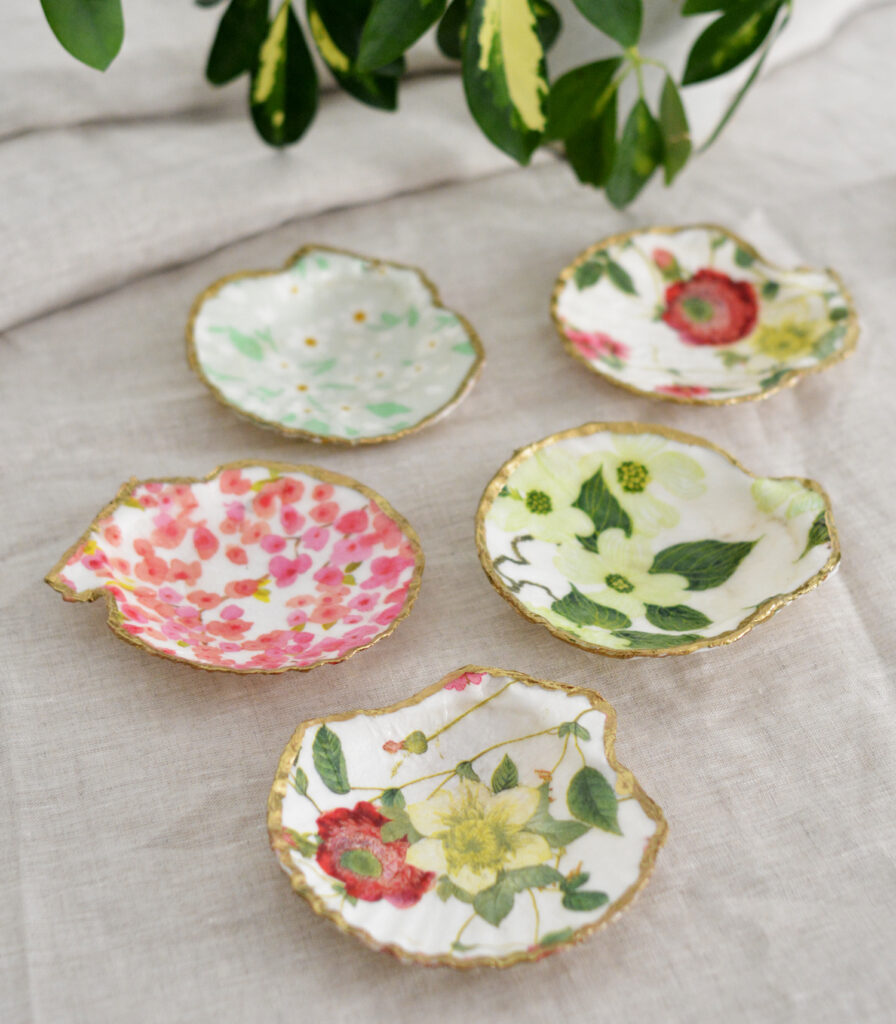
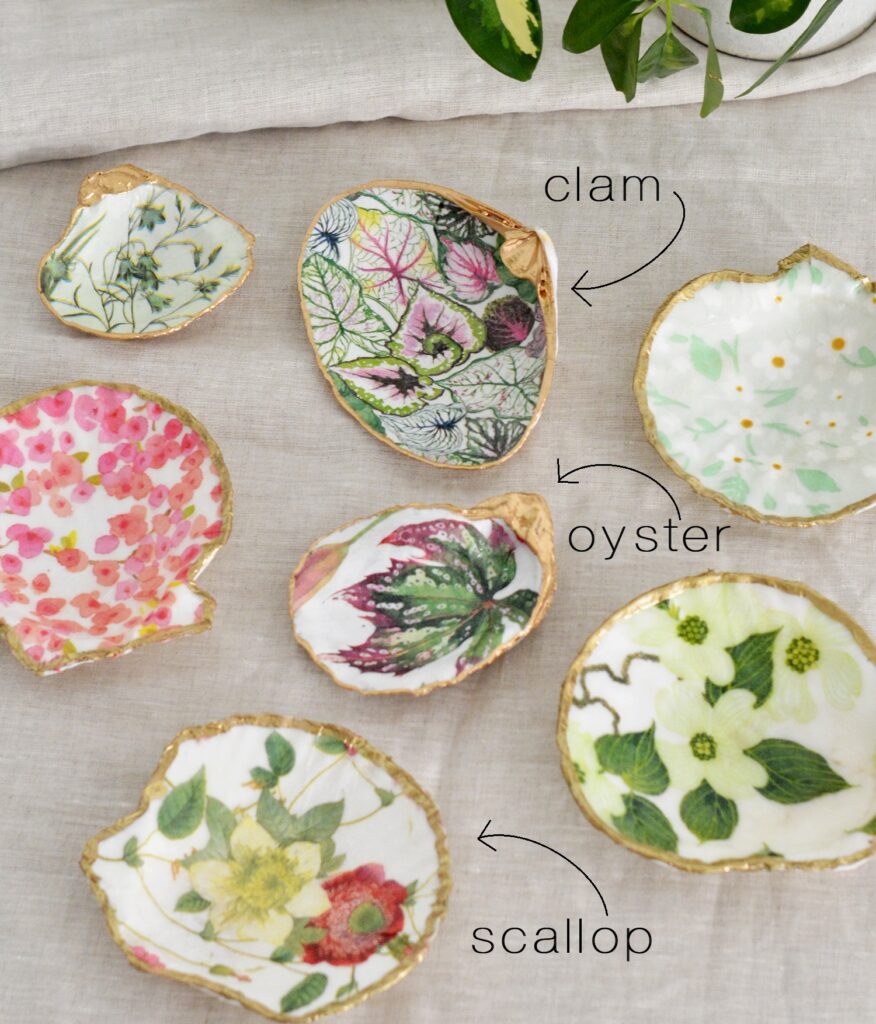
Three shell shapes work well for this project: oyster, clam, and scallop. The scallop shape is the flattest so I started making my own (these ones below) to get the hang of it. Next I’ll move to the more curvaceous clam and oyster shells like the ones I’ve been selling in my shop.
To recreate this project here are the supplies you’ll need: 1) shells 4-6” in size (see sources below); 2) decoupage medium like Mod Podge; 3) patterned paper napkins; 4) gilding paint, I used this one in the brass shade; 5) medium and thin tip paintbrushes; 6) craft scissors.
I had some leftover patterned paper napkins from this vase project, so I ordered two more packages of napkins for this round.
napkins I used:
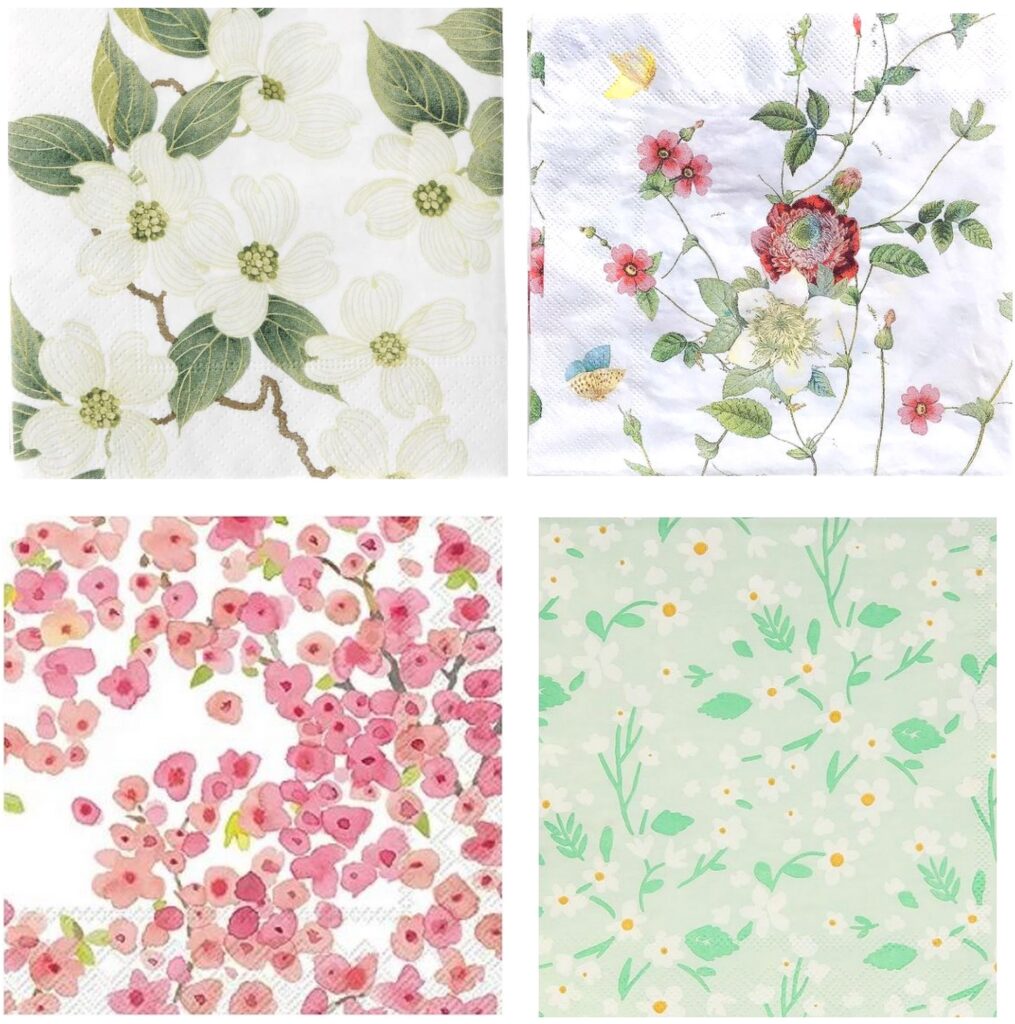
caspari cocktail / flower & butterfly
More suggested napkin patterns that would look lovely inside shells:
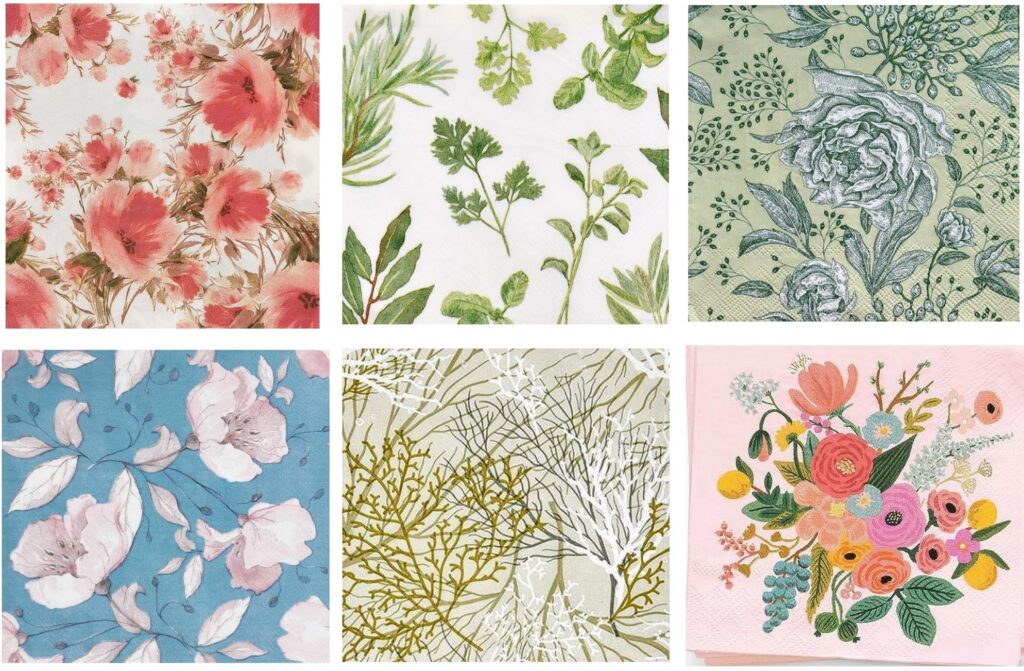
bloom pink / herbs botanical / garden party
blue flower / sea fans / rifle floral
Here are the three shell shapes for reference for if you want to make some of your own and need to order supplies:
I used the shells on the left for this project, but the larger lion’s paw would work well too.
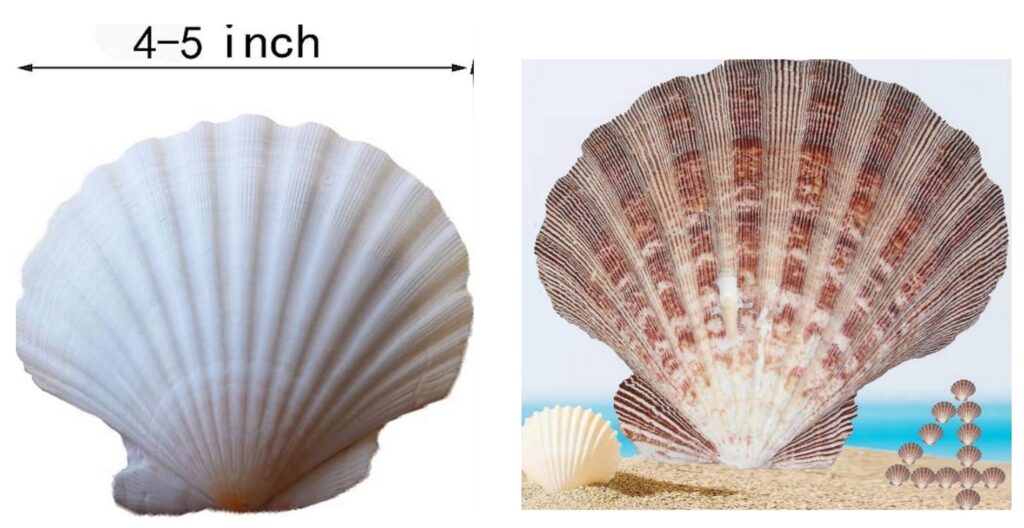
4-5 inch white scallop / 5-6 inch lion’s paw scallop
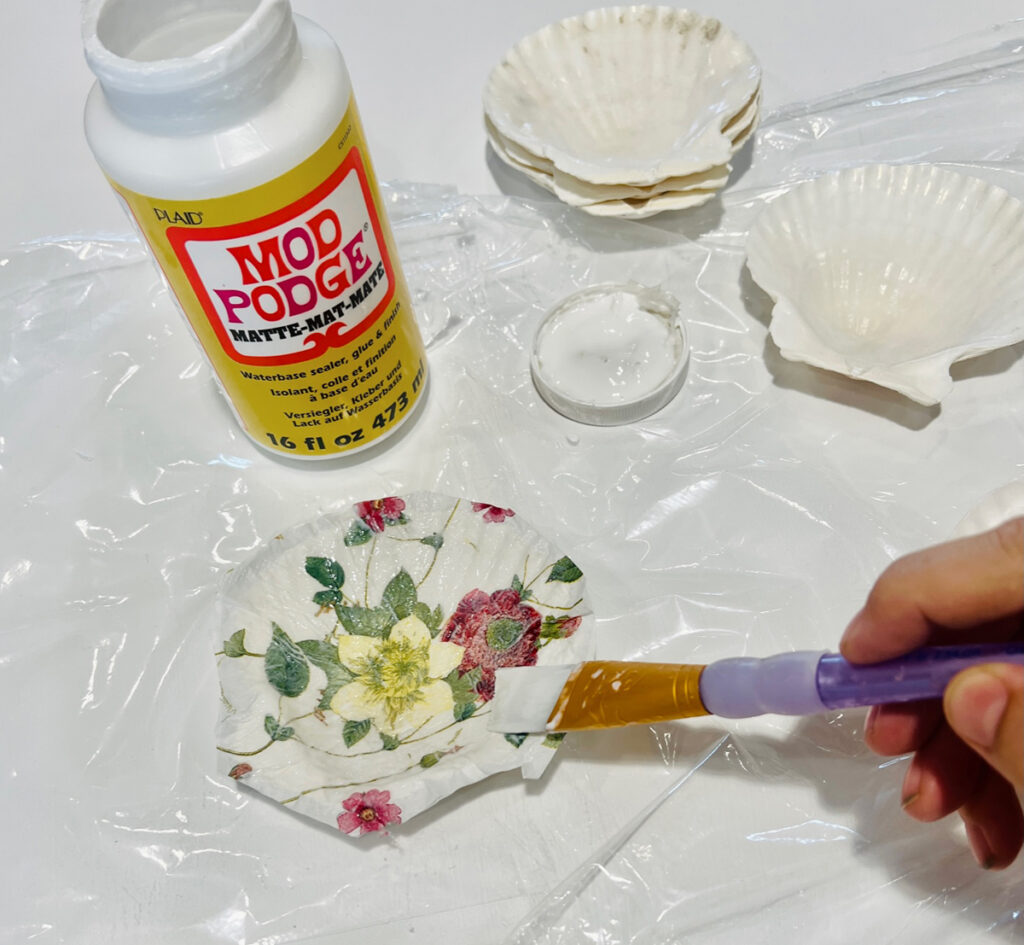
The steps are simple, first round up your supplies then get started!
Step One: Clean shells and allow them to fully dry. Paint a layer of decoupage medium like Mod Podge on the inside to fully coat the shell with a medium size craft paintbrush. Carefully separate a paper napkin (they are either 2 or 3 ply) and using only the patterned piece, layer it gently on top of the decoupage medium.
Step Two: Pressing down in the center lightly with your fingers, slowly pat the napkin around the edges of the shell moving from the center to the outside edges. Take your time so that you’re careful not to tear the paper napkin.
Step Three: Once the inside of the shell is fully covered, use scissors to trim the outside edges of the shell to remove any excess napkin. Trim as close to the shell’s edge as possible.
Step Four: Add a thin layer of decoupage medium to the top of the shell on top of the patterned napkin with a medium size craft paintbrush. Allow the layer to dry for two hours, then add second thin layer of decoupage medium and allow to dry an additional two hours.
Step Five: With a thin tip paintbrush, paint the edges of the shells with a gold or silver edge. Be careful to not paint the edge too thick or the gilding will drip into the shell. Apply two THIN coats, being careful to allow the gilding paint to dry a little as you make your way around the shell, this avoids drips. Allow the gilding to dry and the shells are done!
I’ll upload a Reel on Instagram to show the steps start to finish.
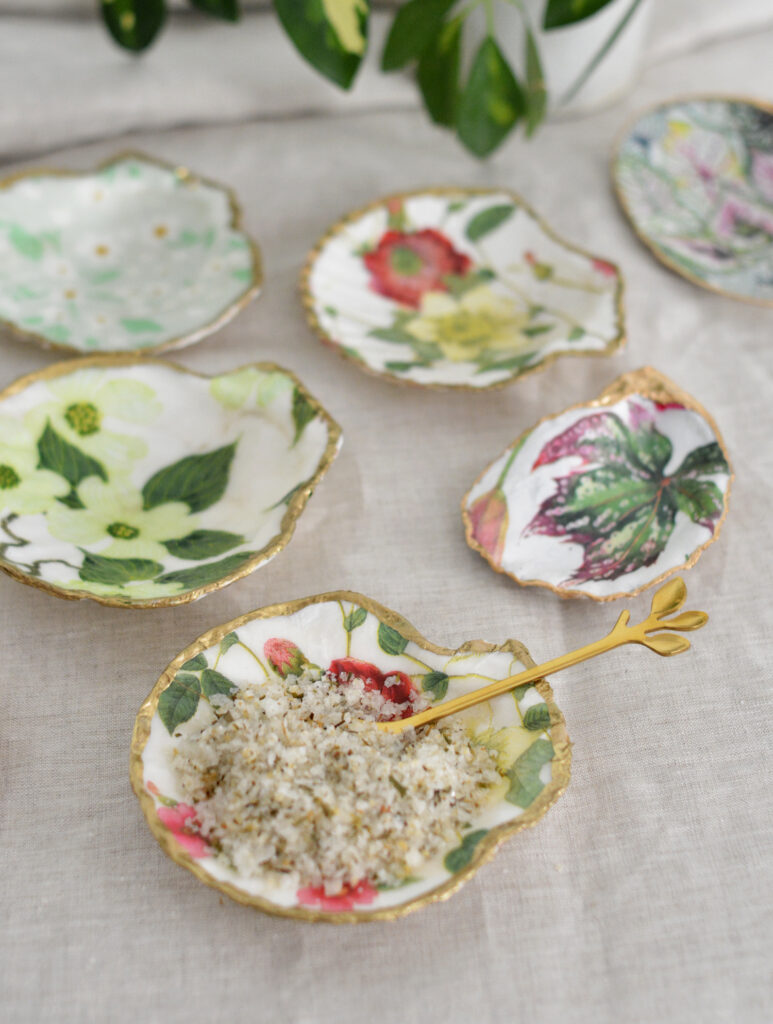
Keep in mind Mod Podge is not classified as food safe so I wouldn’t ever serve any food that is liquid, cold, or warm in these shells, but a little bit of loose sea salt does make a cute presentation.
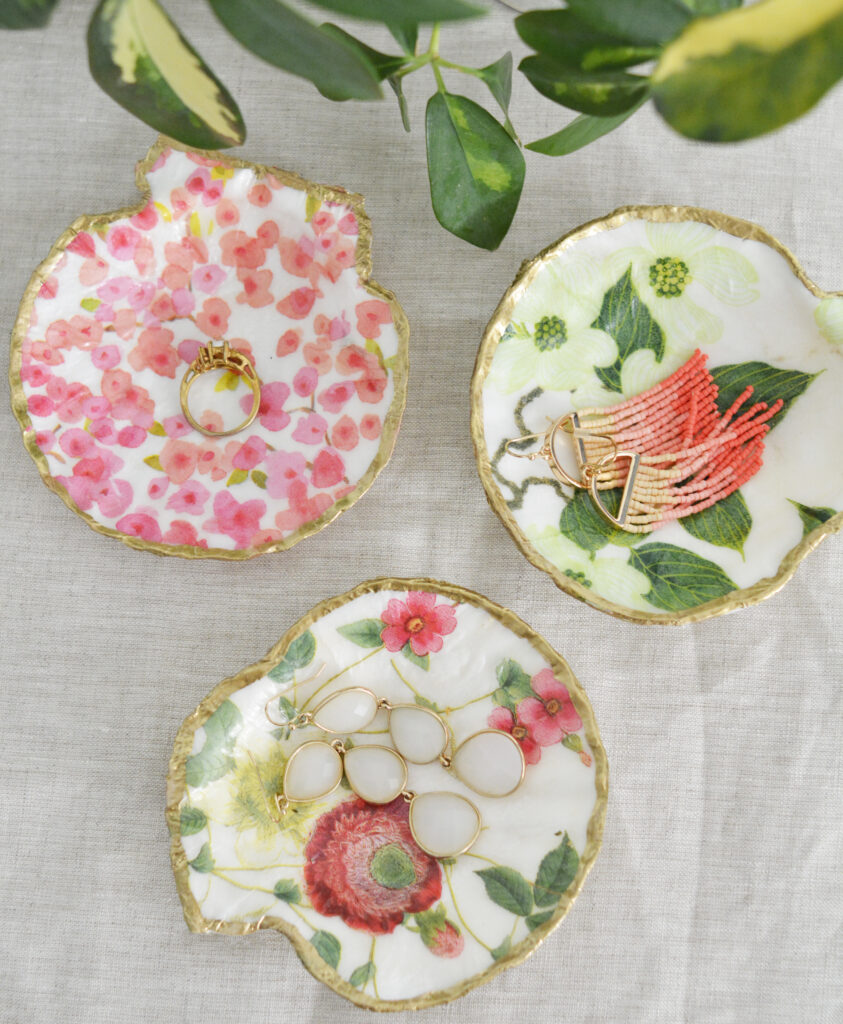
They are perfect for holding earrings and rings too.
Let me know if you recreate your own versions, I’d love to see what patterns you choose.


Beautiful! Can’t wait to try this. Thank you for sharing.
So generous of you to share the process considering you sell them. It’s great for me as I’m in Australia and can’t purchase from you. I’ll have my daughter make me some, she’s very artistic. Thank you.
hope yours turn out well !!
Love this! And so kind of you to share your process.
Best, Linda
delighted :)
So beautiful & awesome tutorial! Thank you for sharing!
These are stunningly lovely. I’m normally not into anything new or crafty, but I’m definitely going to be trying this. Thank you for sharing.
glad you liked these!
Wow, you’re seriously cool for spilling the beans even though these babies are up for sale. Perfect for me down here in Australia where I can’t snag ’em. Gonna put my artsy daughter on the job. Much love!
oh great, let me know how they turn out!
Gorgeous!
These ate beautiful, I love them and am thinking about try this project. Where would I find the shells to make them. Cross your fingers for me!!! 😊
Just ordered the materials to make these. I’m so excited! Thank you so much for sharing this project! You ROCK!!!! All the way from Texas!
These would be PERFECT for our garden club craft show which sponsors our scholarship award. And thank you for sharing your vendors! I couldn’t find the vendor with the coleus leaves napkins and did you order the shells from Amazon?
yes all the links are in the post :) happy crafting!