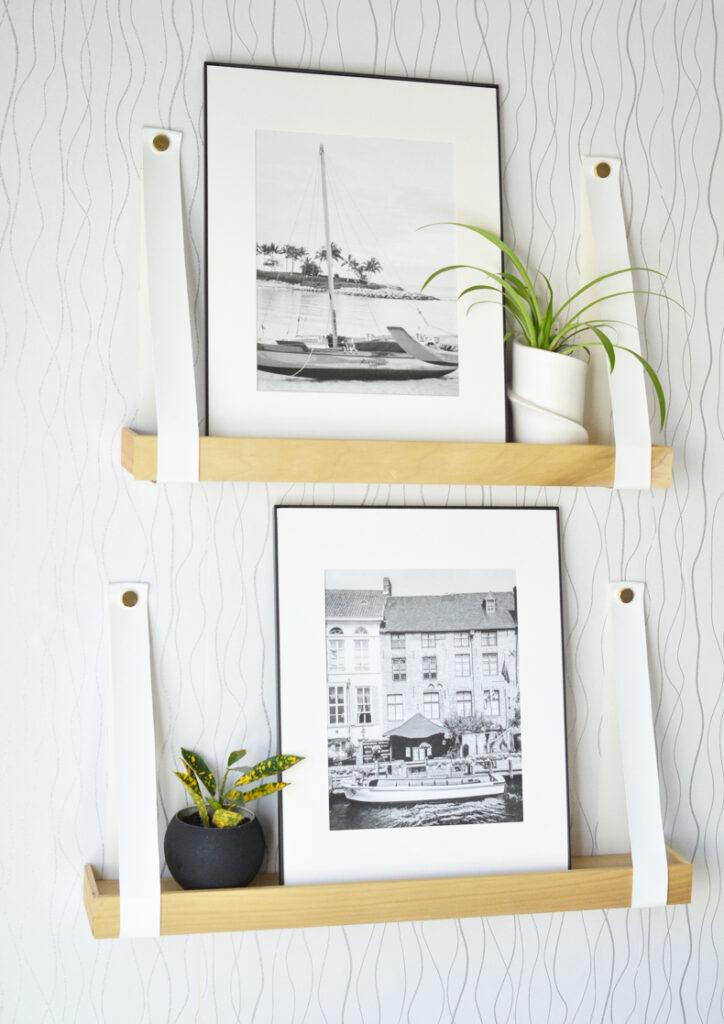
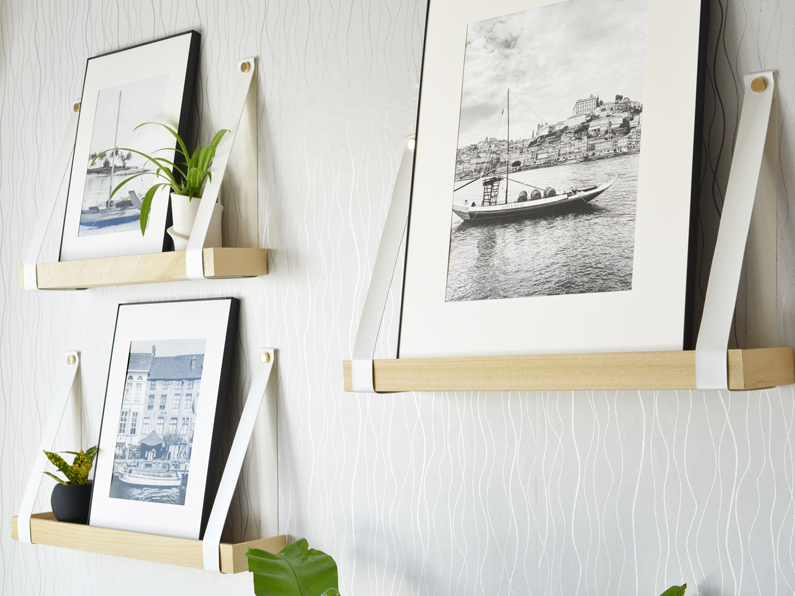
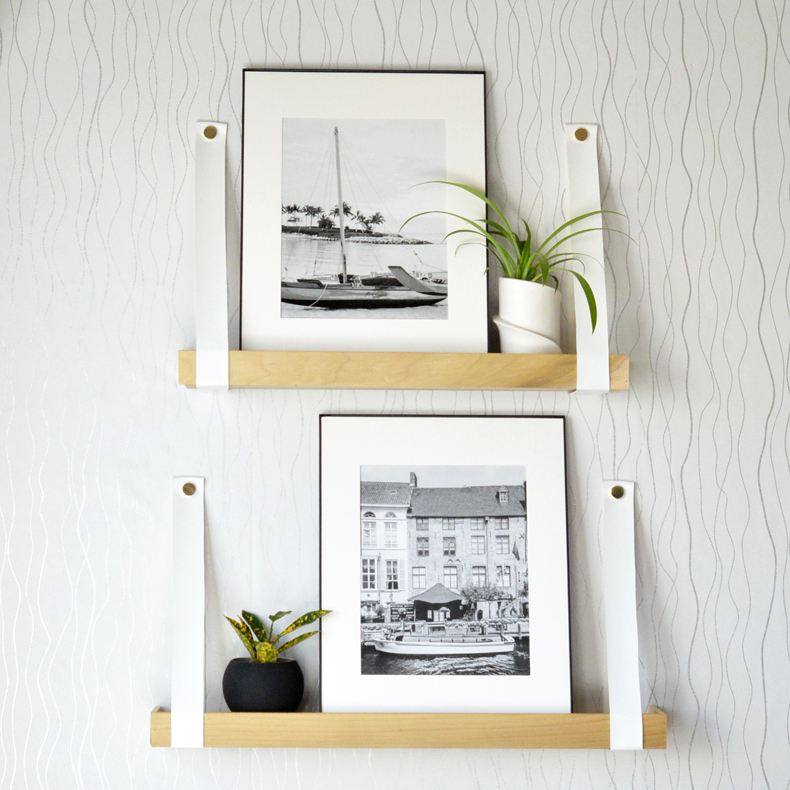
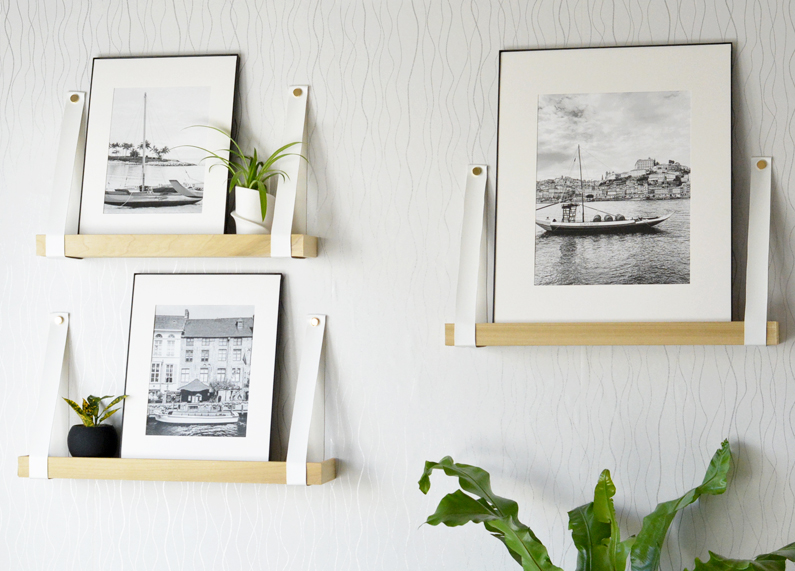
I wanted a creative display for some of my black and white prints from travel, so I made these leather strap art ledges for displaying the framed photographs. I love how they turned out! I used project poplar boards and lattice, made a few cuts with a miter saw, glued them together, then made the straps for the wall and secured them with brass caps.
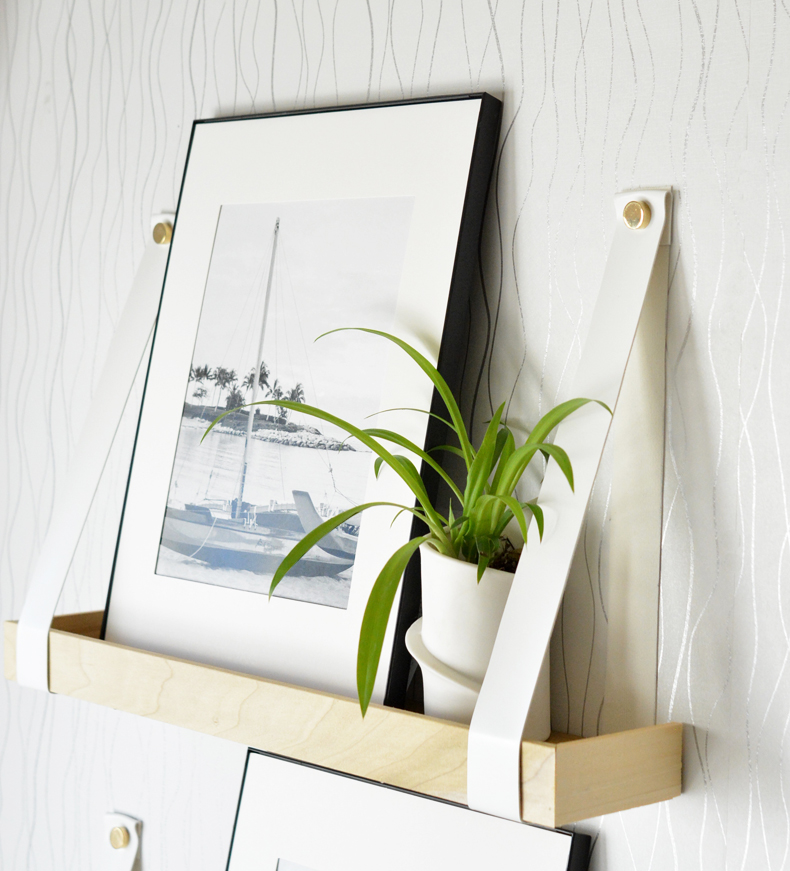
The picture ledges add dimension and interest to the wall but are shallow enough to not protrude into the room. Because they’re 4” deep, they allow for small planters to sit alongside the art on display.
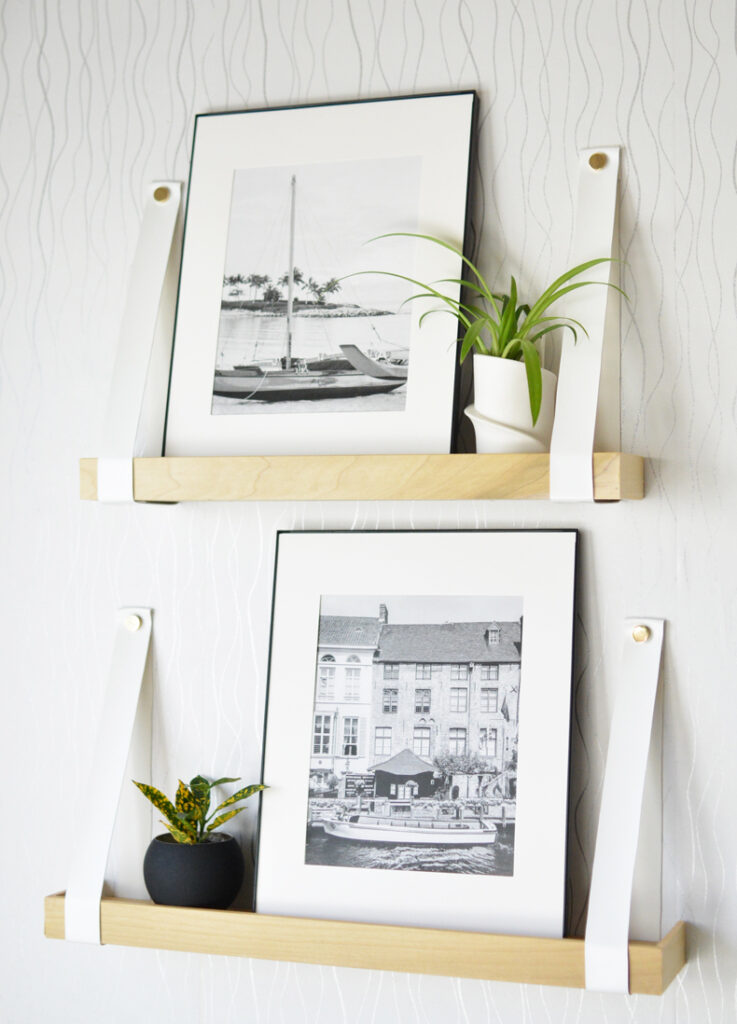

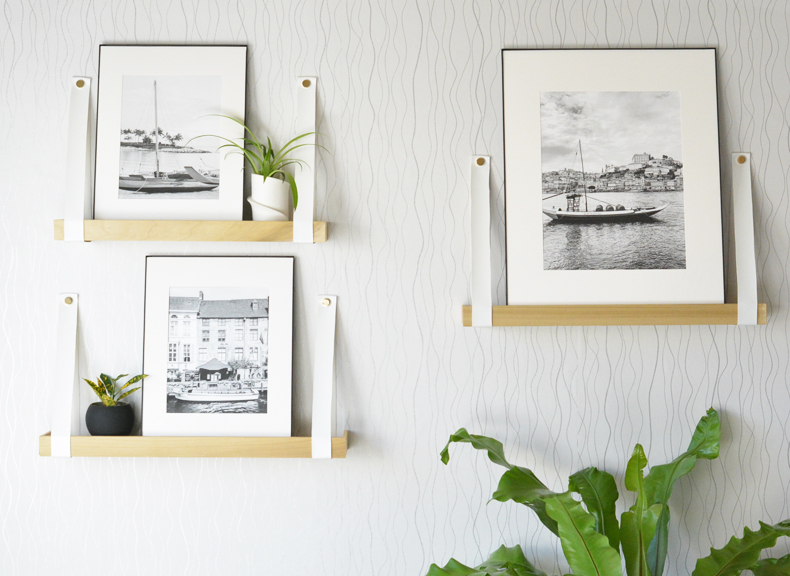
You could use wider planks up to 5 or even 6 inches to create more substantial shelves. I haven’t tested the weight on these, I imagine they hold up to maybe 5 pounds but you wouldn’t want to stress the straps too much, which is why I kept my shelves at 22” maximum width (with one at 18” width) and staggered them.
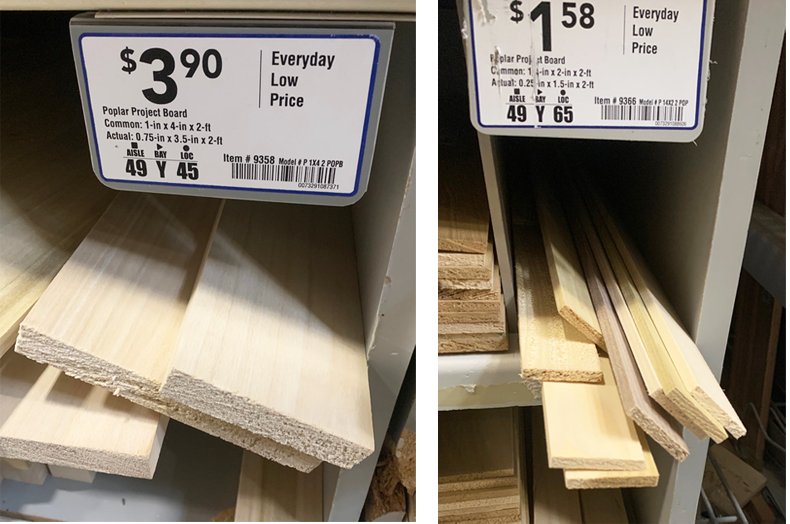
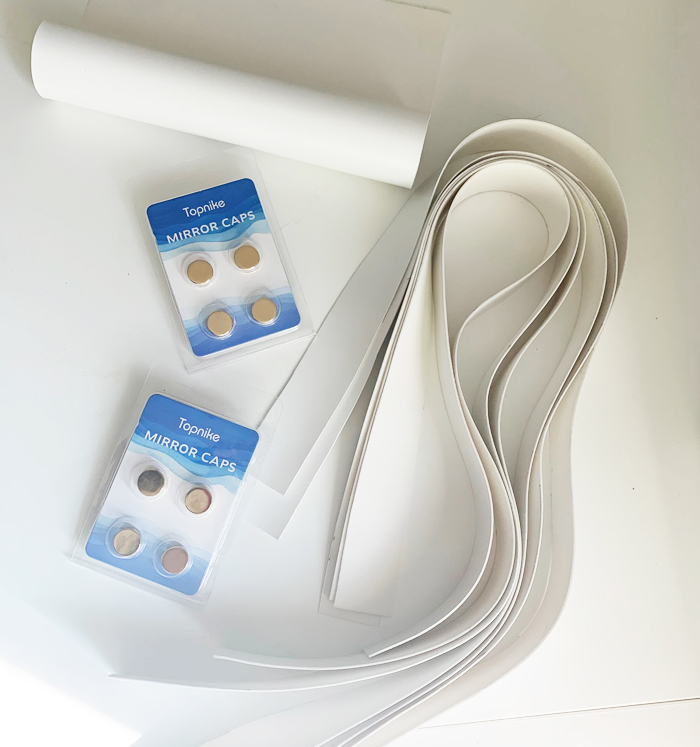
Supplies to create picture ledges: 4-6” wide poplar planks; 1 ½” poplar lattice; wood glue; level; painter’s tape and/or clamps; sanding wedge; polycrylic protectant; brass caps; white faux leather sheet; miter saw.
I shopped the project lumber department at Lowe’s where they sell the smaller pieces of poplar. I chose the 2’x1”x4” pieces for the shelves and the 2’x1½” wide lattice to create the ledge frame.
The first step is to cut the mitered edges of the front piece of lattice trim to the preferred width of the shelf.
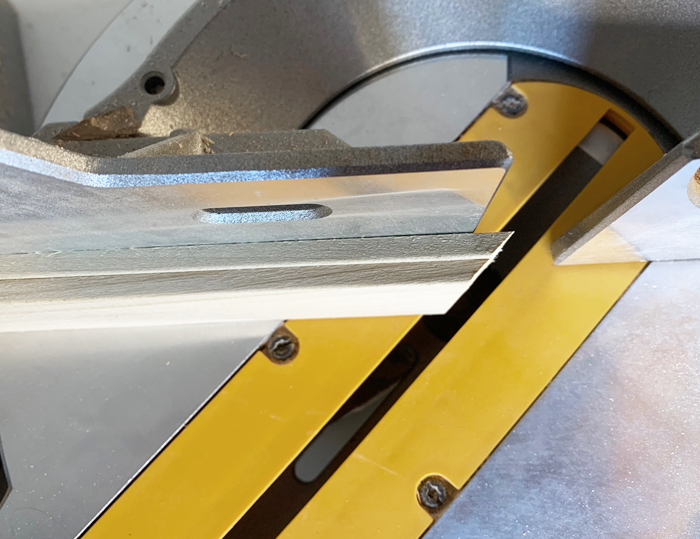
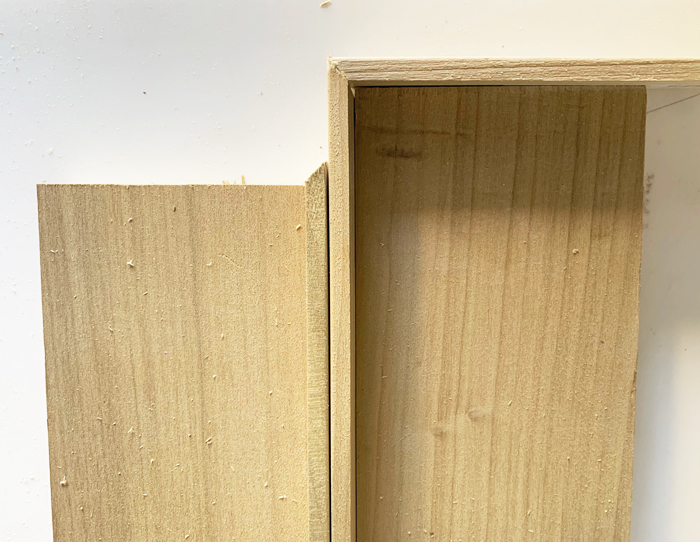
I chose to miter the front lattice piece at a 45 degree angle then to cut the shelf to the width of the inside measurement of the mitered corner instead of cutting the shelf width first. I wanted the mitered edges to determine the width, seemed to make more sense to me to get the lattice cuts right then cut the shelf to fit, but you could do it the opposite if you wish, cutting the shelf first and the lattice to fit after.
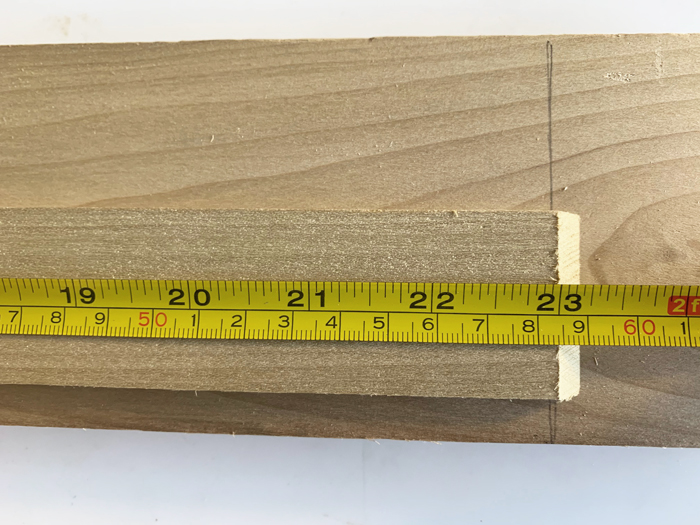
Next I marked the inside measurement of the lattice to determine the shelf width and cut the shelf with the miter saw.
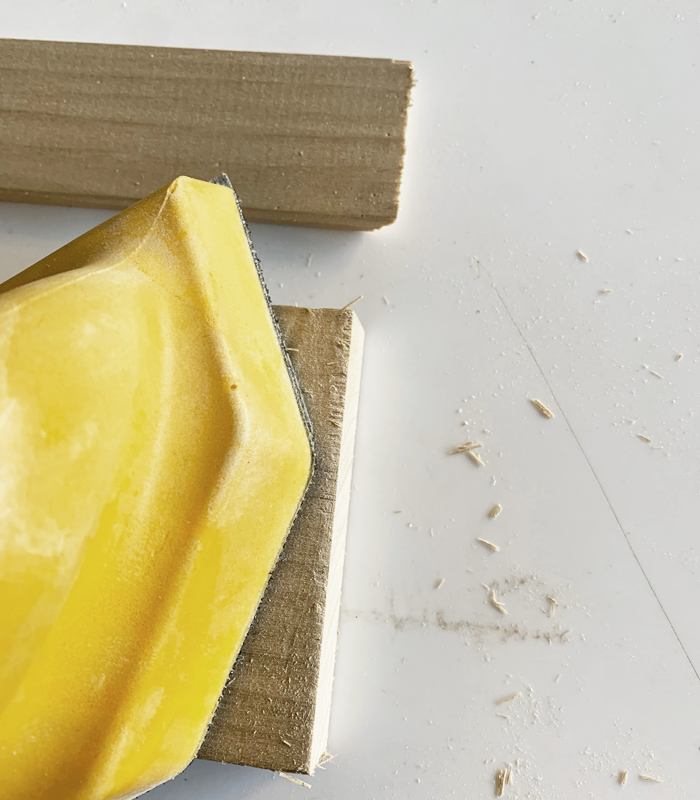
Last, I cut the edge pieces of lattice to fit the sides of the shelves.
After the cuts, I sanded the rough edges with a sanding wedge.
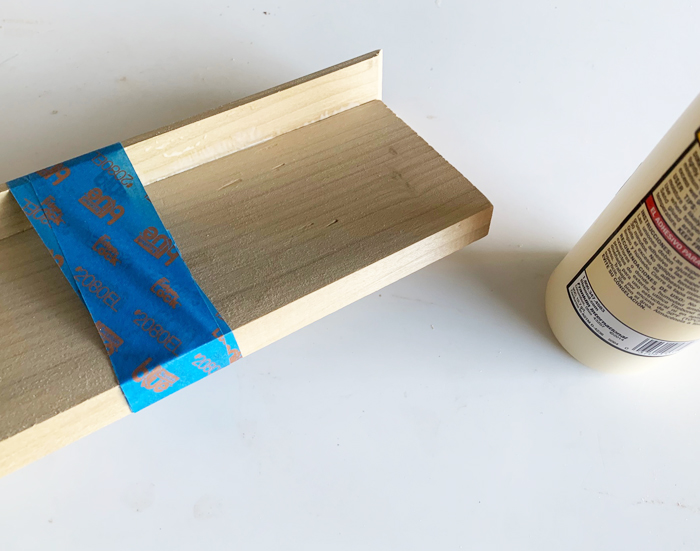
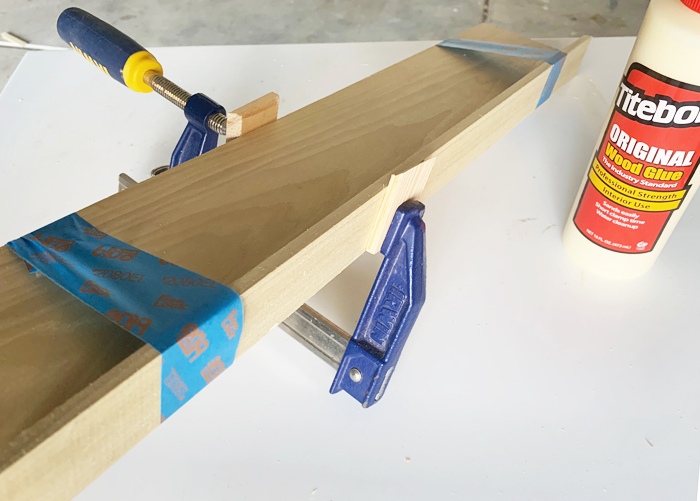
Apply wood glue to the shelf edges. Use clamps and/or painter’s tape to hold the lattice to the shelf edges to allow the glue to dry.
Once the wood glue is dry, protect the wood with two coats of satin polycrylic and allow to dry.
To create the supports I used a faux leather sheet cut into 1” strips and these brass caps. You can source different colors of leather straps on Etsy or from other suppliers, but the faux leather sheet that I cut in strips was a lot cheaper and looks just as good.
Use a drill bit to make a small hole in the wall and insert the plastic drywall screw base. Fold the faux leather straps to create a loop to support the shelf. Secure with the drywall screws that come with the brass cap set.
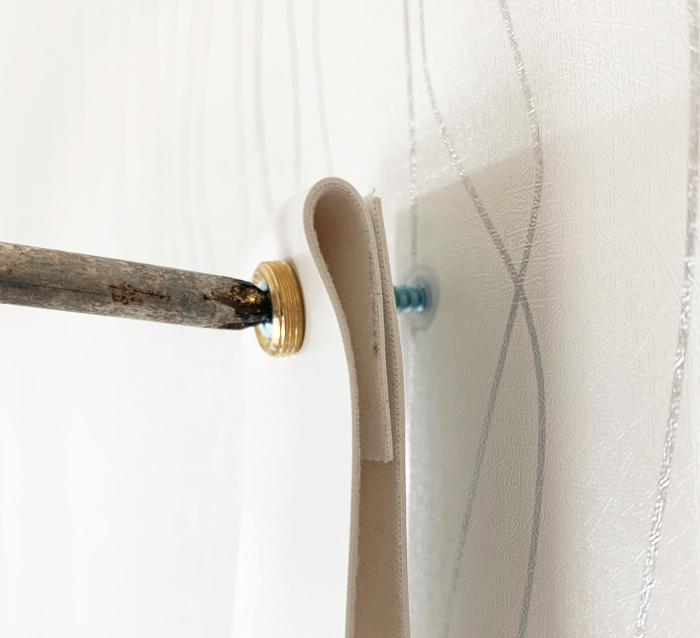
The polished brass caps are a nice finishing touch, don’t you think?
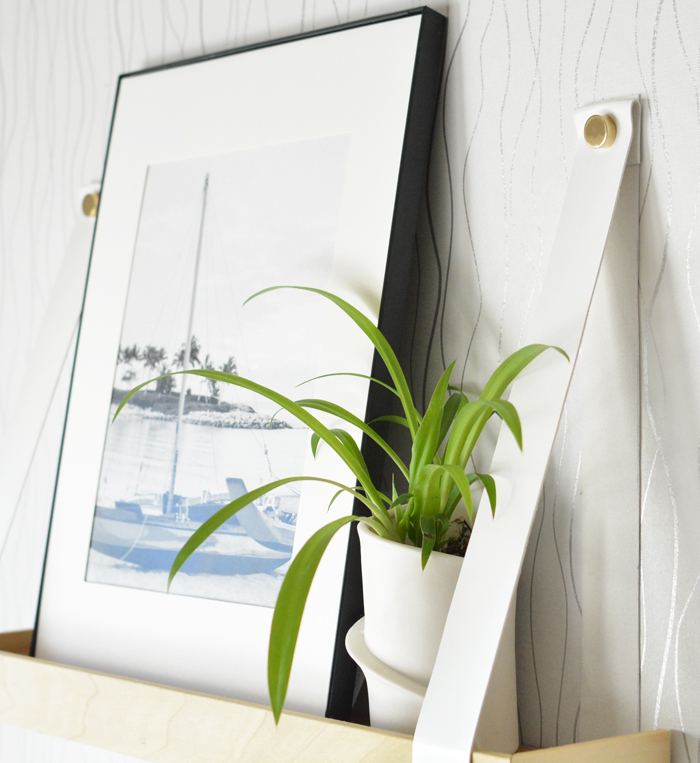
Use a level to make sure the straps are even and the shelves are level, then display your art!
I like the combination of natural wood, white, and brass in my space, but you could stain the poplar a dark color and use traditional brown leather for a totally different look!
Send me a picture if you recreate some of your own!
.


Wow, I really love these! Such a unique idea. I’m bookmarking this for later, thank you!
you’re welcome!
So cute! Where is the little white spiral plant pot from? Thanks!
I bought that at Lowes several months ago. :) Check their inside plant department they have really cute little planters there from time to time.
Very cool – great idea with the metal caps, I haven’t seen them before but will have to check for them next time I’m at the hardware store!