This project started as an idea in my mind, how could I transform the free electric fireplace that came with the Florida house we bought. You can see the original fireplace in those real estate listing pictures from earlier this year. All summer long I didn’t bother with the idea of a fireplace in Florida with 90+ degree days. I had stored the electric fireplace in another room thinking I would sell it.
But when I returned in November it was chilly and I thought how nice it would be to have a fireplace as a source of heat. I love a fireplace as a focal point in living and family rooms, and I always had in the back of my mind an idea to build a floor to ceiling electric fireplace surround in the living room in this house. Instead I decided to remodel the one I had on site. Could it be done? Could I give it a fresher look, one that complemented the style of the home? What did I have to lose? I’m happy to report my experiment worked!
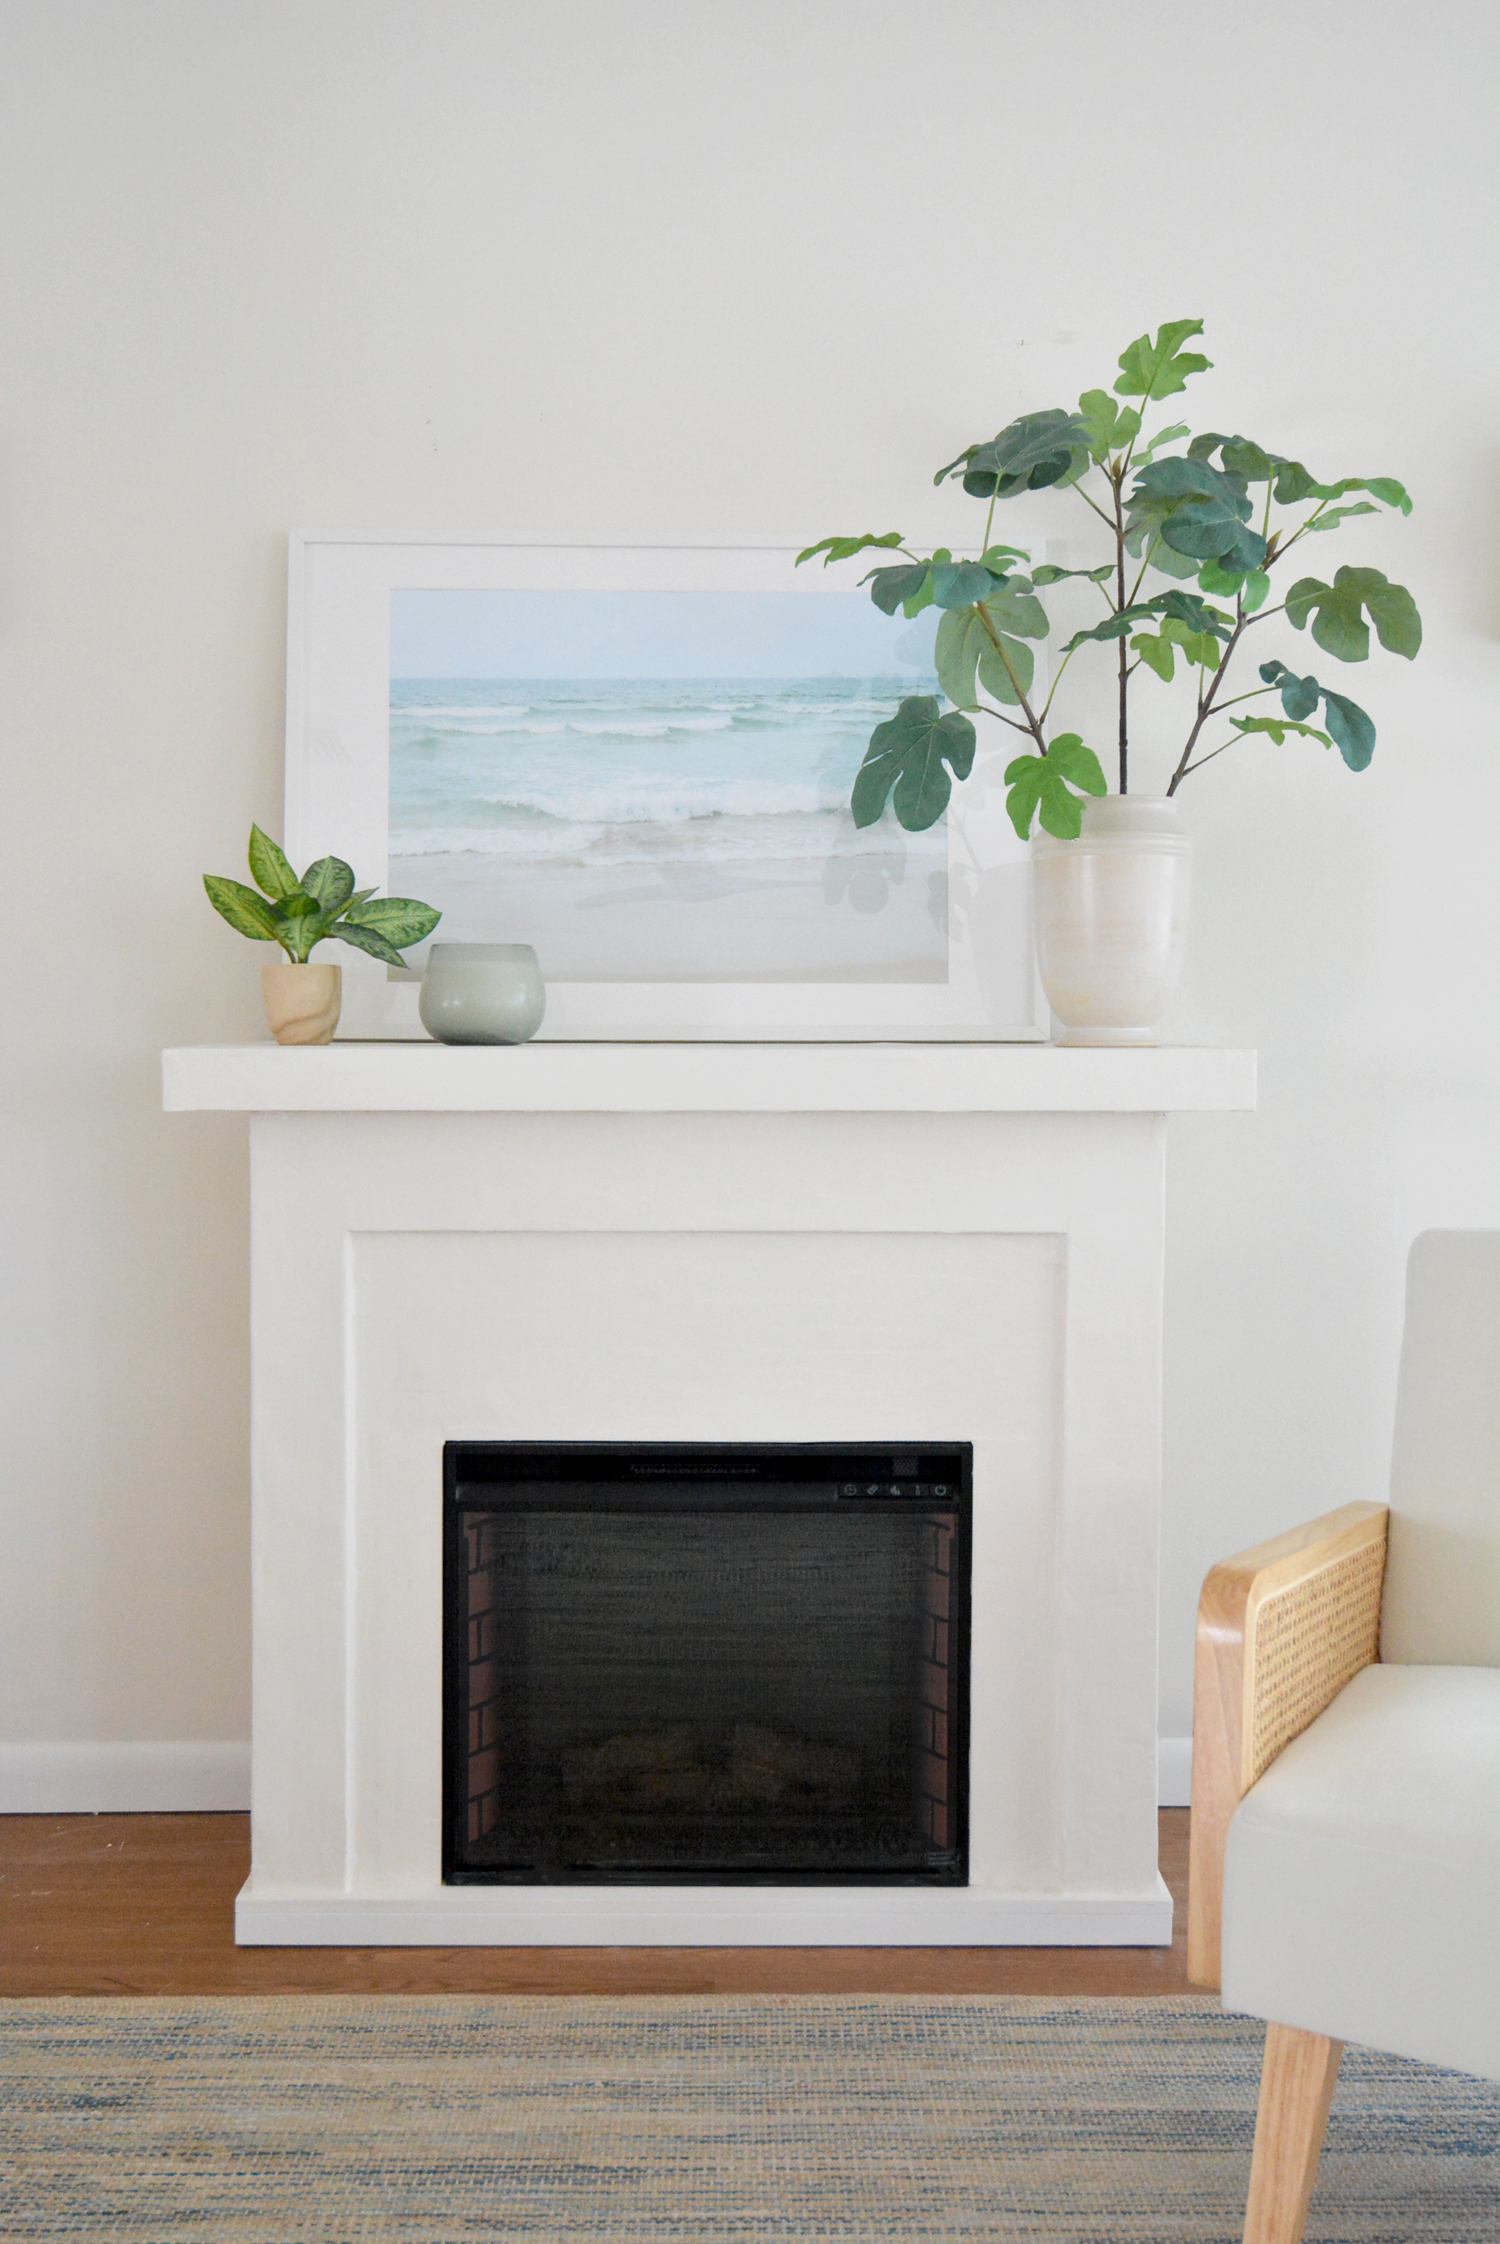
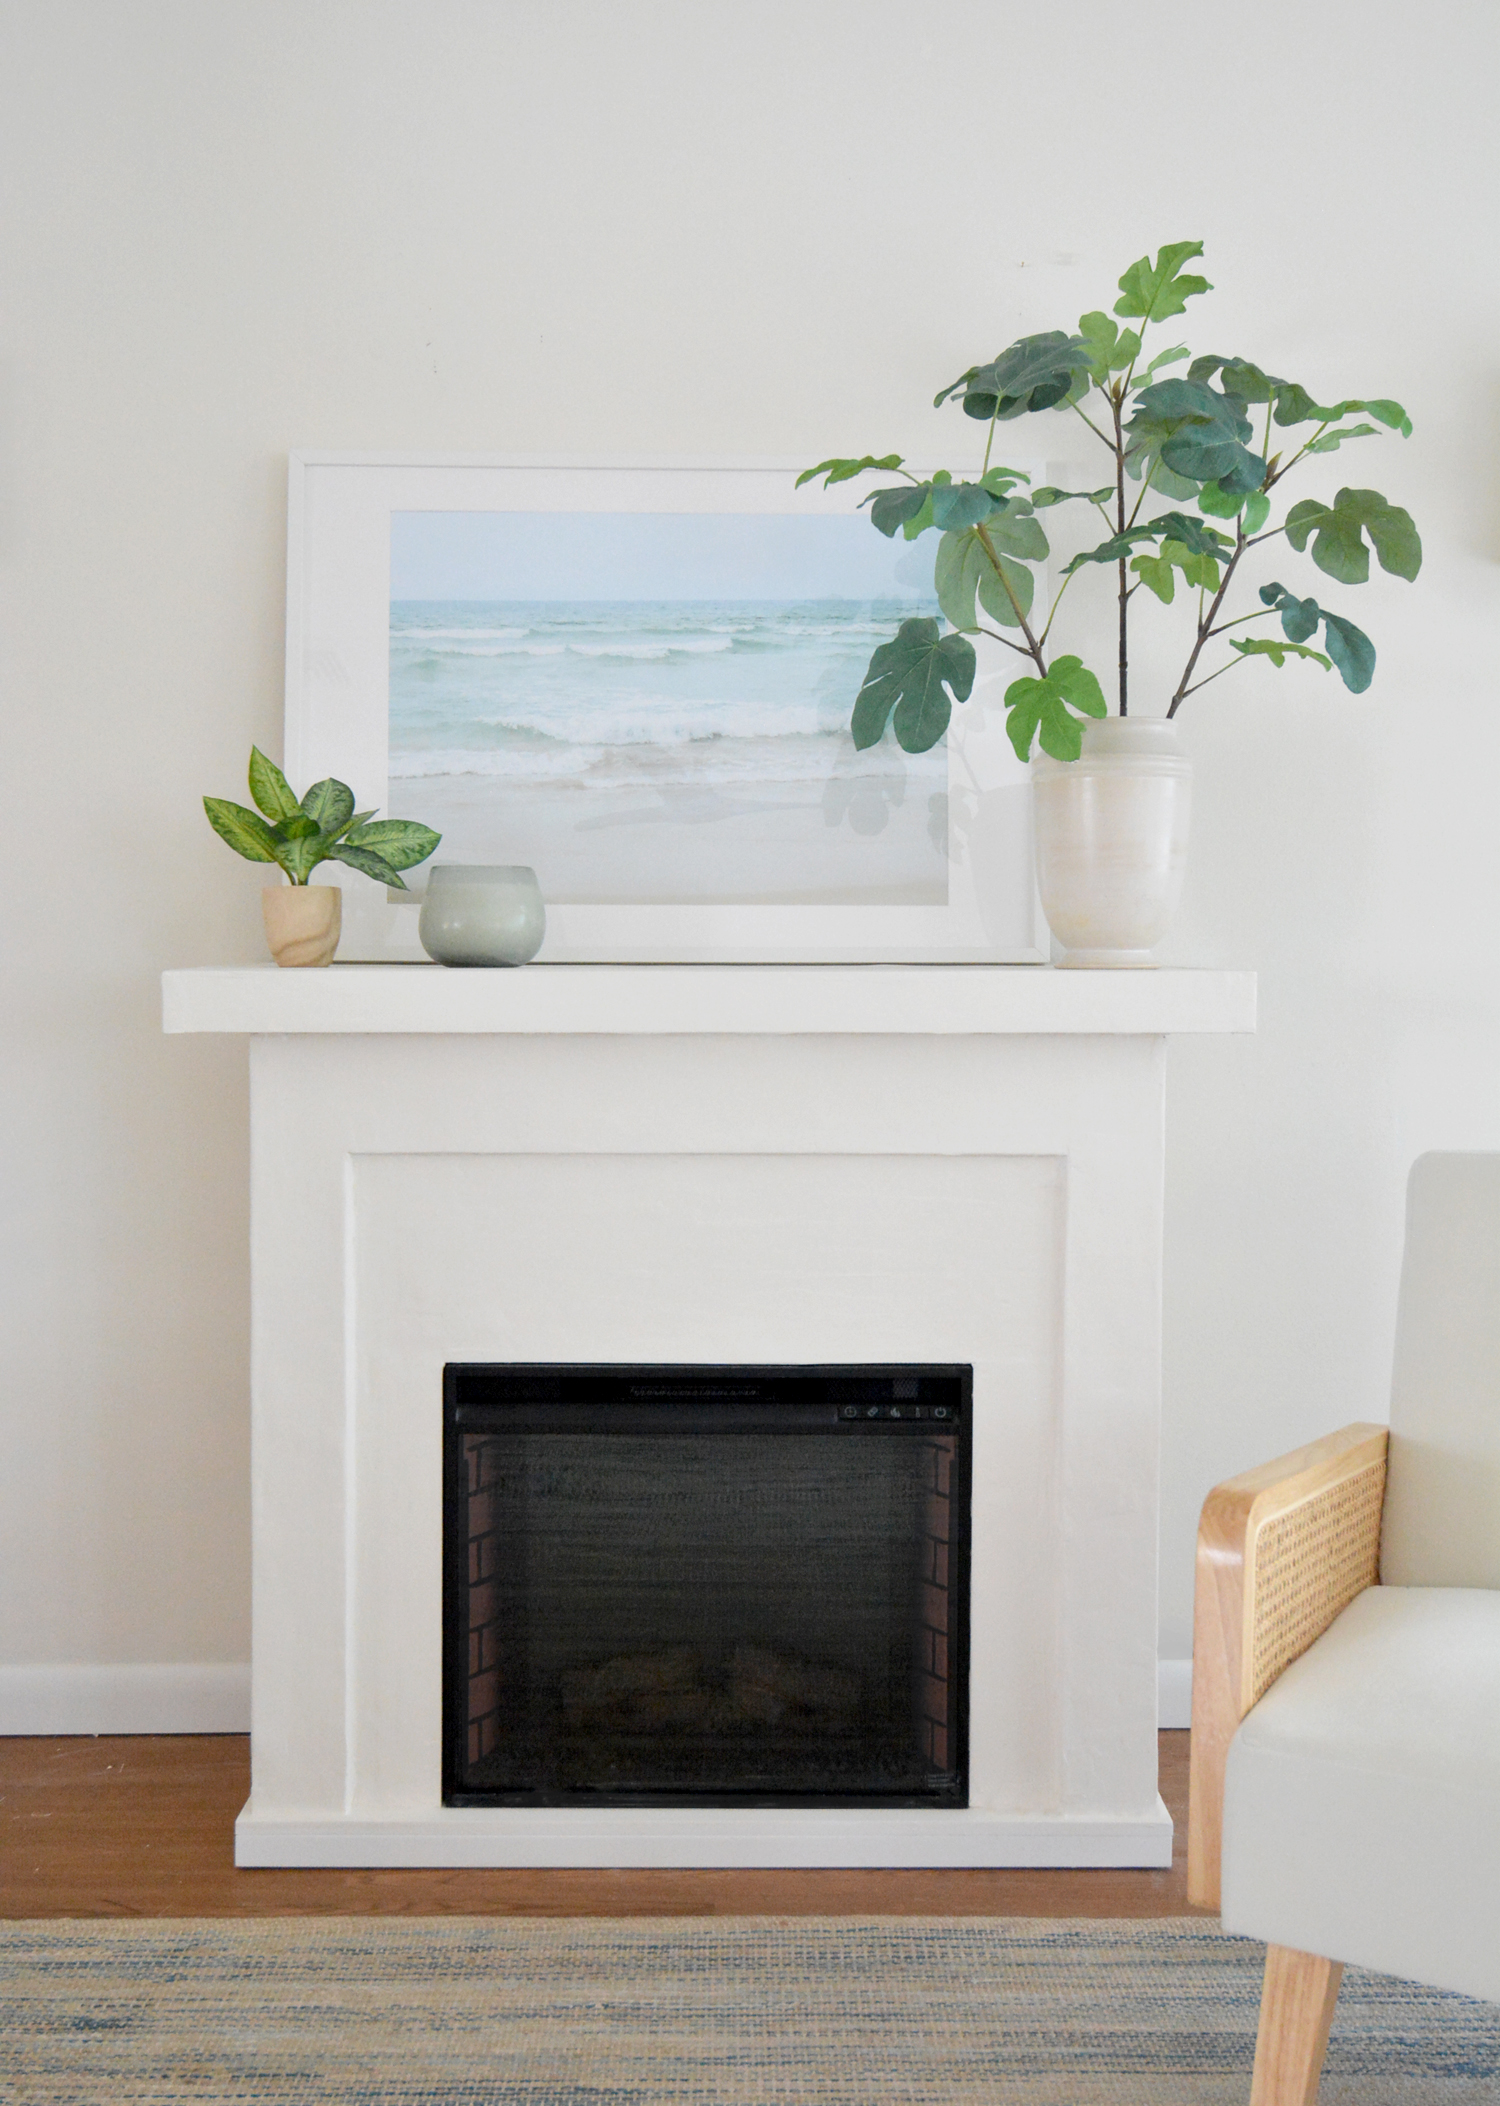
The fireplace looks completely different than when I started. It has a modern smooth textured finish with cleaner lines that is painted the same neutral white as the walls. I had to give it a full makeover which was no simple task!
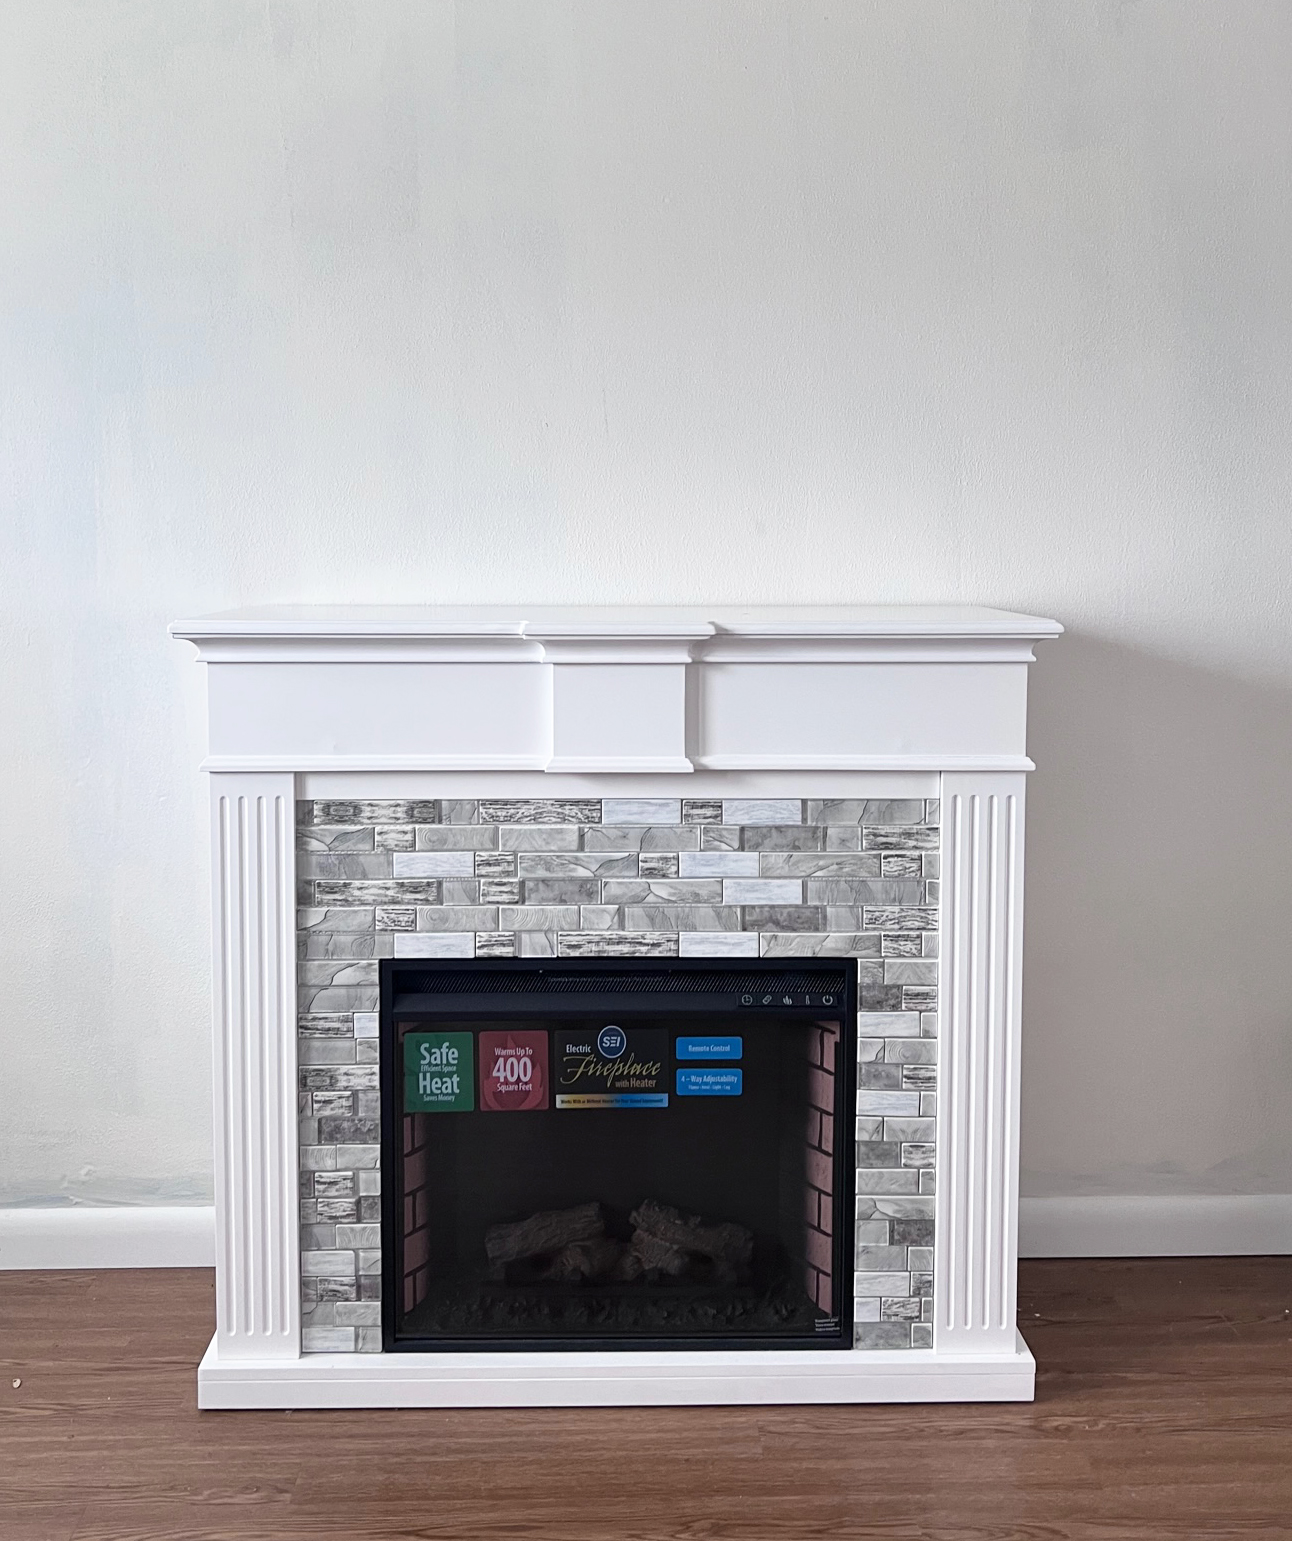
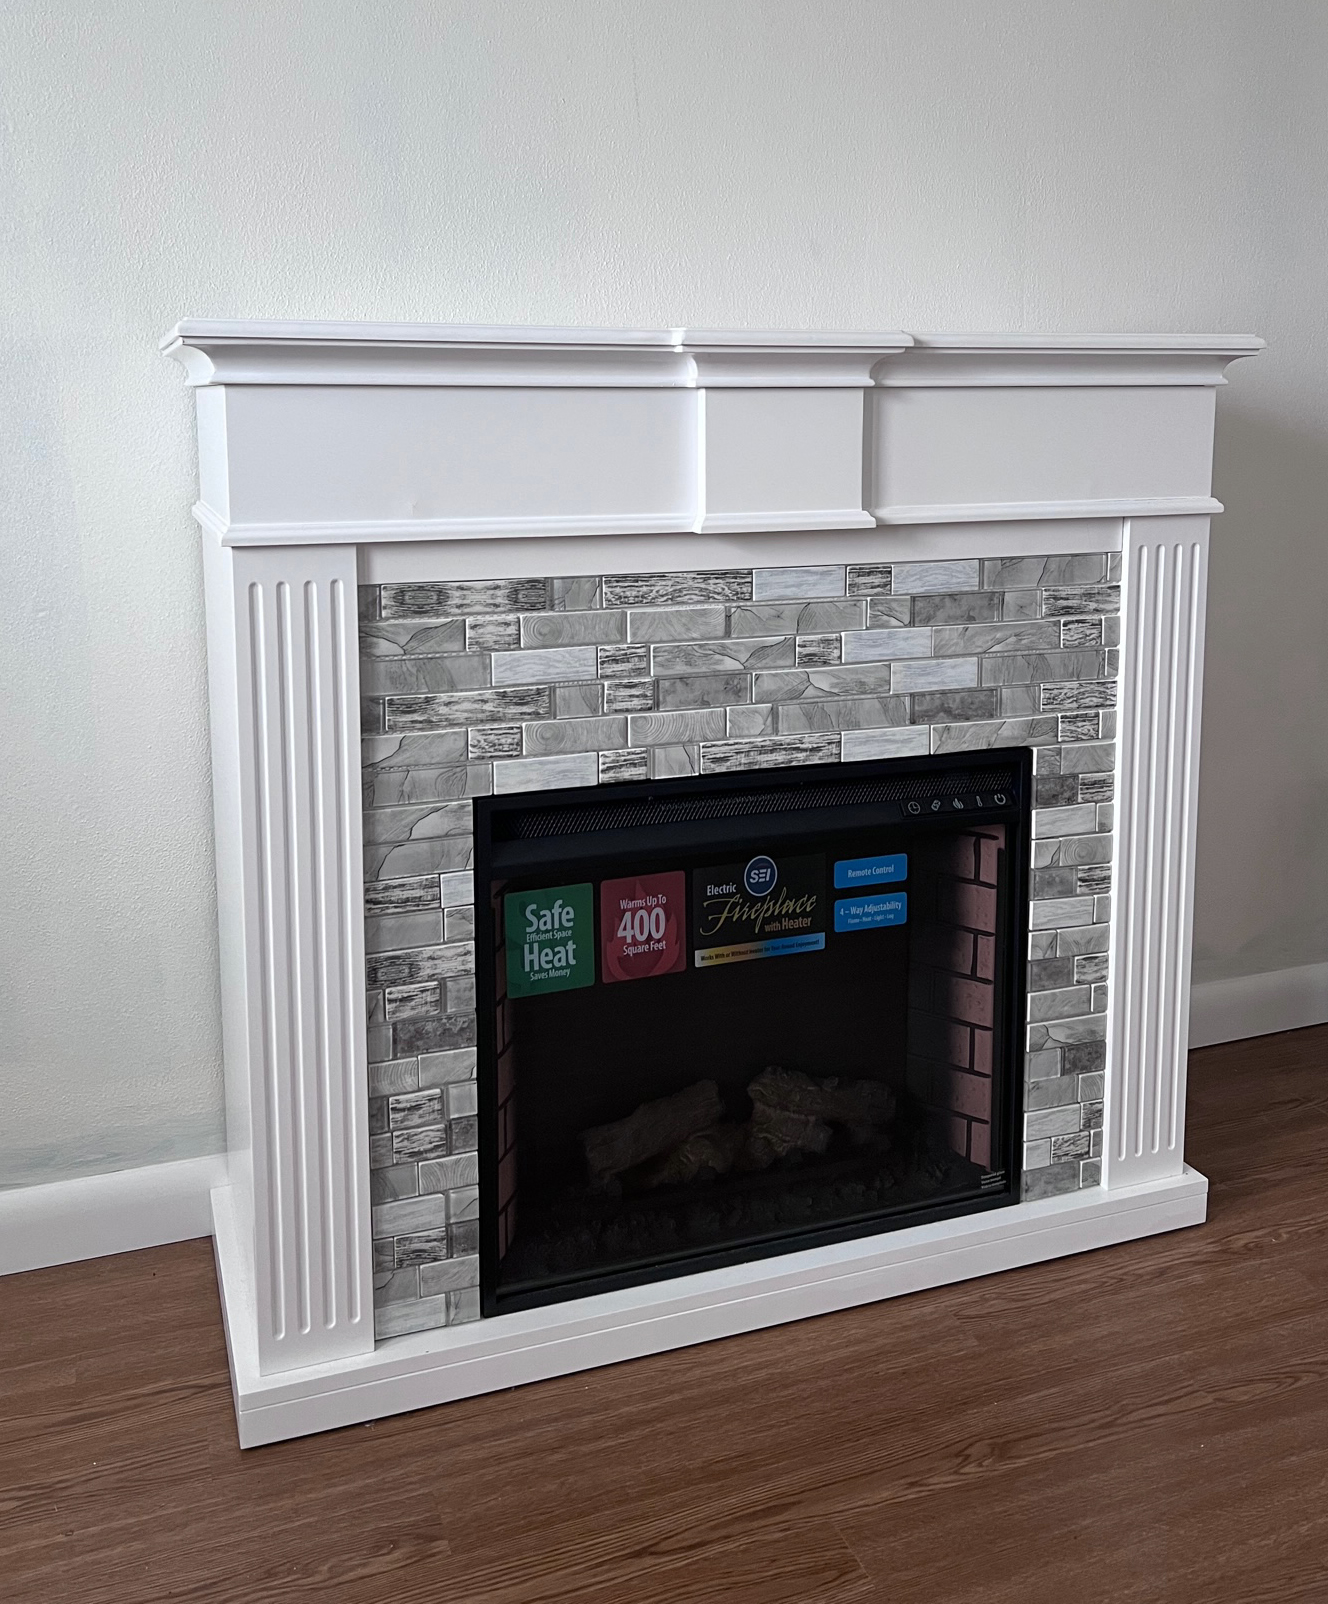
The one below is what I started with, you can see it’s one of those basic pieces that can be bought online, but unfortunately the style didn’t fit my coastal-meets-modern aesthetic. I didn’t like the traditional trim, the thin routed legs, or the glass and stone tile face. I wanted something much more simple, modern and contemporary, something that would recede into the background and look like it belonged.
I don’t have a miter saw in Florida yet. I only have one in California, so if I was going to tackle this project it had to be done with basic tools, simple supplies, and some help from the lumber cutting department at Lowe’s.
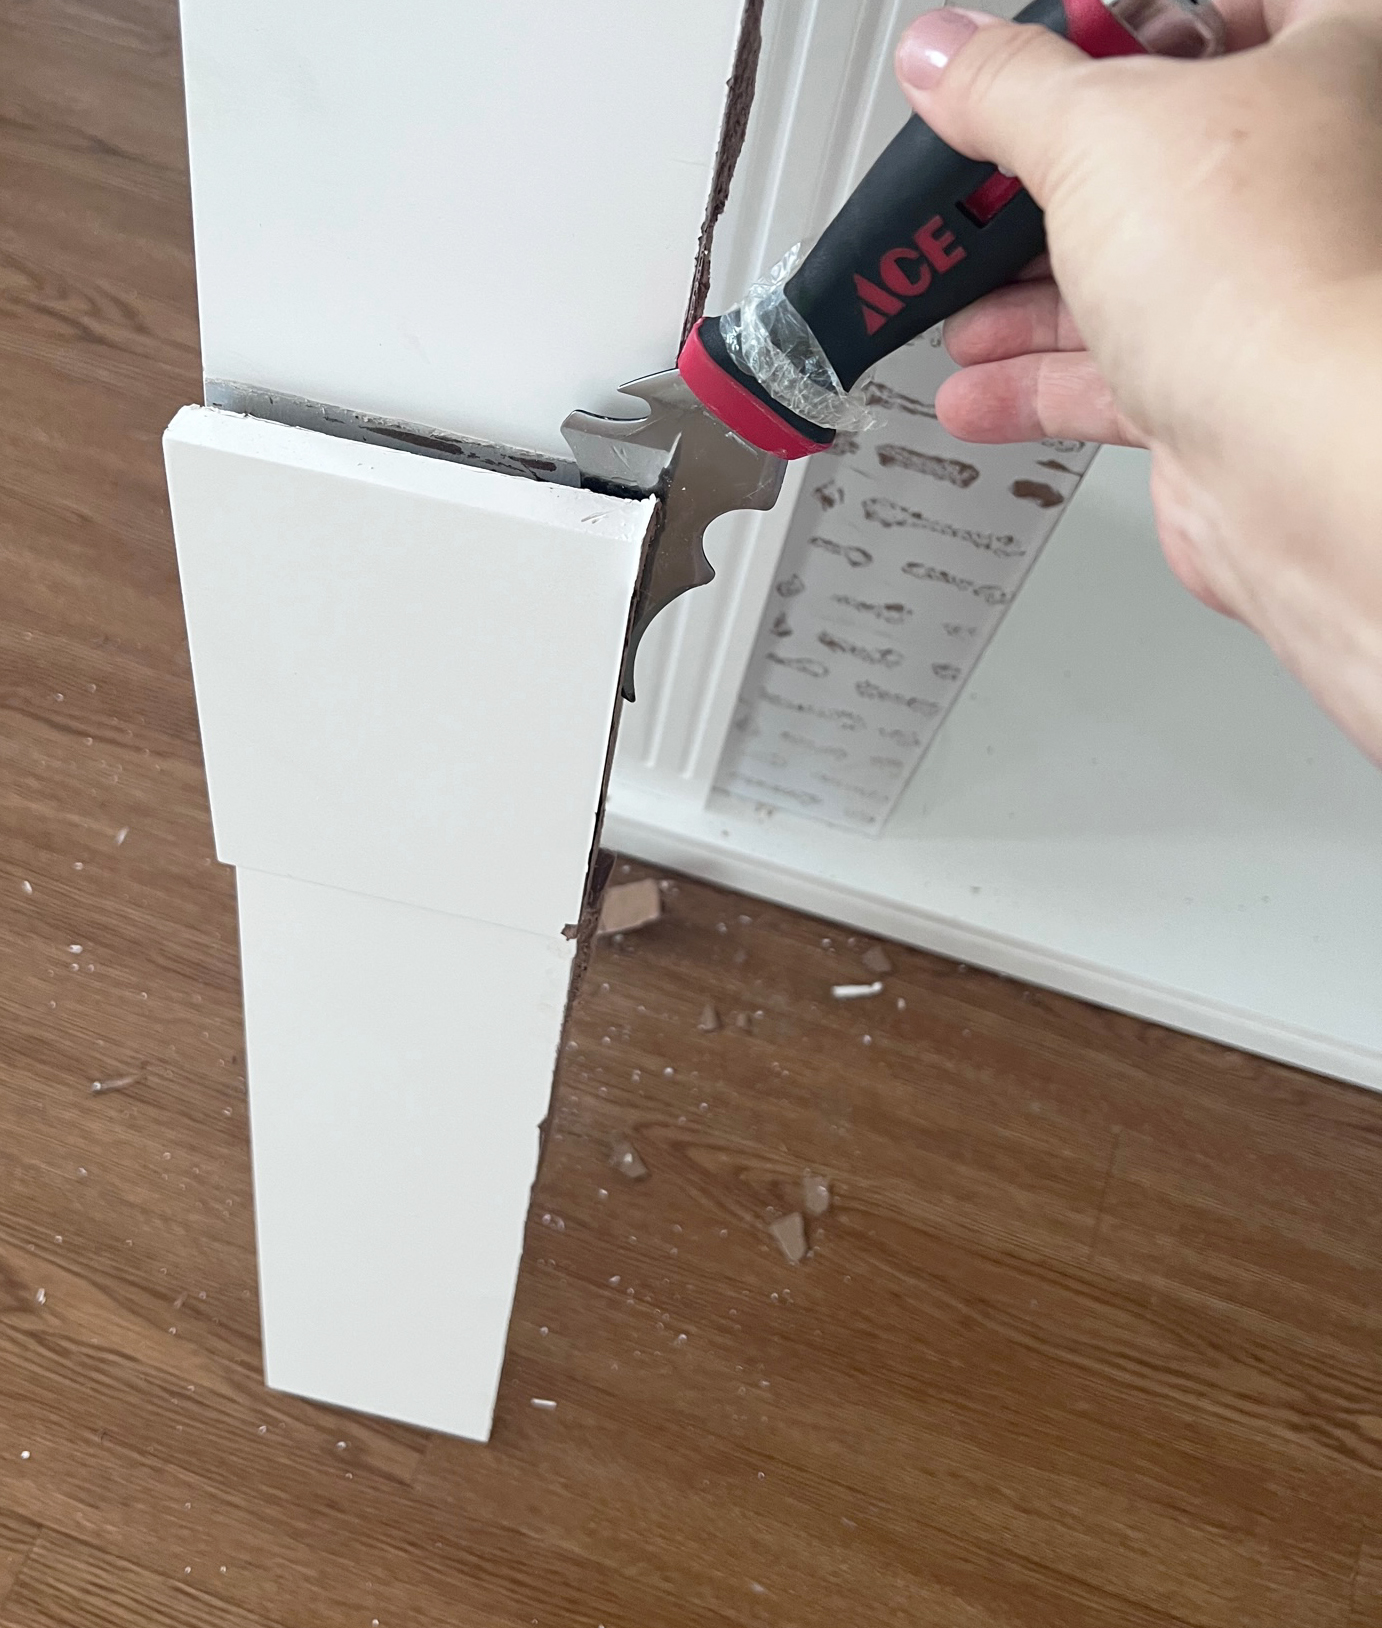
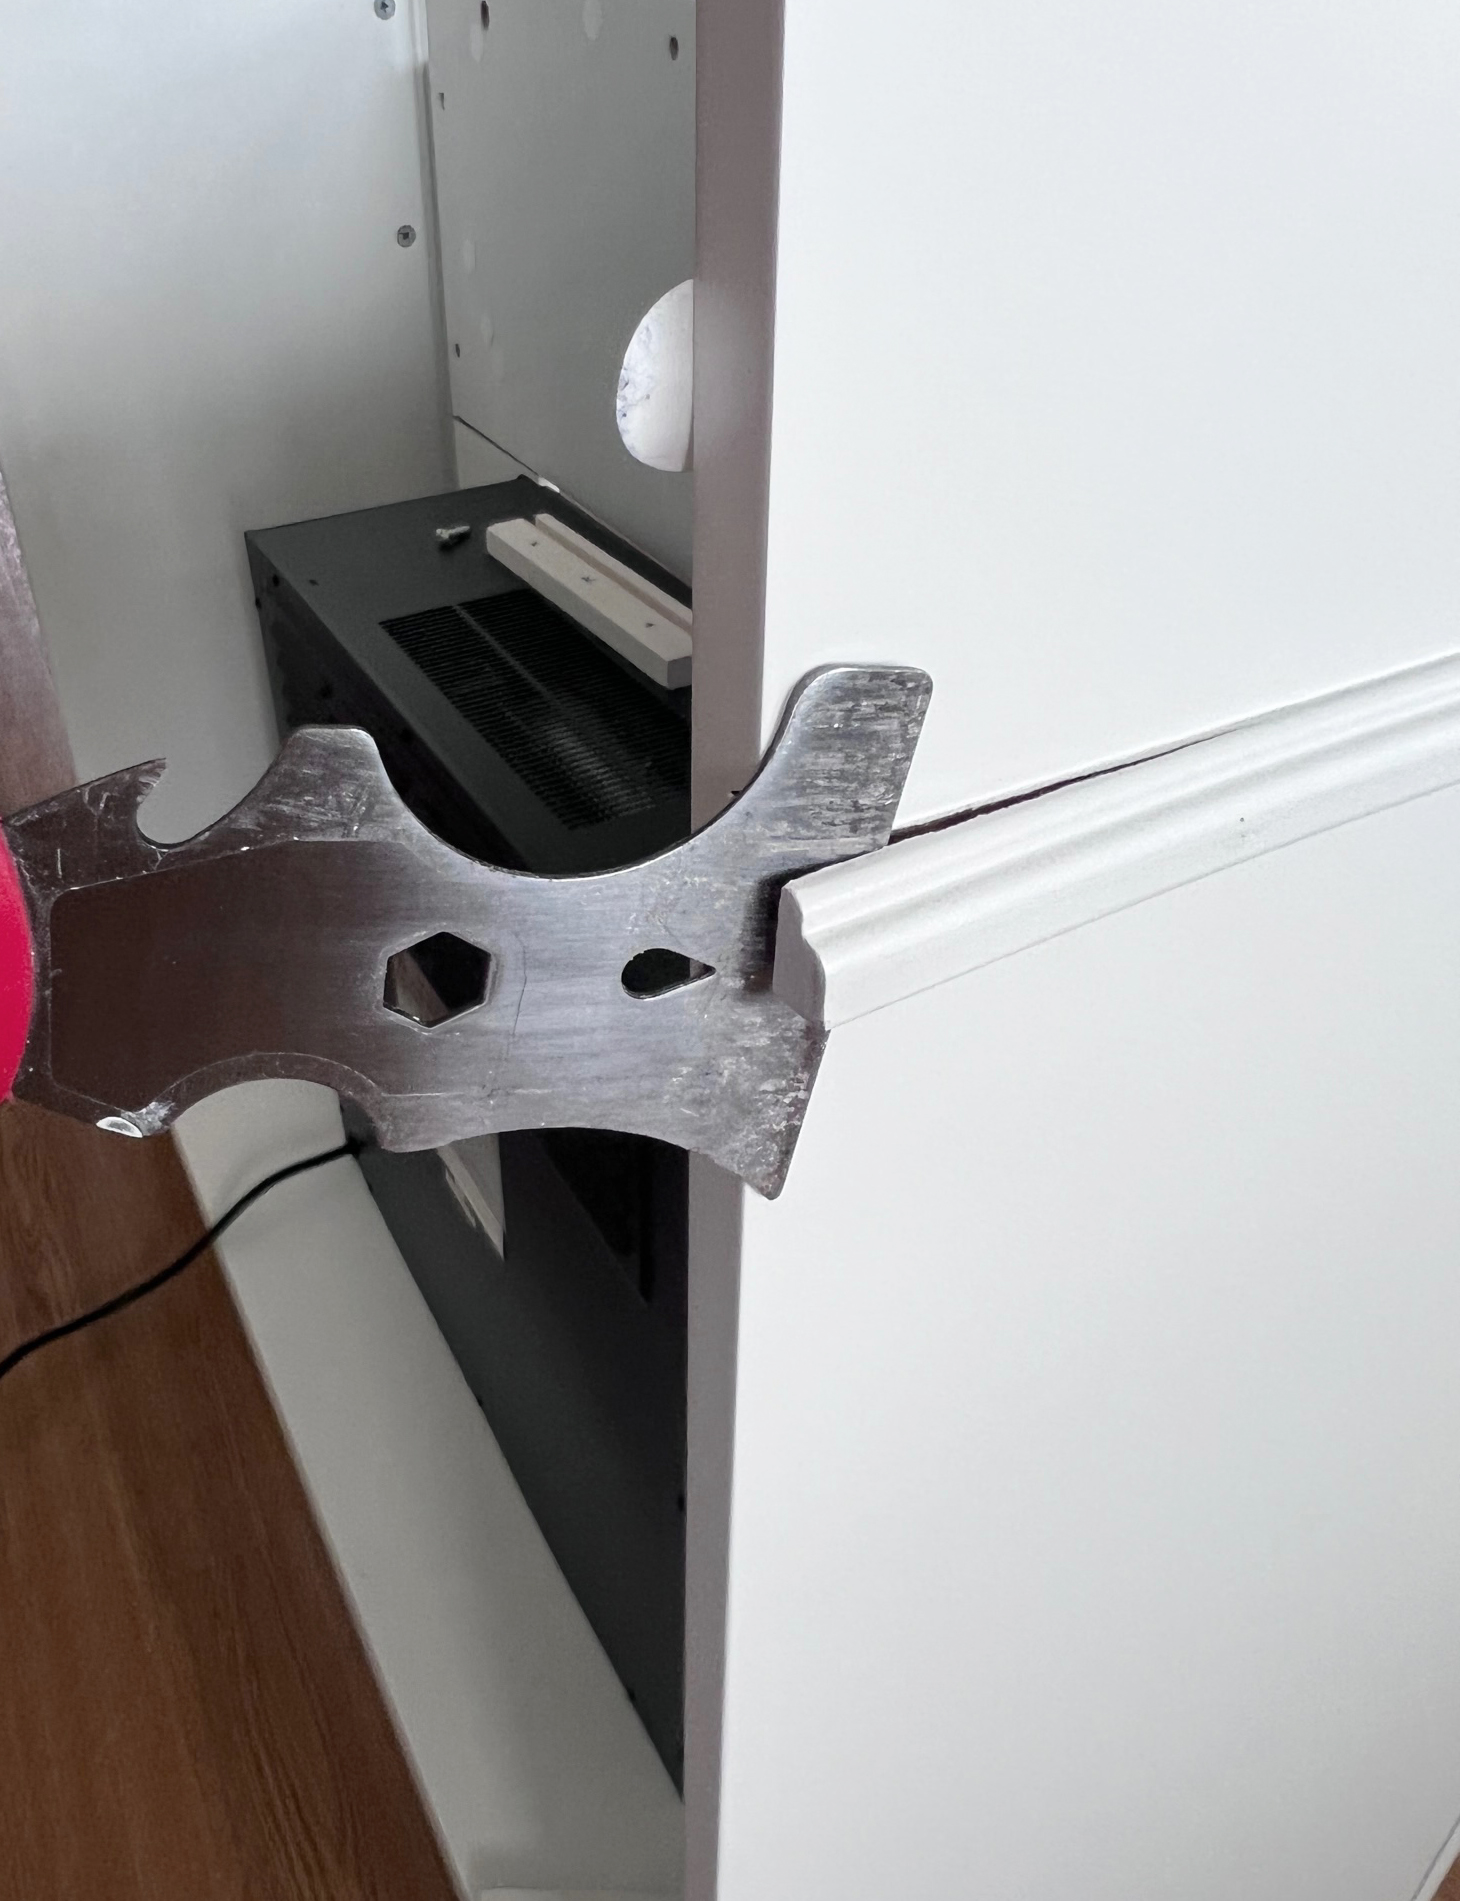
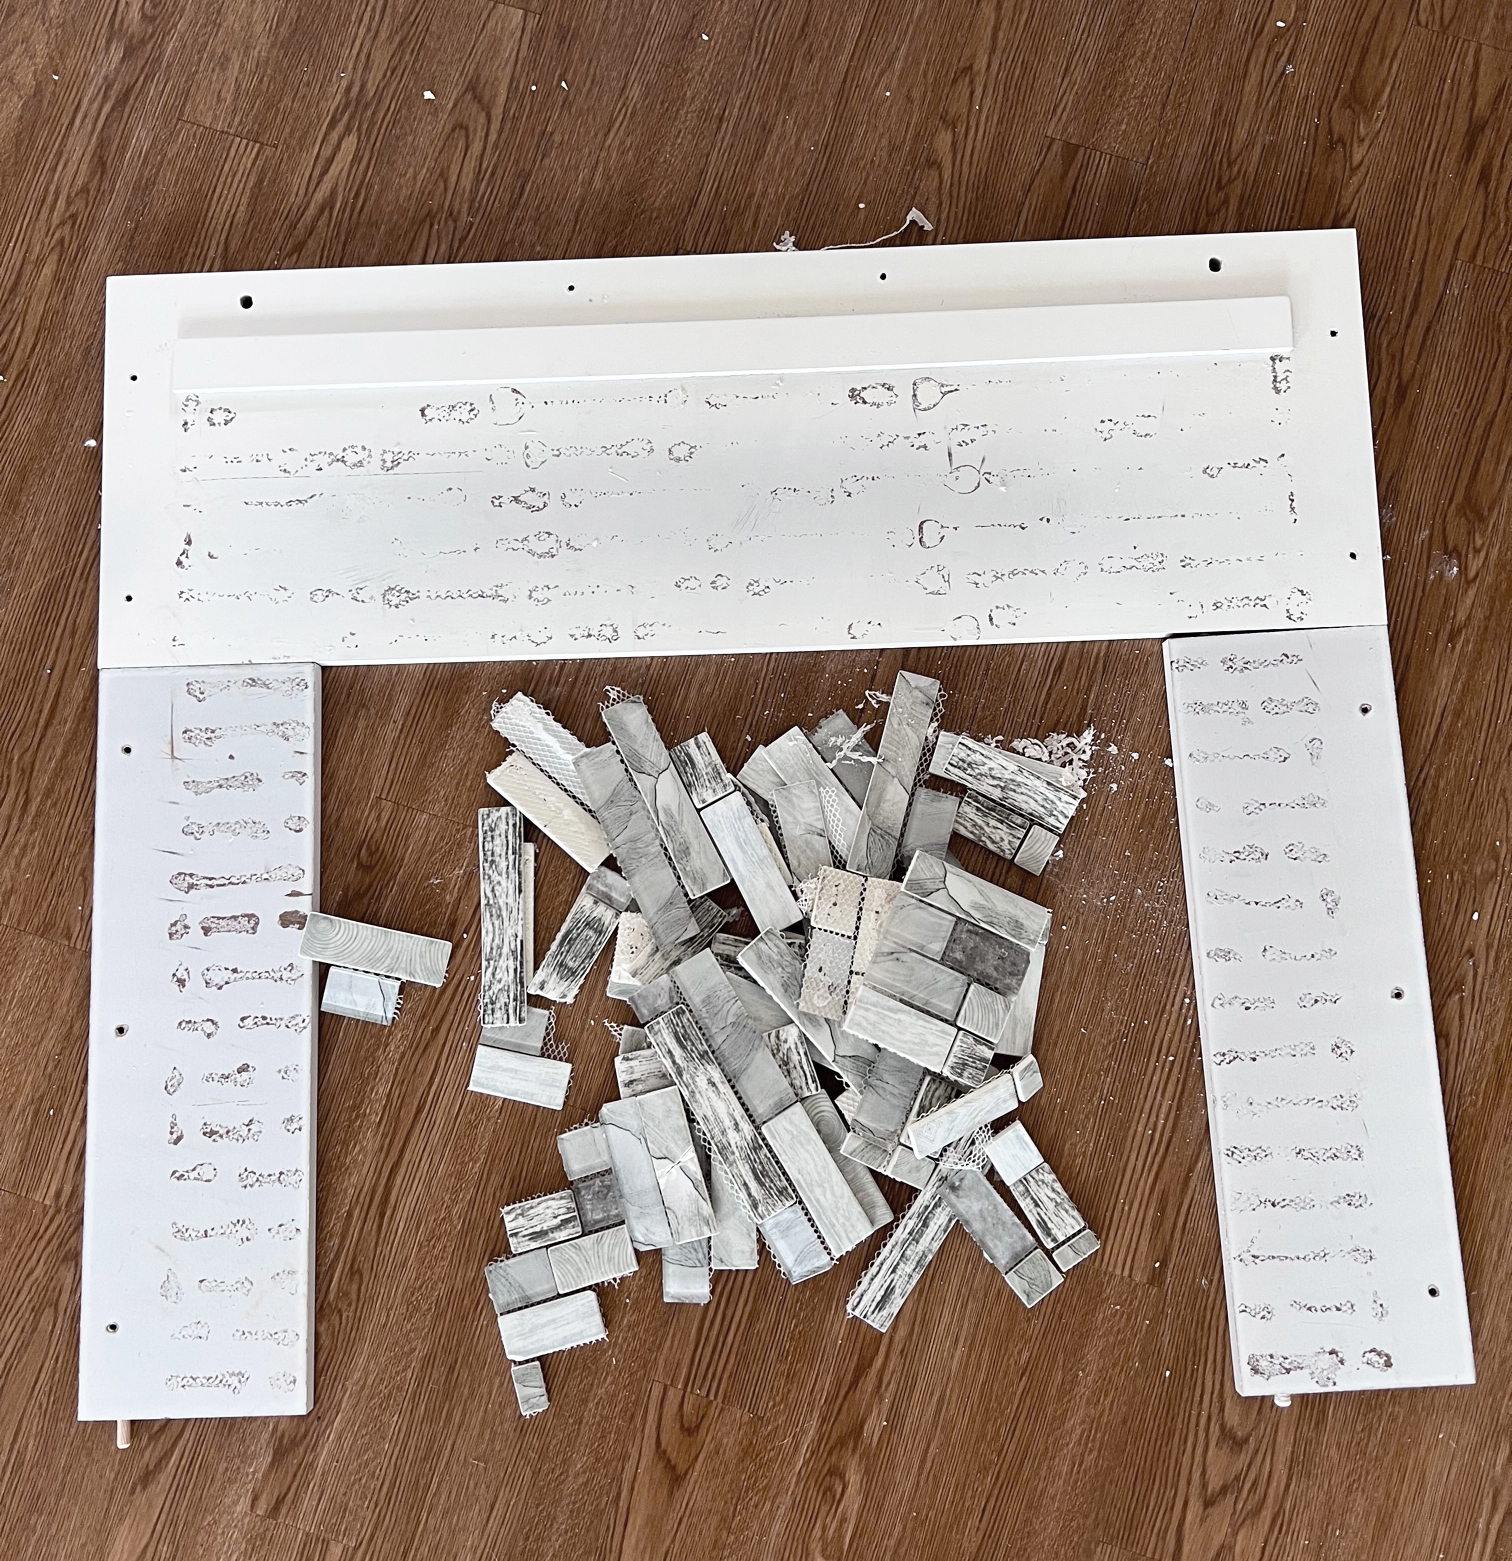
I began by deconstructing the fireplace and taking it apart. I had to understand how it was put together if I was going to remove pieces and still have a working structure. It revealed it was a hollow MDF frame held together by pegs, screws, and cam bolts.
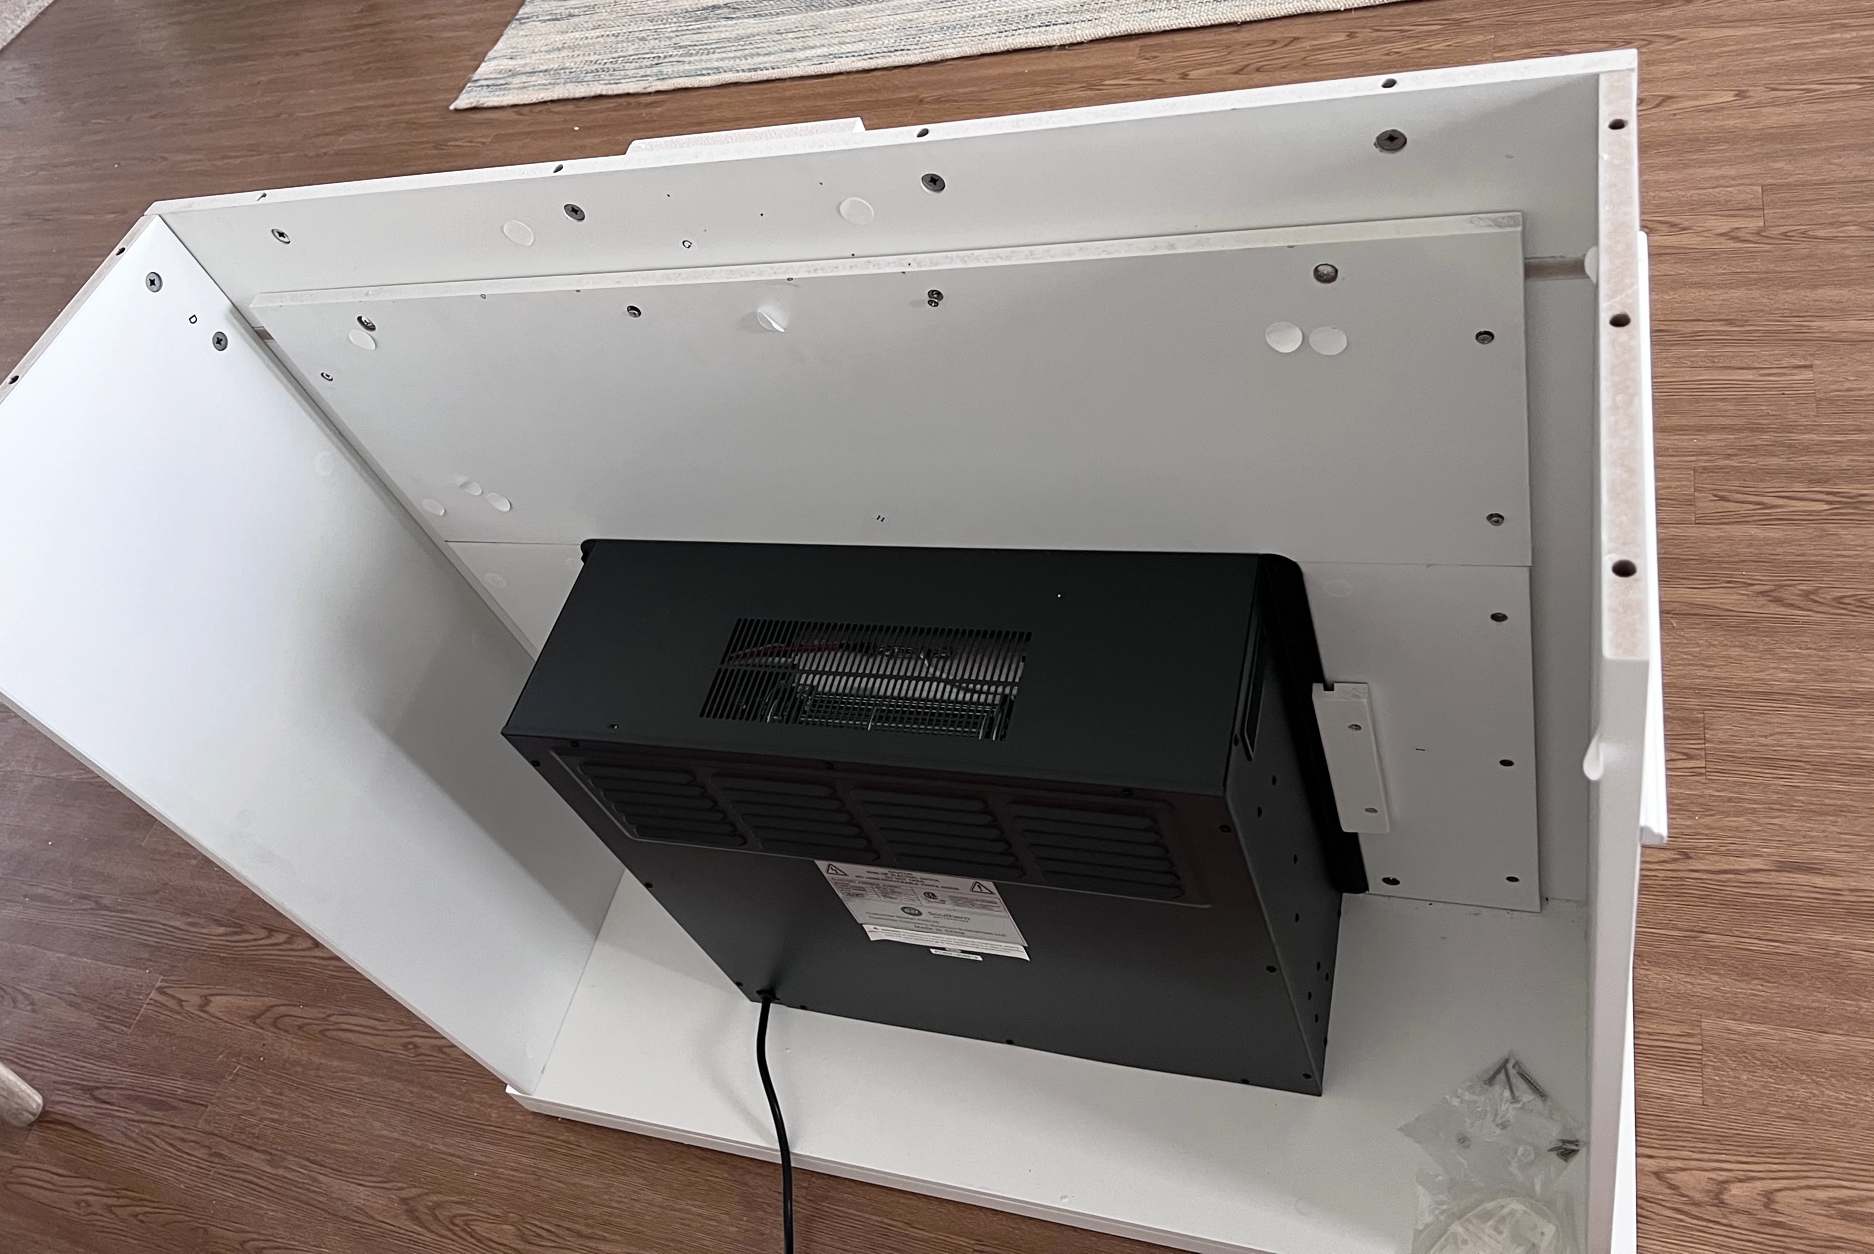
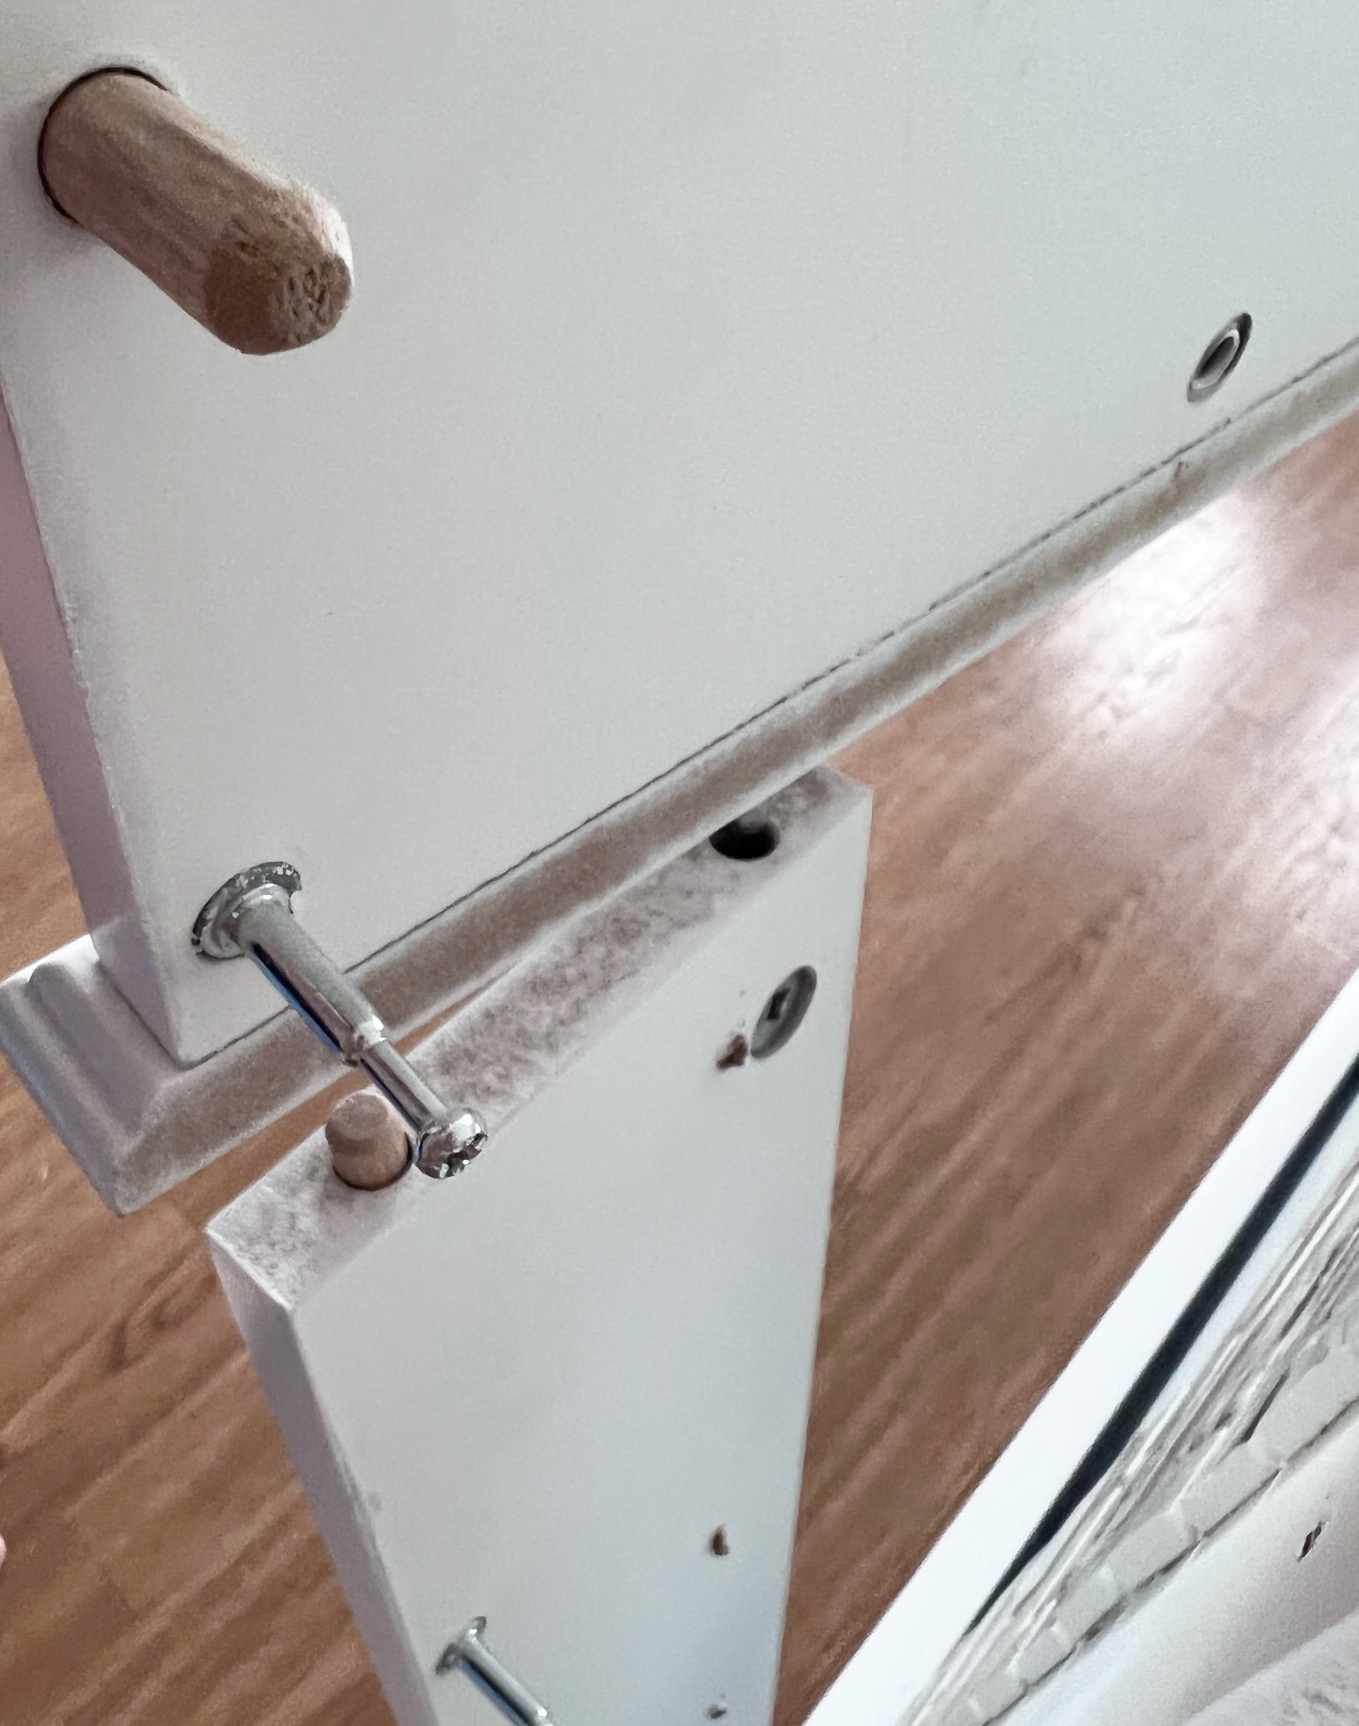
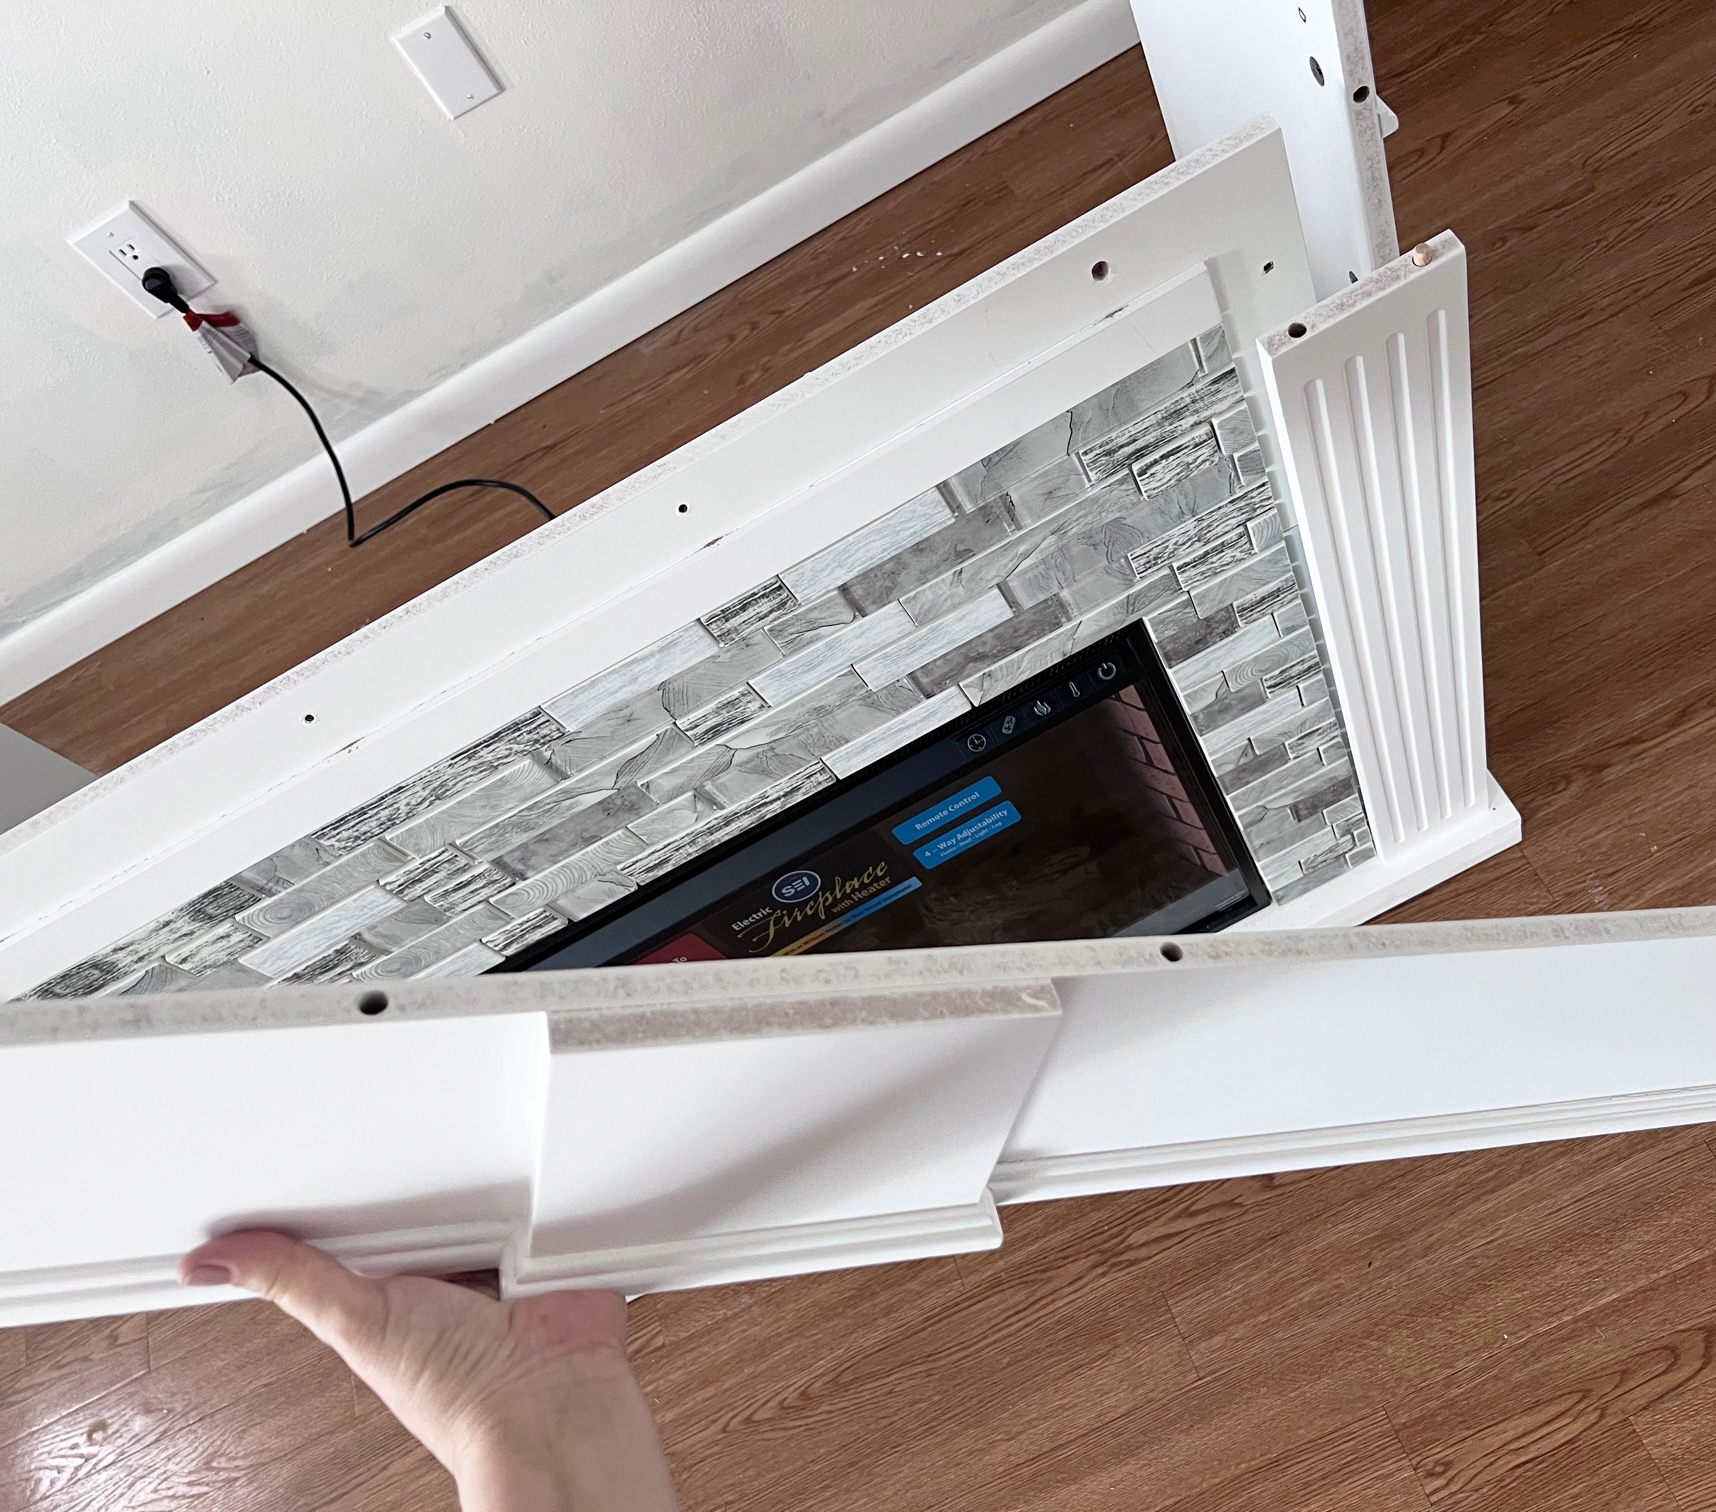
It was cheap construction but had just enough structure to work with. I began removing the decorative trim I didn’t want which had to be carefully done so I wouldn’t damage the frame I planned to keep.
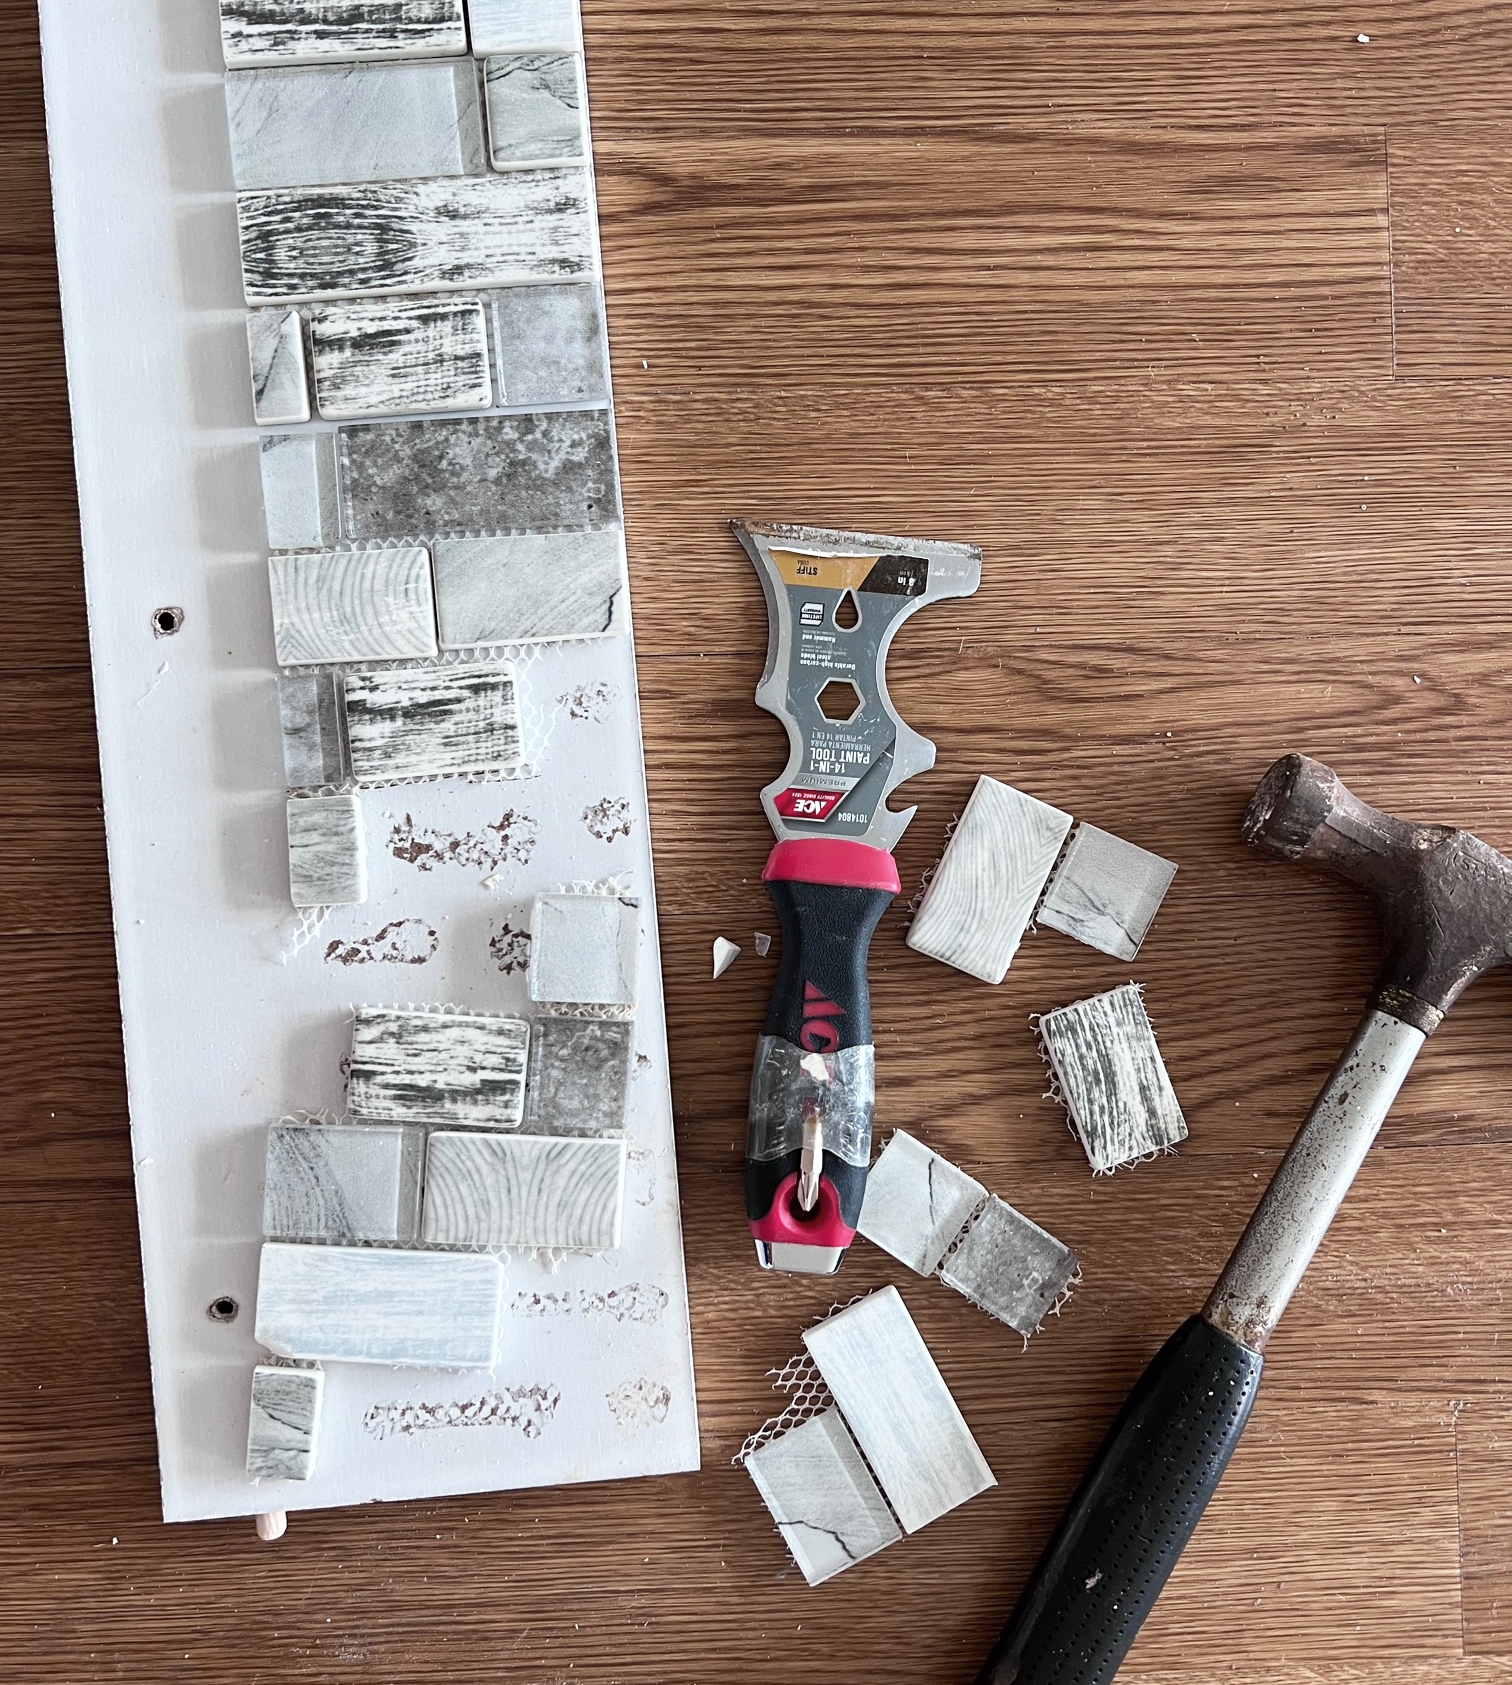
Next I carefully removed the tile on the front made of glass and stone. It was glued on pretty well so I was lucky I remembered to wear goggles and gloves because shards were popping everywhere!
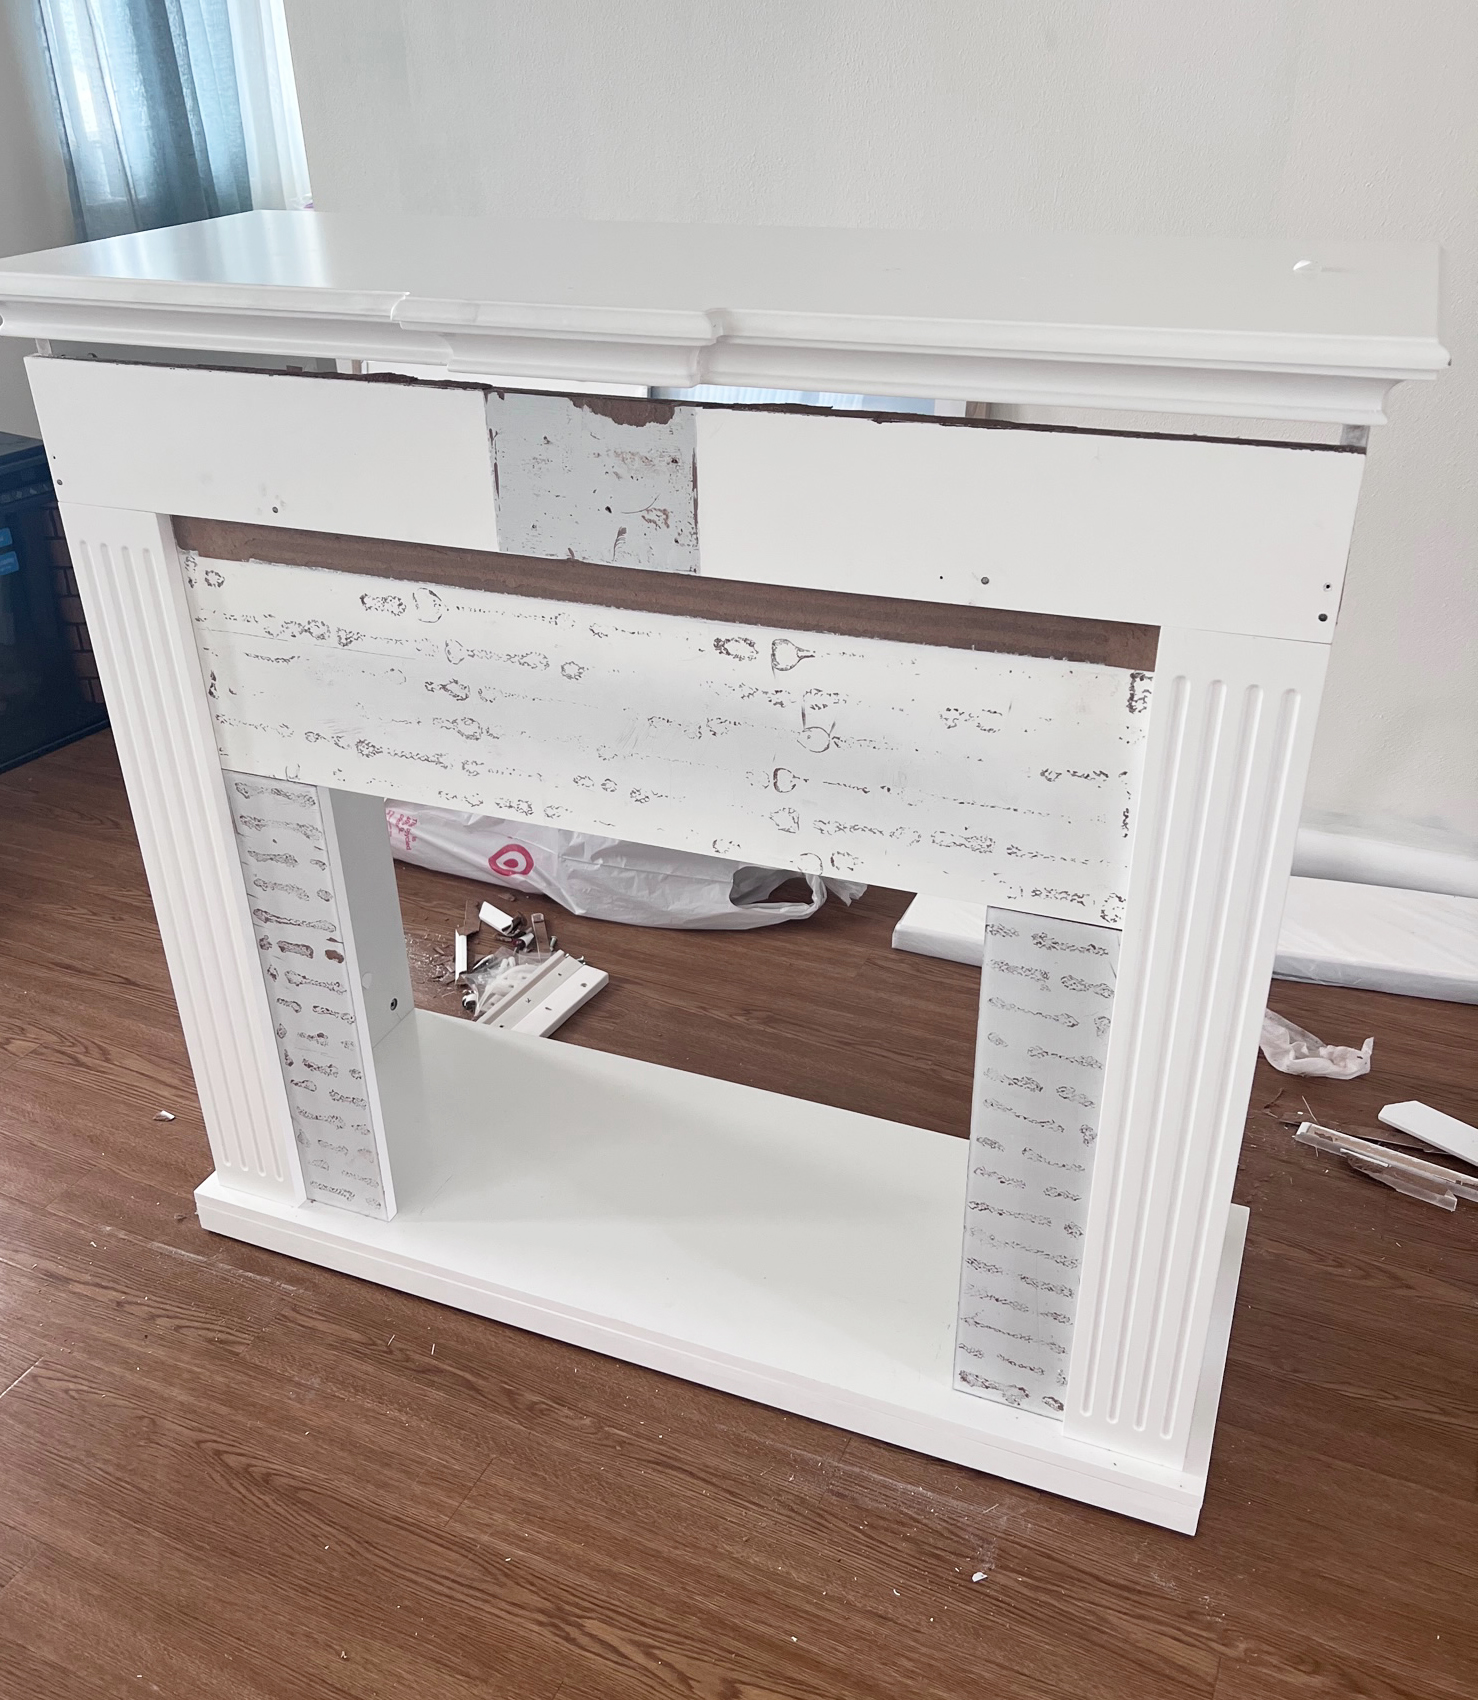
Now was the moment of truth, could I put it all back together so that it was structurally sound? Why yes, it was! Just in need of a completely different finish.
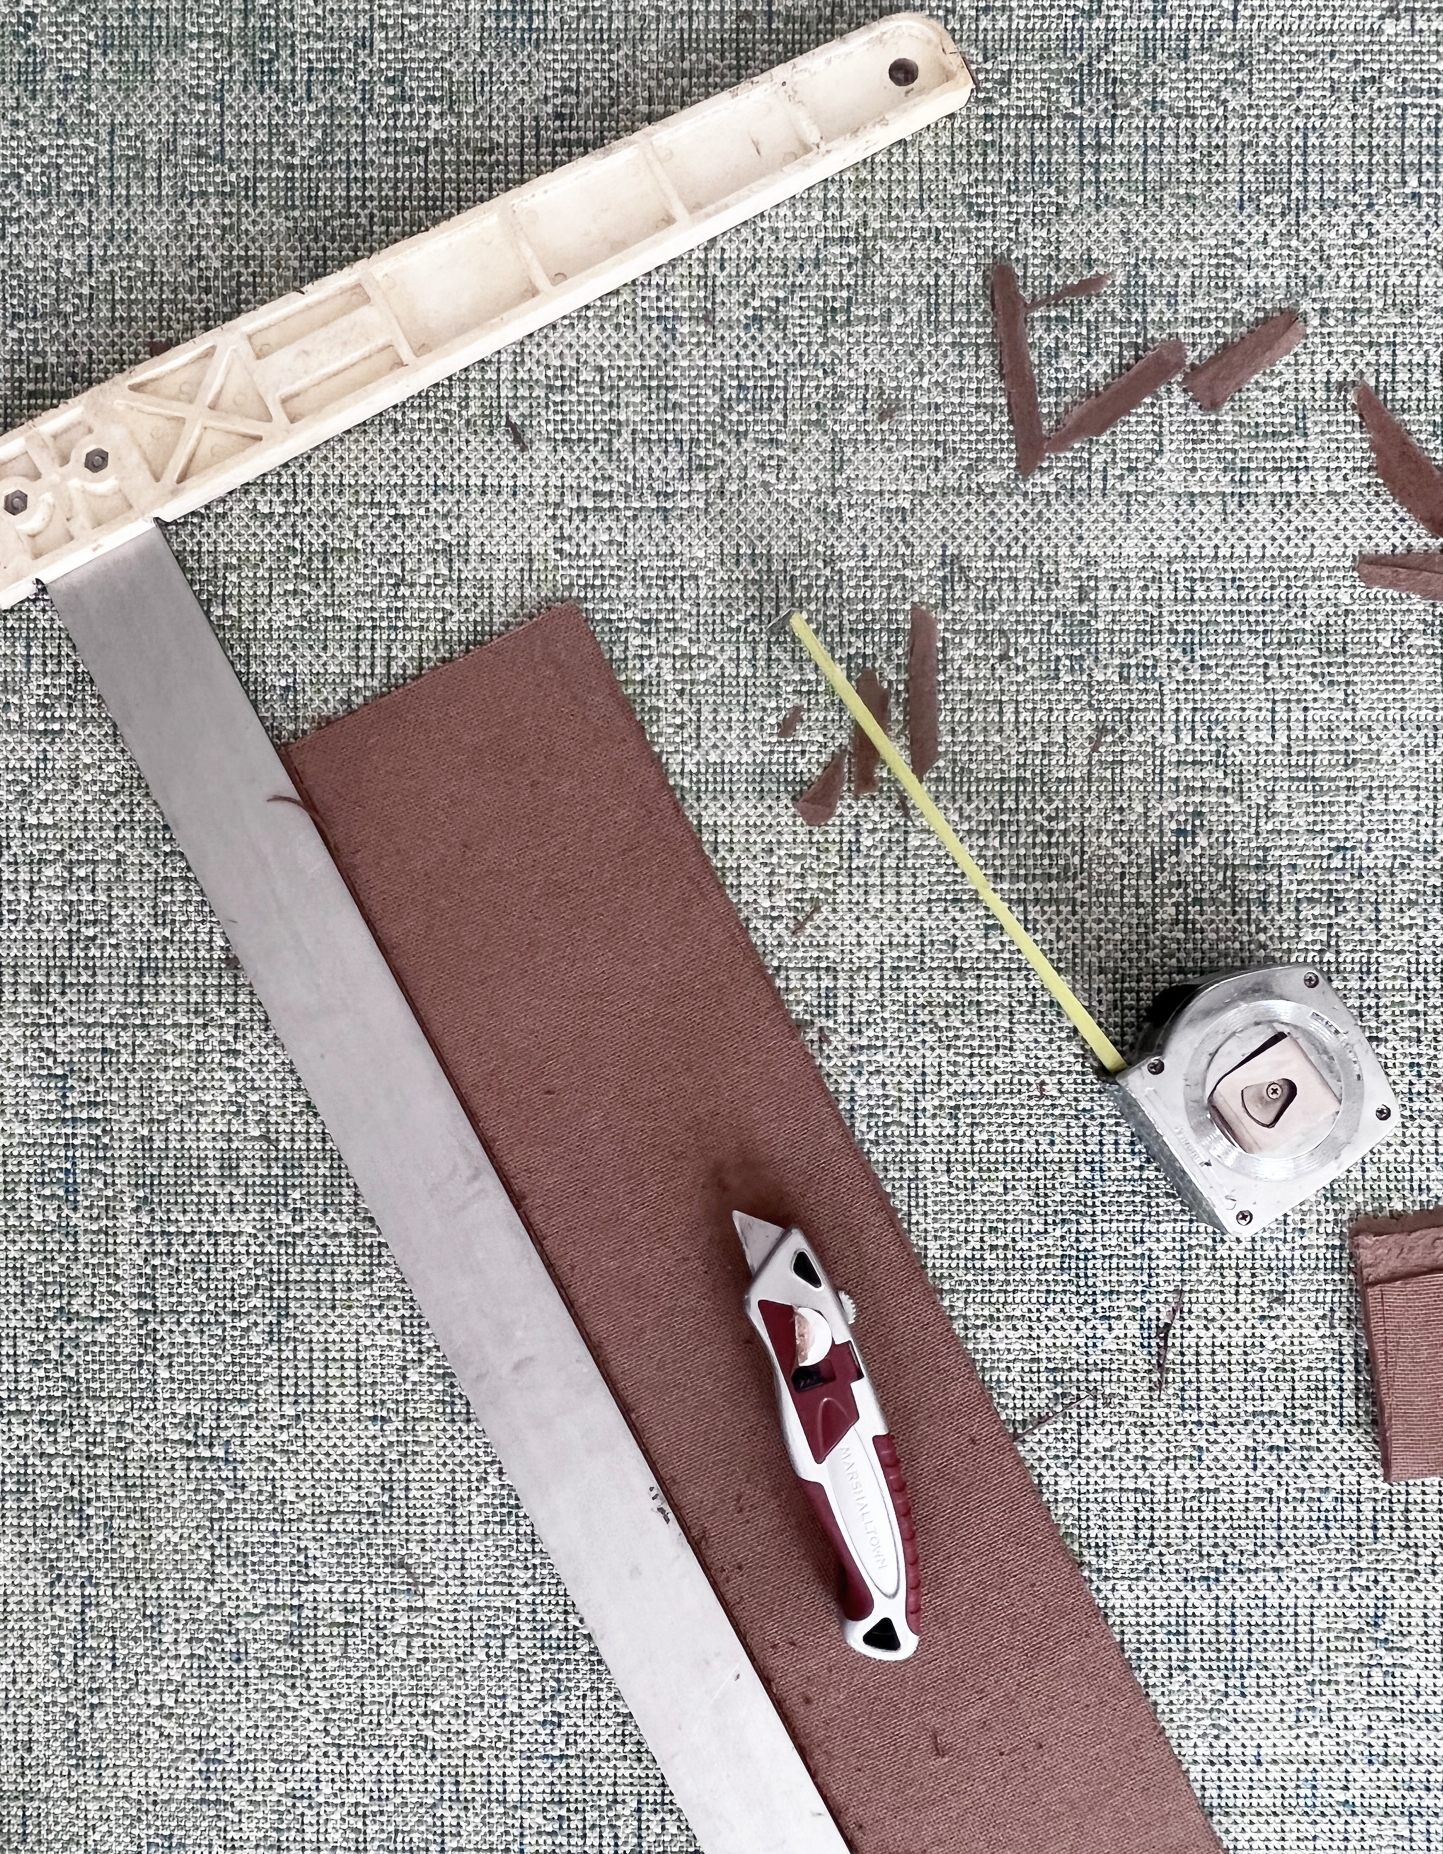
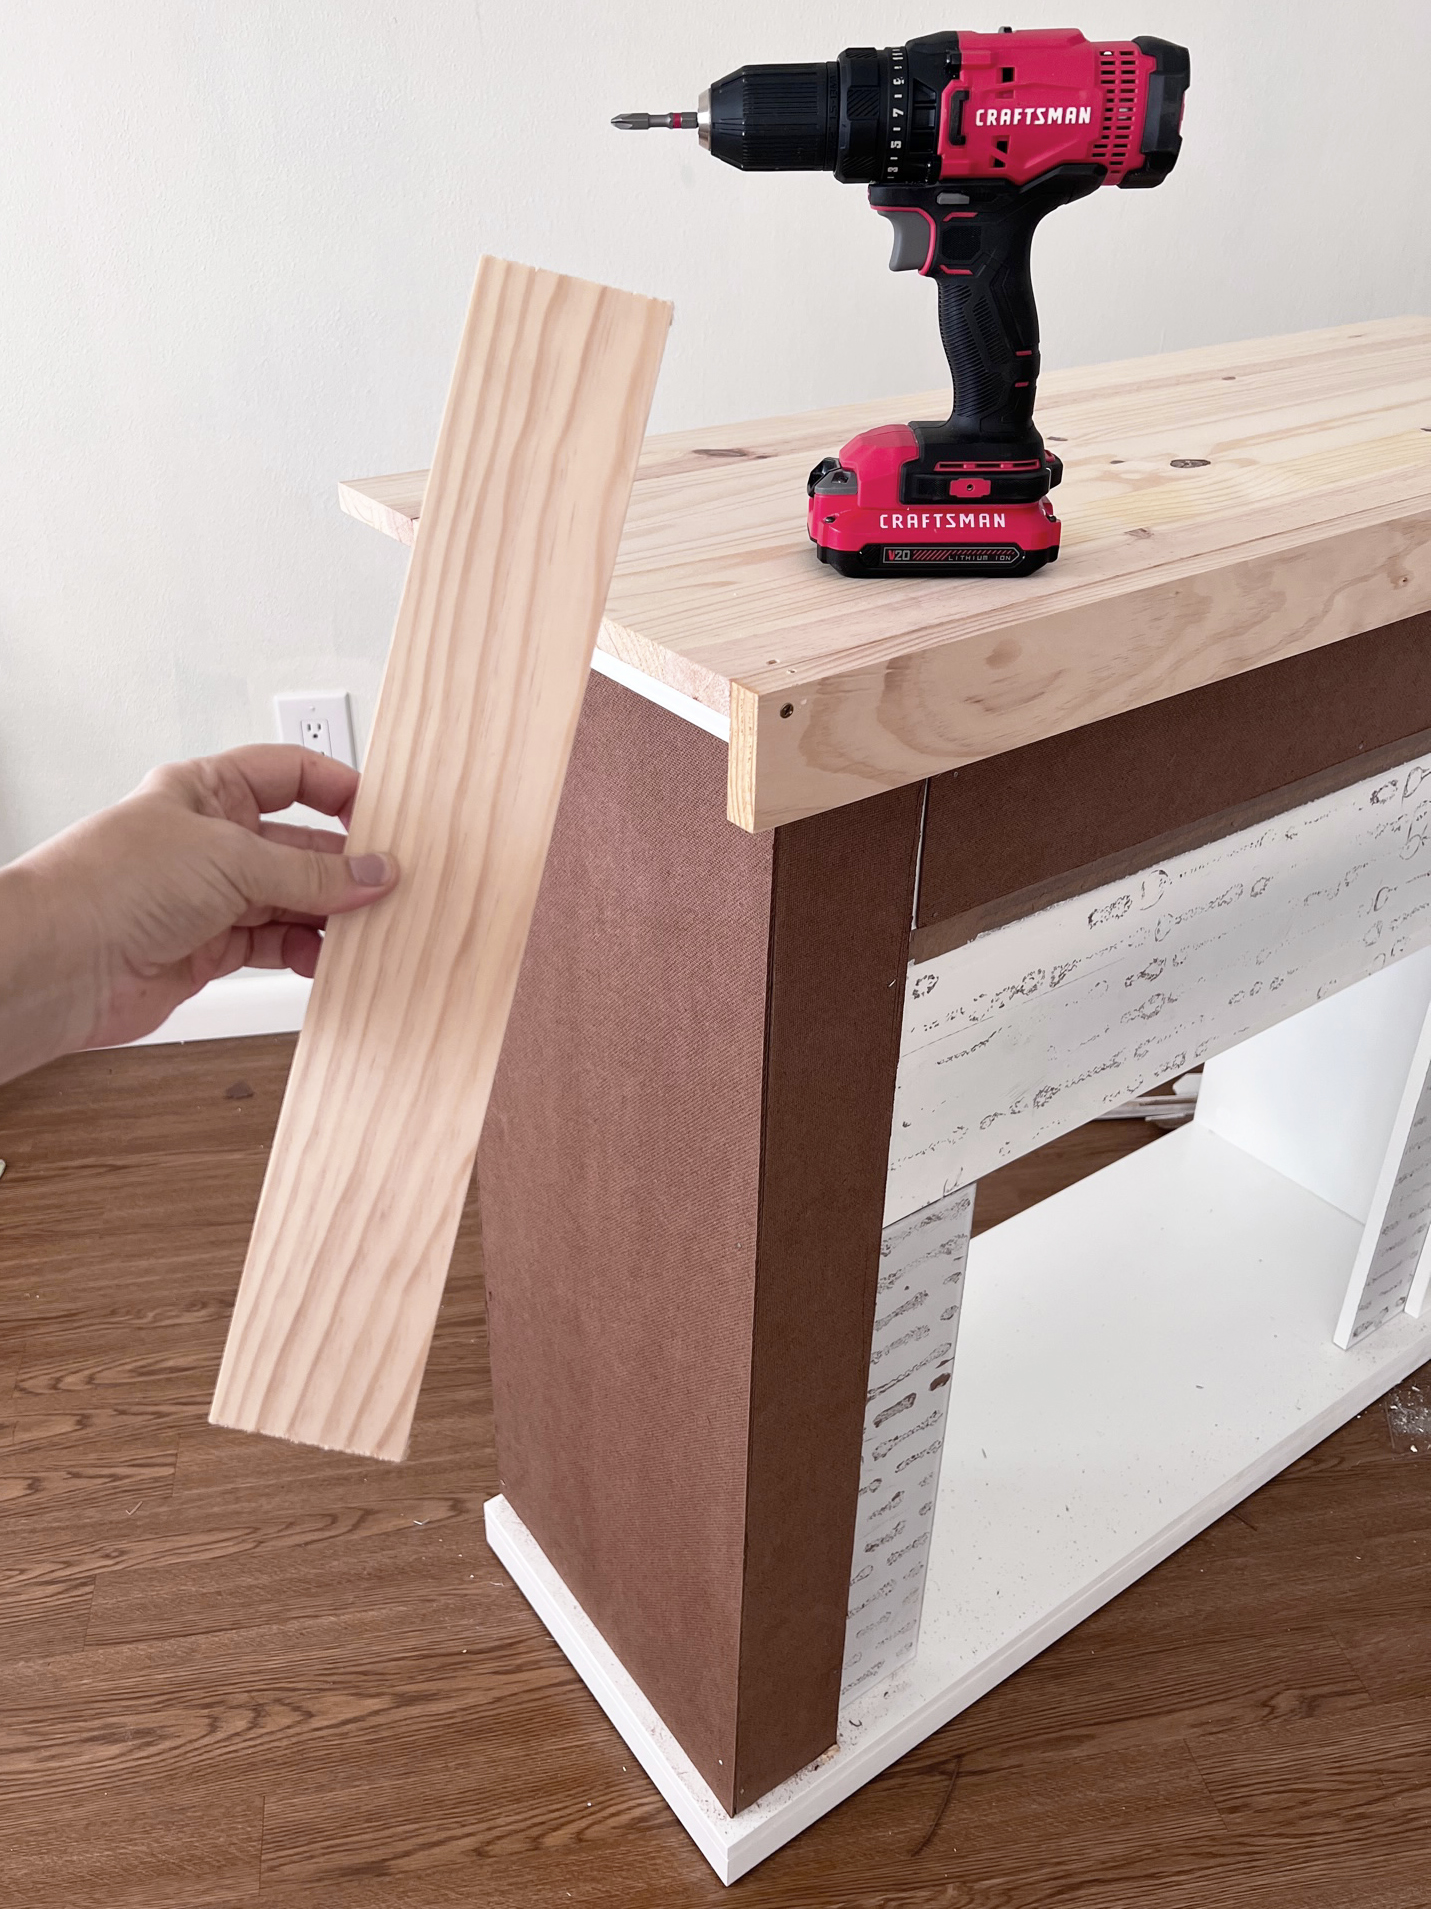
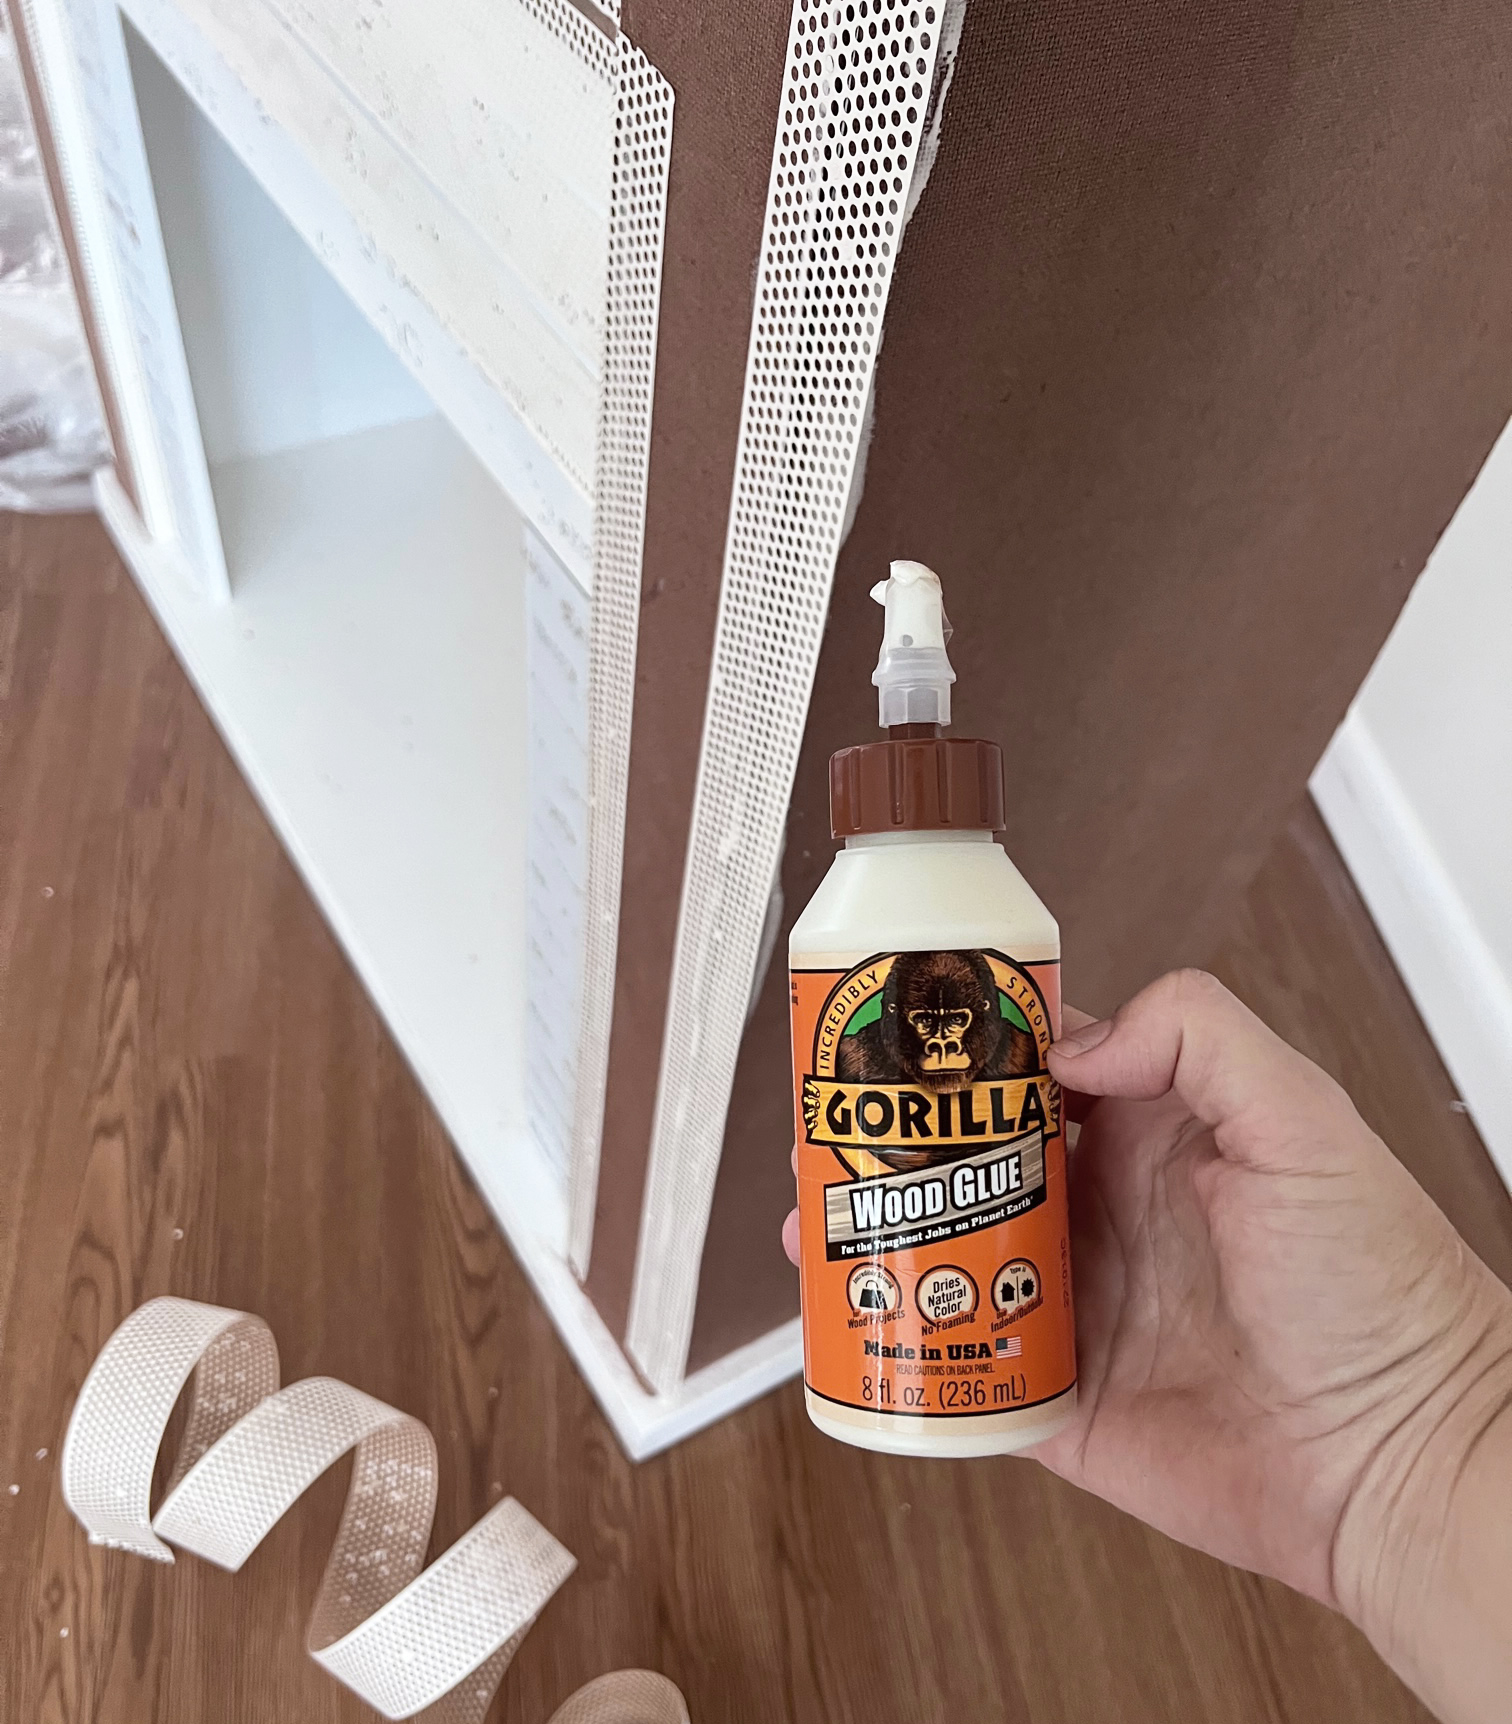
I knew I wanted a wall texture finish but wall texture does not stick to painted MDF so I came up with a plan to wrap it in thin hardboard panels, the kind you use for creating board and batten wall treatments or lining the backs of bookcases. I used one of these hardboard panels I found at Home Depot and trimmed it piece by piece with a blade to fit the fireplace frame. I glued them on with Gorilla glue and secured them with pin nails.
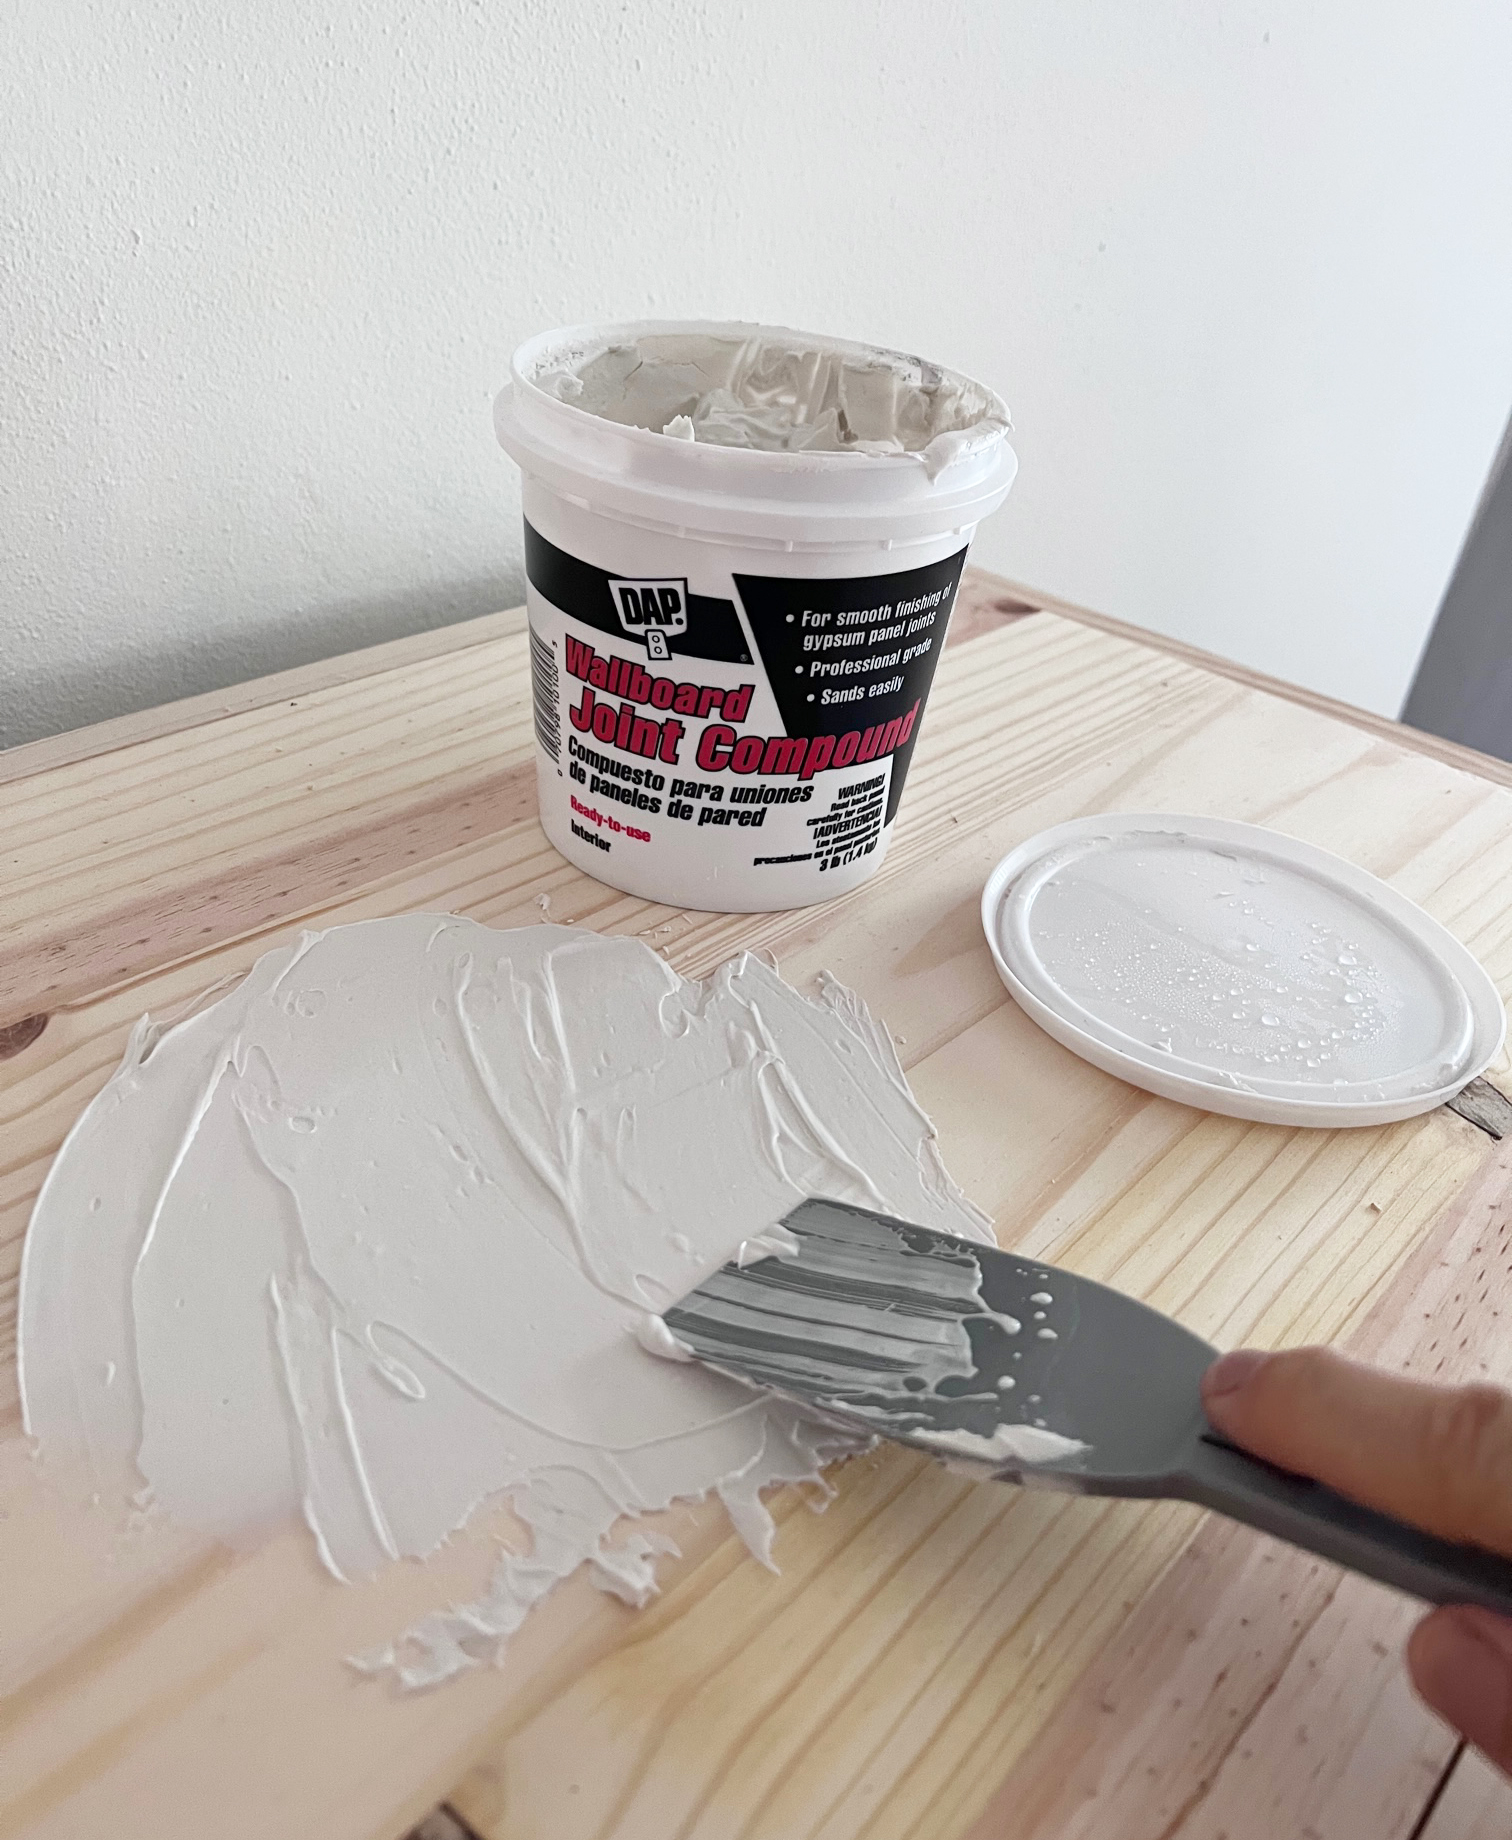
I purposely attached them with the rough back side facing out so that the joint compound I was planning to use would cling to the surface.
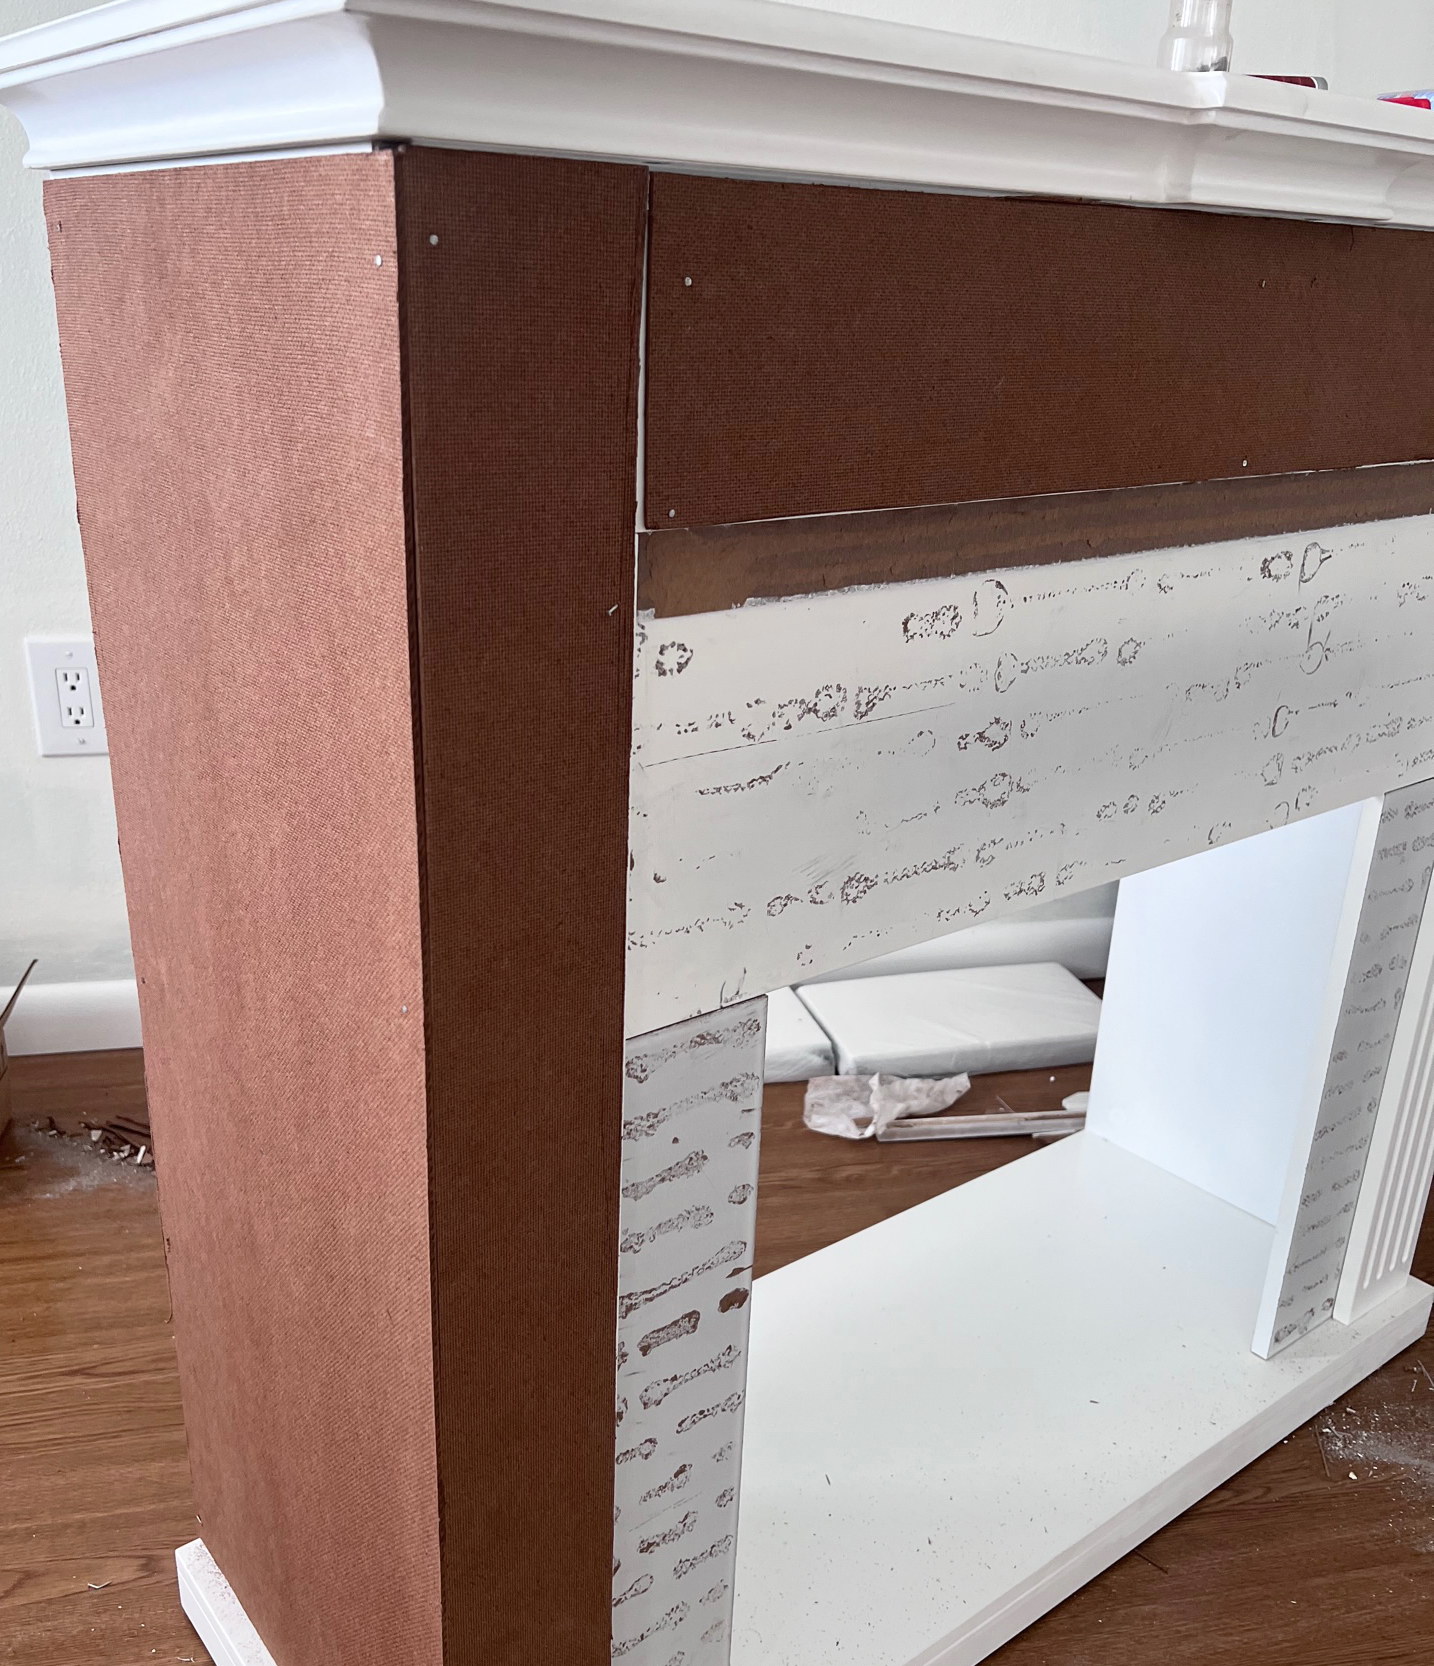
This part was time consuming because each piece had to be cut to specific dimensions and the hardboard panels are tough to cut with just a blade. With persistence I was able to do it and cover all of the vertical sides of the structure.
Now it was time for the new mantel! I wanted something larger with a thicker top so I purchased a 16” piece of pine for the top and 1×3” strips for the sides and had them cut to the perfect measurements at Lowe’s in the lumber department. I screwed them all together and to the top of the structure by predrilling holes with drill bits and joining them together with wood screws.
Finally to connect the hardboard panel pieces and smooth the corners I used joint tape secured with additional gorilla glue to ensure it would stick.
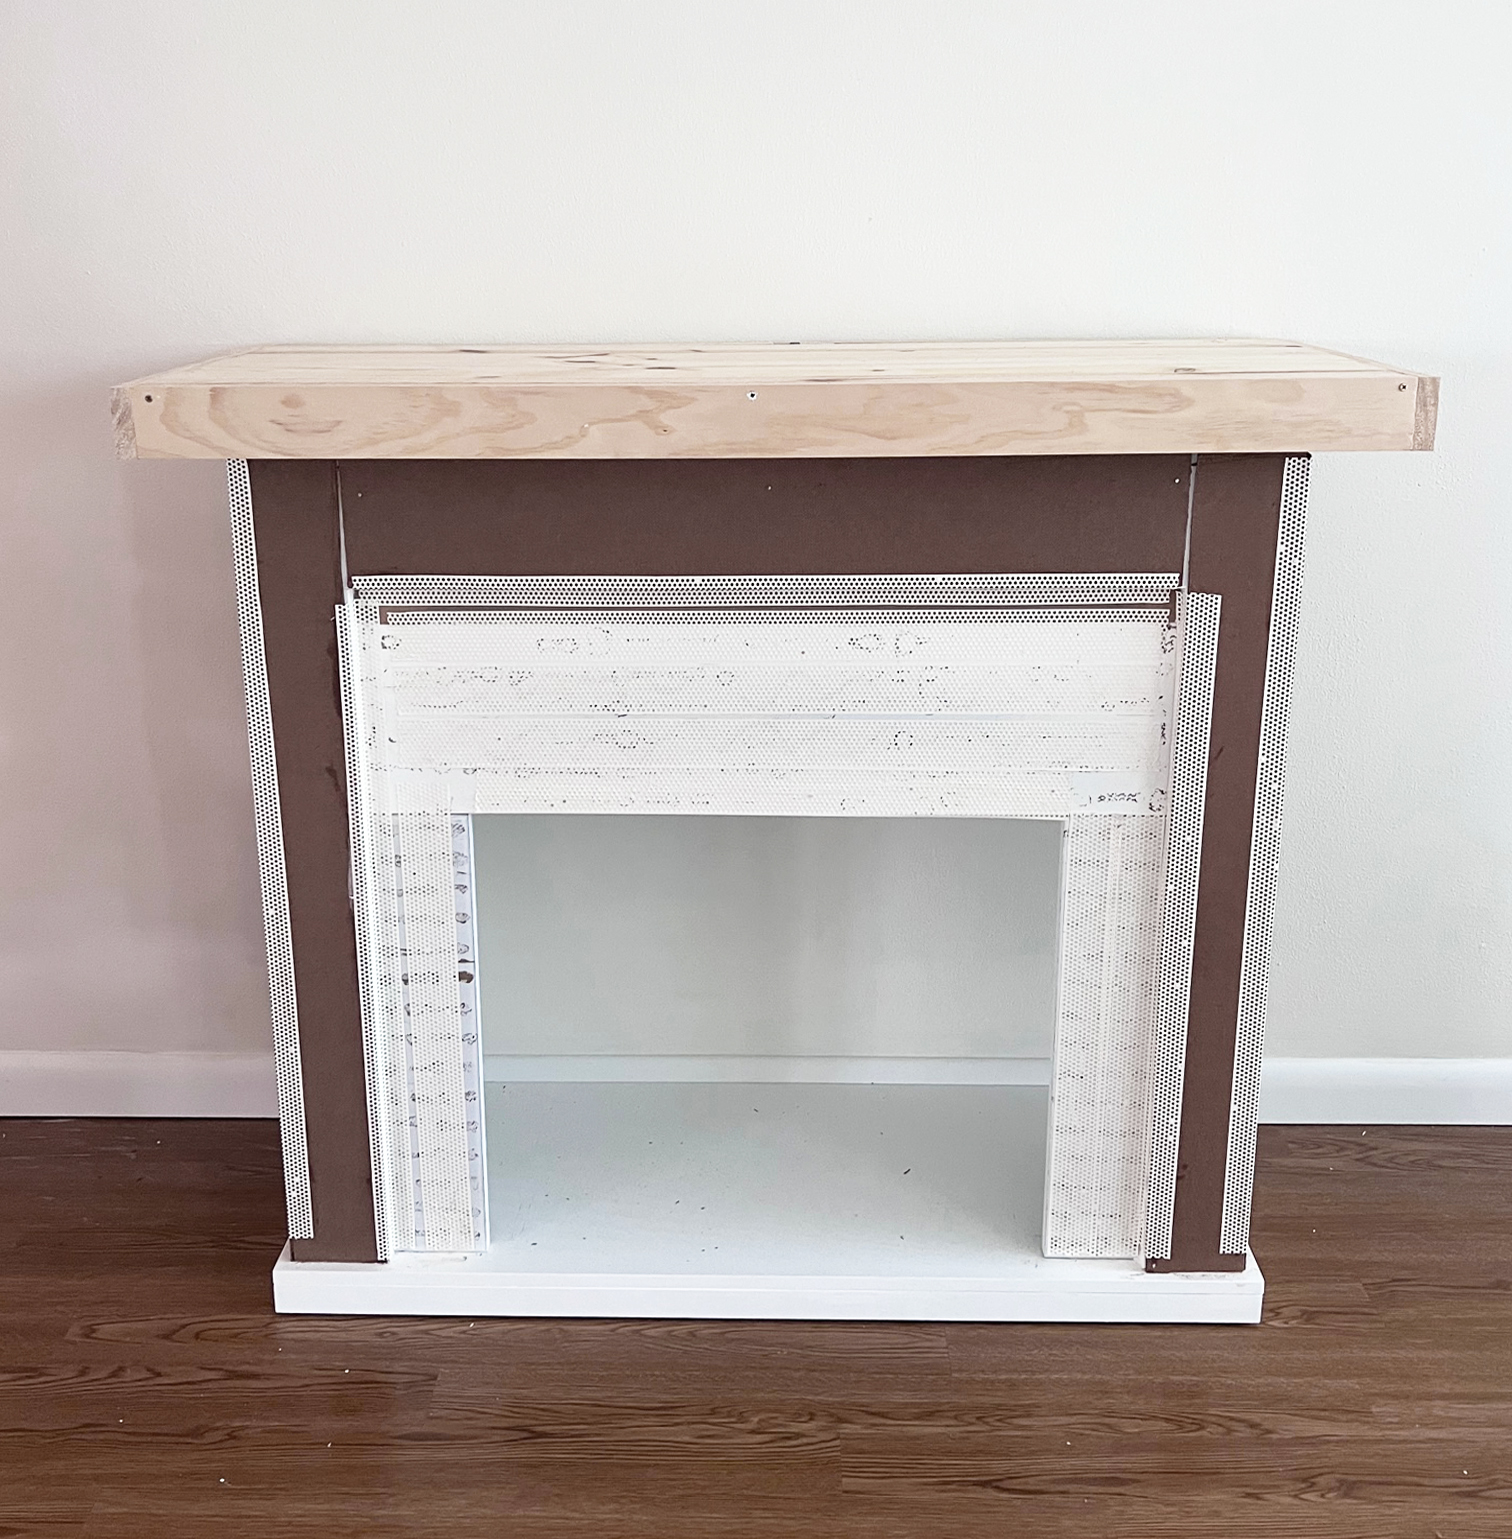
This is the final frame before the application of the joint compound:
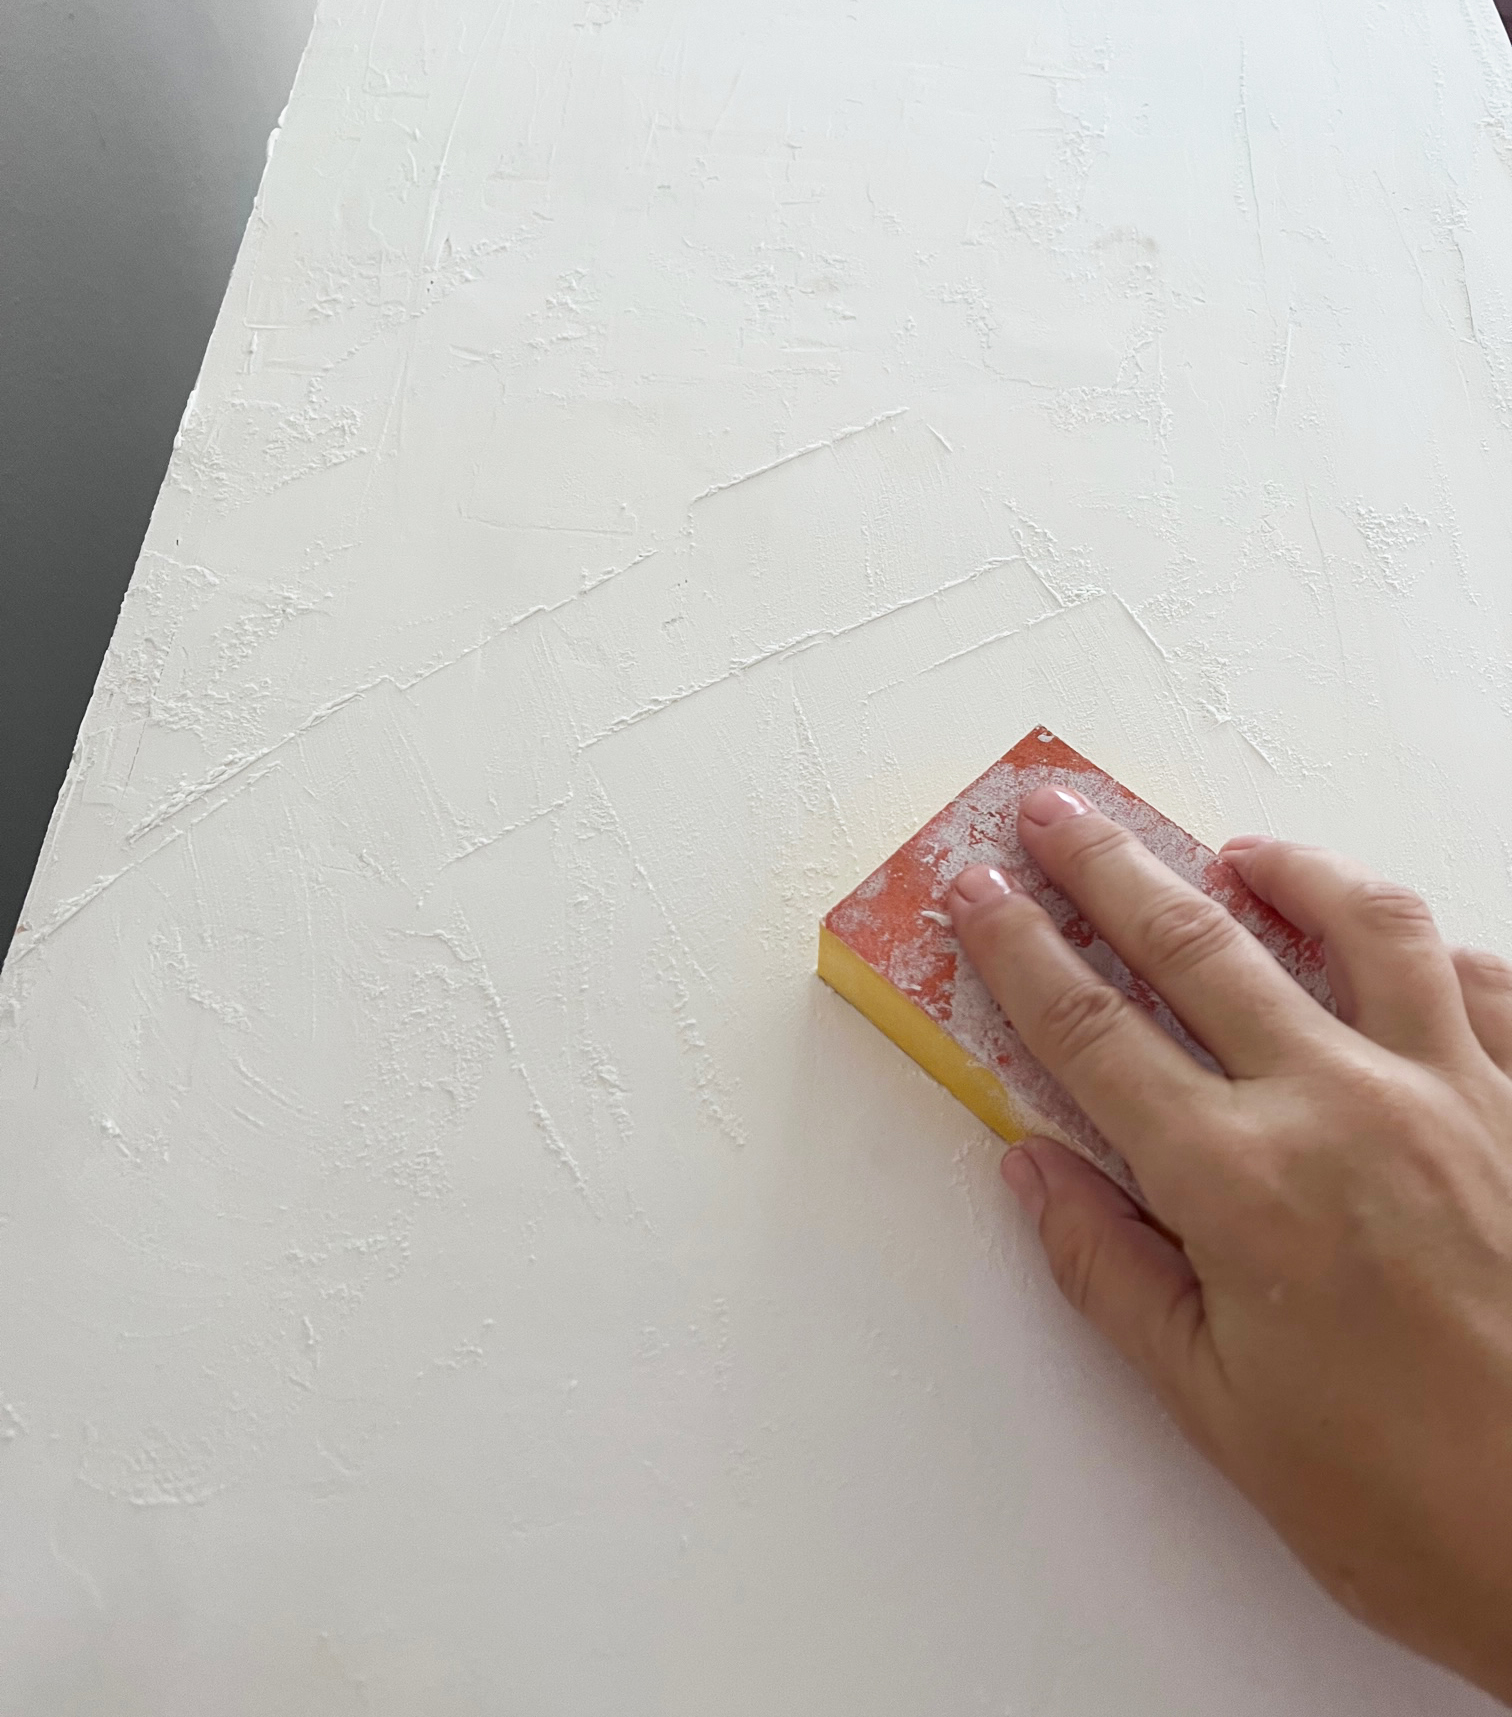
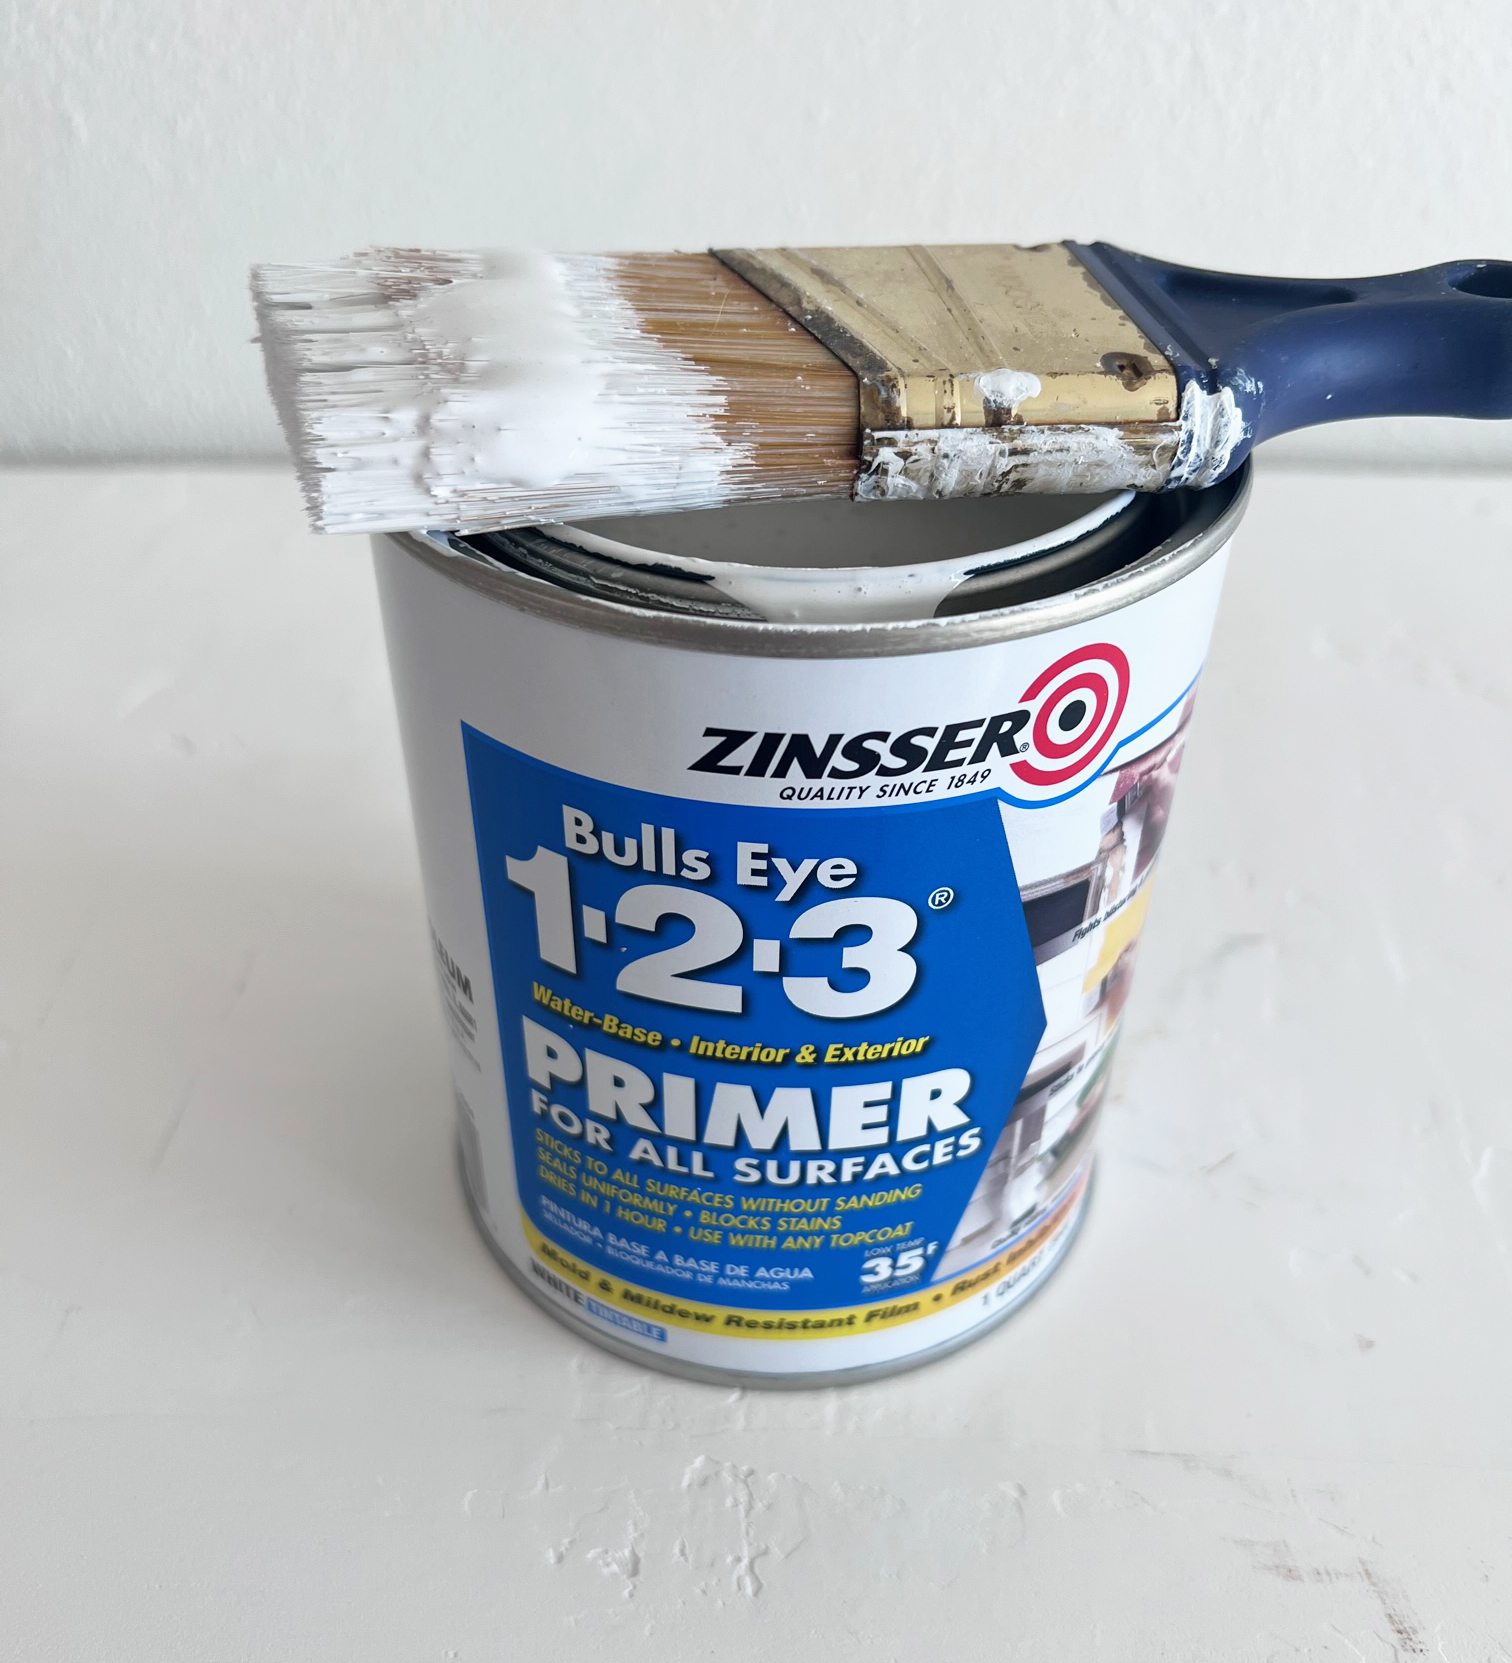
I was a little nervous at this point because I could see the new shape but wondered if the joint compound finish would work. I applied two coats of joint compound to the fireplace surround, allowing them to dry for 24 hours between coats and sanding in between. Once it was dry and sanded I primed the piece and then painted it the same color as the wall.
It all came together perfectly as I imagined and the entire project only cost me about $60. So happy!
The side view of the starting point….
And the after:

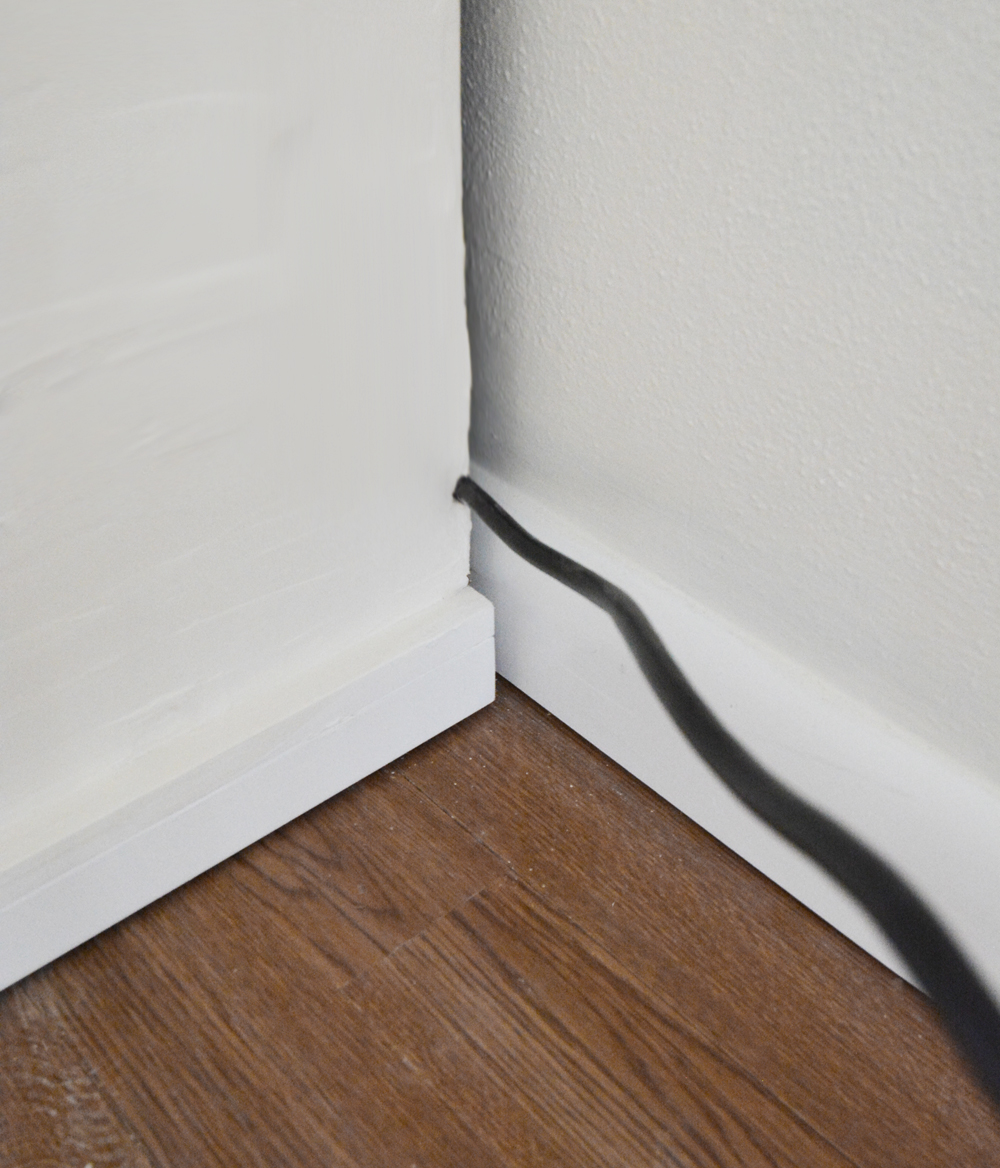
I still have to hide the fireplace cord, you can see it popping out on the side. I notched the fireplace’s side wall just enough to allow the cord to fit through and plan to paint it the same color as the wall so it blends in and use small U shaped staples to hold it in place against the baseboard.
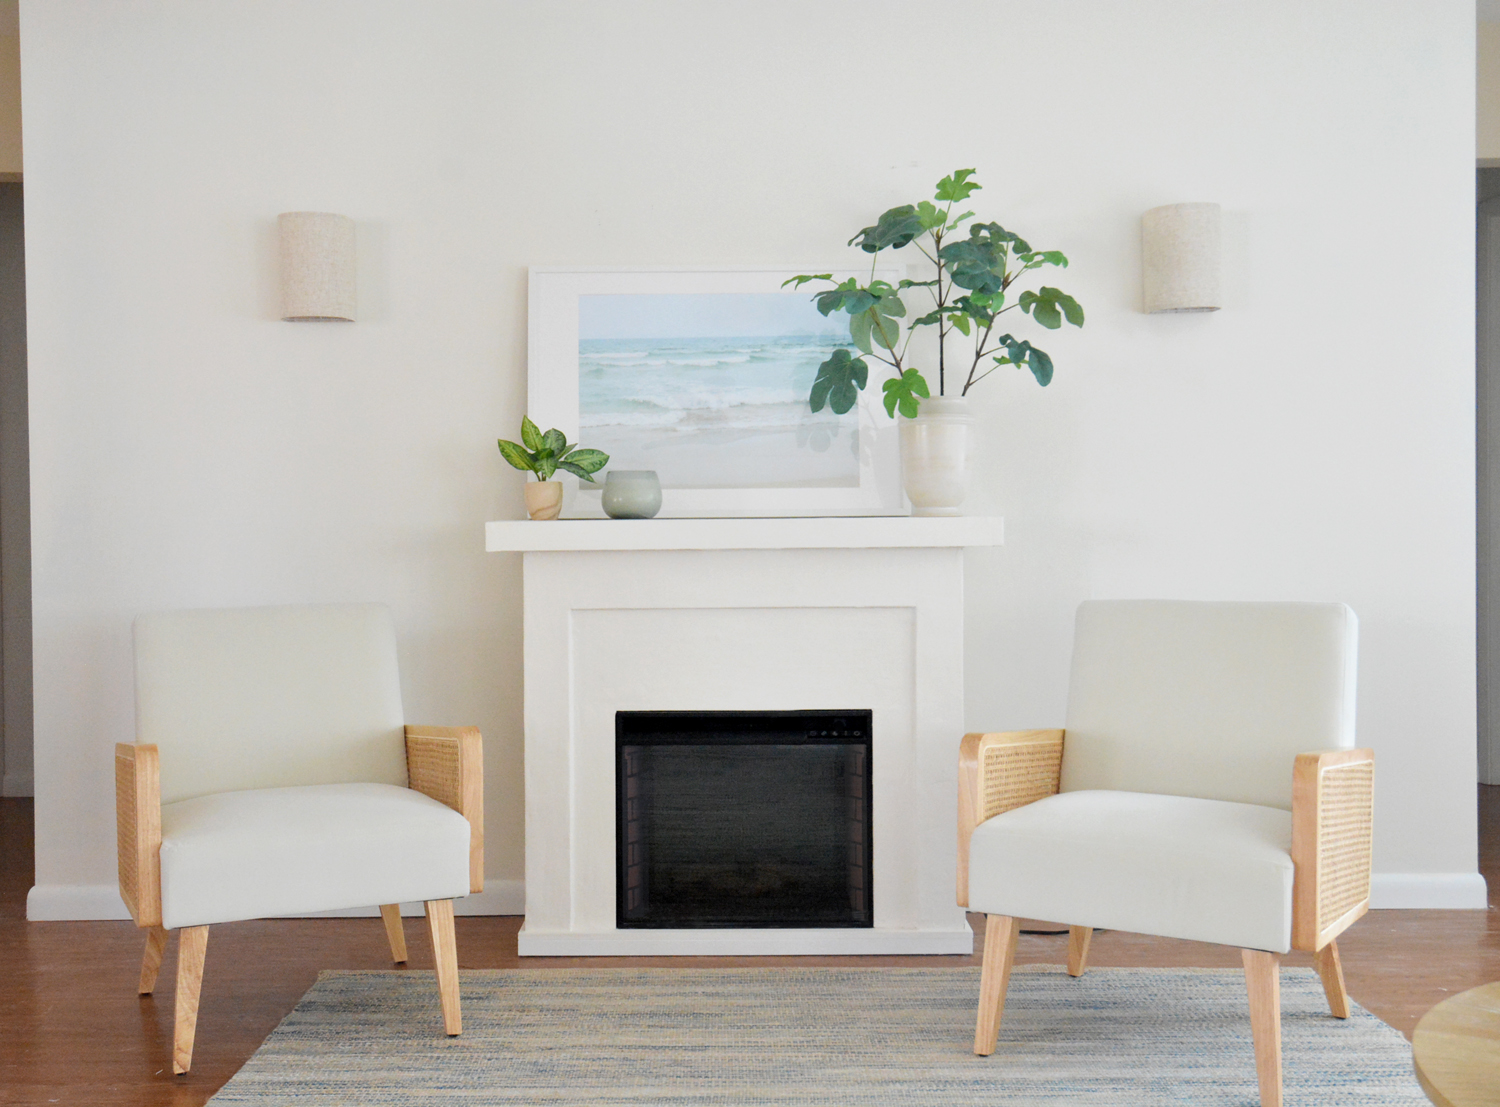
Overall I’m very pleased with the result! The proportions of the fireplace fit the wall nicely with space for sconces and chairs. It’s proof that with vision and a few tools and supplies you can transform pieces to fit your style!
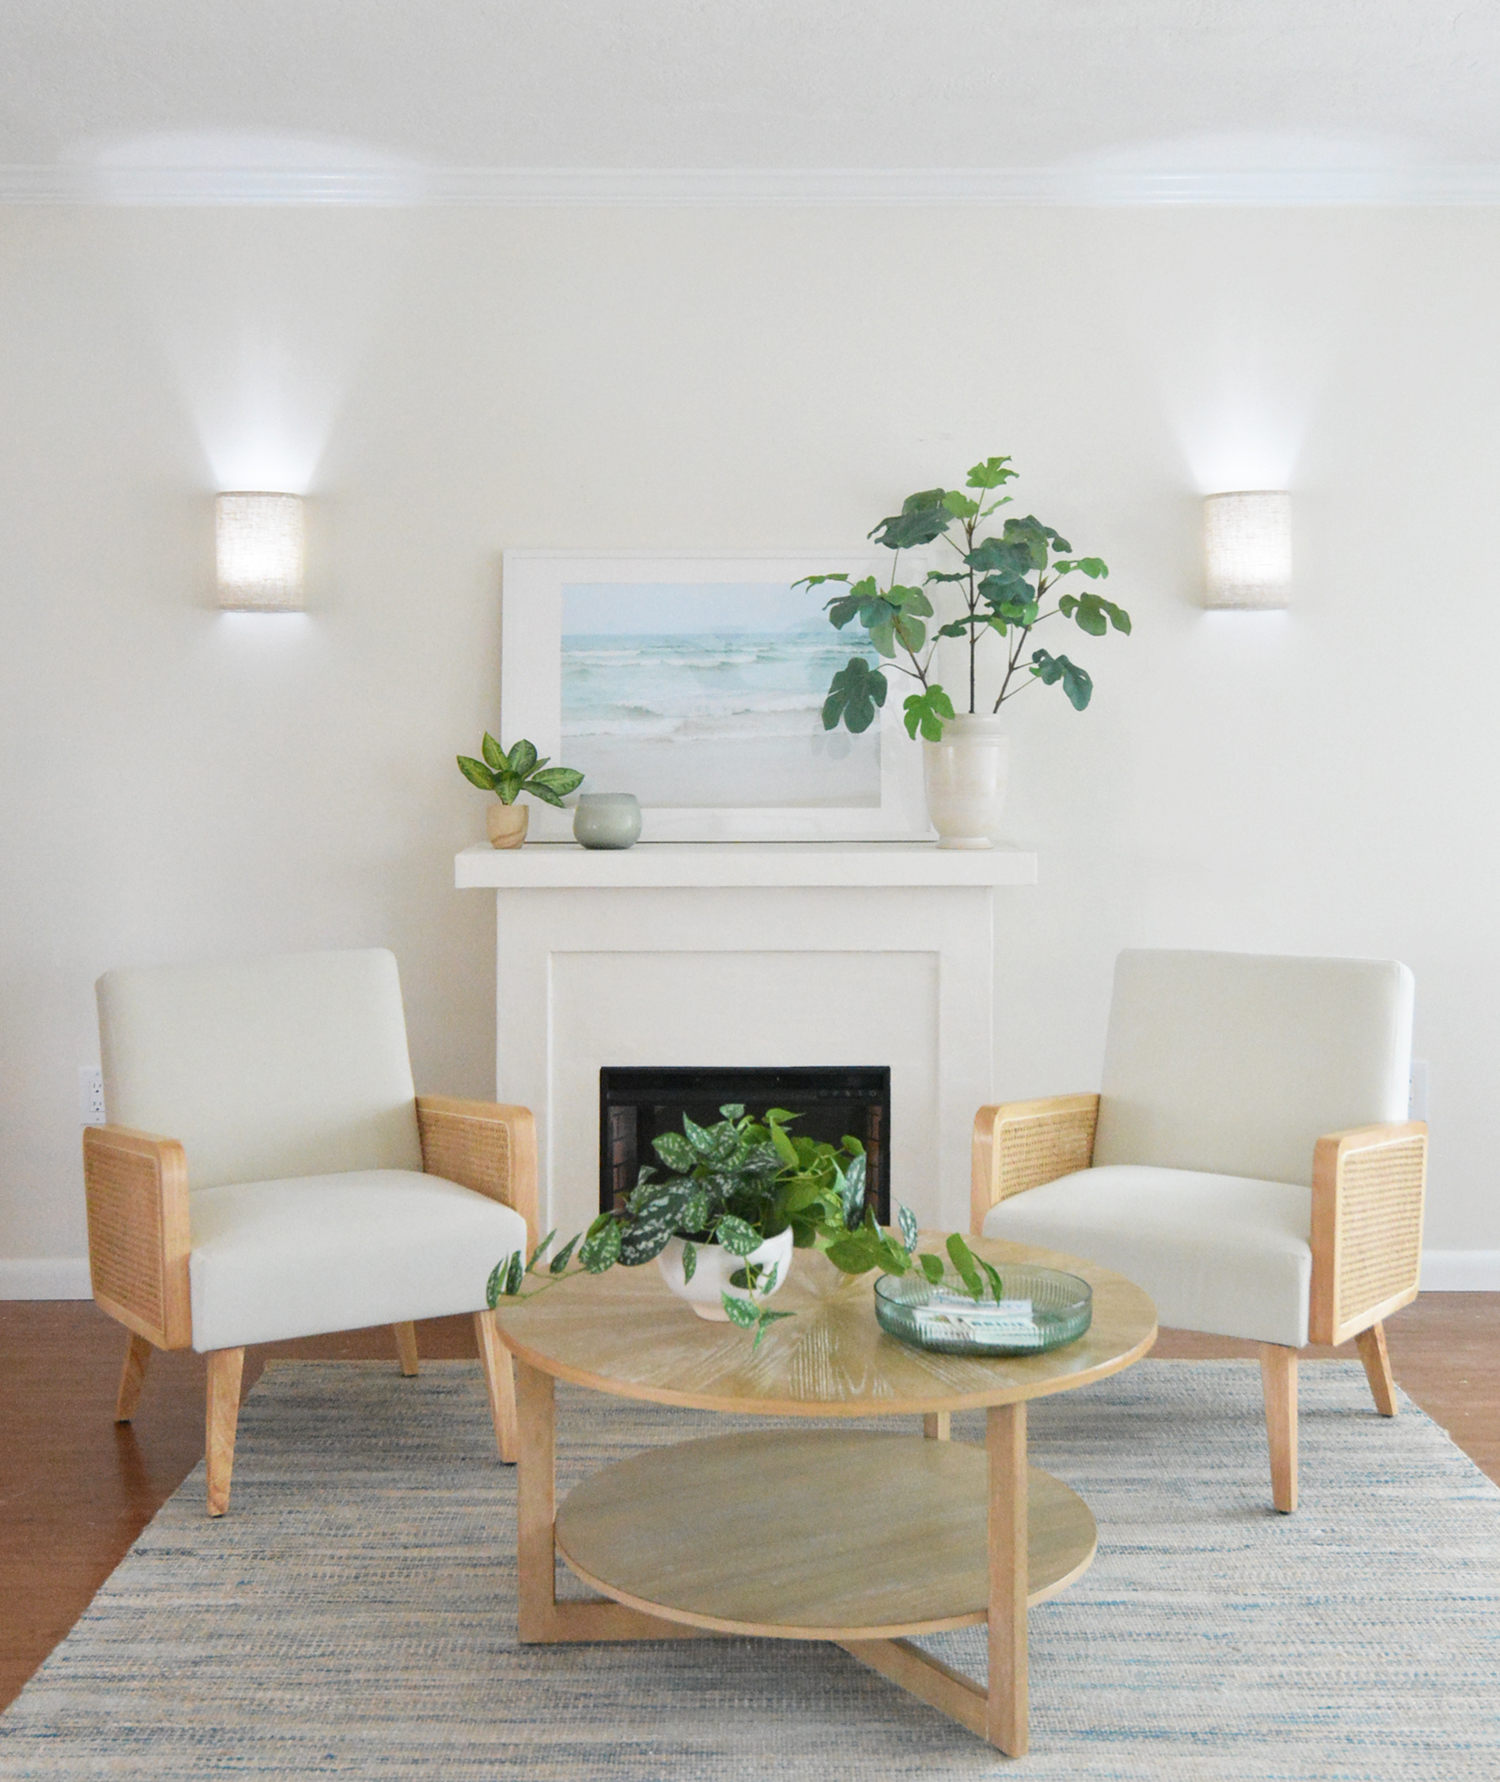
The electric fireplace insert is so great, it has several levels of flame and temperature and a remote control that goes with it. The night it was complete it rained so I opened the door and listened to the rain while I sat by the fire admiring my work!
I’m sharing the entire project in video on Instagram Reels and you can see how cozy it is at night in that video.
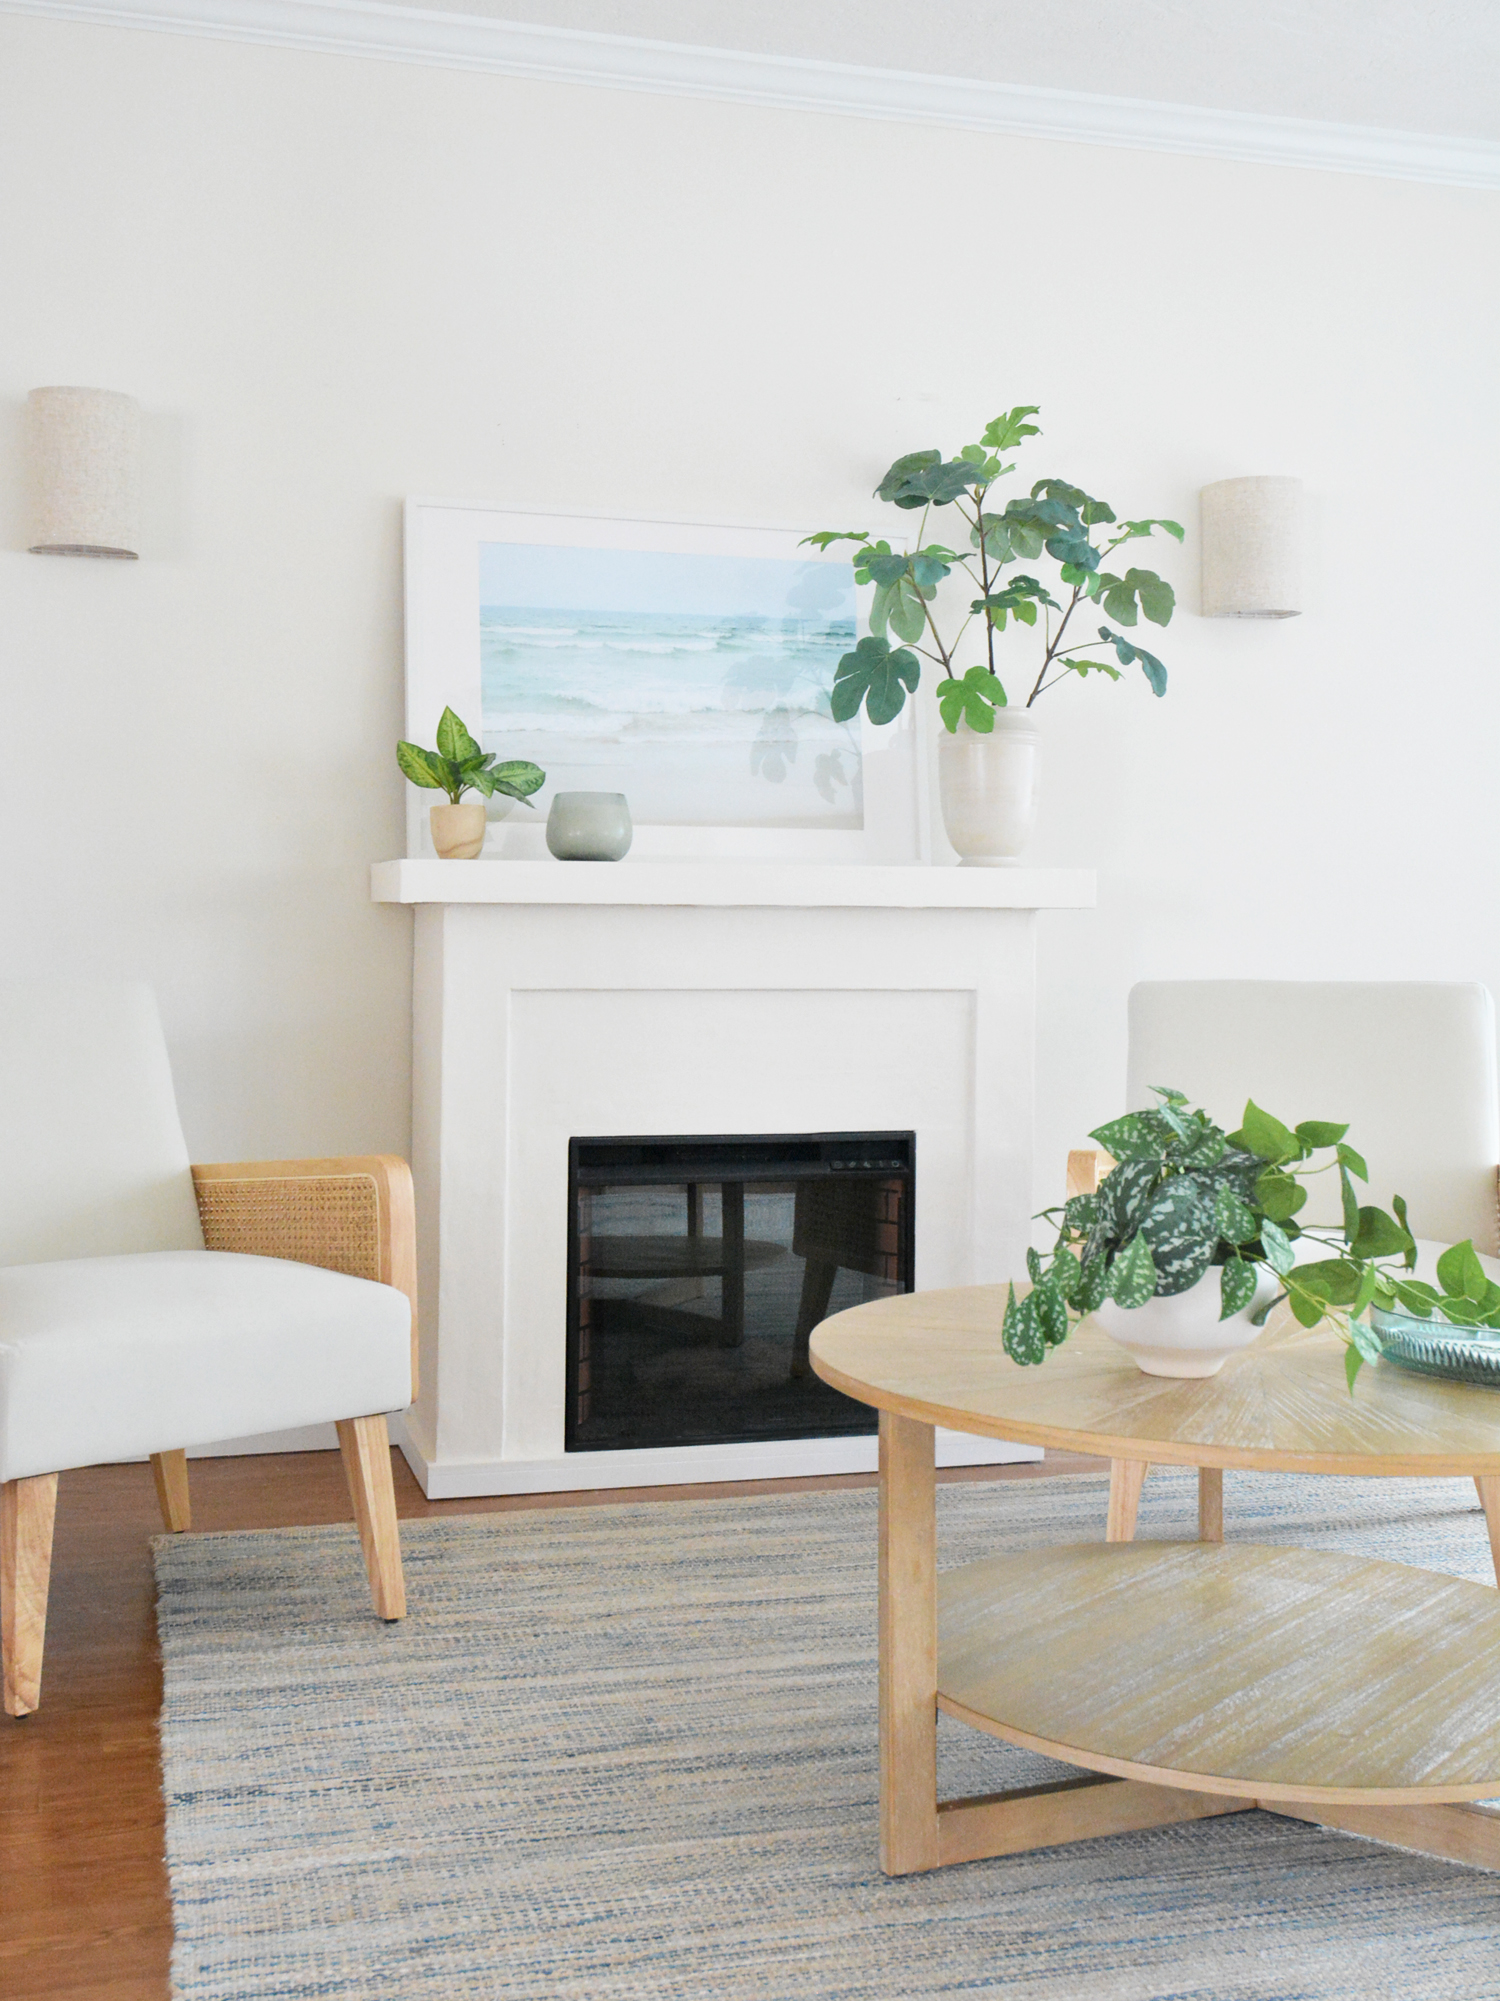
To the living room space, I also added a round coffee table to the space and my sofa will be delivered in January, then I’ll add some pillows and the room will be complete!
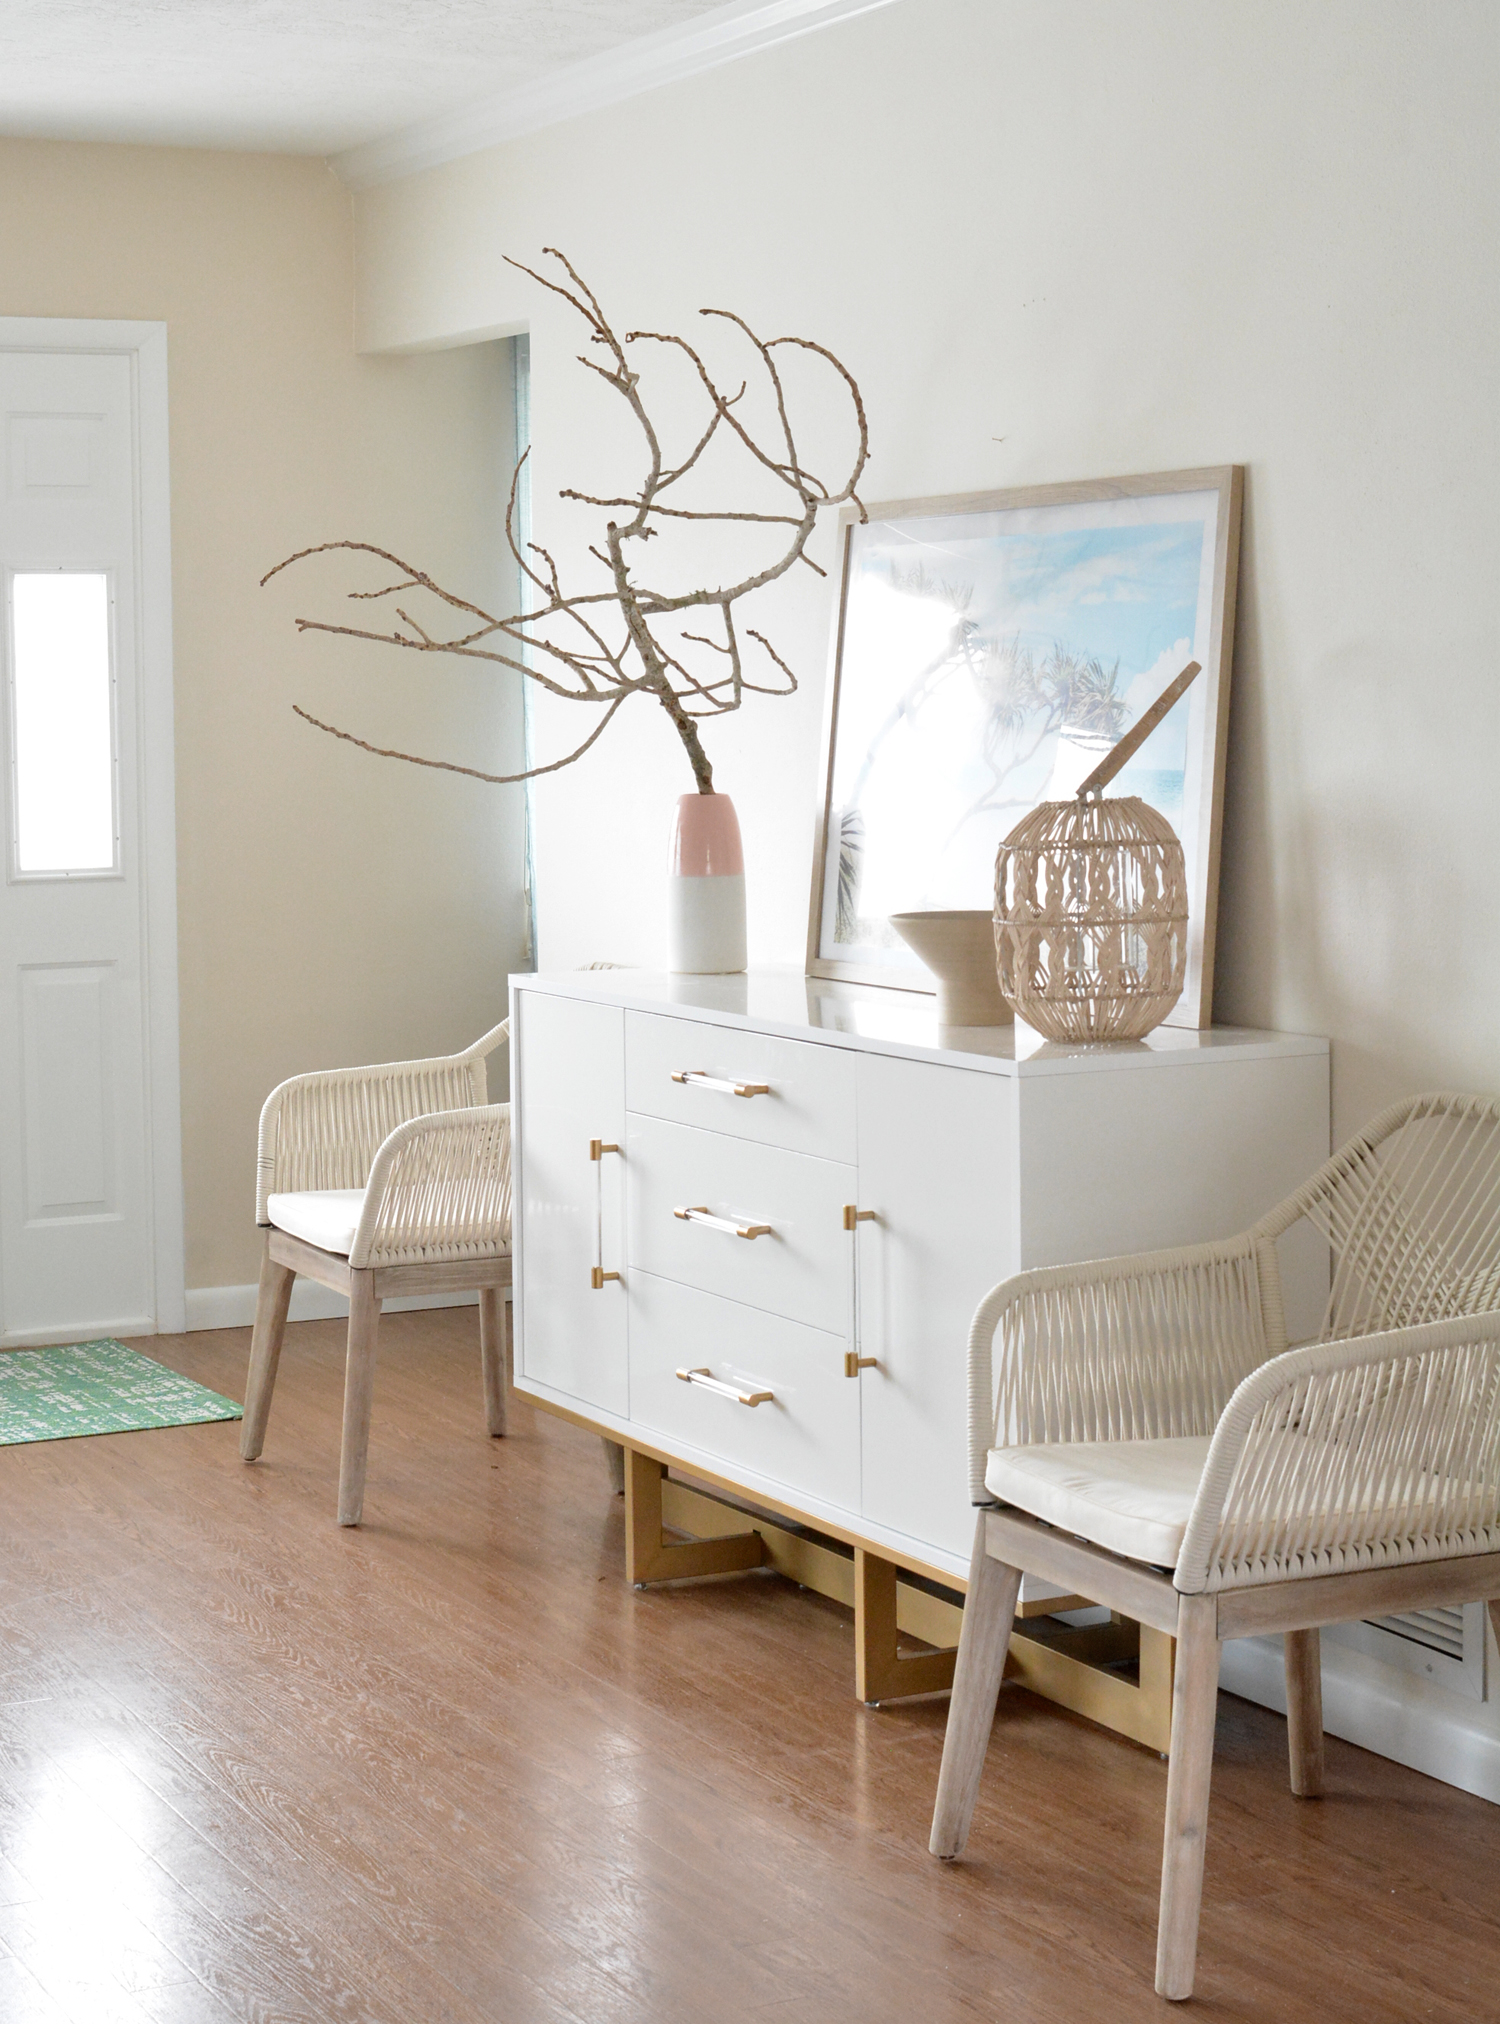
There was a console I had sitting on the fireplace wall but I moved it to the opposite wall so it’s next to the front door, the perfect place to drop keys, mail, etc.
This house will be rented January through May so I’m happy with how far it’s come since we bought it in April. I’ll share other space improvements in this home soon. :)


Looks so great! I would live sources for your furniture. It’s lovely!
Hi Karyn, thank you!
The chairs are from Wayfair because they deliver quickly and I’ve had *so* many issues with accurate delivery times from other vendors. My West Elm sofa is taking forever but the chairs and table delivered right on time.
Here are the links:
Chairs in Beige:
https://bit.ly/3VBYx3d
Round table in natural wood:
https://bit.ly/3EQF6Nf
Woven Chairs:
https://bit.ly/3AWNx8L
The console came with the house I just repainted the base and hardware a brushed gold. :)
I thought you were moving permanently to Florida. Do you have another home to live in year round.
The move has been postponed for reasons I’ve mentioned over the past few months. Still living permanently in California for the time being. :)
Hi, Kate! I love how you’ve done everything! It’s gorgeous and simple. Such a treat to look at. :-)
I was wondering where you got the matching wall sconces? Are they rattan? I love how they look at night with the light coming out the top against the wall.
Could you please provide a link where I can purchase them?
Thank you! And Merry Christmas early!
–Lynn
KUDOS!! LUV the imagination & implementation!! franki