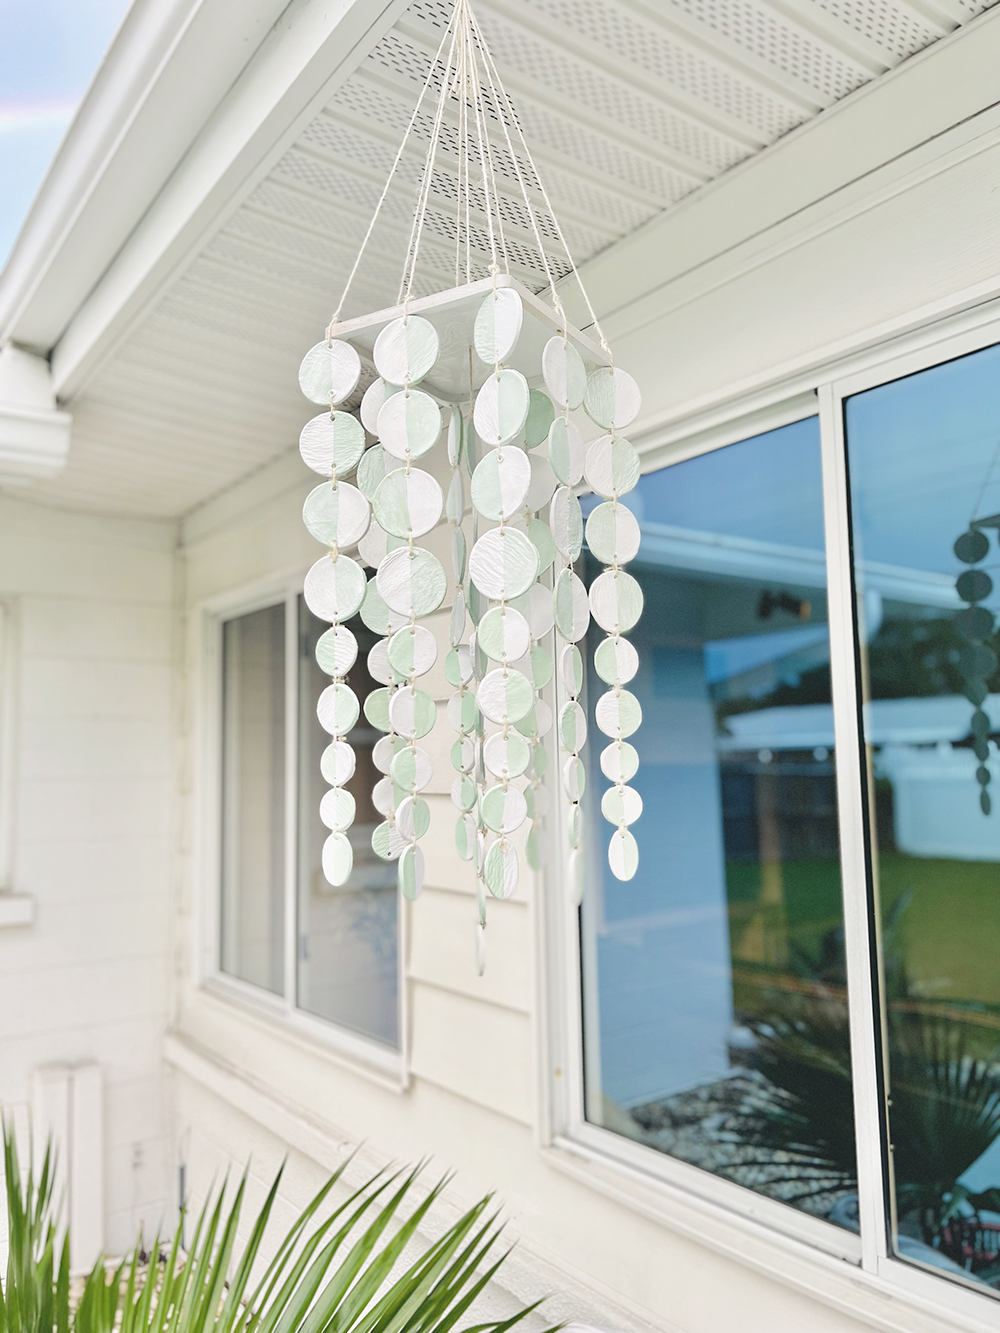
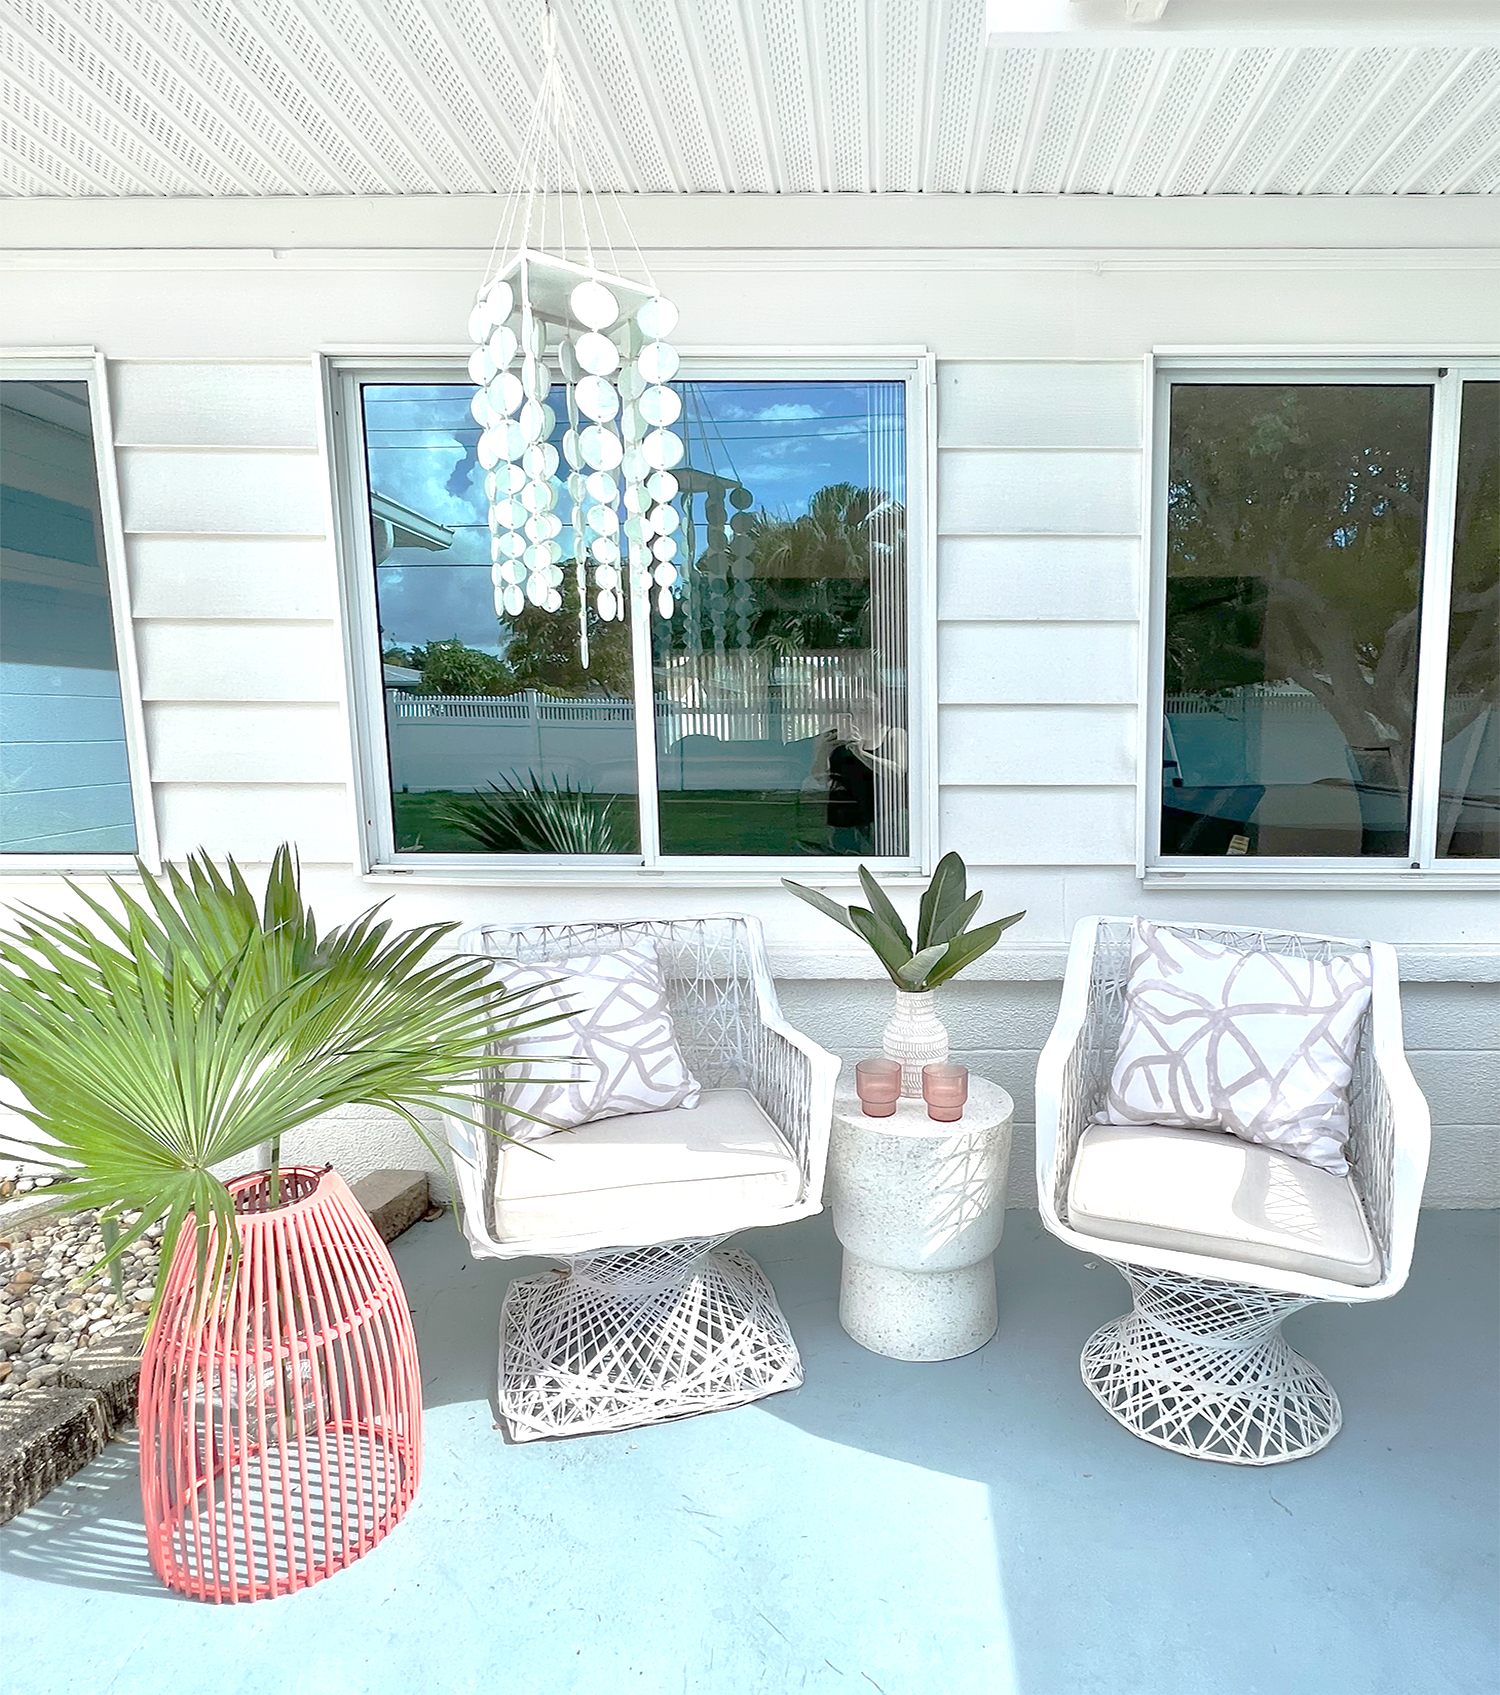
In between major renovation projects here in Florida, I came up with an idea to create decorative hanging chimes with clay. I wasn’t sure if it would work, but I still gave it a go. I’m pleased to say it actually turned out pretty cool so I hung it outside over my vintage patio chairs that I refurbished (story below).
I like the repetition in the clay circles and the resemblance to wind chimes. Truth is, these strands aren’t really chimes at all since they make no sound, they’re really more like a mobile, but I associate a mobile with a baby nursery so I decide to call them chimes instead.
I can also visualize similar strings of clay circles strung in a linear format like a macrame wall hanging. I considered that arrangement but chose to make these look more like wind chimes for the decorative and sculptural effect.

Frist, how to recreate the chimes then the quick story on those vintage patio chairs. I bought all my craft supplies at my local Michaels: 2 packages 2.2 lb air dry modeling clay; 3 ply ivory jute twine; outdoor acrylic paints in colors of choice; a 9 inch wood plaque, and craft paintbrushes. You’ll also need a rolling pin to flatten the clay; wax paper; circle shaped household cups/cutters in various sizes; allen wrench; paper bowls/cups for paint; sanding wedge or foot scrubber (see image below); power drill with 1/8” drill bit to make holes in wood plaque.
Aaaaaannd… you’ll also need patience for this project, it took several days days from start to finish and six hours of my time. Cutting the clay takes at least an hour, then you need to wait a full day for them to dry. The next day you can paint them but you’ll need to flip them over and allow both sides to dry fully. The third day you can string it together but that also takes a few hours. I gave myself four full days start to finish, coming back to the project for an hour or two each day until it was finished.
Below are the steps, start to finish. I’m also adding a video to Instagram too so you can visualize how it comes together. First, roll a few ounces of clay flat, transfer to wax paper, and use cutting tools to make circles in different sizes. To cut the clay, I used stemless wine glasses, champagne flutes, a salad dressing cap, and the cap to my deodorant to make the bottom oval shape.

After the circles are cut, use an allen wrench to pierce the clay circles with small openings. Let them dry on fresh lengths of wax paper for 12 hours on each side, 24 hours total.
Expect imperfection in the results, that’s part of the charm. :)
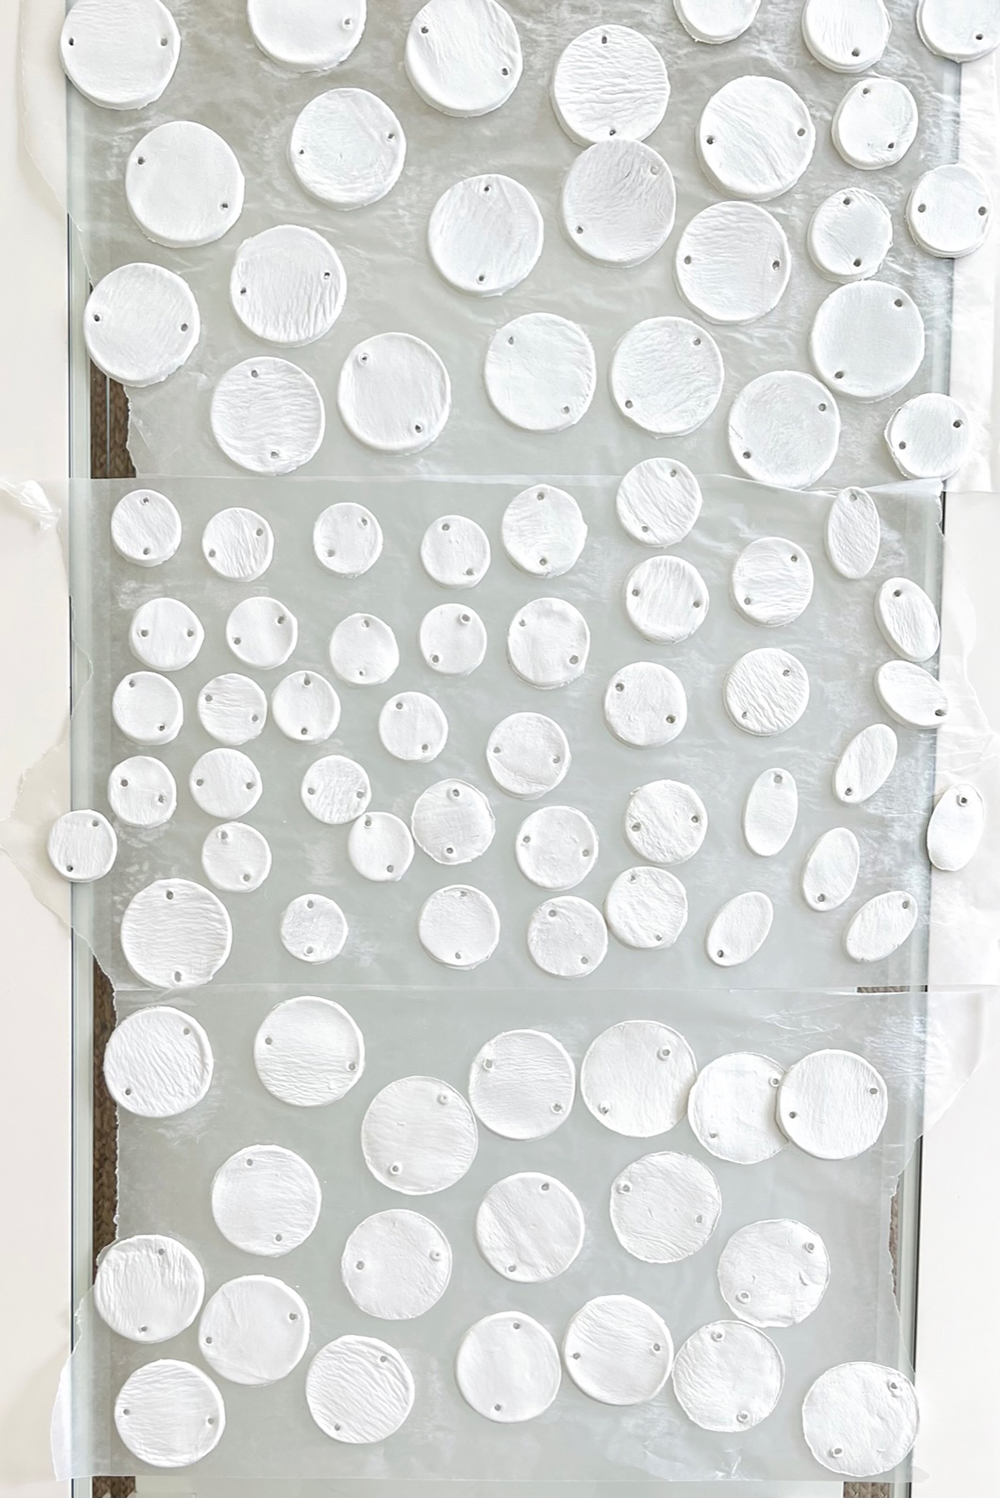
Once the clay circles are completely dry, smooth the edges. You can use either a medium grit sanding wedge or what I found to be better was a pedicure foot scrubber!

Once they are smooth, paint them any color you choose. If hanging outdoors choose outdoor acrylic paint, if handing indoors, regular acrylic paint will be fine.
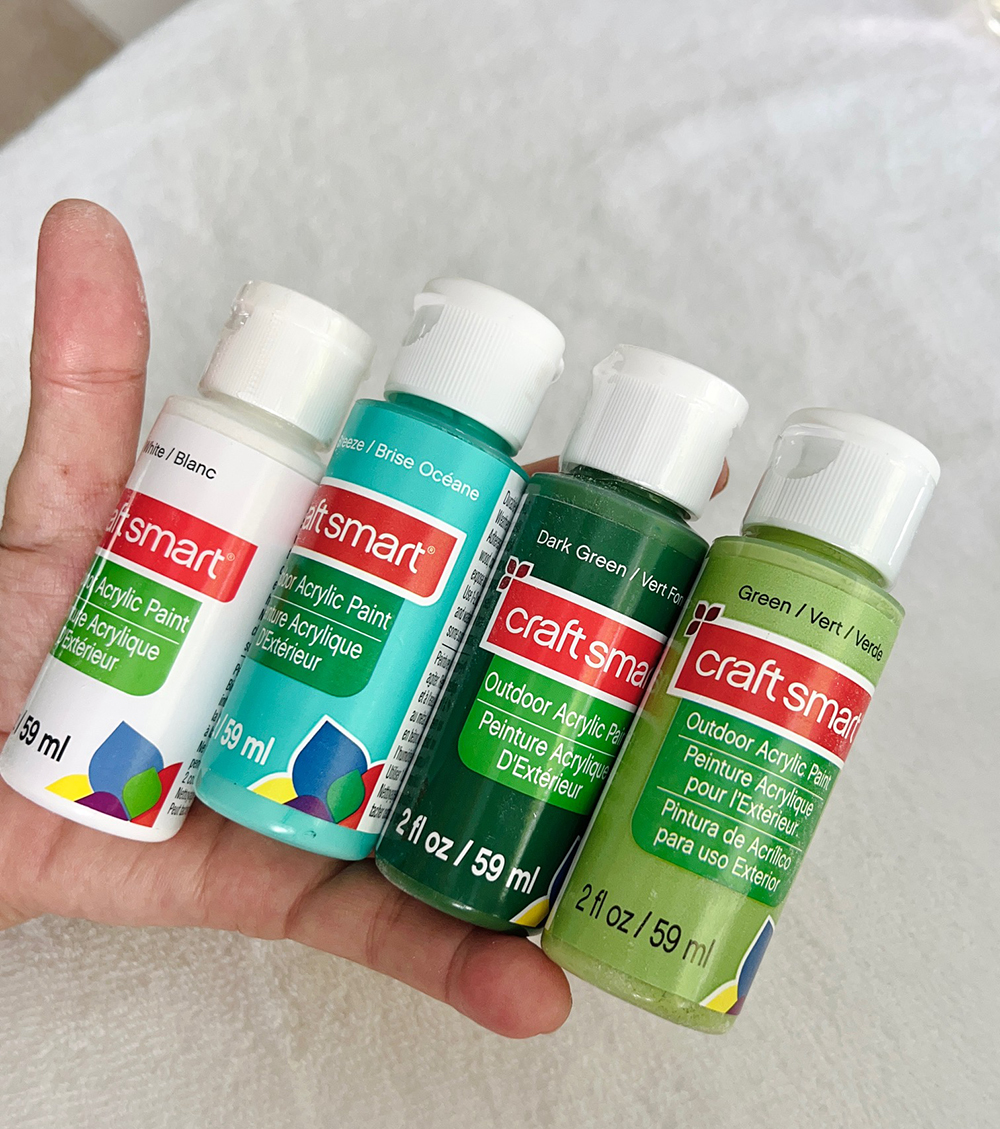
Outdoor acrylic paints come in limited colors so I mixed a pistachio green hue and added it to half the circles.

It was too vivid for me so I painted over the entire circle with a thin coat of white so it would look more bleached out and beachy. The final color looks to me like a color you’d find in saltwater taffy. :)

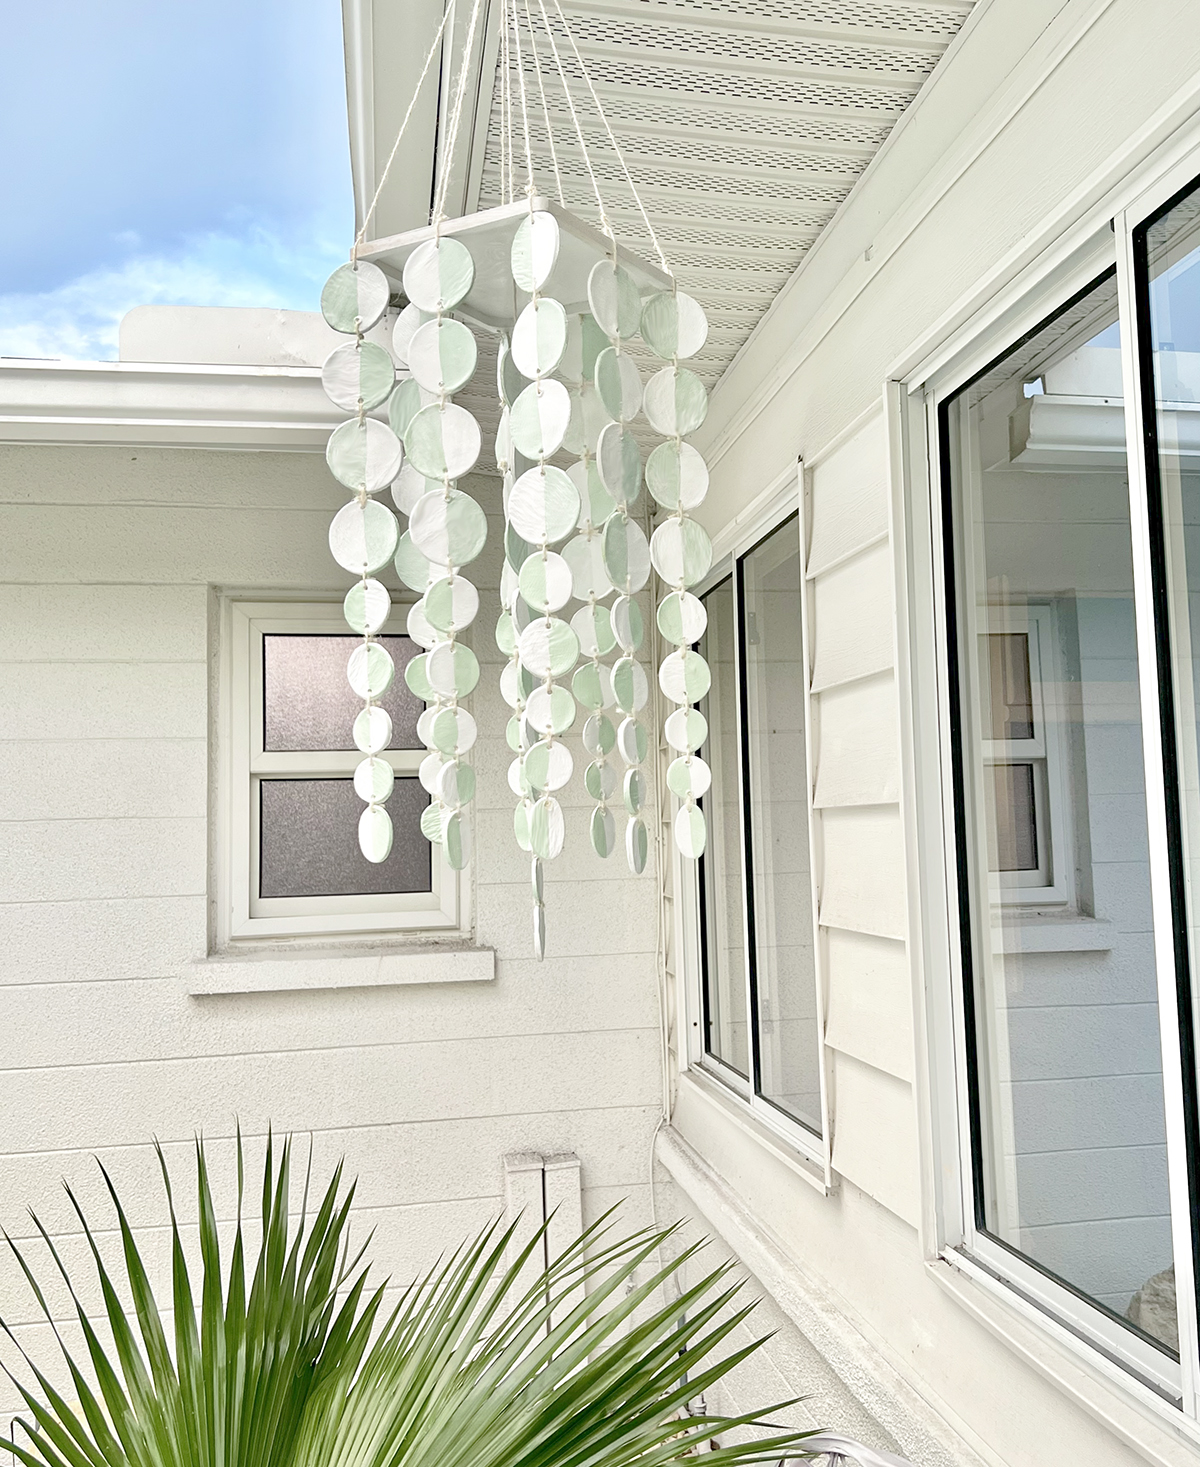
The most time consuming part is the assembly. It took me a full two hours to string all the clay in order then connect them to the wood plaque. I had to separate the twine and used 1 strand to secure the clay pieces to each other and 2 strands to attach to the wood plaque. Short strands connect the clay circles, one long strand through holes in the plaque come together to form the top hanging portion.

To attach the strings of clay circles to the wood plaque, use a 1/8” drill bit to create holes in the four corners, four midpoints, and center of the wood plaque. (not shown). Paint it any color of choice, I chose white.
After two hours of assembly, it came together and I hung the clay chimes outside. I love how it dances in the wind. I can see it from the sunroom when I peek out the window too. It looks very cool looking out from the inside of the house.

It’s a fun focal point on the patio above the vintage patio chairs. If hanging outdoors, I recommend hanging in a protected area away from direct moisture and only keeping it up during good weather. I have no idea how long this will last, it’s an experiment. Thankfully, any loose strands could be repaired with fresh twine. :)
So…. the story on the chairs! The first week I arrived in Sarasota I had the good fortune of discovering a seller of vintage finds, a dealer who goes to local estate sales and grabs great pieces then sells them in her eBay store and ships across the USA. I found her because I had bought a pair of vintage twin rattan headboards for our guest room then discovered she lived in the same town! I then discovered she also had a pair of vintage Russell Woodard midcentury chairs, woah, loved these!
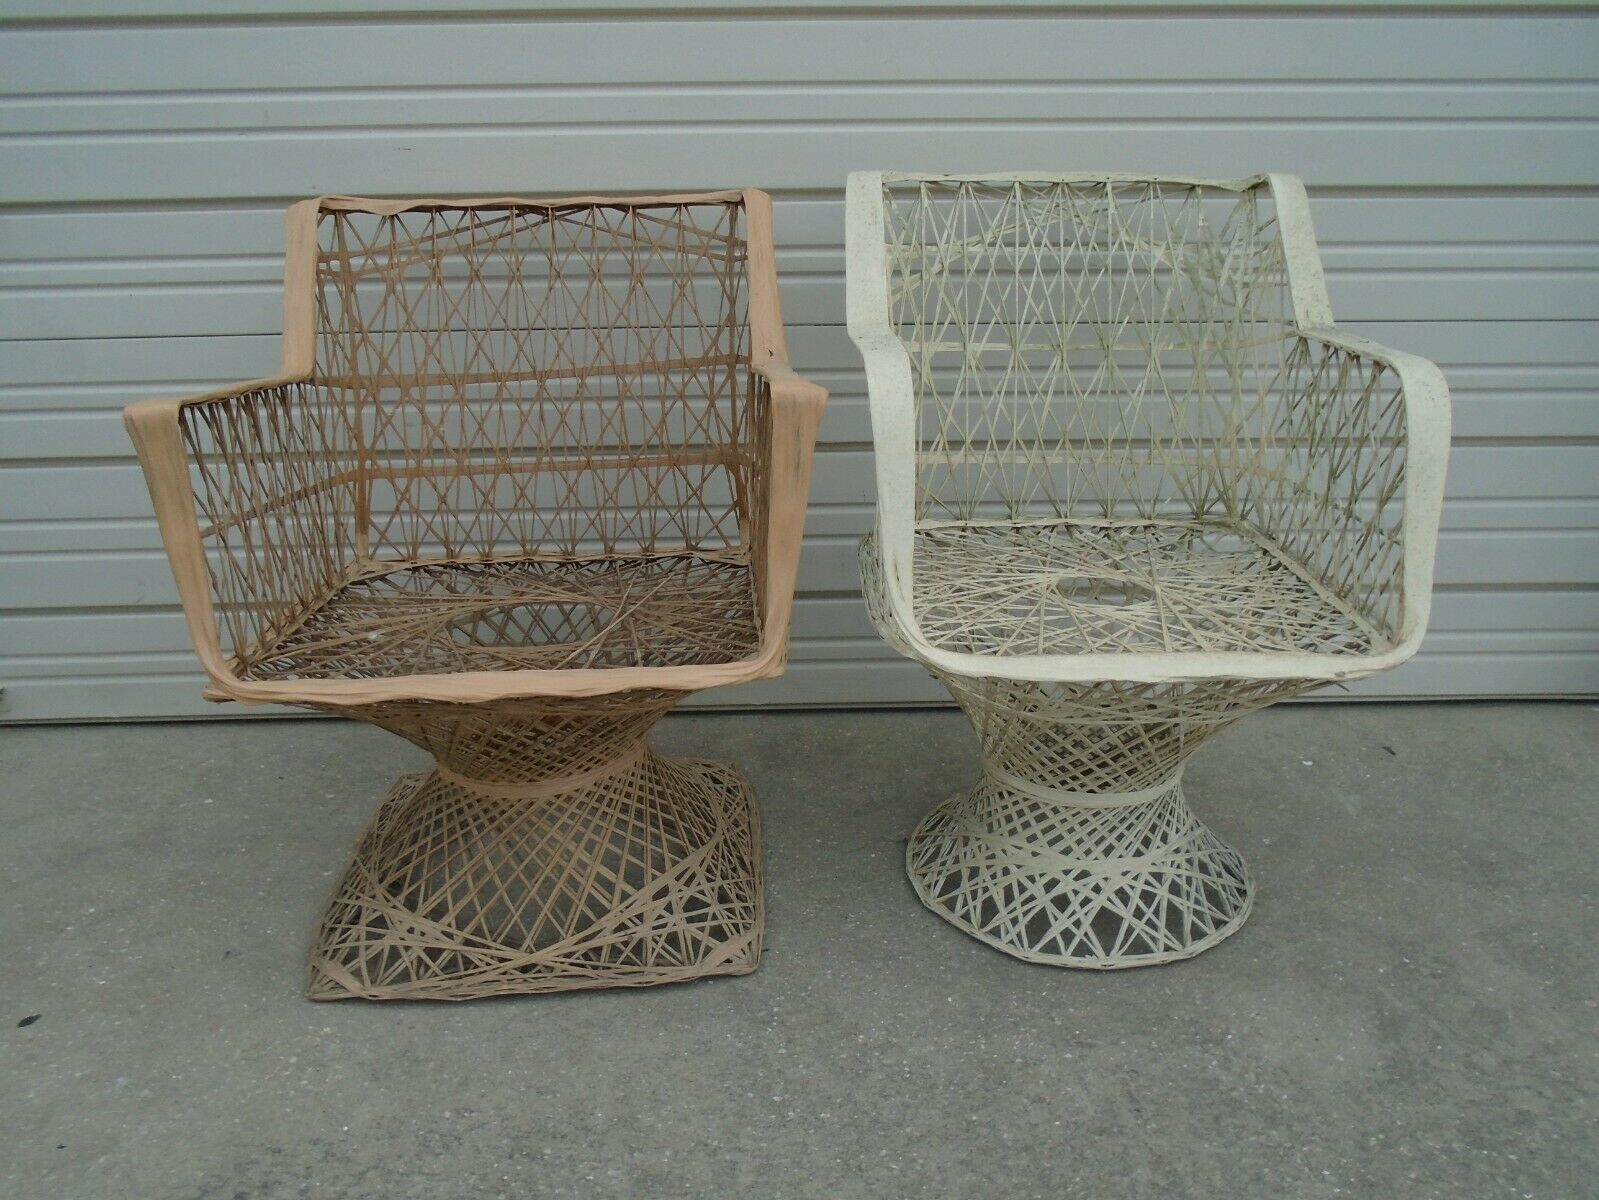
These are spun fiberglass chairs from the 1960s, the design is so cool. They fit the midcentury meets coastal style I’m going for. I paid $100 each, and they sell for a lot more on Chairish or 1st Dibs. I refinished them in two coats of Universal Spray Paint in white, then added cushions I found here and here. I bought different size cushions since the dimensions of the seats are slightly different sizes.
Pillows from this fabulous Etsy shop. Fluted pink tumblers from here. Coral vase/candle holder from a local shop on clearance, also spray painted.
Palm clippings from my yard. Pictures from my iPhone because I’m lazy. :)


I love the idea of making a macrame-esque wall hanging with clay shapes. That’s definitely going on the craft list! Having made a large macrame wall hanging, four days is easy breezy by comparison. 😄 Thanks for the fabulous concept!
thanks so much! I love the idea of a macrame-esque hanging too. :)
This space is so inviting!
I love the look of this chime and it is perfect for your Florida home!