Hello everyone! For those of you who are interested, today is the start of a four week series with a new post every Tuesday. The series is all about how to make basic patterns using Photoshop. For those of you who are familiar with Photoshop, this will just be a refresher of the tools you already know.
For those of you who are new to Photoshop, I’m sharing the basic tools you’ll need to familiarize yourself with in order to make simple patterns for your use! Whether that’s for fabric, wallpaper, home decor, office supplies, or technology use, knowing how to use basic tools in Photoshop allows you to make as many creative patterns as you want and upload them to print-on-demand sites. Infinite possibilities for creative designs of your own making!
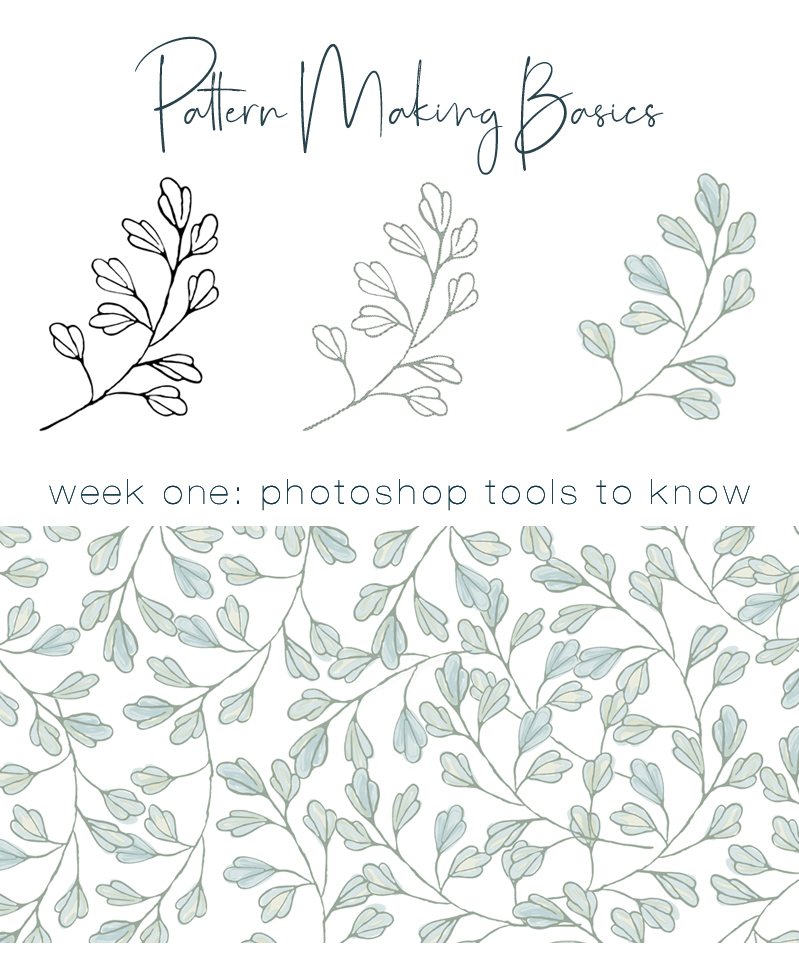
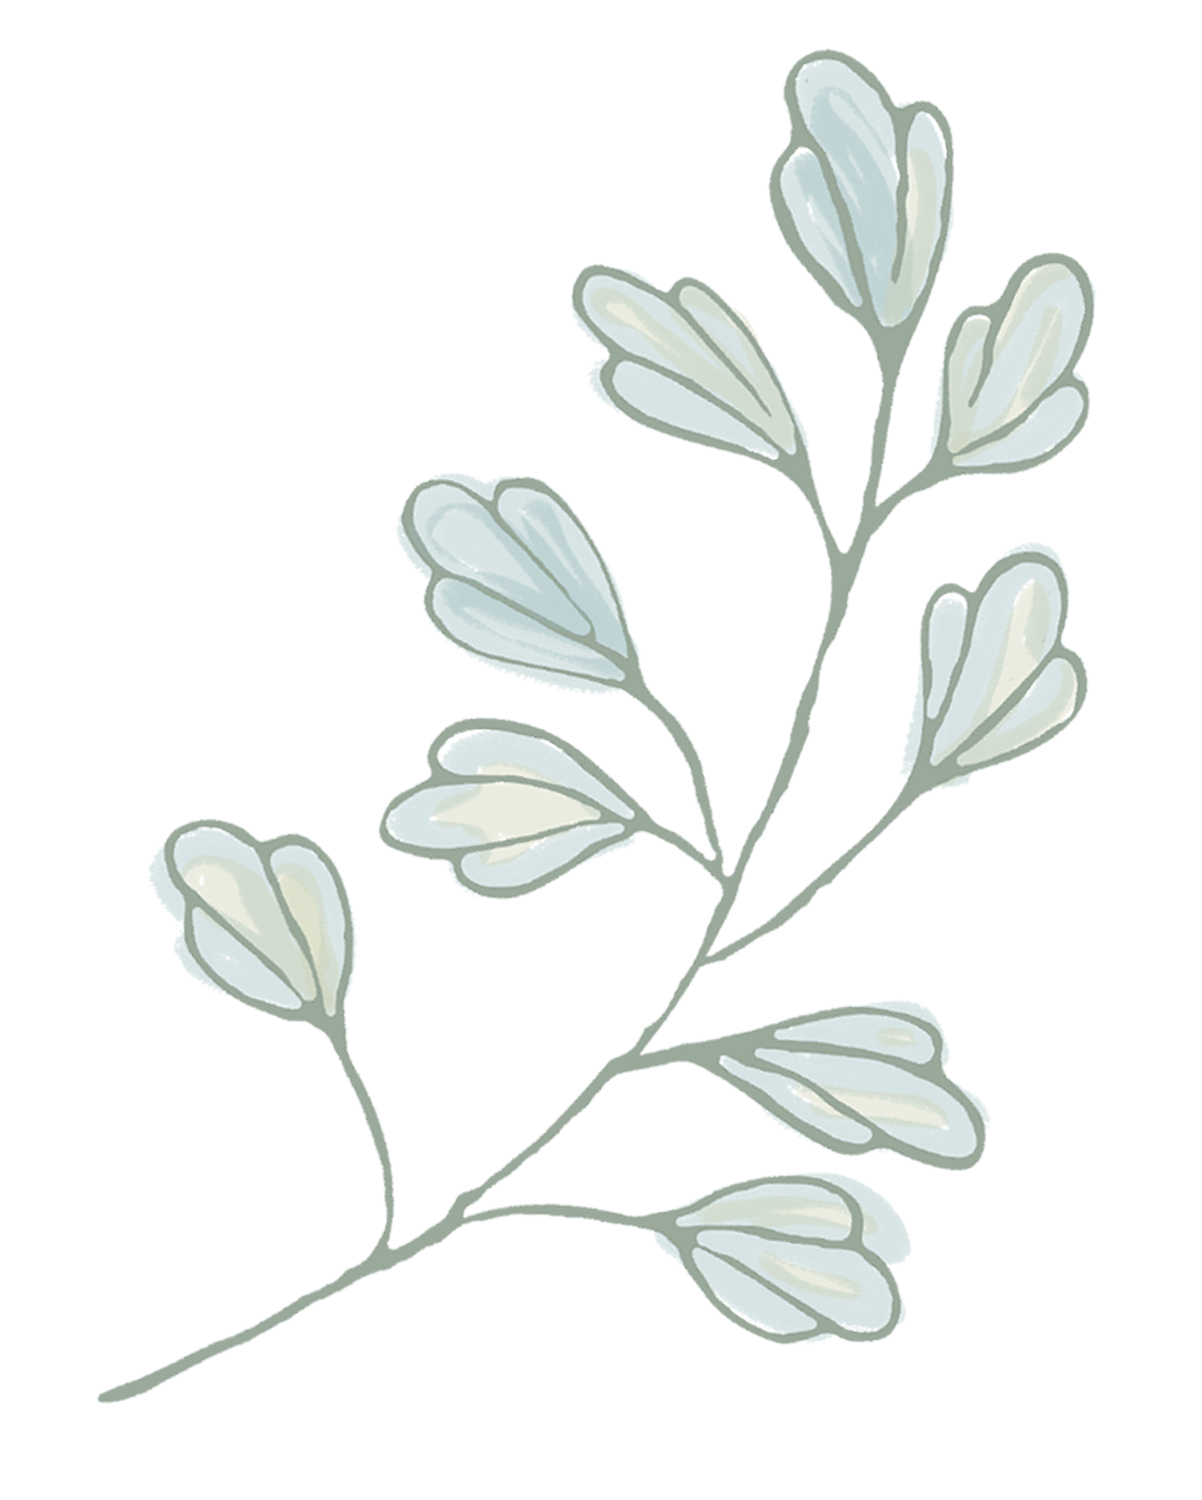
For the next few weeks, I’ll be covering just the basics, but it should be enough to put your creativity in motion! Yesterday I created this singular botanical leaf stem (I’ll talk more about creating art next week). Then I used the basic tools listed below to colorize and create a simple botanical print with just the one painted floral stem.
Real quick, for those of you who are new, I started making patterns as a hobby about eight years ago then I started selling some of my designs in my Spoonflower shop. It’s not a huge money maker for me, more of a passion project, but I’ve been doing this for years and I’m totally self taught! You can do it too, I promise, if you just learn the basic tools!

If you’re a beginner to Photoshop, the good news is they offer brief and very helpful tutorials to get you started, and also tutorials for each tool! So whenever you need more information about any tool, you simply click on the tool and the “Learn More” link and the program will educate you about that tool in a few brief steps. Start a free trial and download Adobe Photoshop, after the trial it’s $10 a month.
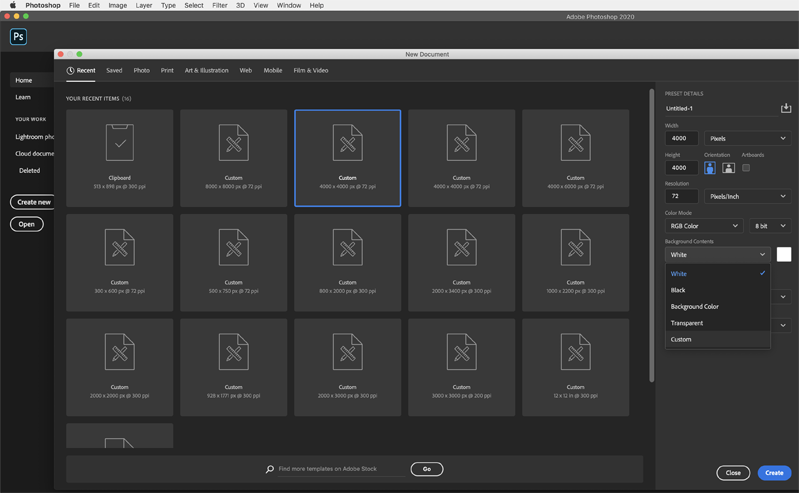
Begin any pattern by creating a New File under the File tab in the top left. You get to choose its size and quality. For this lesson, I chose 4000px x 4000px in size at 72 dpi (dots per inch) with a white background. (I’ll talk more about file size and dpi in the final week on uploading, printing and selling.)
Placing & Pasting Artwork
There are two ways to add art, the first is New > Place Embedded from any file on your computer or you can Select > Copy > Paste as well. Once I created a New (Untitled) document, I opened a second file, the attached “floral stem for practice” file.

To resize, use the Edit > Transform tool to scale the art to make it larger or smaller or to rotate the artwork.
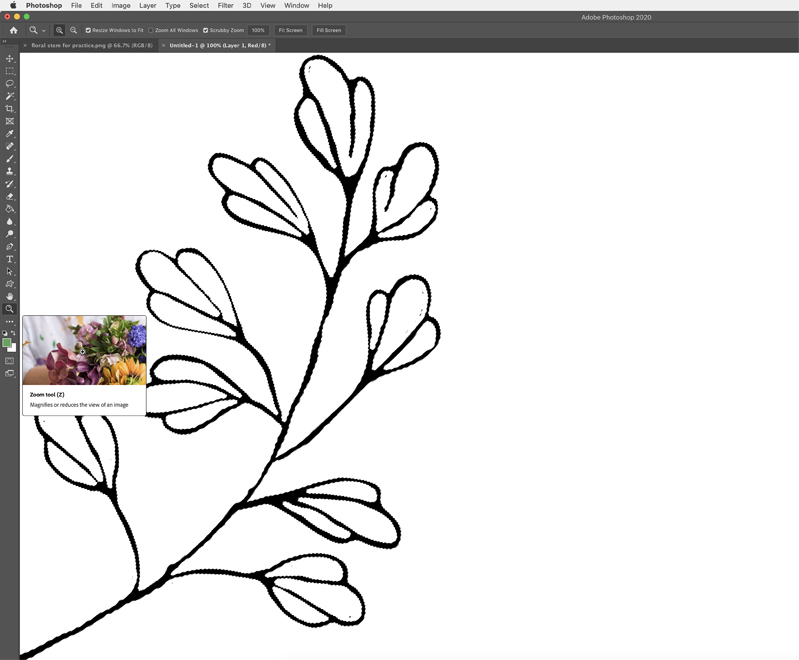
Zoom Tool
The Zoom Tool is handy because it allows you to enlarge or reduce the File you’re working on so you can zoom in to edit and colorize art or step back and look at your pattern.
The quick way to do this on the keyboard is Command/Control plus + or _ (Find ALL the Photoshop Keyboard Shortcuts under Window > Workspace > Keyboard Shortcuts!) The Keyboard function I use the most is Undo. You can find the drop down selection under Edit > Undo but it’s faster to know Command/Control + Z ! Also find the Hand Tool in the left toolbox, it’s useful for moving your artwork around for editing.
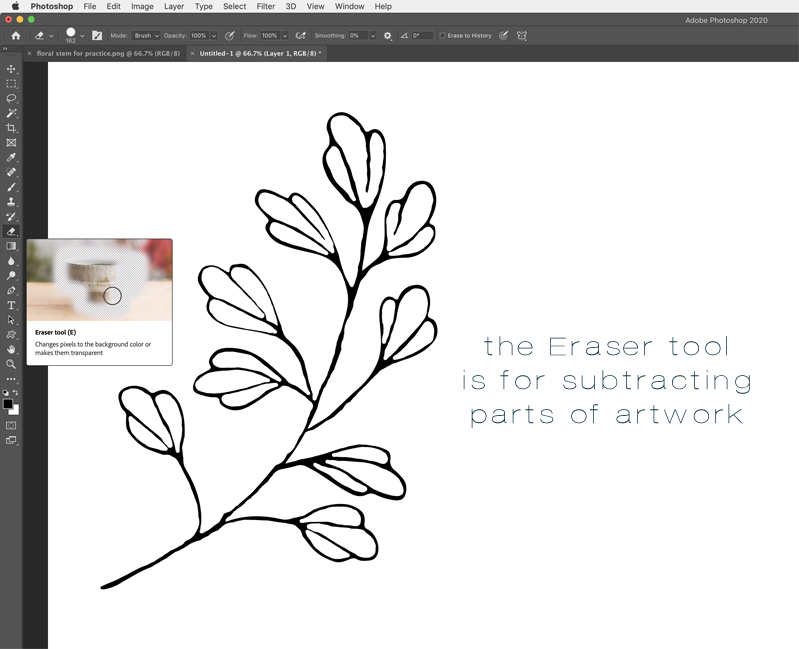
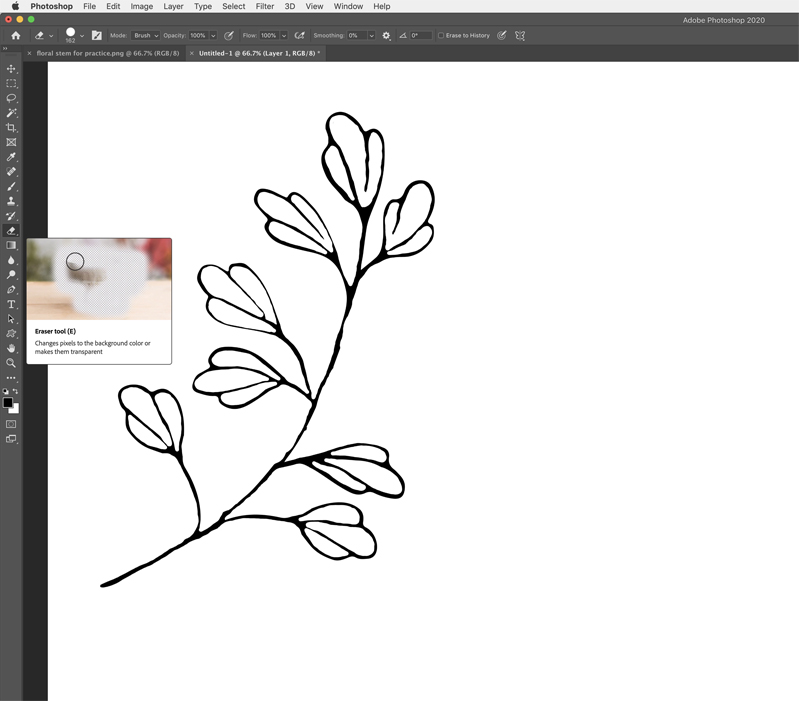
Eraser Tool
Whenever you want to remove any part of a piece of art, you’ll use the Eraser Tool in the main toolbar on the left. Notice how in the second image, one of the leaves on the stem has been erased using the tool.
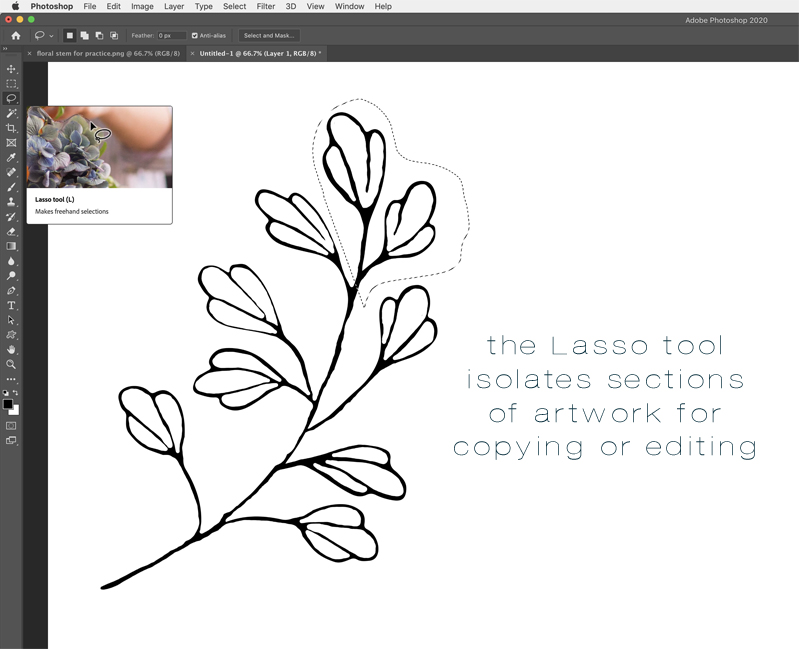
Lasso Tool
If you only want to select part of a piece of art instead of the whole thing, the Lasso Tool is your friend! It isolates sections of artwork for copying, editing, or erasing.
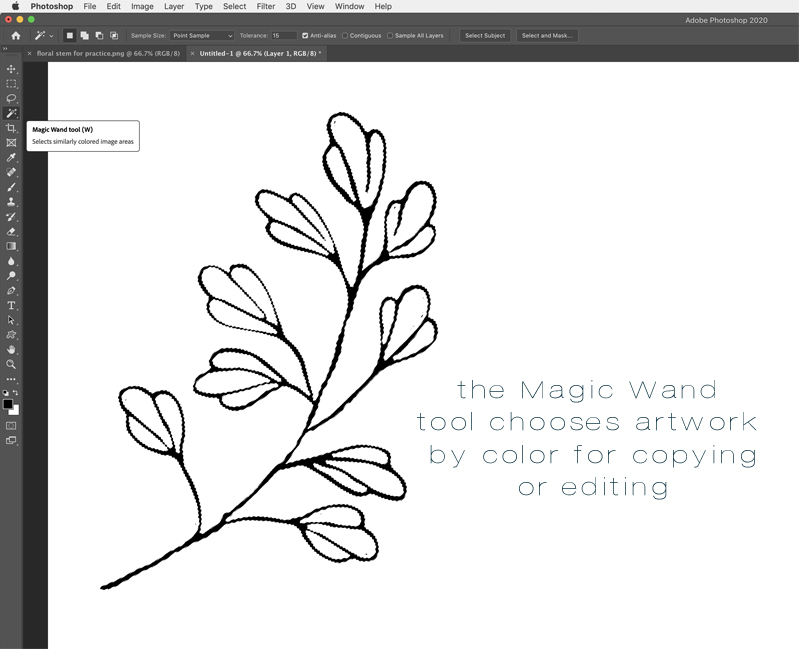
Magic Wand Tool
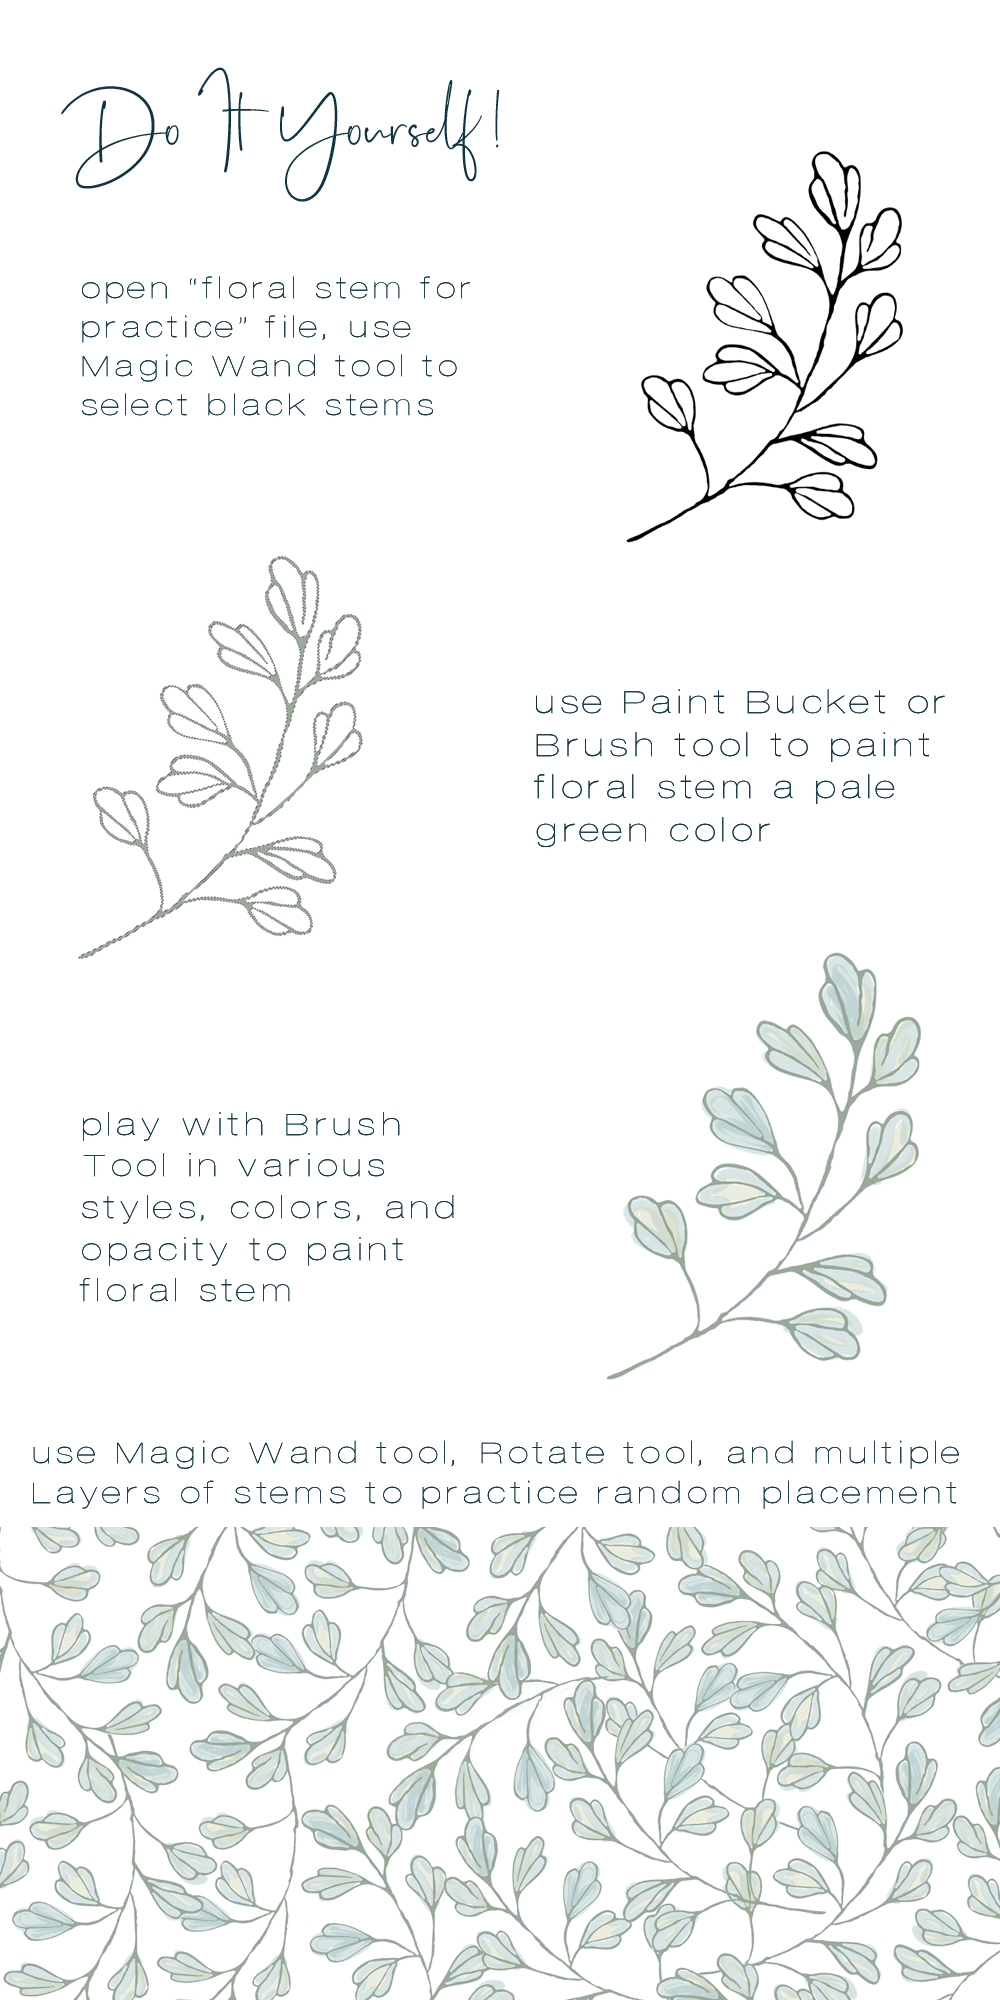
This is a tool I use all the time! The Magic Wand grabs artwork by color so you can copy it, erase parts of it, or paint it. Note how grabbing only the black color with the Magic Wand you can change the entire stem from black to green using the Paint Bucket or Brush Tool below.
Another trick that is helpful to know is you can choose the inverse. Let’s say you wanted to leave the stems black but change the entire background to gray. Choose the black stem with Magic Wand Tool, then isolate the white backdrop by choosing Select > Inverse, now you can change the background color and keep the stem black. Love that!
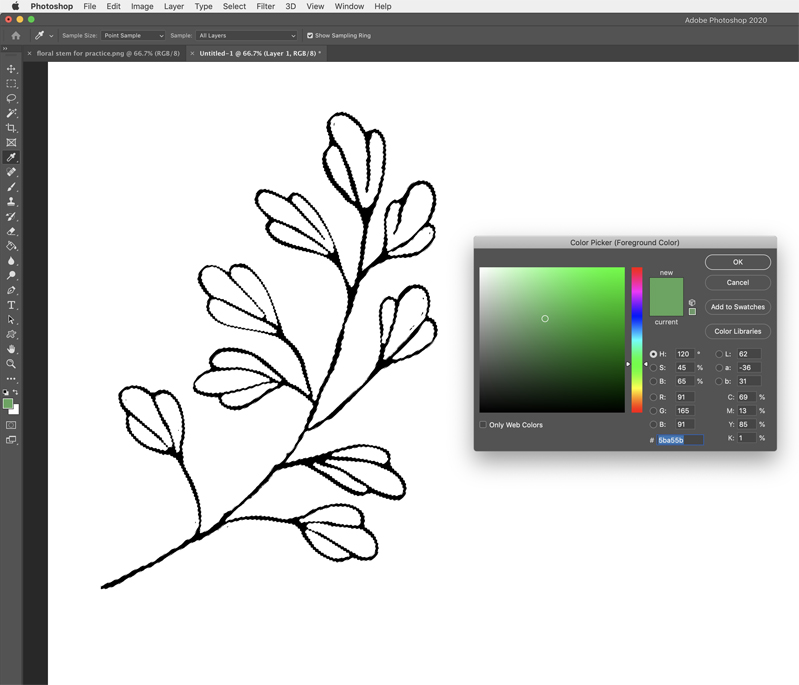
Colorizing Artwork
There are two main ways to color artwork, but first you must choose color! The Color Picker is activated by selecting the boxes in the bottom of the left toolbar. (I should mention you can set up your tools in your workspace any way you want, but I’ve always kept them on the left out of habit.)
Color is an entire subject to explore, there are swatches to choose from and you can create your own in RGB, CYMK, etc. I have an entire palette of favorite colors I’ve created and it comes in handy for reference, but you can also eyeball it just for the sake of practice.
Paint Bucket Tool
The Paint Bucket Tool is one way to change color. I use it less than Brushes (see below) but it is handy for a quick change. Isolate artwork using the Magic Wand Tool (above), select a color with the Color Picker Tool, and apply it with the Paint Bucket Tool. That’s how to turn the entire floral stem from black to green in one step.

Brushes
This is where it gets fun! Getting to know the Brushes is where you can get really creative. Find several Brush options in the toolbar on the left. There are built in brushes and you can also import additional brushes (more on that next week in sources for artwork!)
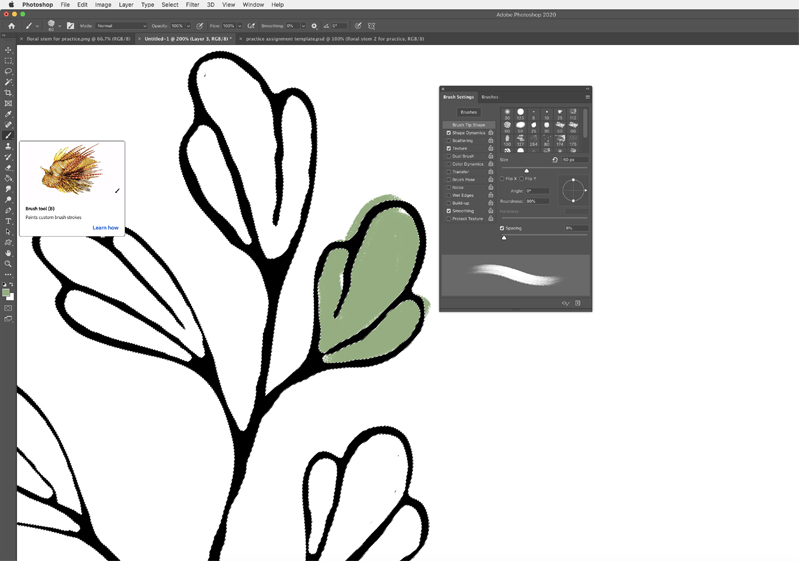
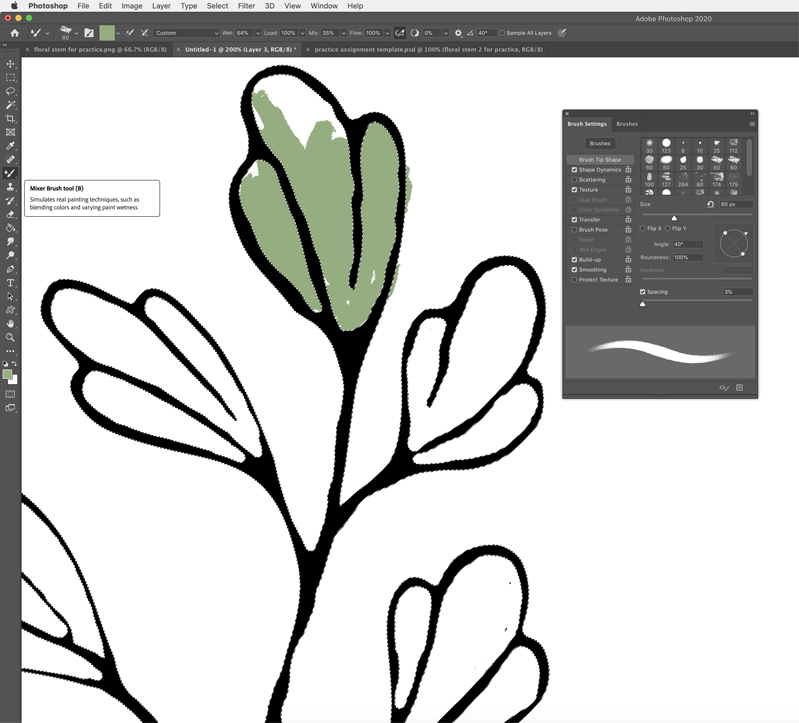
Play with the settings by opening Window > Brush Settings. You’ll see there’s a lot there! Change the size, style, edges, texture, angle, opacity, etc.
I used a few different colors at low opacity to create this painted stem:
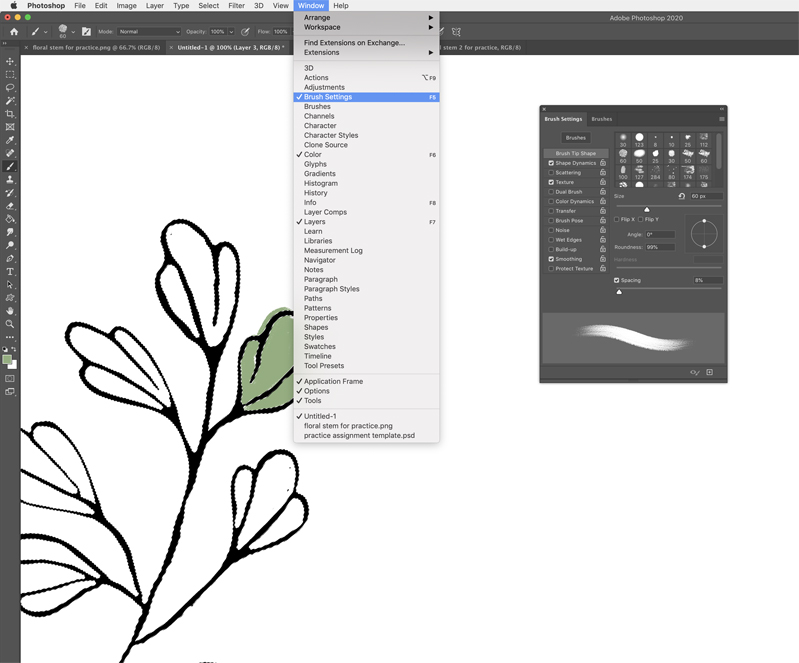
All About Layers
To make patterns, you’ll need to learn all about Layers! Open the panel under Windows > Layers. Note there are some simple and easy tutorials built into Photoshop that are very helpful! Find them on the home page and also under the Windows > Learn drop down menu.
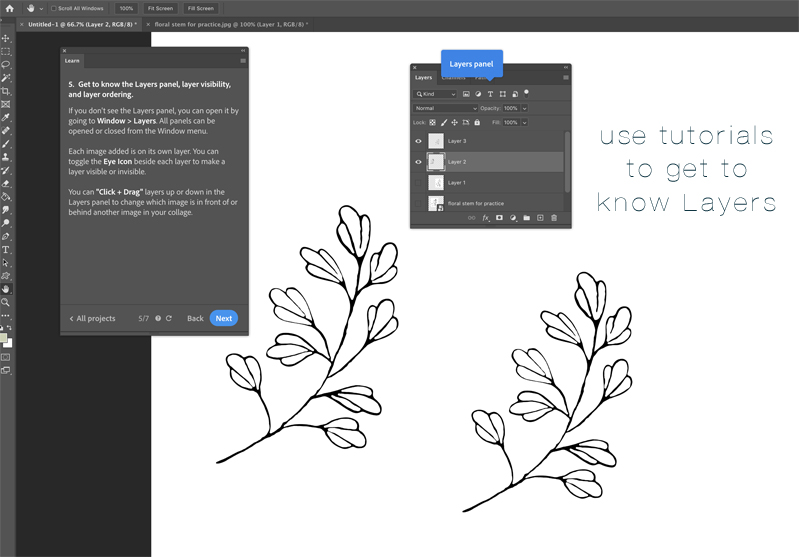
It’s essential to understand how Layers work because this is what allows you to use multiple different pieces of art to create patterns, so I highly recommend spending some time learning how they work to avoid frustration!
One final trick to create variety. To flip the painted stem so it curves in the opposite direction, go to Edit > Transform > Flip Horizontal.
Want to see a few of these tools in motion? There’s a little video over on Instagram. :)
Now it’s your turn to practice… want to try it yourself? Okay! Download this “floral stem for practice” image and save it to your computer. Follow these steps!
Let me know how your practice session goes! What colorways can you come up with?
Next Tuesday I’ll be back with another post about sources of artwork, including gathering inspiration, making your own art, and online sources designed by other artists. Week Three is all about making seamless repeats. Week Four is focused on printing and selling!
.


Photoshop seems so daunting but you make it seem way less intimidating. Thank you for posting this! Can’t wait to see your new posts each week!
I thought that too Dawn, when I started using it 8 or 9 years ago I thought Photoshop was so intimidating I wanted to quit! My brother sat down with me and showed me some of the basic tools I talked about in this post and then the light bulb went off, and I was addicted! The modern versions of PS are a little more user friendly, with those built in tutorials. I hope you try it out, you’d be amazed how creative you can get with just a few hours of practice!
xo
So excited you are doing this! I know it will take a lot of your time and I appreciate it! Thanks.
you’re welcome! let me know if you try it out!
Hey, thanks for the tips. Simple yet super useful. Started trying out last night and it turned out great!