I was just sitting in the living room last week, enjoying my morning coffee and the quiet waiting for my teens to wake up and come downstairs when all of a sudden I heard that all too frequent sound of the CAT SCRATCHING THE FURNITURE which totally triggered me. My peace disrupted by the family cat, I decided I couldn’t take it anymore.
I was tired of yelling “Stop Coco Stop!” and decided that day I was going to build a cat scratcher before sundown. So I drove to Lowe’s and buy whatever supplies were necessary to save the furniture! Save the chairs!
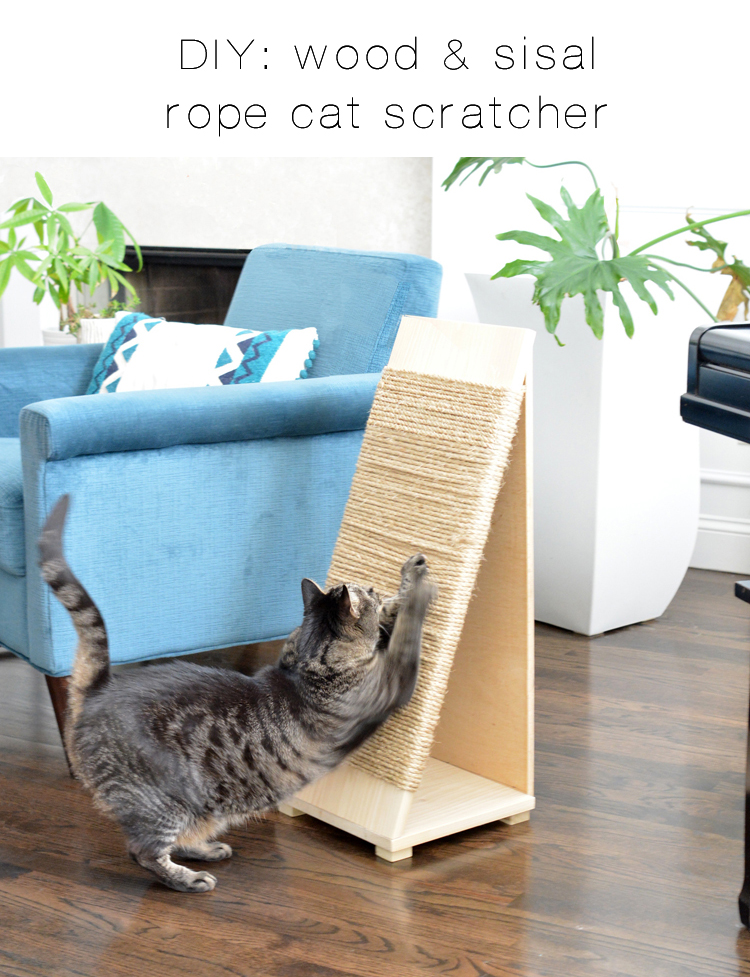
File this natural wood and sisal rope cat scratcher under the “not so pretty but necessary” DIY projects in my portfolio of work. :)
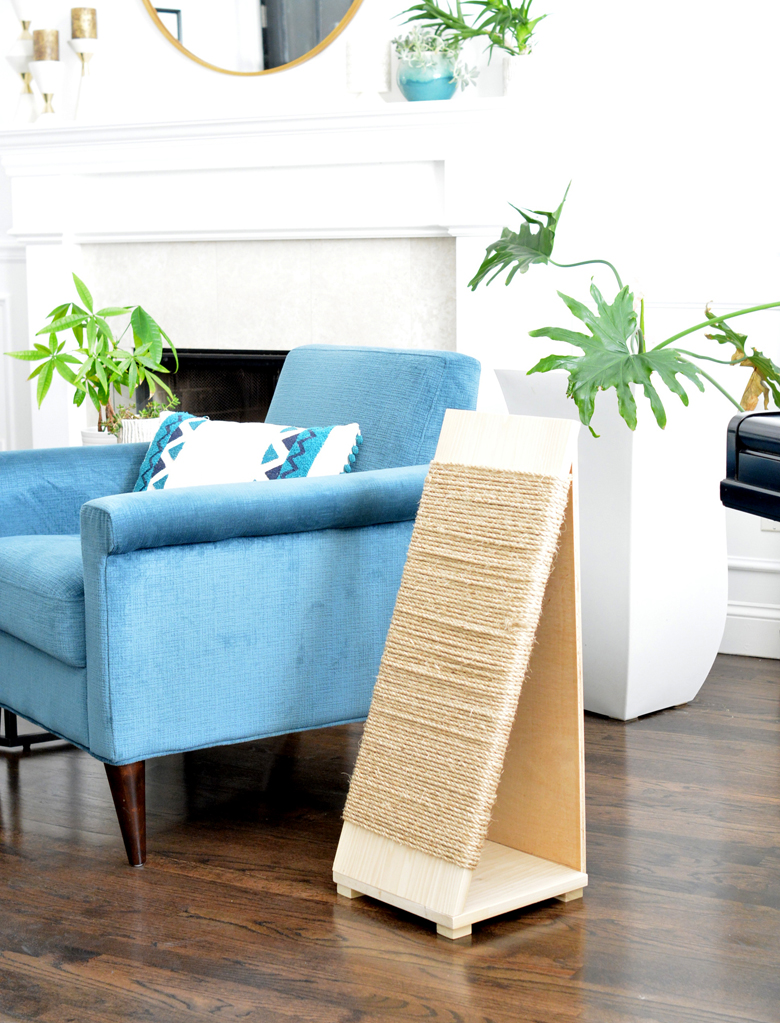
Aaaaaannddd mission accomplished. :)
I like the natural wood and sisal rope combination and also the basic geometric shape. It’s not the cutest thing on display but I’d rather save the furniture so it’s a practical compromise. :)
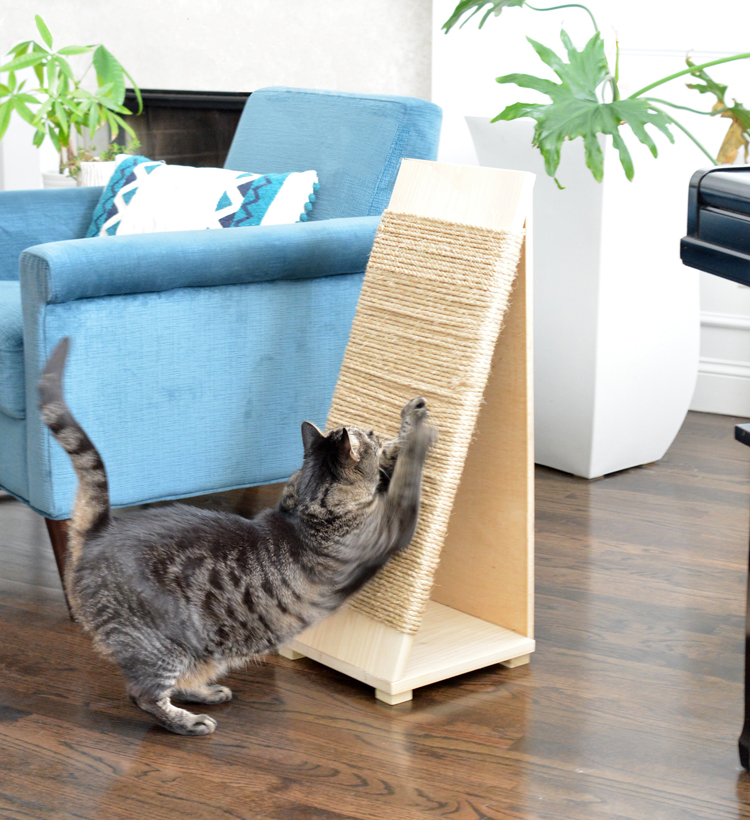
Thankfully the family cat got the message so she’s been stretching herself and scratching it ever since. She actually prefers it now instead of the furniture which was the goal.
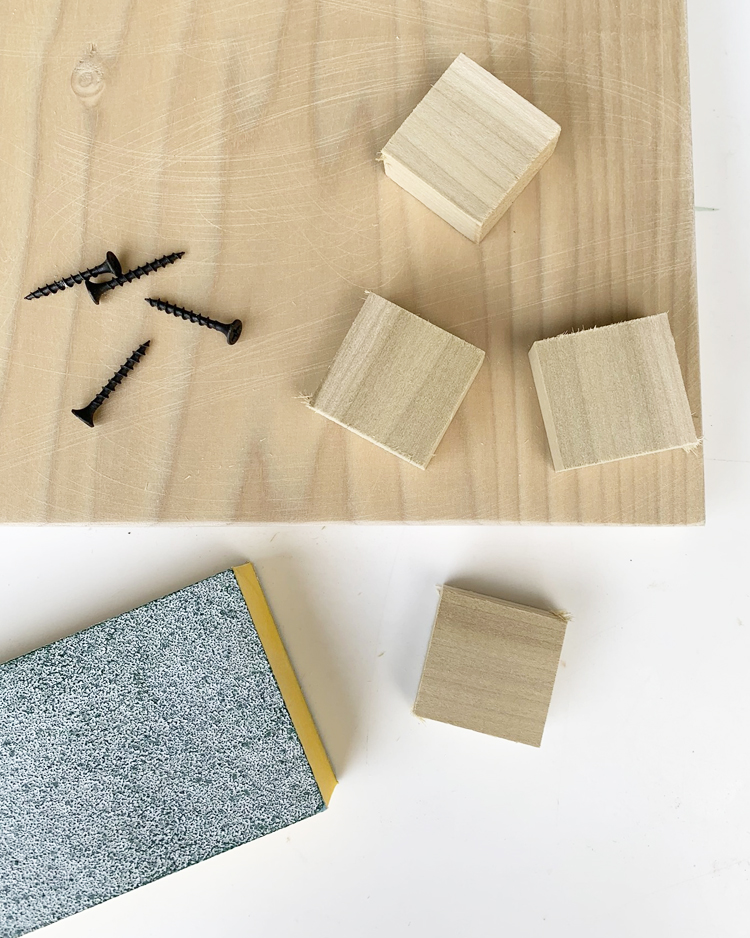
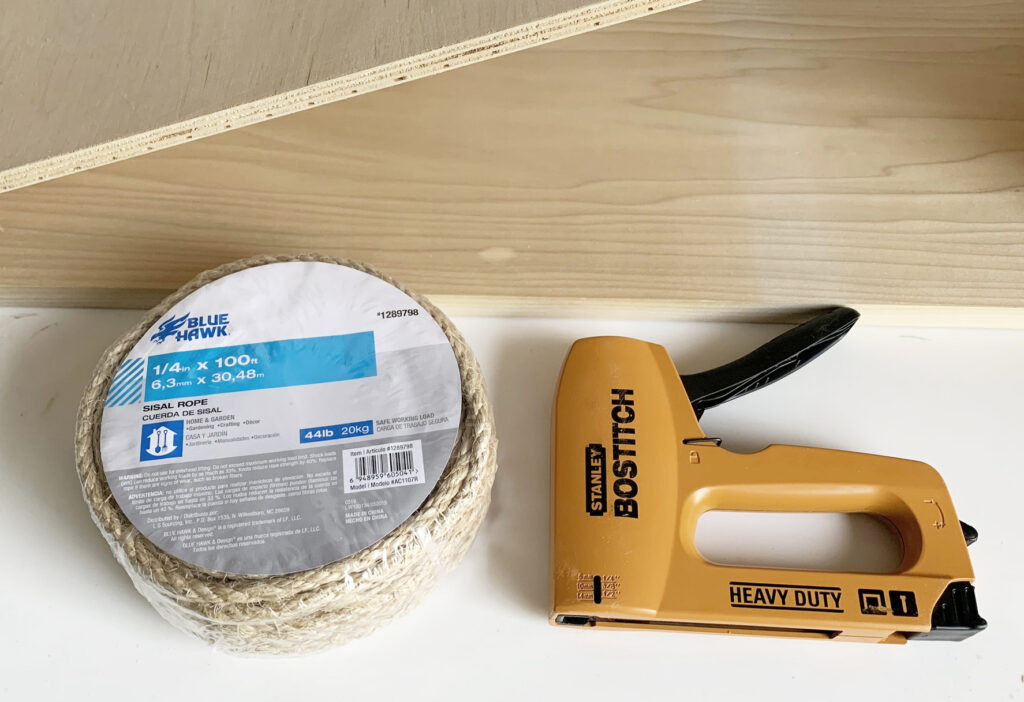
Supplies to recreate: 6 ft of birch wood 12” wide; ¾ x 1” strip of wood 12” long; 200 feet of sisal rope; heavy duty stapler, power drill; 1 ¼” screws; sanding wedge; compound miter saw; felt floor protectors (optional).
I’m going to take you back to basic geometry with these angles, they’re simple. 90°, 68° and 22°. Mitering the bottom piece is a little easier since you can set the saw at 22° to get a 68° cut. Mitering the top piece is trickier but I’m lazy and just didn’t do it.
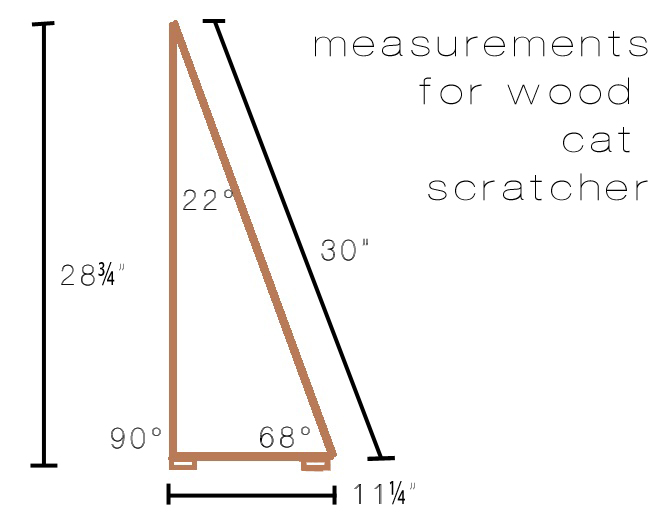
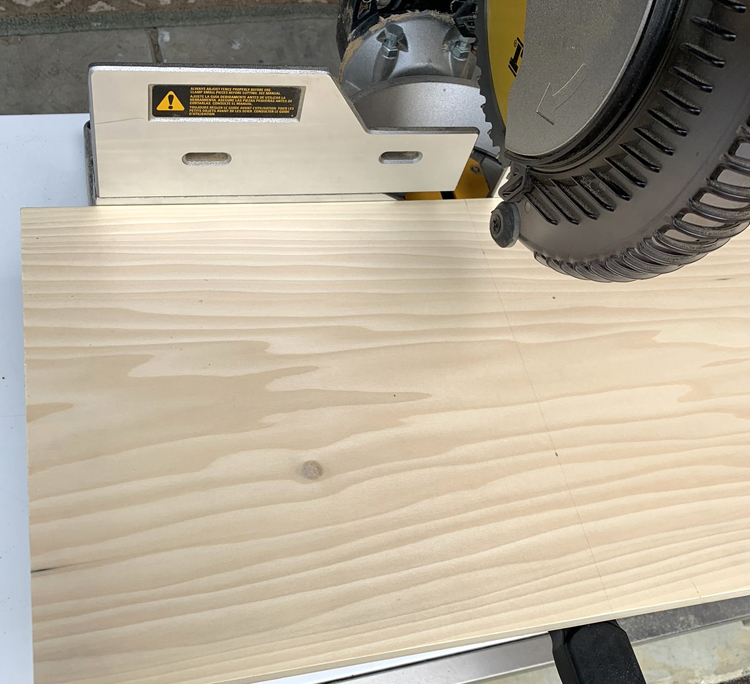
First, cut the bottom base. This piece of wood is 11¼” wide so that’s the length it was cut to form a perfect square.
With the smaller strip of ¾ x 1” wood, cut four little feet, sand any rough edges, and attach them with 1¼” wood screws to the base.
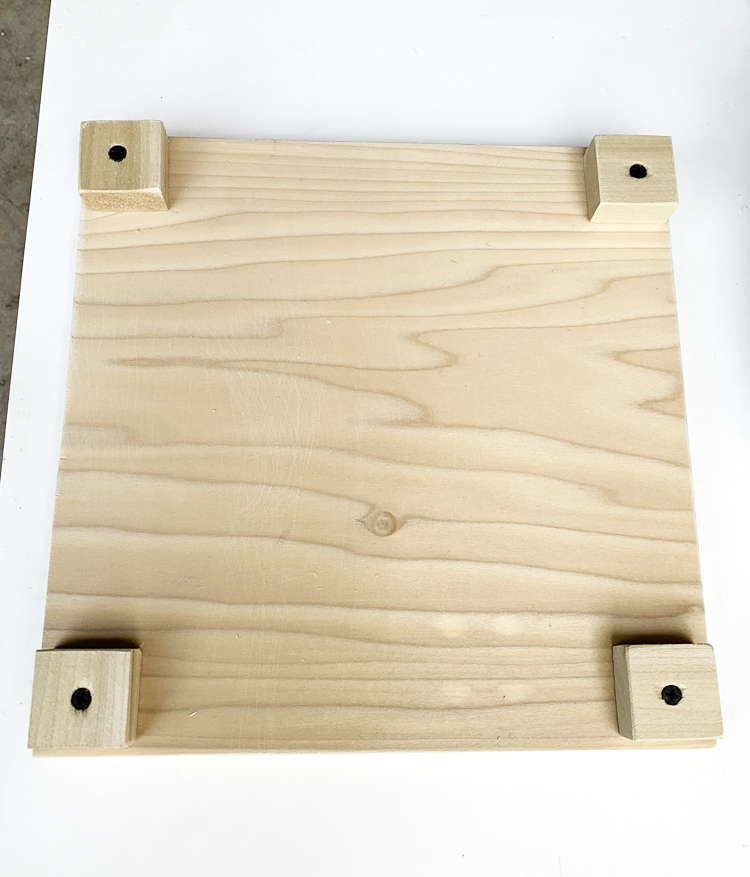
You might want to attach four of those adhesive felt floor protectors (not shown), the kind that protect from scratches.
Next attach the back to the base, then attach the angled piece to the top of the back piece and the bottom of the base with wood screws.
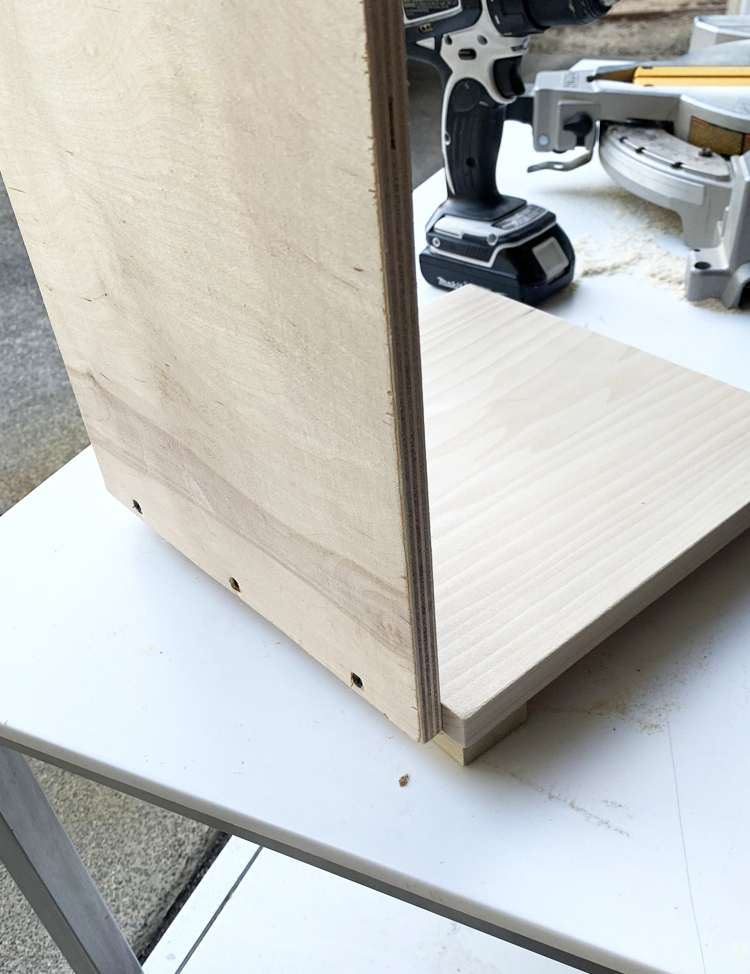
This is how it looks when it’s all screwed together. The bottom angle is perfectly mitered to the base, but the top is not because like I said before, I was lazy.
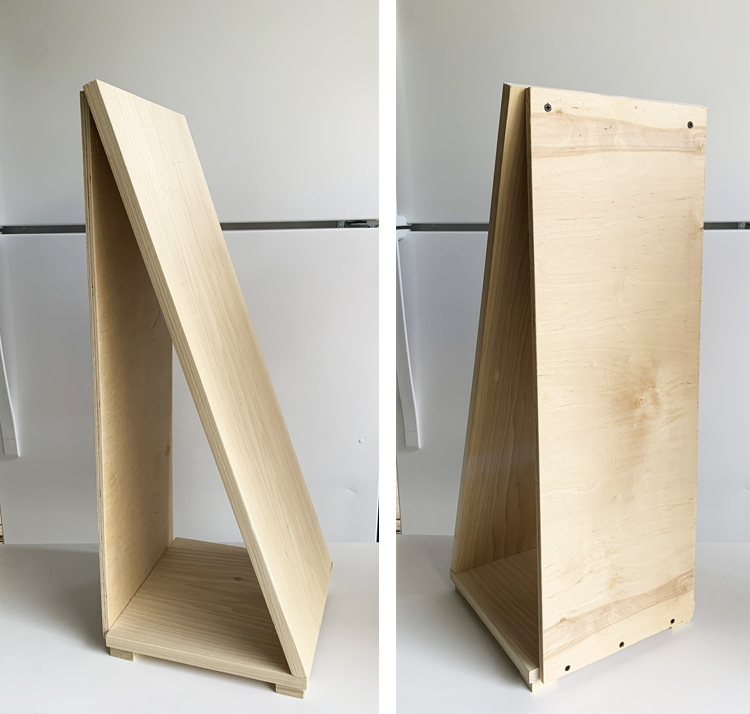
Notice how I used a different piece of wood on the back. That’s because initially I didn’t buy enough at Lowes and didn’t want to drive all the way back, so I raided my scrap pile of plywood and thankfully had a 10” wide piece. If you’re recreating this project and want all the wood to be the same width, simply get a 72” board and you’ll have enough.
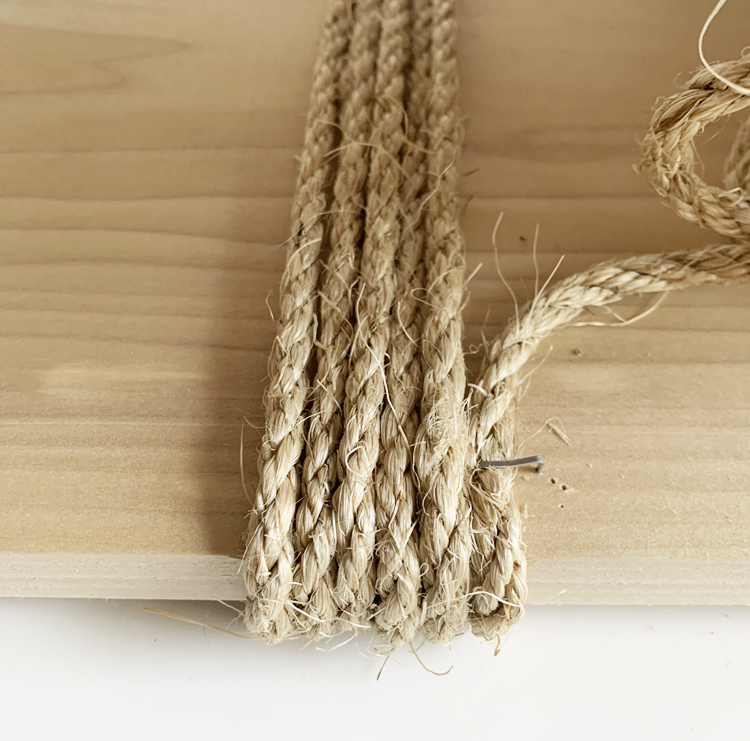
The final step is to secure the sisal rope tightly with a heavy duty stapler.
Wrap the rope around the front angled piece tightly, securing the rope approximately every five rotations or so.
That’s it! Prop up the new scratcher and introduce it to your cat. I’ve read that sprinkling a little cat nip on a new scratcher helps to attract a cat but ours didn’t need it and she loves it for a full stretch too.
Better she attacks this than my blue chairs. :)


Um, it’s WAY prettier than the massive cat tree we have in our dining room! Nicely done!
thanks Kristy!
Ha! I haven’t had a cat before, but I’m totally laughing at “Save the chairs!” Whatever it takes!
Haha yes! Let’s make it a hashtag!
Yay! I love when your making stuff! I really miss that!
me too, thanks Jackie!
I love your cat scratcher, Kate.I have 6 rescue cats so I know exactly how useful these creations are ! I’d love for you to share your cat scratcher post, over at our Meraki Link Party at http://www.doodlebuddies.net
Much love
Naush
https://doodlebuddies.net/2020/08/17/meraki-link-party/
How do you stop it from sliding across the floor or falling over?
It’s never done either!